How to Hike Taylor Lake & O’Brien Lake – Banff
How to hike Taylor Lake & O’Brien Lake is part 2 of my “how to hike Boom Lake, Taylor Lake, & O’Brien Lake” in the same day. You can find part 1 (Boom Lake) here.
I initially set off to scramble up Paget Peak in Yoho the morning I hiked to Taylor Lake & O’Brien Lake, but I rerouted because the weather was looking a bit dicey. I decided it was best not to attempt a scramble in the rain (read more of my scrambling trail guides here). This was also day 3 of my 3-day hiking bender in Banff, so I was exhaustedddd when I started the Taylor Lake Trail.
These two gorgeous lakes however made the exhaustion worthwhile even though I did have an unintentional nap at Taylor Lake, whoops.
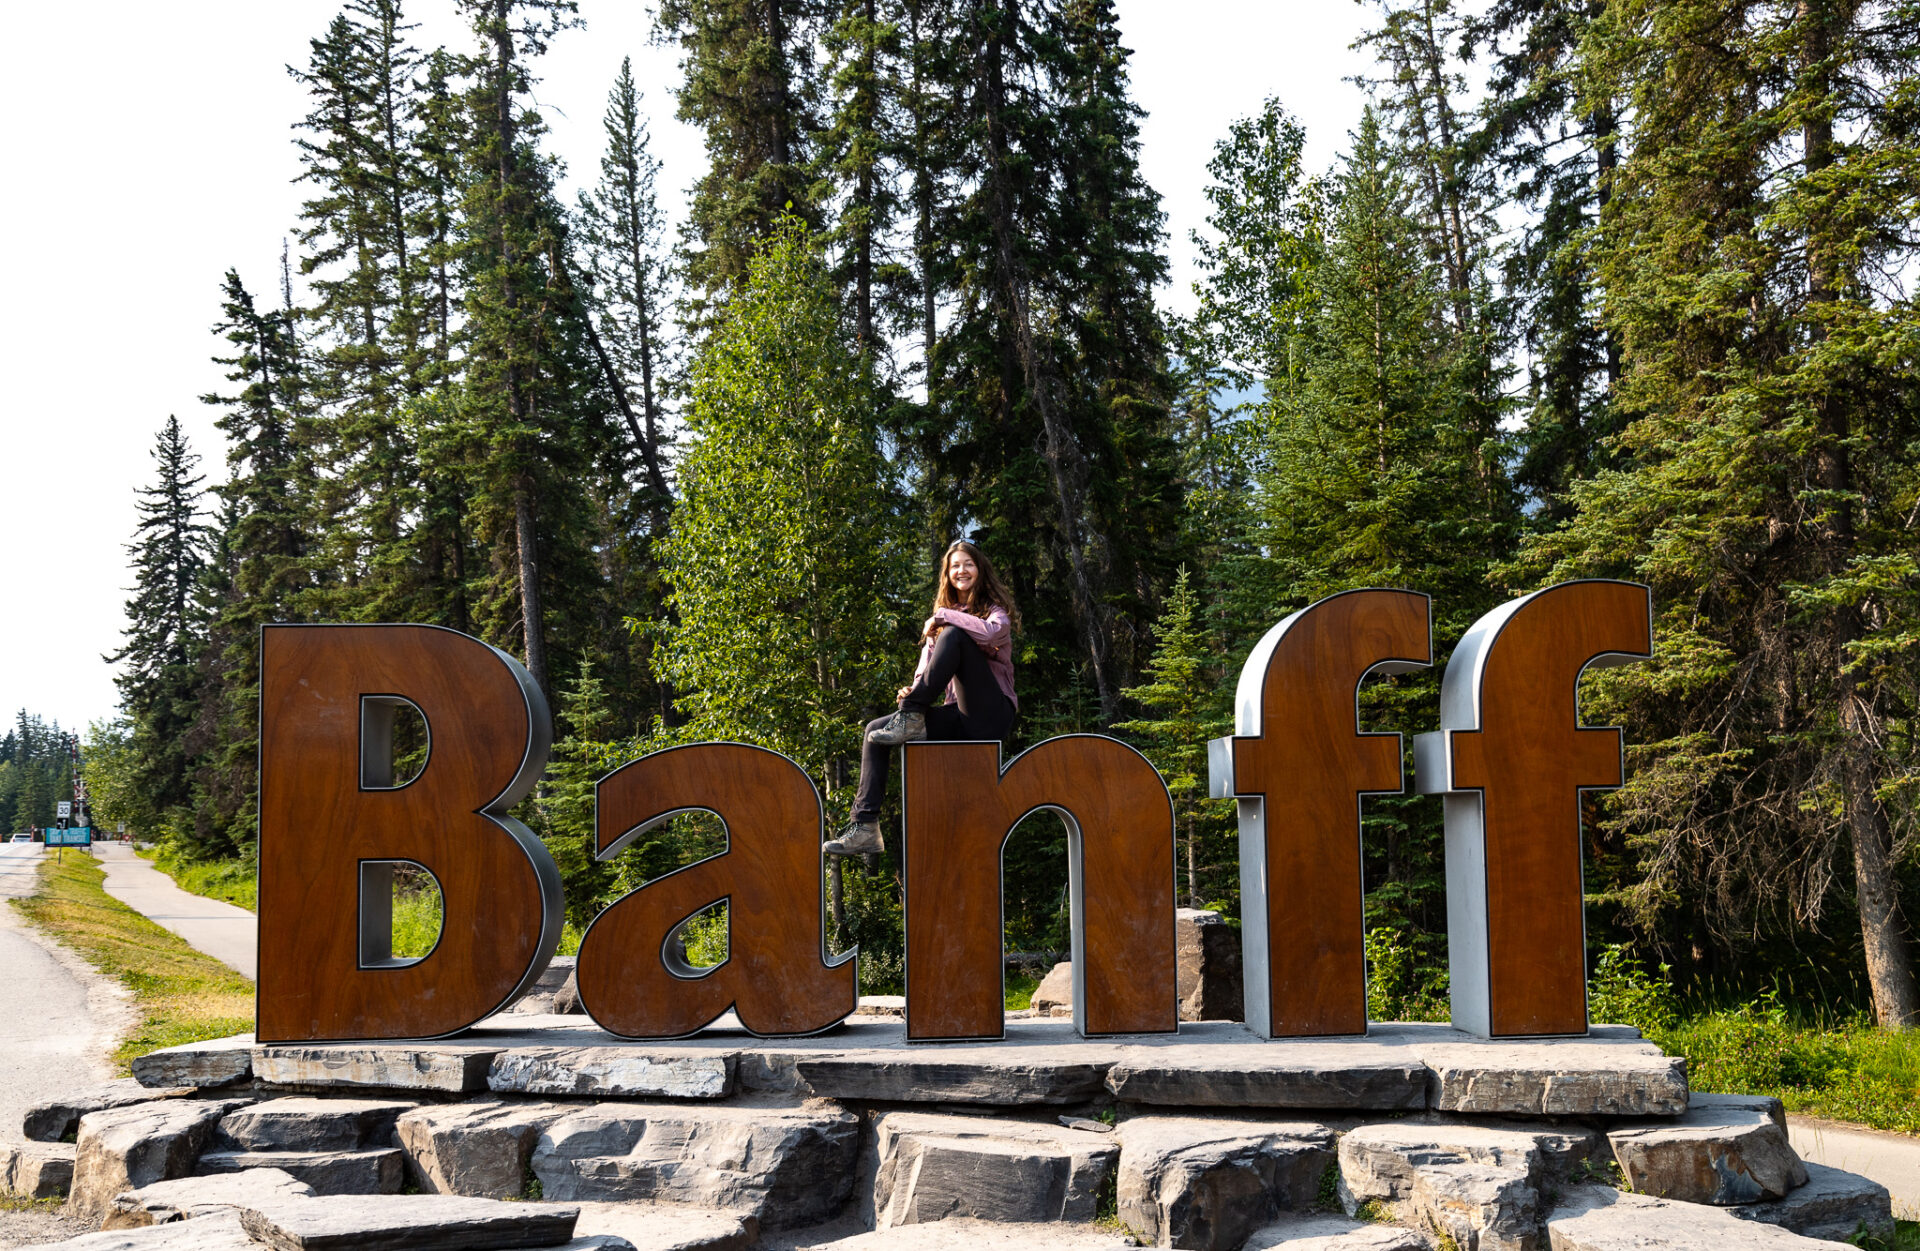
Here I’ll tell you everything you need to know about hiking to Taylor Lake & O’Brien Lake. Before I tell you about the trail though, my first tidbit of information is that you’ll need a National Park’s Pass to enter Banff.
Now, let’s go hiking!
Skip Ahead:
- How to get to Taylor & O’Brien Lake Trail
- About Taylor & O’Brien Lake Trail
- Hiking Taylor & O’Brien Lake Trail
- Essential hiking gear
- What to wear hiking
- Part 1: Boom Lake
- Tips for a successful hike
- Best places to stay in Banff
I have affiliate links in this post which means when you book a hotel or purchase a product, I may make a small commission ~ at no additional cost to you (full disclosure). These funds go back into The Holistic Backpacker and help me create more free content like this!
Thank you for supporting my work!
Related Content
- 50+ Things to do in Banff in summer
- Discover more Banff trail guides
- Complete guide to the Icefields Parkway
- Step-by-step guide for planning a trip to Banff
- What to wear hiking in Banff
- Hiking gear guide for Banff
How To Get To Taylor & O’Brien Lake Trail
I’ve marked both the Boom Lake trailhead as well as the Taylor Lake trailhead in case you decide to hike both trails. Note that hiking to all three lakes will require you to do a car drop.
The Taylor Lake trailhead is located about 40 minutes from the town of Banff along highway 1A (left side heading north). There’s no shuttle that takes you to the Taylor Lake trailhead, so if you don’t have a car you’ll need to rent one to get there.
The Taylor Lake trailhead is also right next to Lake Louise! Read about my favourite hike at Lake Louise here.

Best Banff Car Rentals
Most of Banff’s remote trailheads and attractions are inaccessible via public transportation. I 100% recommend renting a car to make the most of your time in the Rockies.
My favourite rental tool is this site as it compares all the local car rental shops to find you the best rate.
About Taylor & O’Brien Lake Trail
- Distance: 17.4km
- Elevation gain: 1, 138m
- Rated: hard
- Route Type: out & back
- Estimated Time: 5-7 hours
The Taylor Lake trail is moderately trafficked whereas the side-trail to O’Brien Lake is lightly trafficked. This trail is best used from May to September.
The trail to Taylor Lake is wide, clear, doesn’t feature much exposed roots or rocks (although you will find a more rocky path near the lakes), and is easy to follow; making this is a great trail for solo-hikers. The side-trail to O’Brien Lake however is much narrower, features tons of exposed roots, and has many fallen trees you have to navigate around.
The side-trail to O’Brien Lake is also where you’ll branch off to hike Boom Lake.
The Taylor Lake trail follows switchbacks up the mountain and steadily gains elevation the entire way up. It’s a bit of a grind to reach the lakes, but the bright blue water makes it allllll worthwhile.
Additionally, this is a great hike for fall as you can see the golden larch trees. PLUS you can camp at Taylor Lake and make this a backpacking trip!
More: Backpacking Trails in Banff National Park
Connect via socials:
STAY CONNECTED
Sign up for emails to receive a 25% discount on my travel maps.
Taylor ♡
Hiking Taylor & O’Brien Lake Trail
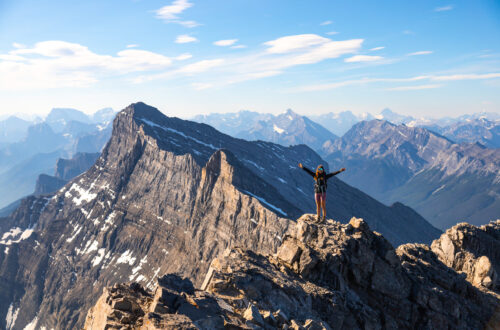
The day I hiked to Taylor & O’Brien Lake I was legitimately exhausted; I was on a hiking bender and I had just done 2 major hikes the previous 2 days. However I only had a short amount of time left in Banff so I wanted to make the most of it (I lived in Banff – here’s how). Apparently my idea of “making the most of it” is hiking 17km up a mountain.
When I hit the trail I could barely keep my eyes open, but I was determined to hike everything I could while I was still in Banff!
Directions
The Taylor Lake trailhead actually starts at a metal gate in the fence surrounding the parking lot. You’ll have to climb a couple stairs and open it up to continue on. Make sure you shut the gate after too. This is to keep wildlife off the highway.
The trail is completely in the trees. You won’t have any views along the way, minus a viewpoint closer to the top. You will however be blessed with the sound of the flowing Taylor Creek which runs beside the Taylor Lake trail.
This trail is a bit of a grind. The Taylor Lake trail continually gains steady elevation over switchbacks that lead up the mountain. Short of stopping you won’t have any breaks.
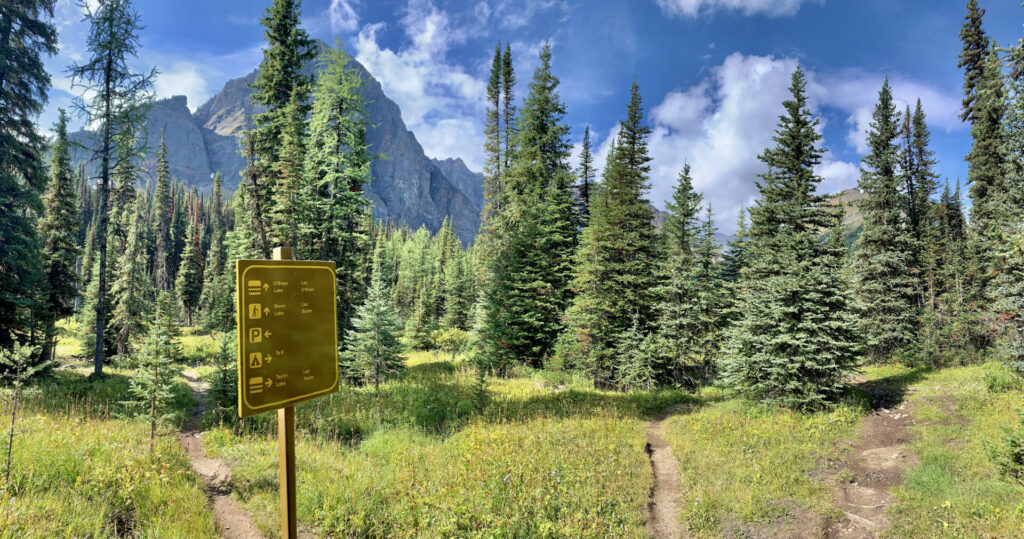
Once you reach the fork in the trail (6.5km & 600m gain), you’ve made it to the lakes! If you plan to also hike Boom Lake, visit Taylor Lake first then O’Brien Lake. If you don’t plan on going to Boom Lake, visit O’Brien Lake first, then Taylor Lake.
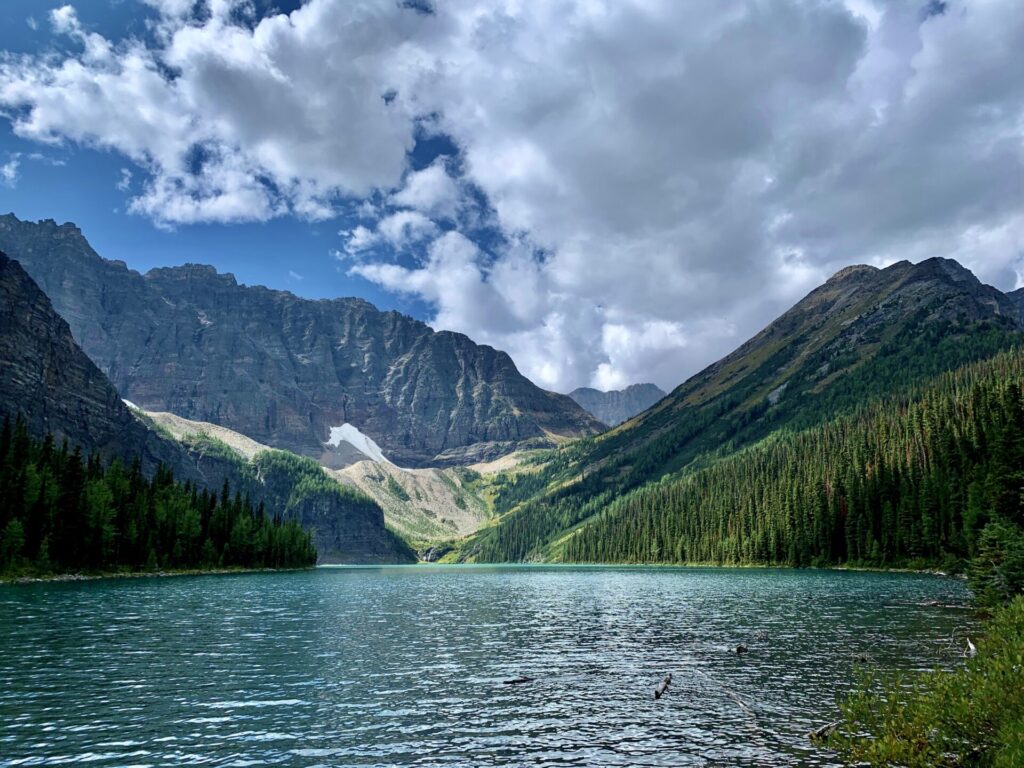
O’Brien Lake
I hiked to Boom Lake on a different day and therefor visited O’Brien Lake before Taylor Lake. It’ll be 2.8km roundtrip of up-and-down terrain from the split to O’Brien Lake and back. You’ll be hiking through a densely forested and slightly overgrown trail. Don’t expect to see many people here, if any (bring bear spray for protection).
*If you plan to hike to Boom Lake as well keep an eye out for the Boom Lake trail markers. They’re not entirely obvious.
The ground you have to walk on to get over to O’Brien Lake is extremely muddy and borderline swampy. Make sure you have Gore-tex hikers! I use these ones (men’s version) and I love them for day-hiking, backpacking and wet/muddy terrain! They’re an all-around boot.
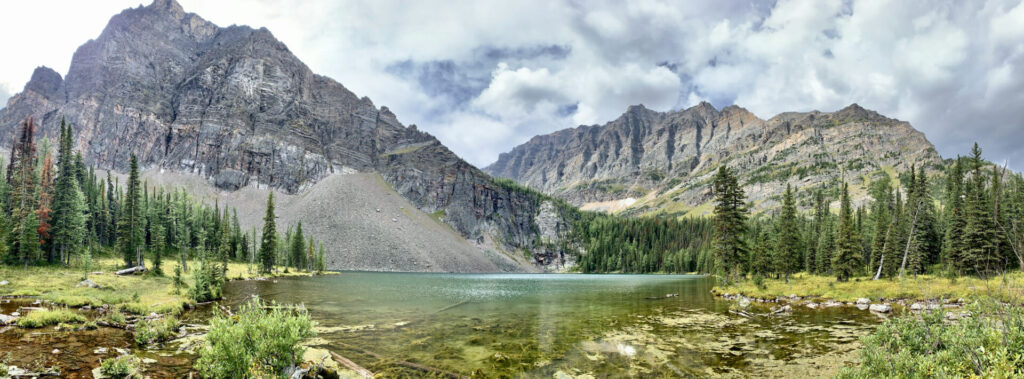
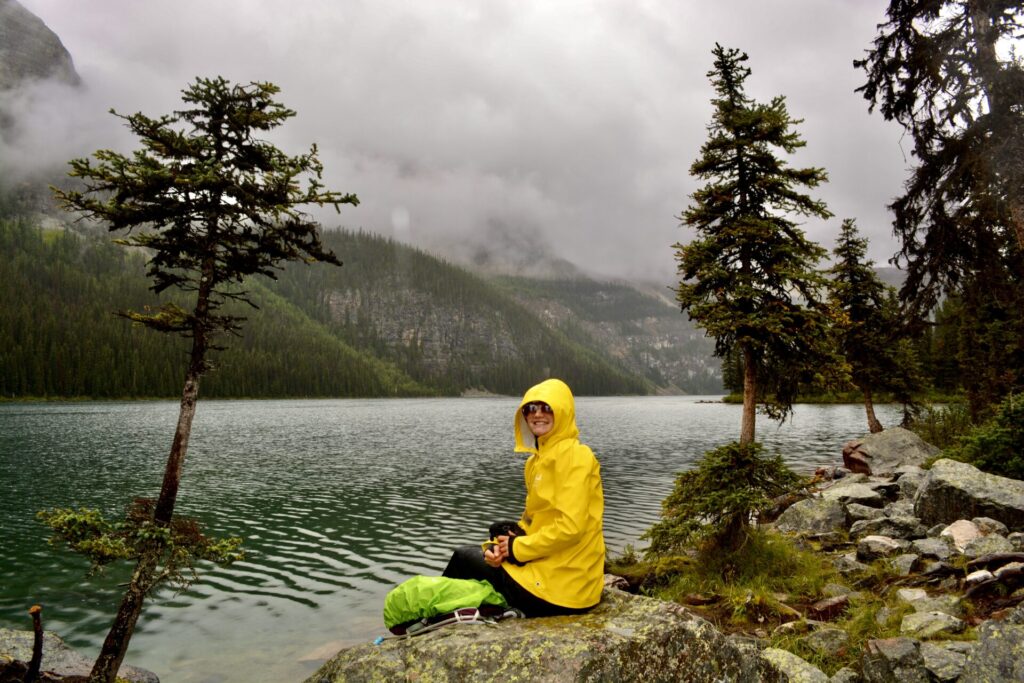
The area surrounding O’Brien Lake was shockingly cold the day I visited. Make sure you bring warm layers! Two basics I always have are a good quality rain jacket (men’s version) and a puffer coat (men’s version). They’re the dream combination for hiking in the Rockies.

I thankfully brought a bag of pre-cooked oatmeal in my Stasher bag (my favourite way to package/cook food while hiking) which was thankfully still warm when I made it to O’Brien Lake. This helped me heat up a bit before finishing the rest of the hike.
Taylor Lake
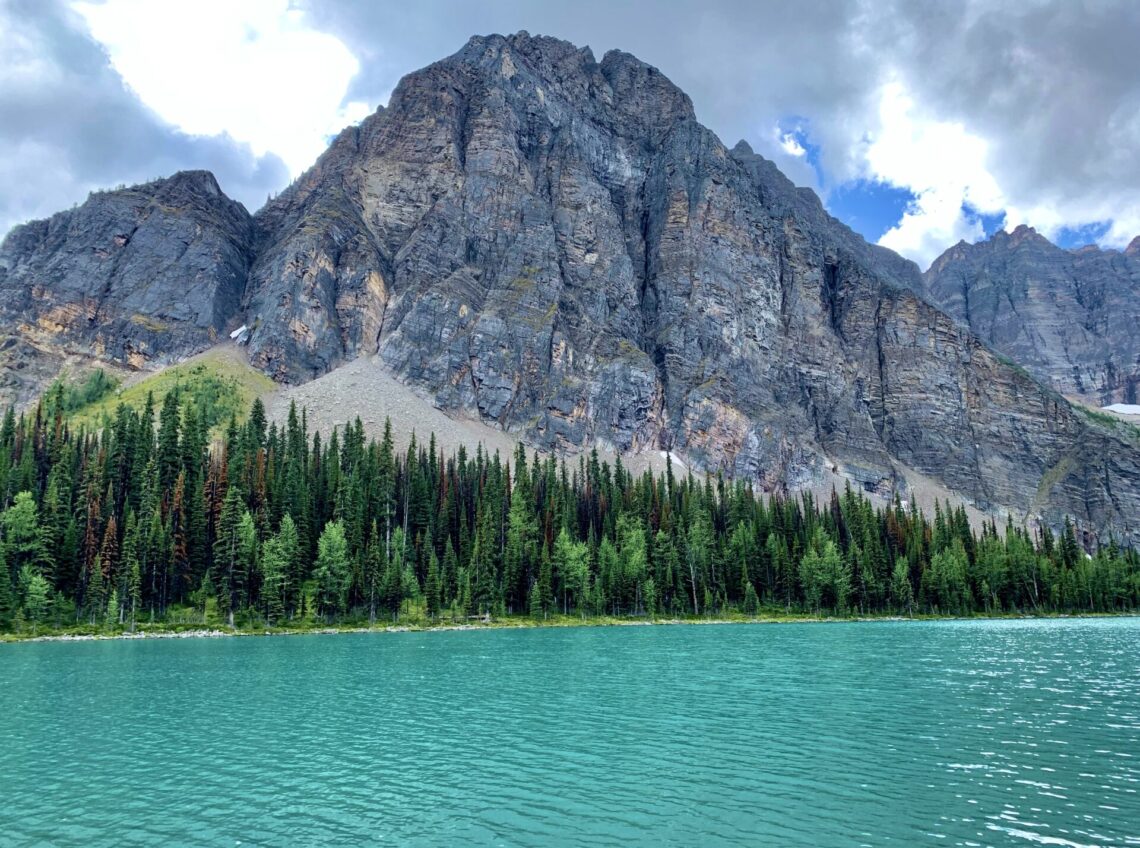
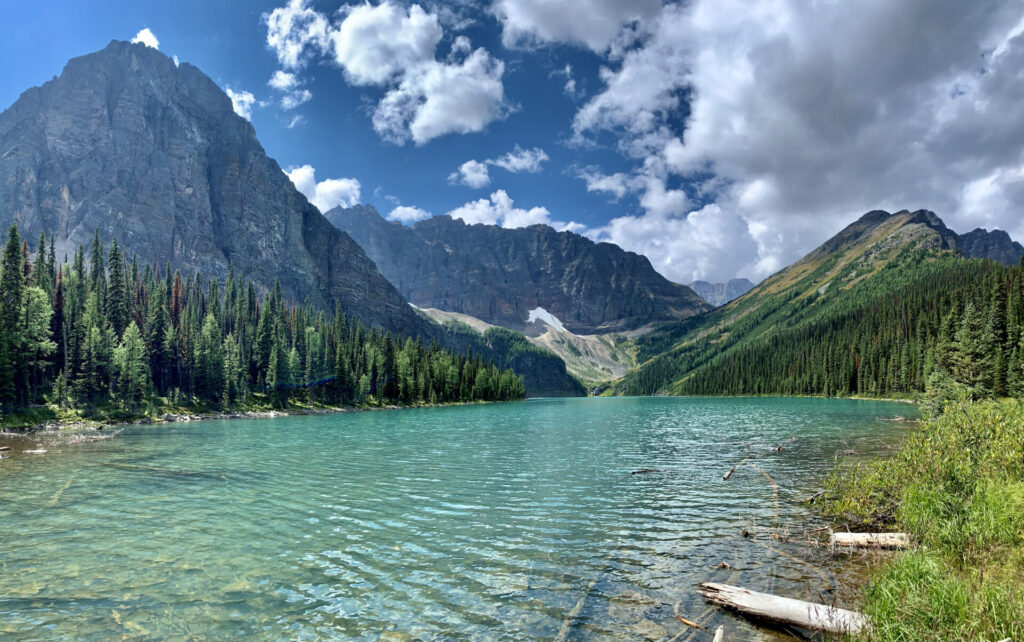
After visiting O’Brien Lake, head back the way you came (unless you’re hiking to Boom Lake) and hike the other direction at the split. It’s only a quick walk over flat land until you reach the beautiful Taylor Lake. Yes my name is Taylor, but I swear I’m not biased. Taylor Lake is really something else!
More: About me!
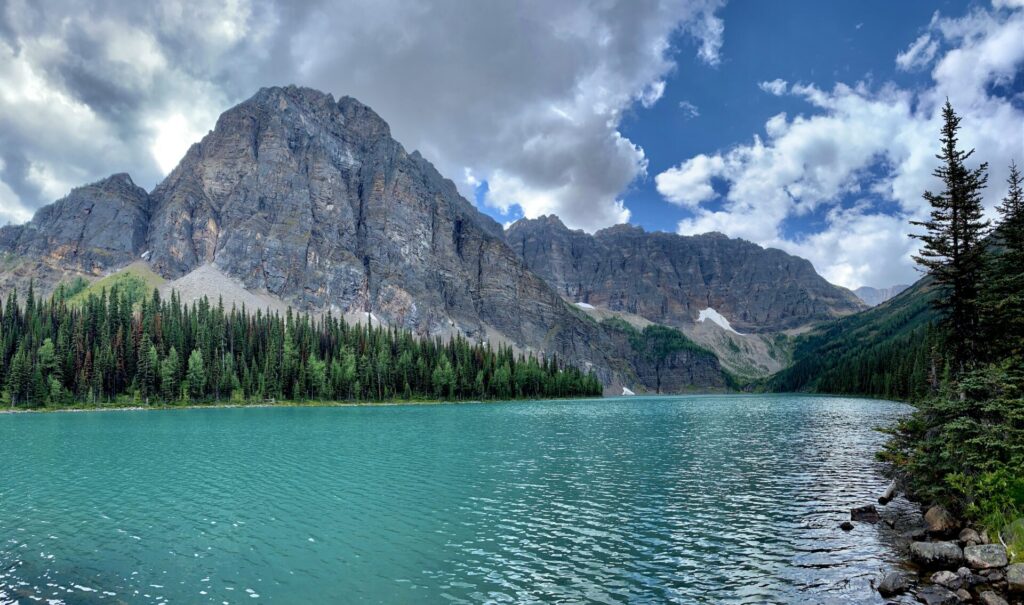
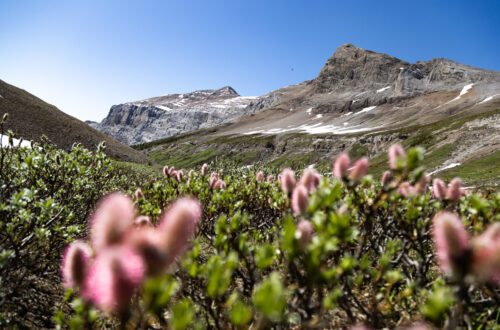
When the light hits that blue water just right… WOW! Easily one of the most beautiful lakes in Banff. By the snow patch there’s also an insane alpine meadow framed by waterfalls. The meadow lights up the prettiest green when the sun hits it.
Remember how I said I was super tired when I started this hike? Well I decided to blast it up the mountain because I knew hiking slow would only drag out the day. I shaved 3 hours off the estimated hiking time for the Taylor Lake trail and literally collapsed when I arrived at Taylor Lake.
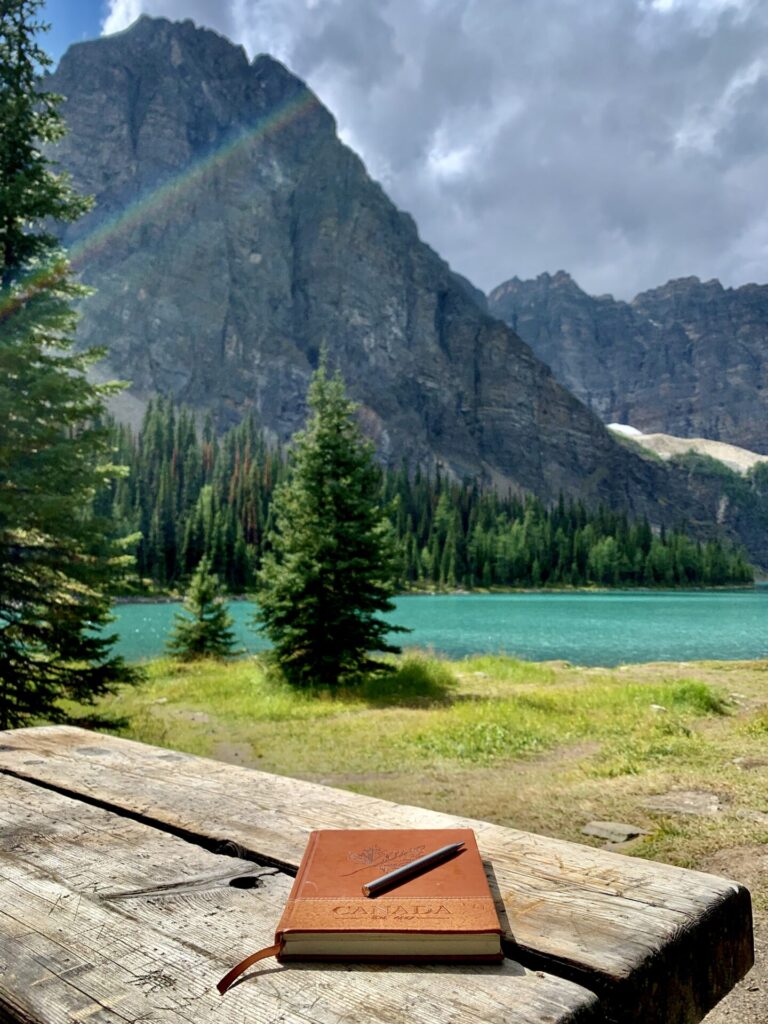
I spent a few minutes journaling (until my pen died grrr), then sat down to admire the view… I blinked, then opened my eyes over an our later! Literally & unintentionally fell asleep up in the mountains. I was just lucky a hungry bear didn’t come by.
You can also make this a backpacking trip and camp at Taylor Lake! Find my other Banff backpacking trail guides here.
Return Hike
The return hike was long. Closer to the end it felt like I would never make it back to the parking lot. However hiking back was actually one of my favourite parts of the day! Maybe it was because I was freshly rested after my nap, but I think it was more the grade.
The grade on the way down is perfect for trail running. I’m by no stretch a runner, but the grade makes you feel like you’re floating on the way down. It’s actually easier on your knees to run than it is to walk, making the hike down speedy.
Continue reading for tips to make this a successful hike, essential hiking gear for Banff, and the extension to Boom Lake.
Looking for More Banff Adventures?
Banff is an adventurer’s & view seeker’s paradise. If you’re planning a trip to this gorgeous Canadian Park, you can start with this step-by-step guide designed to help you plan the perfect Banff itinerary.
Alternatively, check out this page with all my Banff resources.
Banff Hiking Resources
On this page you can find all my Banff trail guides. A few signature hikes in Banff are these easy trails, Tunnel Mountain, Sulphur Mountain, Lake Louise, and Johnston Canyon. If you’re only in Banff for a few days, start with those!
A few of my personal favourite hikes in Banff are Mount Bourgeau, Sentinel Pass, Tower of Babel, the Banff Skoki Loop, and the Sulphur Mountain Traverse Route.
More Banff Resources you Might Find Interesting:
Want to continue your Canadian Rockies expedition outside of Banff? Check out my trail guides & travel resources for British Columbia and Kananaskis Country as well as Jasper, Waterton, Yoho, and Kootenay National Parks 🙂
Part 1: Boom Lake
In addition to Taylor Lake and O’Brien Lake you can actually extend this trail to Banff’s Boom Lake as well. If you decide to hike to Boom Lake you’ll need to do a car drop at the Boom Lake trailhead and the Taylor Lake trailhead (see my map). You’ll also add a few extra kilometres to your day.
More: Hike to Boom Lake
Hike To Boom Lake FROM Taylor Lake Trail
You’ll want to visit Taylor Lake first then head to O’Brien Lake. Along the way to O’Brien Lake you’ll see multiple splits in the path as well as a few trail markers. After arriving at O’Brien Lake you’ll have 2 options:
- Option 1 – I’d recommend hiking back to the Boom Lake trail markers you’ll see as you walk toward O’Brien Lake. From the trail markers you’ll be following this route. Keep in mind this route doesn’t include a stop at Boom Lake. So, make sure you take a right when you meet up with the Boom Lake trail before hiking toward the Boom Lake trailhead
- Option 2 – alternatively you can take the Mount Bell route. I would not recommend this because I have a feeling the path would be horrible and “unfindable,” however if you like to test your luck and embark on extreme adventures you may find this to be the perfect challenge. Just make sure you bring a satellite communication device for safety.
Tips For A Successful Hike
- Start this trail early to ensure you have ample time to complete it
- Camp at Taylor Lake to make this a backpacking trip (explore my other Banff backpacking trail guides)
- Extend this trail and hike to Boom Lake
- Dress warm, it can get quite cold at O’Brien Lake
- Hike on a sunny, windless day to see Taylor Lake at its “blue-est”
- Wear Gore-tex boots to protect your feet from mud and water at O’Brien Lake. I use these (men’s version) and I absolutely LOVE them
Where to Stay in Banff
From hostels to camping to luxury hotels – Banff has accommodations for everyone. Here are my top recommendations for where to lodge in Banff based on every budget.
I recommend giving this post a read as I’ve listed every Banff hotel worth staying at and organized them by category.
- Hostels – Samesun Banff (best location + bar/restaurant on-site), Banff International Hostel (second best), and HI Banff.
- Budget hotels – Bow View Lodge and High Country Inn.
- Mid-range stays – Banff Park Lodge, Mount Royal, Elk & Avenue, and the Banff Caribou & spa.
- Luxury stays – Fairmont Banff Springs and the Rimrock Resort.
- Cabin retreats: Johnston Canyon Bungalows, Baker Creek, and Castle Mountain Chalets.
- Camping – reservation information can be found here. Ensure you book campsites far in advance as they’re full during summer.
- For those on ski trips: lodge on-mountain at Sunshine Village, stay near Norquay, and see my Lake Louise suggestions below.
Lodging Options Near Banff
Enjoy the nature and activities of Banff National Park, but lodge away from the busy tourist town centre at any of the following:
- Lake Louise – Fairmont Chateau Lake Louise (luxury), Paradise Lodge & Bungalows (500m from the lake), Lake Louise Inn (value stay), HI Lake Louise (hostel).
- Canmore – Malcolm Hotel (luxury), Stoneridge Mountain Resort (condo suites with fully equipped kitchens), Mountain View Inn (budget), Canmore Downtown Hostel & the Canmore Hostel (party hostel).
- Johnston Canyon – Johnston Canyon Lodge & Bungalows, Castle Mountain Chalets, and HI Castle Mountain Hostel.
- Yoho National Park – Emerald Lake Lodge and Cathedral Mountain Lodge.
- Kootenay National Park – Storm Mountain Lodge & Cabins.
- Kananaskis Country – Mount Engadine Lodge and Kananaskis Mountain Lodge (luxury), Crosswaters Resort (mid-range), and HI Kananaskis Wilderness Hostel (budget).
Happy adventuring!
Taylor ♡
Like This Post?
Share with friends or save it for later!

About the Author
HI, I’m Taylor – the voice behind The Holistic Backpacker.
After moving to Banff National Park in 2020 I became an outdoor adventure enthusiast and vowed to never stop exploring.
I now spend my days travelling the world, climbing mountains, and spending nights under the stars in the Canadian Rockies backcountry.
I created The Holistic Backpacker so I could share my adventures and help connect people like you with the same amazing experiences.