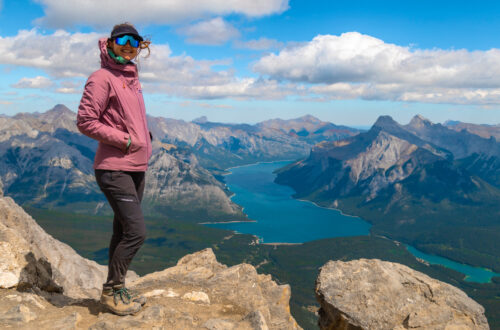
Recommended Hiking Gear for Banff & the Canadian Rockies
In this post I’ll go over the best hiking gear for Banff – what to pack for Banff and what to leave at home. Since Banff’s trails are higher, longer, and rockier than many other trails in Canada, having the right hiking gear for Banff can make or break your experience.
I’ve lived in Banff and have spent years hiking in the mountains here. I first arrived with only a cheap backpack, running shoes, and a metal water bottle. Fast forward a few years and I’m now a complete gear junky.
Having proper hiking gear for Banff is not 100% necessary, but in most scenarios it does make hikes more comfortable and enjoyable. In this post I’ll outline the Banff hiking gear I use with a few tips & tricks I learned along the way.
Skip ahead:
- Overview: Best Hiking Gear for Banff
- Best Time of Year to Hike in Banff
- Banff Hiking Safety Tips
- Do You Need New Hiking Gear for Banff?
- Gear: Hydration | Footwear | Backpack | Clothing | Poles | Extras
- Gear for Winter Hikes in Banff
I have affiliate links in this post which means when you book a hotel or purchase a product, I may make a small commission ~ at no additional cost to you (full disclosure). These funds go back into The Holistic Backpacker and help me create more free content like this!
Thank you for supporting my work!
Interactive Banff Map – from a LOCAL
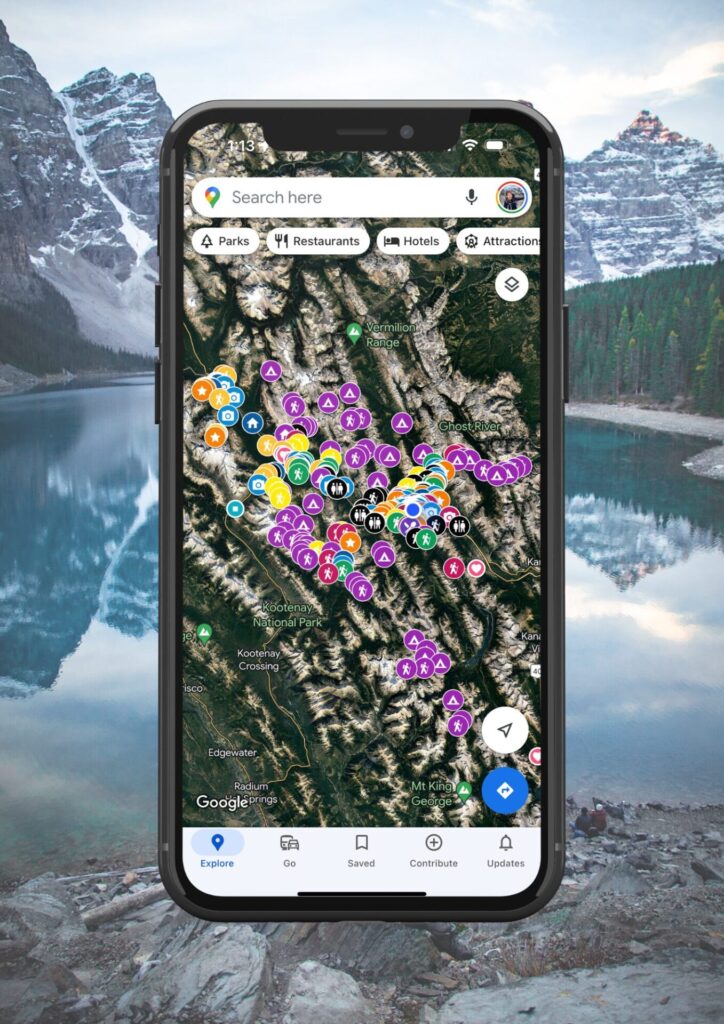
Get my 600+ local Banff recommendations saved to your Google Maps app
I lived in Banff for years & know all the best spots!
Outdoors: 100+ hiking trails, scrambles, backcountry routes, waterfalls & lakes
Planning: lodging, parking, restaurants, public washrooms, transit hubs, shopping & services
Things to do: tours, viewpoints, unique activities, & local secrets
Quick Banff Guide
RENT A CAR: I highly recommend renting a car to explore Banff’s remote trailheads and attractions not accessible by public transport. My favourite site to find the best local rental deals is this one.
How to get to Banff: fly into Calgary International Airport. From here, rent a car (what I recommend) or take one of the following shuttles to Banff: On-It (budget) runs during the summer months | Pop-a-Ride is a ride-share program – you can use my Poparide link to save $5 on your first trip | Banff Airporter and Brewster are professional services.
Moraine Lake & Lake Louise: read my guide for how to get there with the new road closures. If you want to see Moraine Lake at sunrise, you can book a shuttle here.
Best Activities in Banff: here are all my recommendations for the best tours, activities, and unique experiences in Banff & beyond.
Lodging & Camping: see my guide which outlines the best hotels in Banff by category. Summer and peak winter visits require advance bookings. Camping reservations must be made on the Parks Canada reservation system which typically opens in January – make your reservations then.
First time visiting Canada? This page outlines all my travel tips for those new to Canada.
When to visit: this post breaks down each month in Banff with average temps and corresponding activities.
Reservations: for activities and restaurants, reservations should be made in advance during summer and holidays. Get Your Guide and Viator are popular tour booking platforms whereas OpenTable is used for restaurants.
Parks Pass: your vehicle needs a parks pass which can be purchased from the East Parks Gates, the Visitor Centre, or online. An annual Discovery Pass is more economical if you’ll be in Canada’s National Parks for more than 7 days in 1 year.
Roam Transit: in Banff, use the local transit service, as much as possible to avoid parking issues in popular places like Lake Louise and Johnston Canyon.
Parking: use the large free lot next to the train station. More town parking info can be found here and parking fees can be paid here.
Wildlife Safety: 11 ways to stay safe from wildlife, bear safety, & bear basics.
My Featured Banff Blogs
Travel Guides
Banff Activities
Overview: Best Hiking Gear for Banff
Here are my top picks for Banff hiking gear. I take these items with me on every hike and deem them as some of the most valuable things you could pack for a trip to Banff.
Safety: satellite communication device, bear spray, first aid kit, extra snacks, Alltrails membership (digital maps), plus cheese cloth and these tabs to filter water.
Hydration System: I use this bladder and drop some tasteless Celtic salt in it for electrolytes.
Footwear: boots over shoes on most trails. Trail runners for quicker hikes and running.
Backpack: 24L-36L for day hikes and 55L+ for overnight hikes. I only use the brand Osprey.
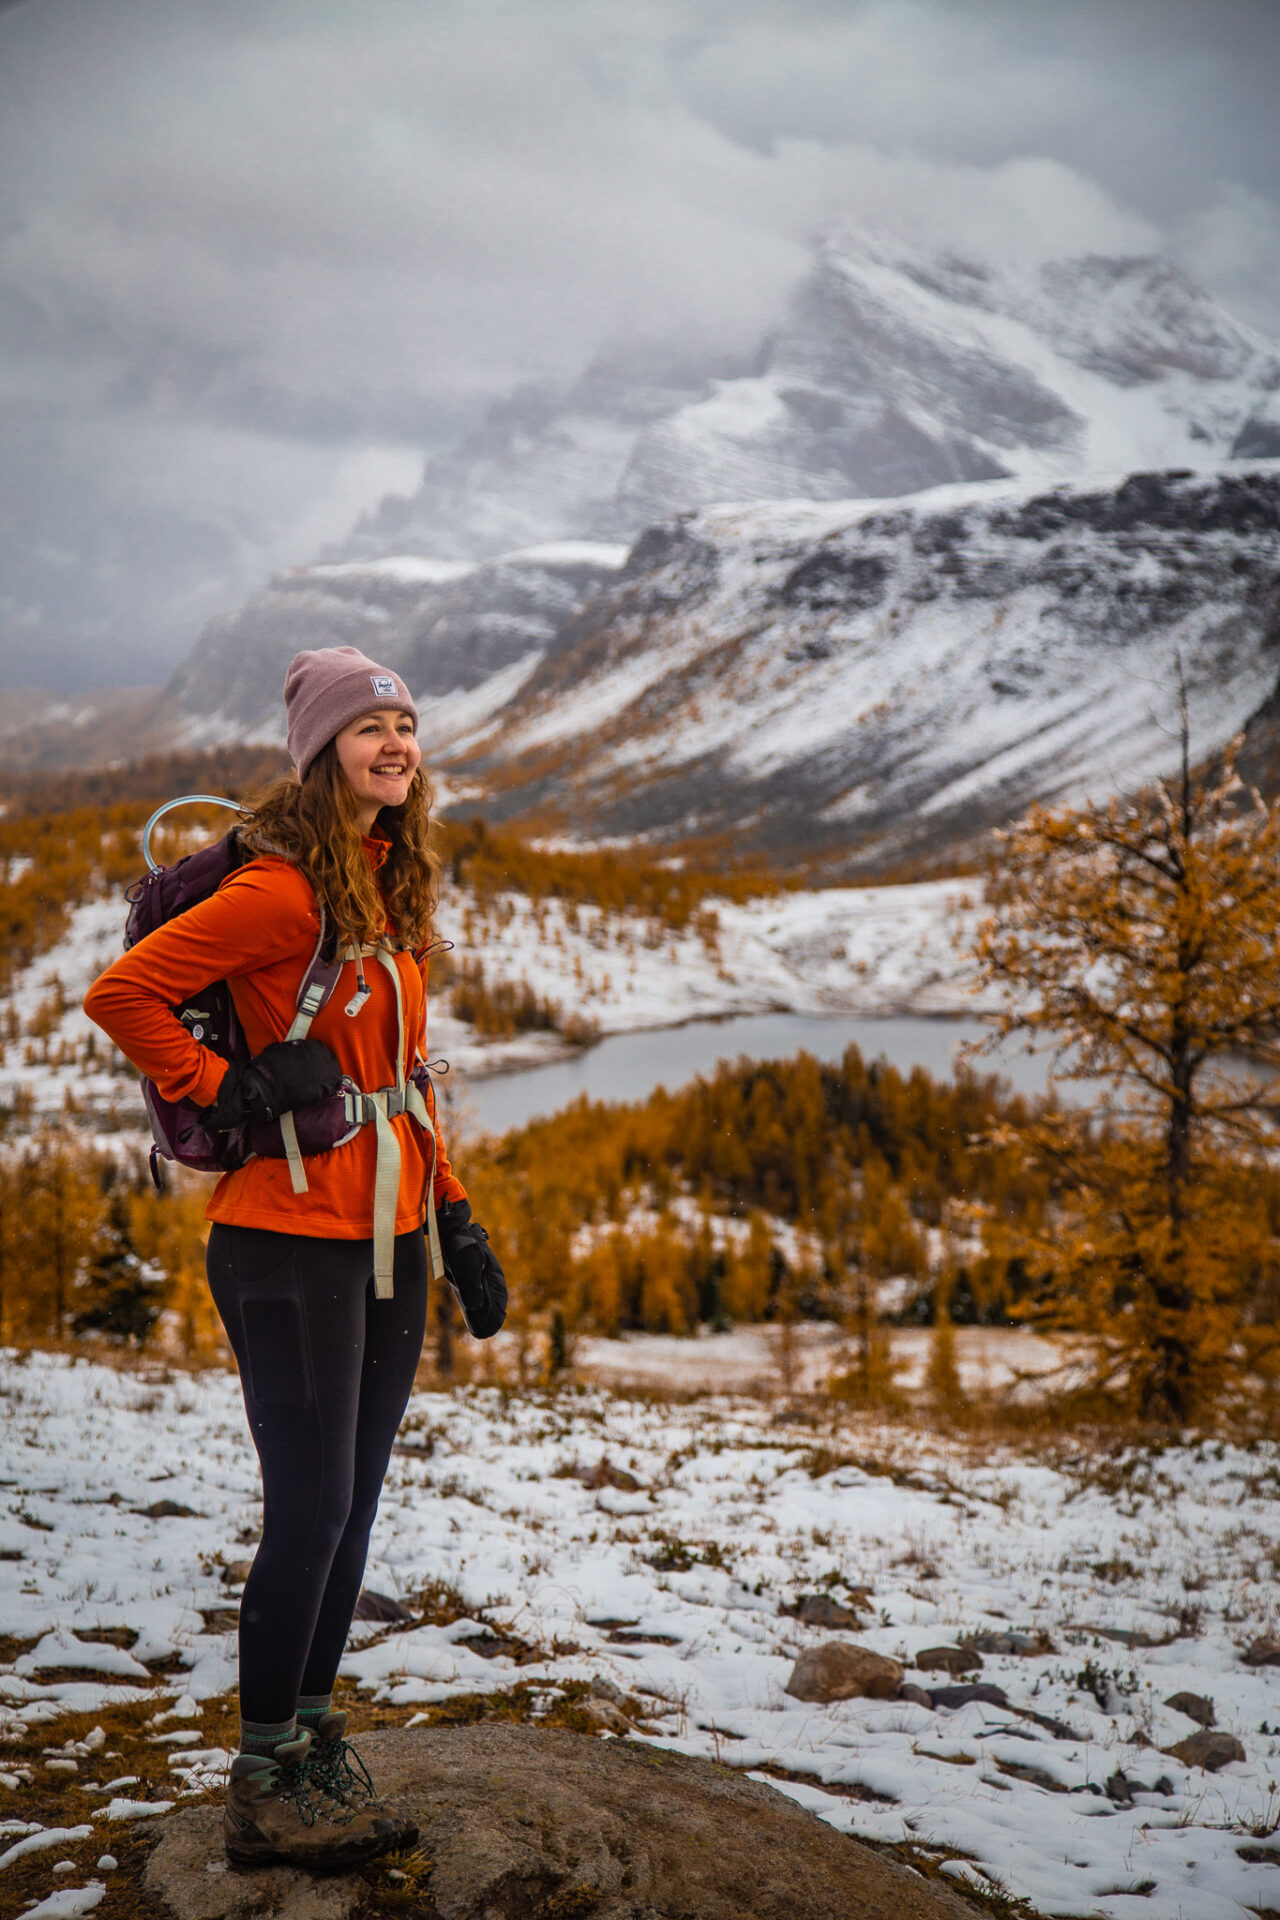
Clothing: dress in layers. Always bring an extra jacket, a hat, and a little pair of gloves.
Poles: I use these hiking poles which are light and pack down very small for travel.
Extras: headlamp, toilet paper, capture clip (for cameras), Stasher bags (to pack snacks in).
Winter Hiking Gear: crampons, snowshoes (or a snowshoe kit), poles, reusable beaver pelt hand & foot warmers.
Planning to go backcountry camping in Banff? Here’s my up-to-date backcountry gear list
Connect via socials:
STAY CONNECTED
Sign up for emails to receive a 25% discount on my travel maps.
Taylor ♡
Best Time of Year to Hike in Banff
Late April to end of May: lower elevation trails are usually snow-free in Banff, but significant snow still exists in the alpine. Avalanche risk is high.
June: some of Banff’s lower peaks are accessible, but there’s still risk for avalanches and tall peaks are snowbound.
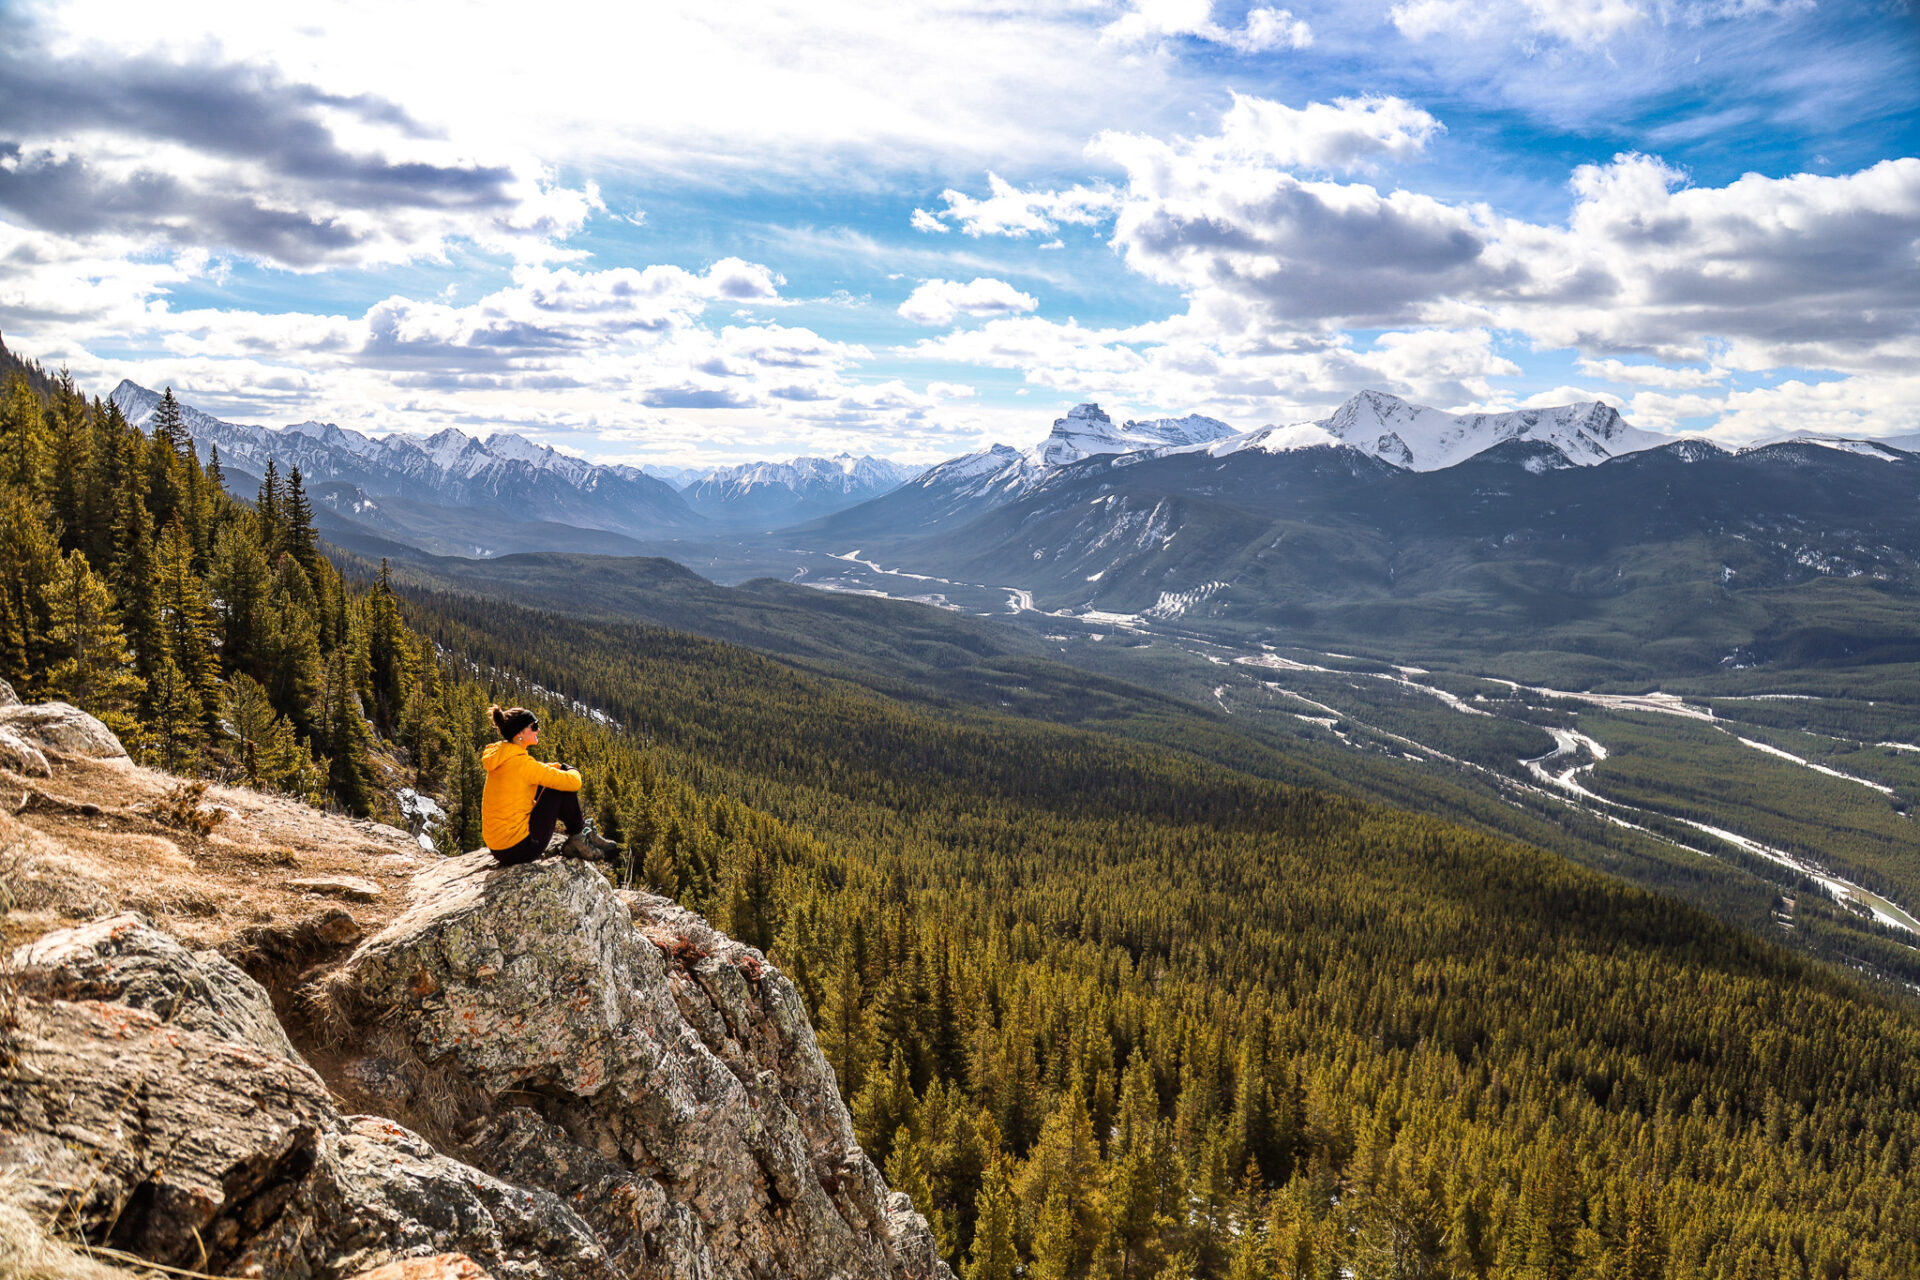
July & August: are the best months for big summits and backcountry camping in Banff. This is also the best time to see wildflowers, but wildfire smoke can be an issue.
September: usually still nice for hiking in Banff, but temps are becoming too cold to camp and snow may hit the high alpine.
October: early October is the best time to see golden Larch trees in Banff. By mid October snowfall is consistent which ends the regular hiking season.
November to early April: winter conditions in Banff and high avalanche risk.
Banff Hiking Safety Tips
Before you pack up all your Banff hiking gear and hit the trail, there are a few safety tips you should know.
Satellite Device: I always pack a Garmin Inreach Mini 2 when I hike in Banff. Having a satellite device can save lives when unexpected accidents or wildlife encounters occur.
Wildlife: Banff is home to bears, cougars, and a plethora of other wildlife species. Always pack bear spray for hiking in Banff and know how to use it. To minimize the chance of wildlife encounters hike in groups of 4+, hike during daylight hours, and make lots of noise on the trail.
Daylight: make sure you budget extra time to complete hikes so you don’t run out of daylight. I always pack this headlamp for early morning or afternoon Banff hikes just in case.
Maps: having maps is always recommended to avoid issues with getting lost. Every year I purchase the Alltrails membership which allows me to download offline maps and track my location via satellite.
Avalanche danger: exists all winter into spring. I always recommend taking an avalanche course prior to hiking any trail outside the popular tourist hikes in Banff in winter. I use a combination of Caltopo, Alltrails, and the Satellite view on Google Maps to survey terrain for avalanche danger prior to hiking in winter/spring.
Extra Tips: always carry extra snacks, sun protection, and have an extra warm layer. I always carry cheese cloth and these tabs in case I need to filter water on-the-go.
Do You Need New Hiking Gear for Banff?
This is the most common question when it comes to hiking gear for Banff and what to pack for Banff hikes.
Purchasing and packing new hiking gear for Banff can make your trip more comfortable, but it’s not 100% necessary. Especially if you’re only visiting Banff for a brief period of time.
At the minimum, the Banff hiking gear I’d recommend purchasing is proper footwear (I outline my favourite options below) as well as a hydration bladder, and maybe a hiking-specific backpack. These are personal preferences though and are not always 100% necessary.
I hike in Banff and around the world frequently. I’ve purchased all new hiking gear from when I started and I always seem to be adding little things to my gear collection. Purchasing new, expensive gear was worth it for me because of the frequency of which it gets used. If you’re only an occasional hiker, work with what you’ve got before buying new.
Interactive Banff Map – from a LOCAL
Get my 600+ local Banff recommendations saved to your Google Maps app
I lived in Banff for years & know all the best spots!
Outdoors: 100+ hiking trails, scrambles, backcountry routes, waterfalls & lakes
Planning: lodging, parking, restaurants, public washrooms, transit hubs, shopping & services
Things to do: tours, viewpoints, unique activities, & local secrets
Hydration
Having a proper hydration system is a crucial piece of Banff hiking gear. Staying hydrated ensures your body functions optimally when you’re out tackling big summits or lengthy trails.
For every hike in Banff I pack and use this water bladder. I’ve had it for years and I’ve never had issues with leaking or punctures. Using this bladder is my preferred way to stay hydrated while on-the-trail.
It comes in 2L and 3L sizes – I purchased the 3L to carry water for longer hikes, but I don’t always fill it to the top.
Using some kind of electrolyte is recommended for hiking in Banff to combat altitude sickness symptoms and dehydration. I drop a couple pinches of Celtic salt to my water bladder which is an effective electrolyte, but leaves no taste in the bag.
I also often have a piece of cheese cloth and Aquatabs in my bag in case I find myself needing to filter water on-the-go.
Footwear
Having proper footwear is essential to ensuring you have a comfortable and successful hike in Banff. This is one piece of Banff hiking gear that I highly recommend purchasing prior to arriving in Banff. This way you have time to break them in before you hit the trail.
The best footwear for Banff comes down to personal preference and what you plan to hike. Lower elevation trails typically require no more than running shoes, although I always recommend trail runners at the absolute minimum. Trail runners are sturdier than the average running shoe, they have better grip, they’re designed to handle elevation changes, and are better suited to non-pavement surfaces.
For backpacking trips, higher elevation hikes through rocky terrain, or longer days I always recommend a hiking boot – unless you’re running the terrain. In this case stick to a trail runner.
My personal Banff footwear preferences are the following:
Scarpa Kailesh
This is my trusty hiking boot. I’ve had it for years, used them on all types of terrain, and in temperatures from -30 to +36.
Salomon Speedcross
Lightweight, huge traction, and designed to tear up mountain terrain.
Best Socks for Hiking in Banff
I only use Smartwool socks for hiking in Banff. They’re wool, last for ages, and come in various patterns, styles, and cushion. I prefer crew length with full cushion.
They also dont get stinky right away so you don’t have to wash them as often. They’re my go-to for international travel as well as hiking.
You can purchase Smartwool socks from both the Canadian store and the USA store.
Backpack
You do not need to purchase a new backpack to hike in Banff, but having a proper hiking backpack to carry all your Banff hiking gear, ventilate your back, and reduce the load on your shoulders makes a big difference.
These are the backpacks I rotate between for hiking in Banff:
Osprey Sirrus 24L: the Sirrus 24L currently is and has been my go-to day pack for hiking in Banff for years. It’s full of technical features, small but roomy, and has tons of pockets and storage space. It also has external straps for footwear, a hydration reservoir, and an included rain cover that come standard with the pack. The 24L Stratos is the men’s version of the Sirrus.
Osprey Sirrus 36L: I love the Sirrus 24L so much I purchased the Sirrus 36L too. The 36L is more roomy, has a top lid, more external straps, and larger waist belt pockets. I love this bag for light overnighters and it’s the perfect size for carry-on travel. The men’s version of this bag is the Stratos 36L.
Osprey Aura AG 65L: the Aura 65L is what I use for backcountry camping. It’s the preferred backpack for thruhikers and those tackling the PCT for its crazy range of features and its antigravity suspension system which takes your pack’s weight off your shoulders. You can also detach the top lid to make the pack smaller. The men’s version of this bag is the Atmos 65L.
Rain Cover: If your backpack doesn’t come with a built-in rain cover I recommend buying one to keep your pack’s content’s dry and to keep your pack cleaner in muddy areas. These pack covers come in a variety of sizes and colours, plus they’re a great price.
Clothing
Choosing the best clothing for hiking in Banff ensures you stay warm or cool which can make a world of difference when you’re out on the trail.
Wear the right materials: natural materials are always best. I always opt to wear wool base layer shirts no matter the season.
Most of the time I wear: hiking pants and a long sleeve wool shirt. This way I’m protected from the sun as well as scrapes from brush and rock. Oftentimes I’ll also wear a nice tank top or sports bra underneath my wool shirt in case I want to change or delayer partway through the hike. I also ALWAYS pack at least one extra layer, but oftentimes I’ll pack more just in case.
Occasionally during the hot summer months I’ll wear shorts and tank top, but I always bring a pair of pants and extra shirts/jackets if I’m gaining any substantial elevation as the higher you hike in Banff, the colder it gets.
Jackets: I have a combination of multiple jackets I rotate between for hiking in Banff. I always a pack a down jacket as they’re small and light, but oftentimes I’ll pack a rain jacket for hikes in Banff as well as a mid layer or technical jacket. I have all my favourite jackets linked in this post.
Wondering what to wear hiking in Banff in winter? I have my favourites linked below.
Extra Clothing Items I Pack for Banff Hikes
Gloves: I always pack a thin pair of gloves (even in summer) for cold temperatures or unexpected scrambling so my hands don’t get cut up. I like these gloves (men’s sizing). If I know the hike involves scrambling and handholds I bring gloves like these which are more durable.
Sunglasses: I wear the Oakley Sutros (smaller size for women). I own 3 pairs of these glasses and absolutely love them. They block out light from all directions, don’t get sweaty, and they completely prevent wind and dust from reaching my eyes.
Hat: I always pack a hat for hiking in Banff no matter the season. In winter I rotate between a toque and a wool headband like this. In summer I rotate between a visor and this versatile bucket hat (USA link).
Here’s my guide for what to wear in Banff with links for everything mentioned above
Hiking Poles
Hiking poles are a key piece of Banff hiking gear that make tackling the trails here a little easier.
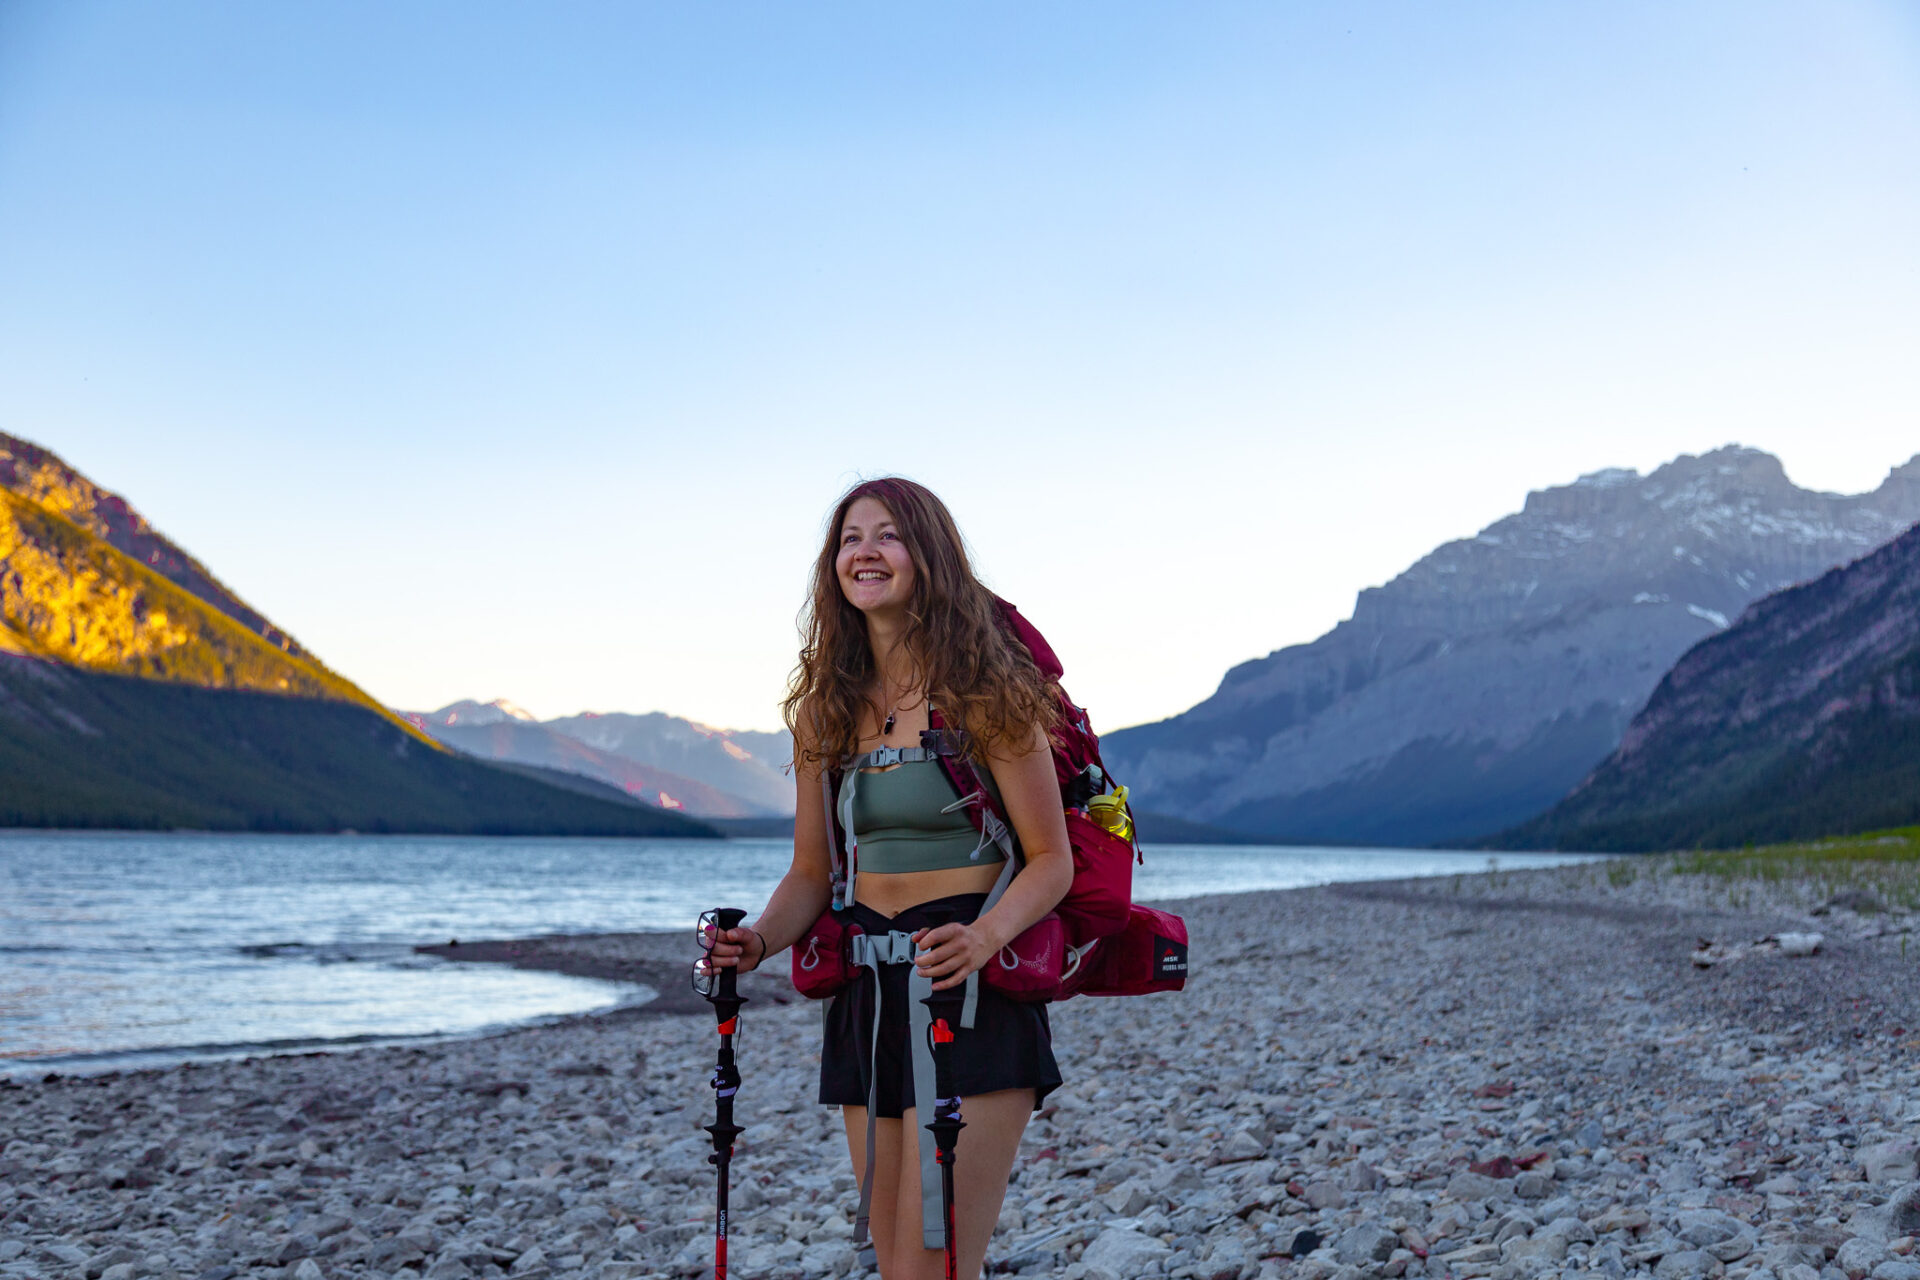
Hiking poles are a piece of Banff hiking gear I absolutely adore. They help with stability and slippery terrain, reduce knee impact, and give your arms something to do. They make hiking a full body workout – my arms feel “bored” when I hike without them!
I use this foldable pair for travelling as they packs up super small. Otherwise I purchase the cheapest pair locally. If you’re looking to purchase cheap hiking poles in Banff you can find them at Canadian Tire in nearby Canmore.
ps – hiking poles are “cool” in Banff. My European friends often say hiking poles are for old people and are embarrassed to use them, but in Banff everyone uses – and loves – hiking poles.
Extras
These extra bits and pieces of hiking gear for Banff are little things you’ll always want to stash in your backpack to make the long, steep trails here more comfortable.
Capture Clip: the best invention for photographers. This handy clip allows you to keep your camera strapped safely to the exterior of your pack straps. No more taking off your backpack to grab your camera or awkwardly carrying it around your neck or shoulder.
- If you’re looking to get more into hiking photography, I keep an updated list of my camera setup here
Headlamp: I always pack a headlamp for sunrise/sunset hikes or times when I’m not sure I’ll make it back to the car during daylight hours. I’ve been using this headlamp for hiking, camping, and travelling for years. It’s one of the best, most reliable headlamps on the market. Plus it’s rechargeable.
Stasher Bags: Stasher bags are reusable silicone bags. They’re my go-to for packing snacks in.
Toilet Paper: always pack some in case “nature calls.” But please keep Banff clean and pack out your toilet paper. Store it in a plastic bag so you have a little garbage bag with you if you need it.
Satellite Device: I’m mentioning this satellite device again as it’s paramount to safety when it comes to hiking in the Canadian Rockies – especially if you’re tackling challenging terrain or venturing into the backcountry. I never hit the trail with out my satellite device.
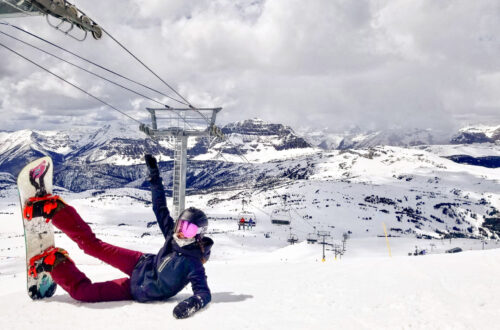
Gear for Winter Hikes in Banff
You need different hiking gear for Banff in winter than you’d need for hiking in Banff in summer.
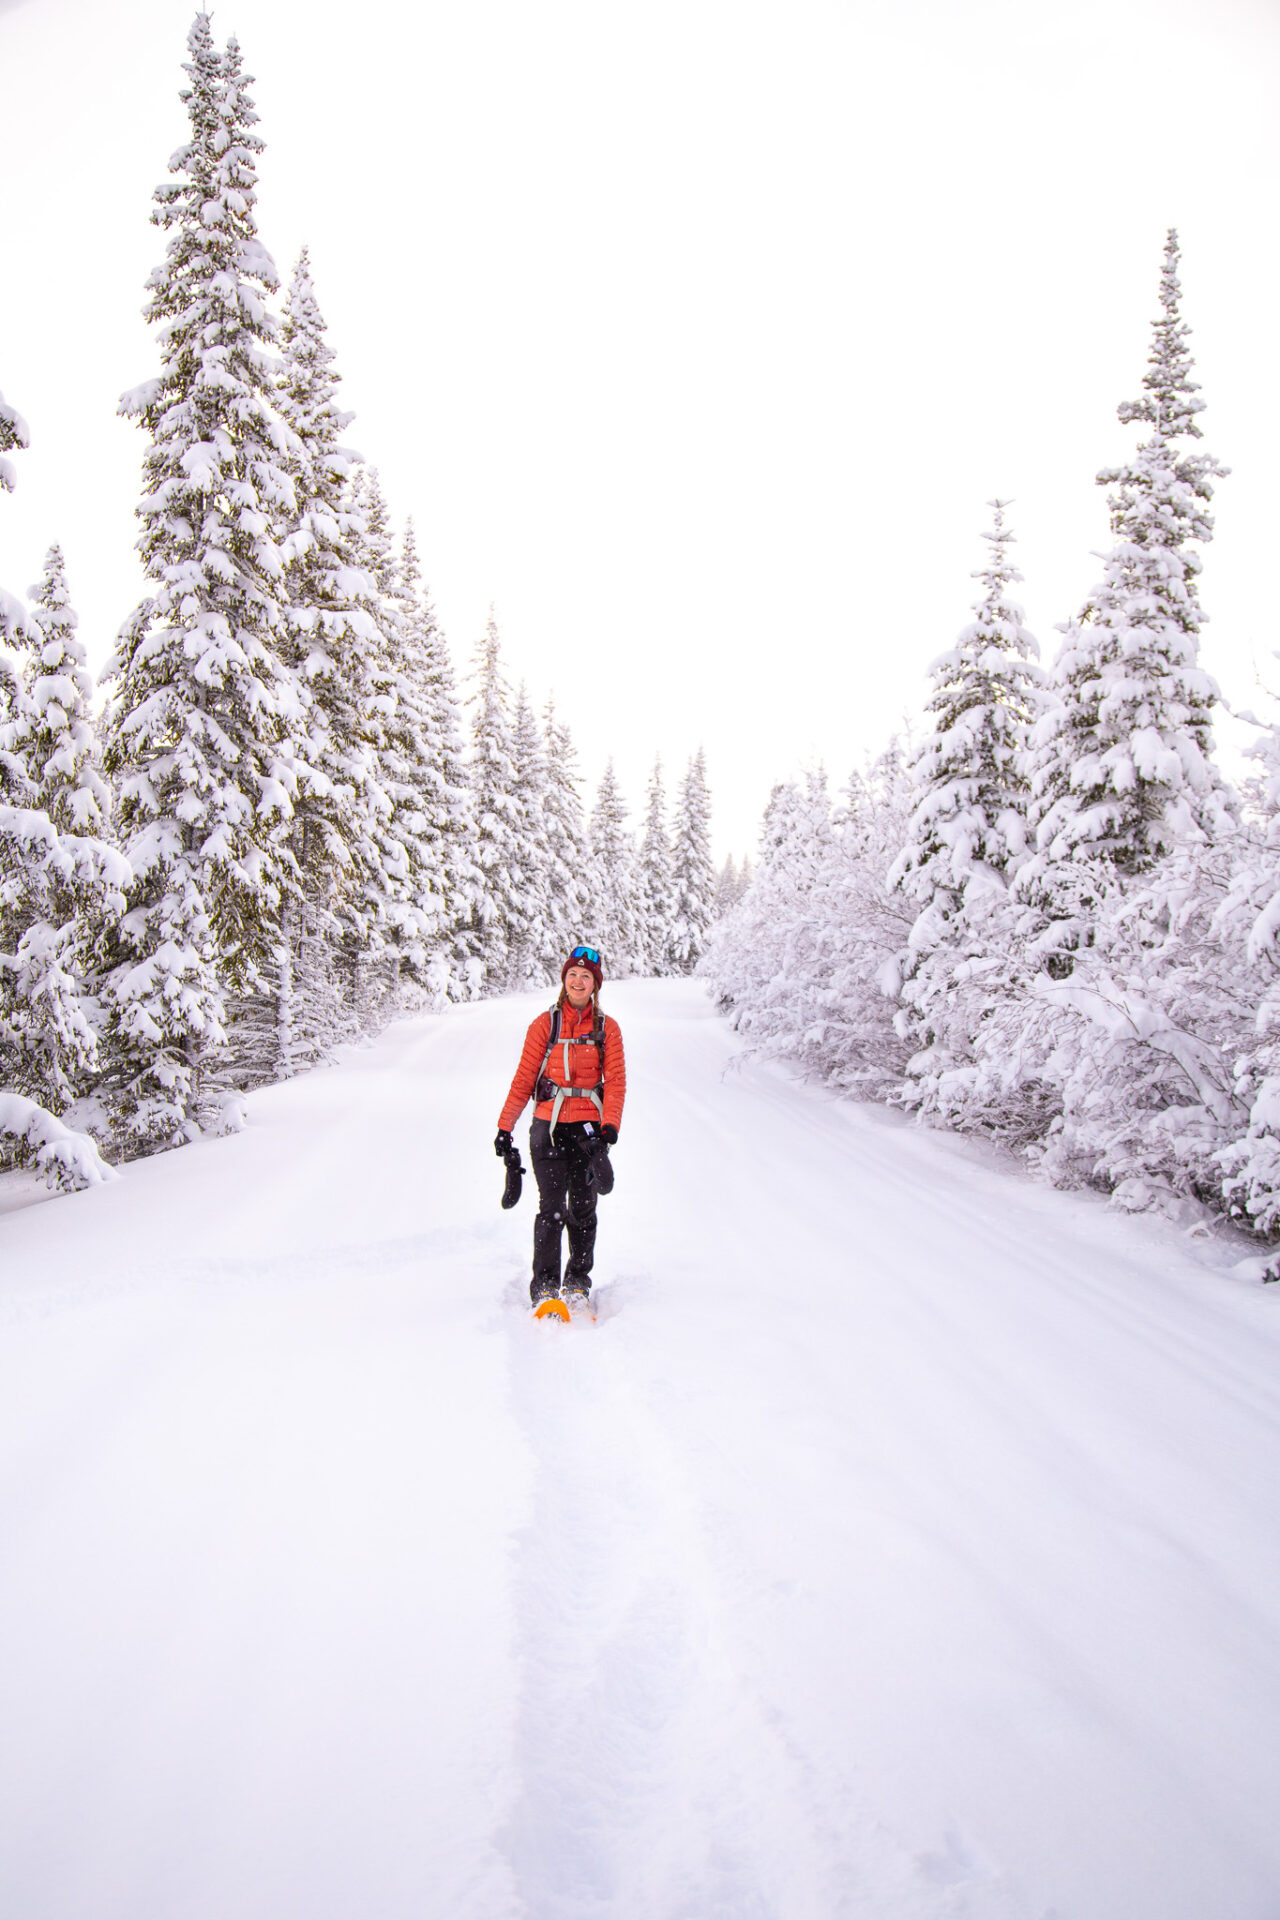
I always pack the following Banff hiking gear for winter adventures:
Crampons: I pack these for every Banff winter hike – if there’s snow I’m wearing them to help with traction. I use this pair which I love. They’re durable and come in at a great price point.
Snowshoes: I use these which are the best pair I’ve seen on the market, but they’re quite expensive. Instead you may want to consider this more cost effective pair from the same company which still hold exceptional quality. If you only snowshoe the odd time, this snowshoe kit is a great option for most.
Hiking Poles: any pair of hiking poles will do, just be sure they have wide baskets at the end. I usually buy a cheap pair locally or use these travel size hiking poles (I travel with these all over the world).
Foot & Hand Warmers: I have reusable hand and foot warmers made of beaver pelts from Aurora Heat – a Yukon based company run by Indigenous women. They are the most effective warmers I’ve used and they’re eco-friendly.
Best Clothing for Winter Hikes in Banff
I wear a combination of wool base layers and various type of jackets for hiking in Banff in winter. I won’t go into too much detail regarding this here as I have an entire post with all my favourite jackets linked.
Pants: I wear soft-shell pants for hiking in Banff in winter. They’re water resistant, thicker, and usually have a fine fleece or wool layer on the inside for extra insulation. I love this pair from MEC (men’s sizing). If you’re reading from the USA you can find a similar style from REI (men’s sizing).
Gloves: I always pack every pair mentioned here, but I rotate between wearing these gloves on warmer days (men’s sizing) and these ultra warm mittens for very cold days. I always wear a pair of wool glove liners underneath the mittens in case I need to take the gloves off for a few minutes and to keep the gloves cleaner.
Hat: I wear a wool headband while I’m actively hiking. I also bring a toque for when I stop or for the downhill when I’m not working up as much of a sweat.
Here are a couple of my Banff winter guides with more information
Interactive Banff Map – from a LOCAL
Get my 600+ local Banff recommendations saved to your Google Maps app
I lived in Banff for years & know all the best spots!
Outdoors: 100+ hiking trails, scrambles, backcountry routes, waterfalls & lakes
Planning: lodging, parking, restaurants, public washrooms, transit hubs, shopping & services
Things to do: tours, viewpoints, unique activities, & local secrets
Happy adventuring!
Taylor ♡
Like This Post?
Share with friends or save it for later!

About the Author
HI, I’m Taylor – the voice behind The Holistic Backpacker.
After moving to Banff National Park in 2020 I became an outdoor adventure enthusiast and vowed to never stop exploring.
I now spend my days travelling the world, climbing mountains, and spending nights under the stars in the Canadian Rockies backcountry.
I created The Holistic Backpacker so I could share my adventures and help connect people like you with the same amazing experiences.