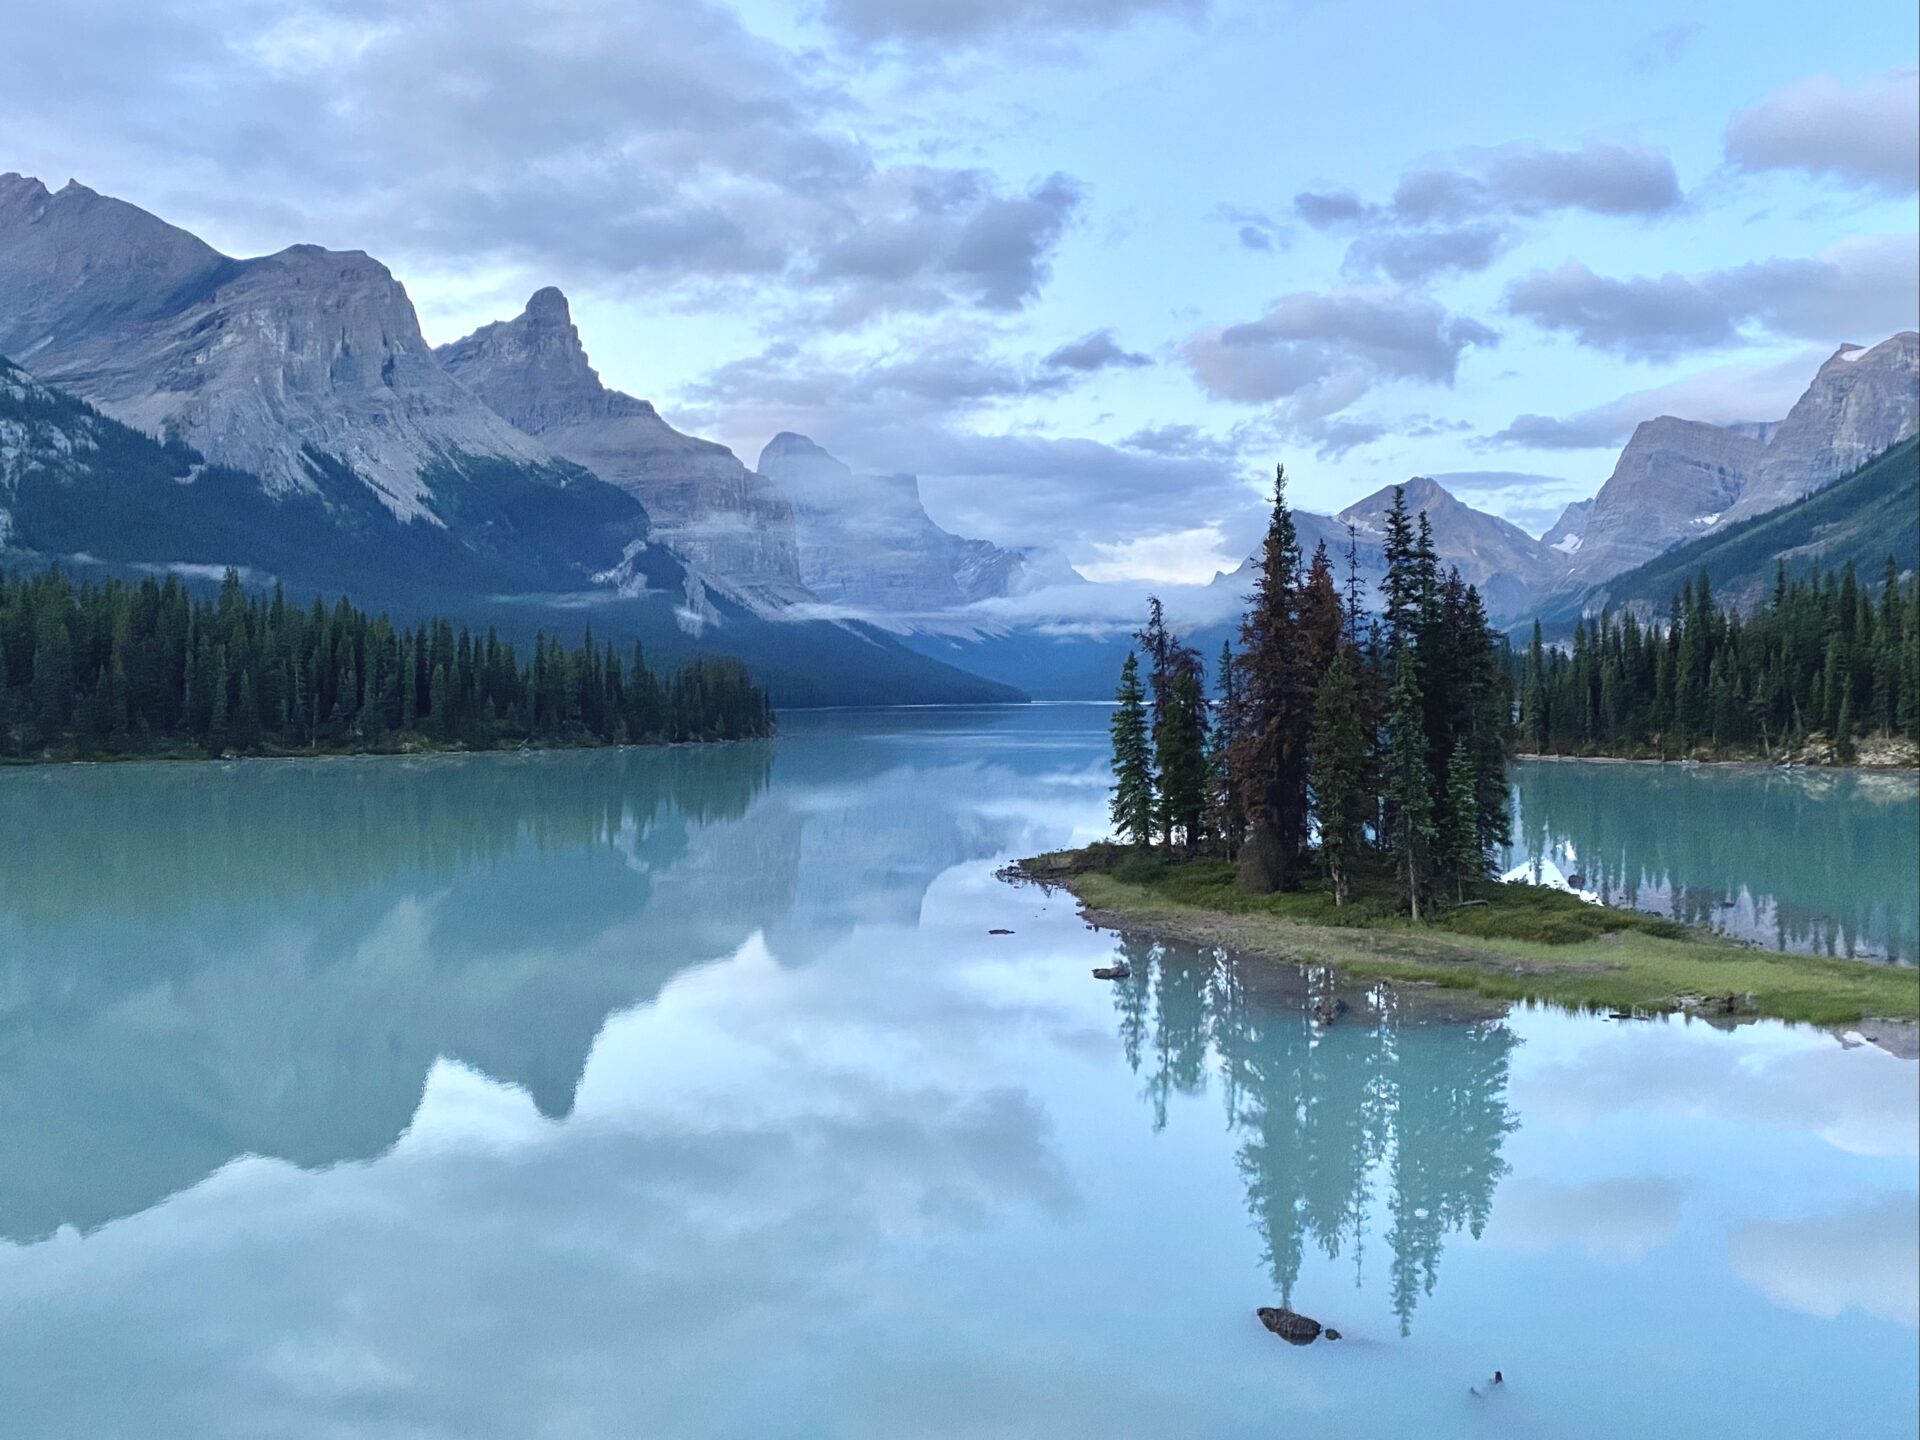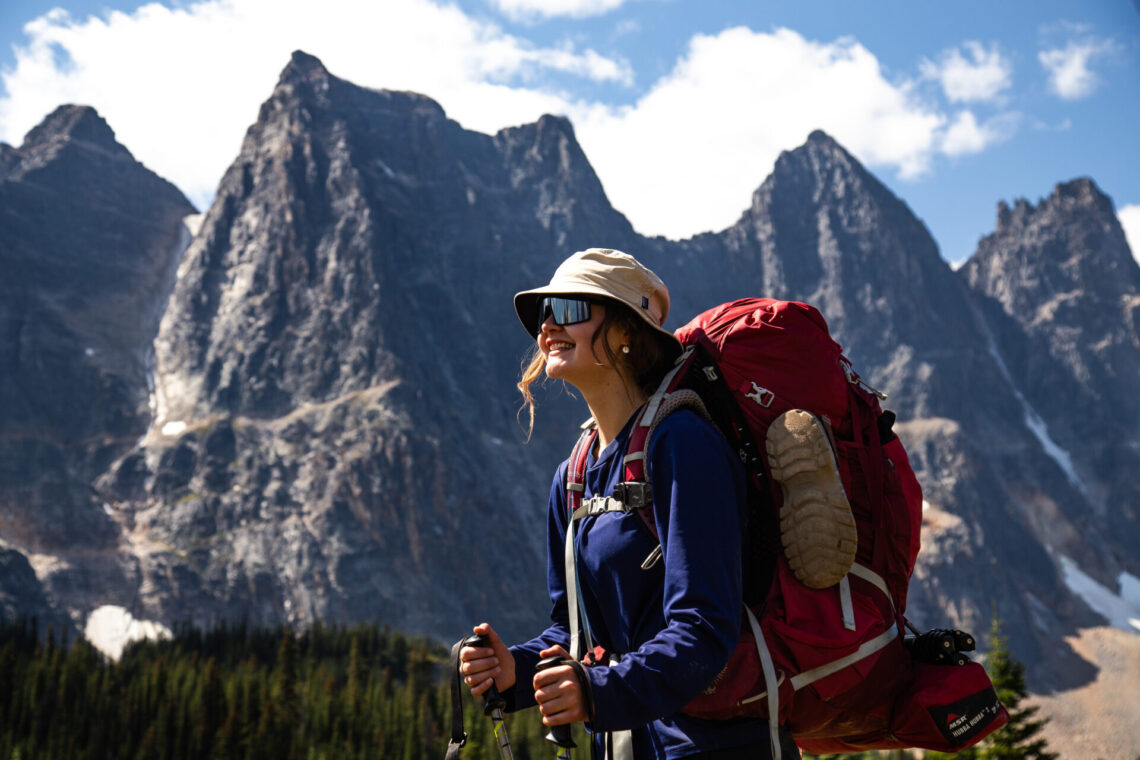
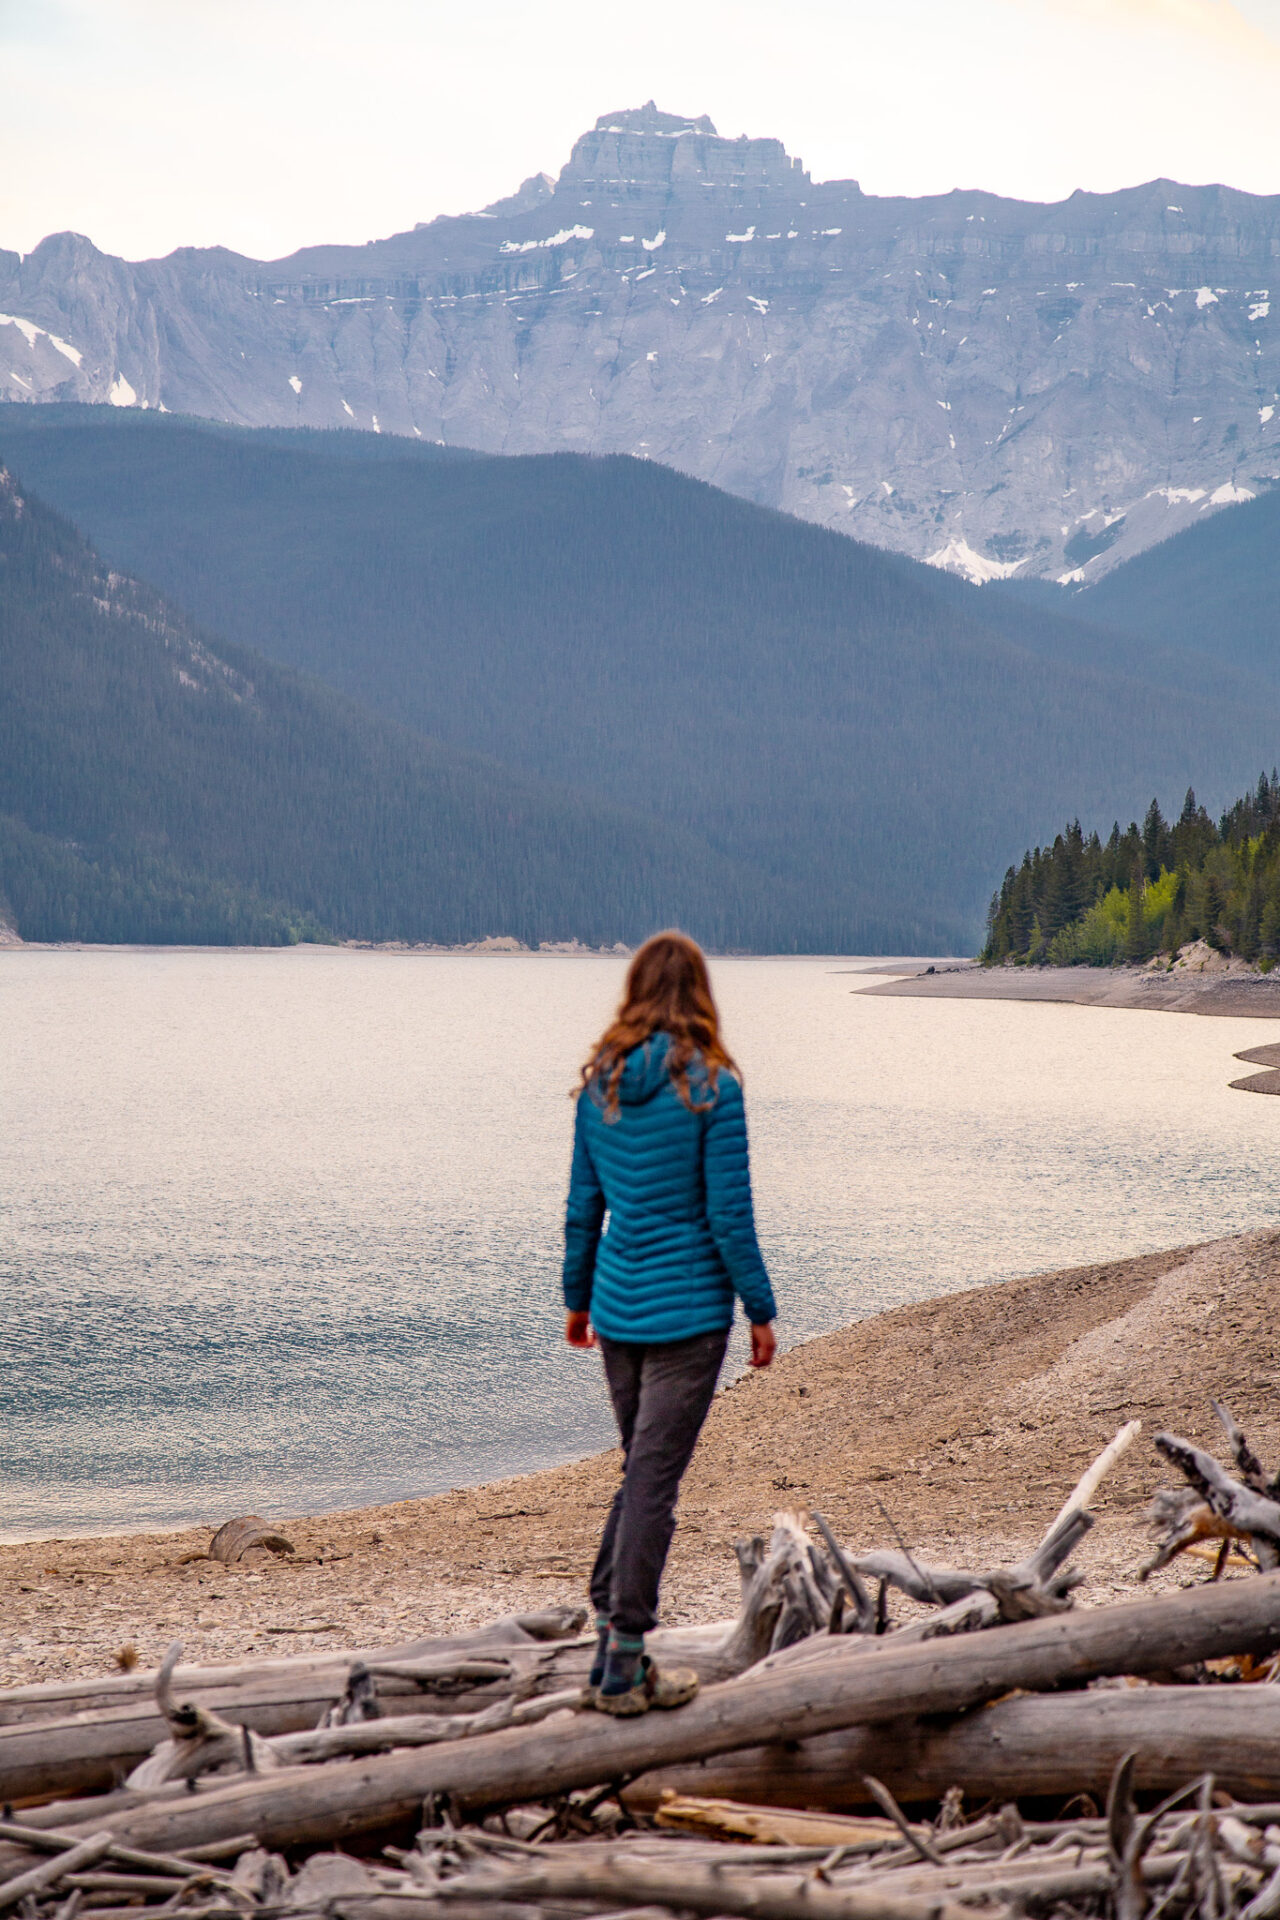
What to Pack for Backcountry Camping in Banff & the Canadian Rockies
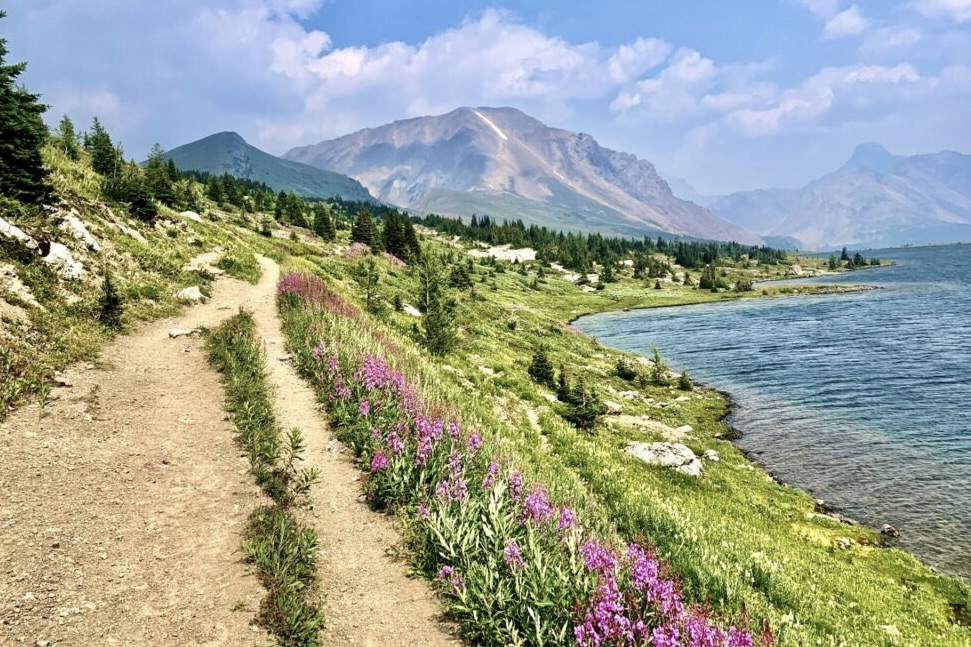
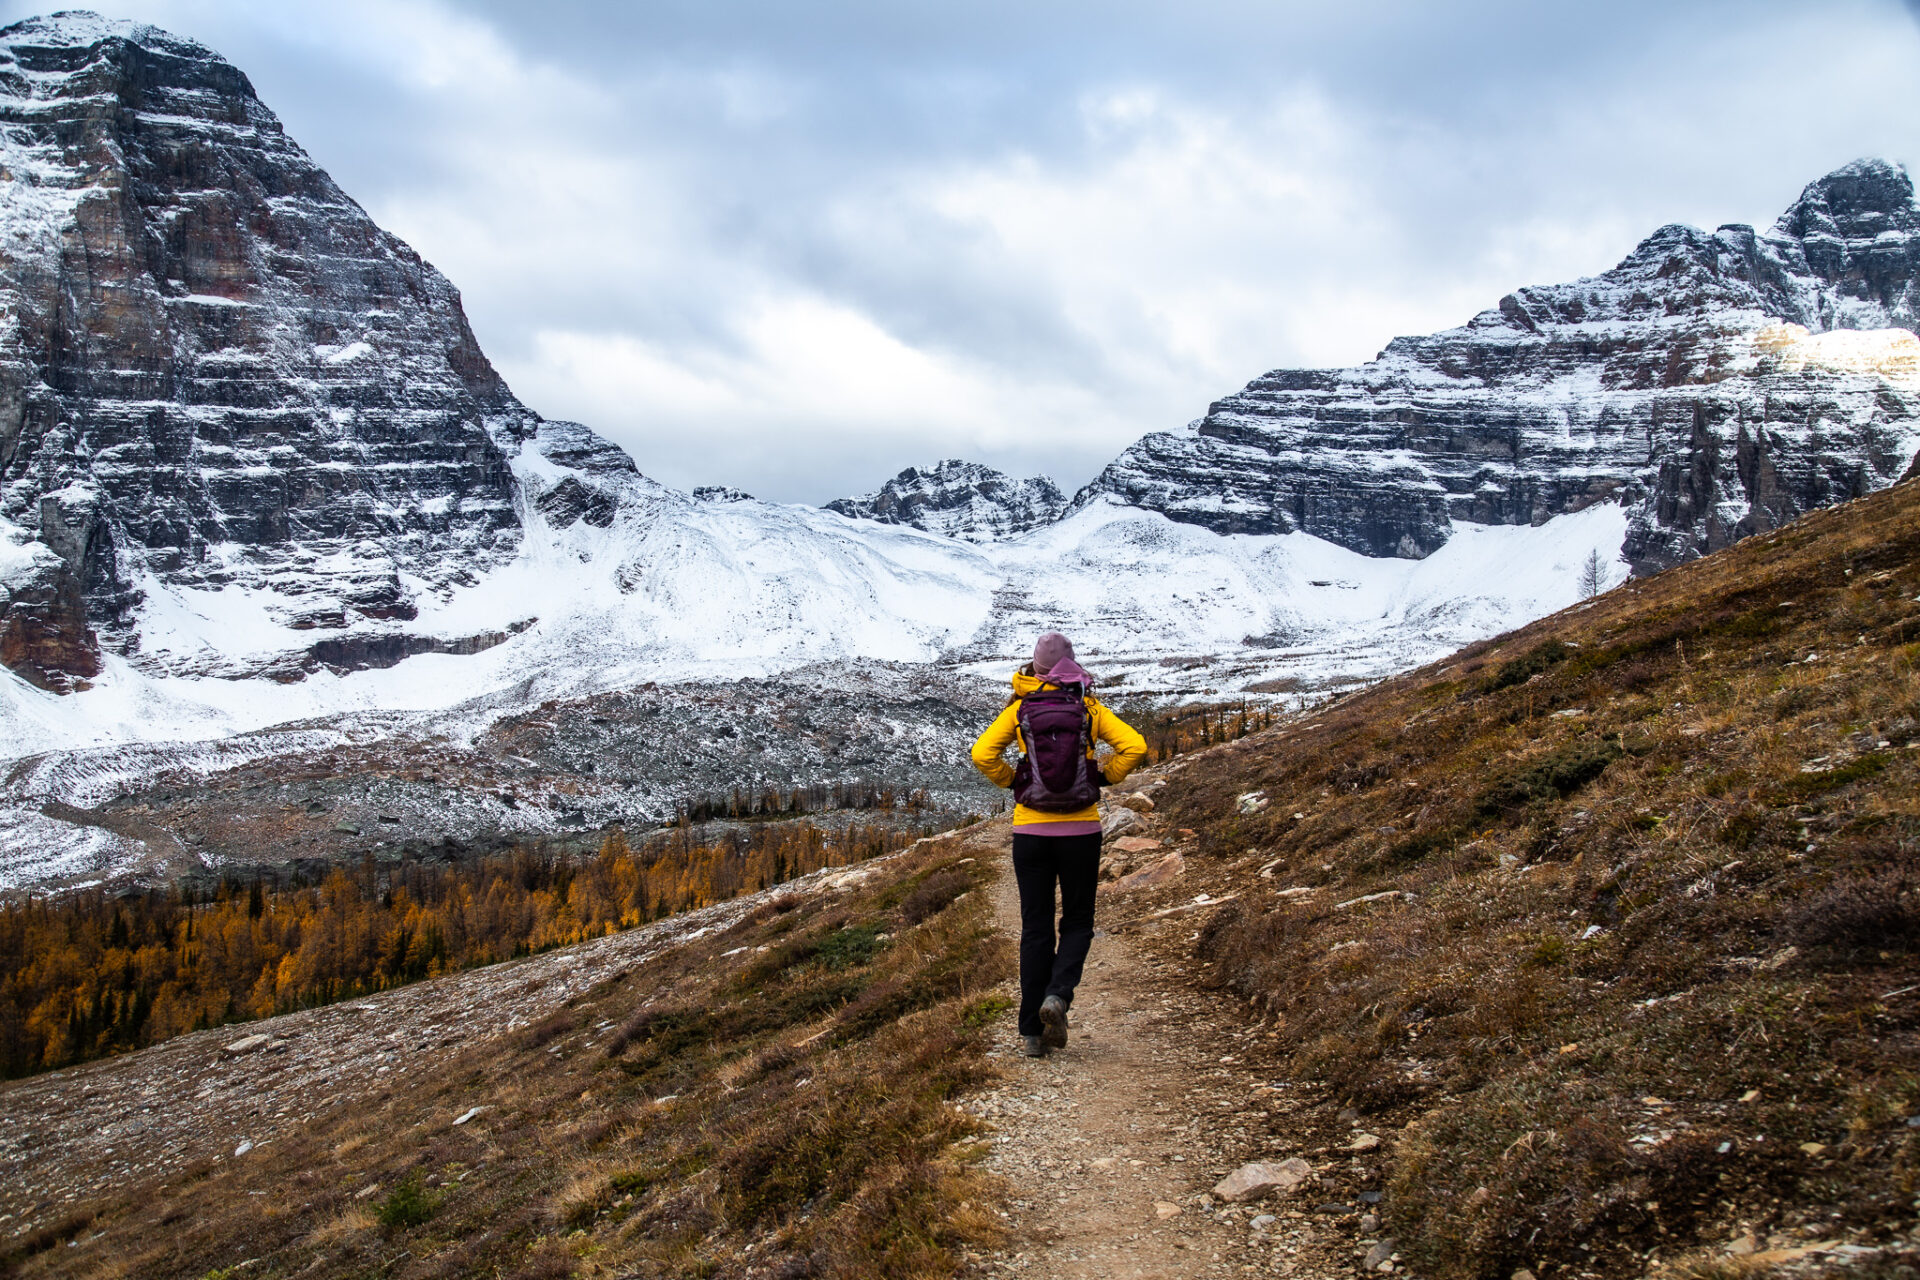
Banff and the Canadian Rockies have some of the most epic backcountry camping trails in Canada and in this post I’ll tell you exactly what to pack for backcountry camping in Banff. For quick one night trips to spending multiple days in Banff’s wild wilderness, this post lays it all out.
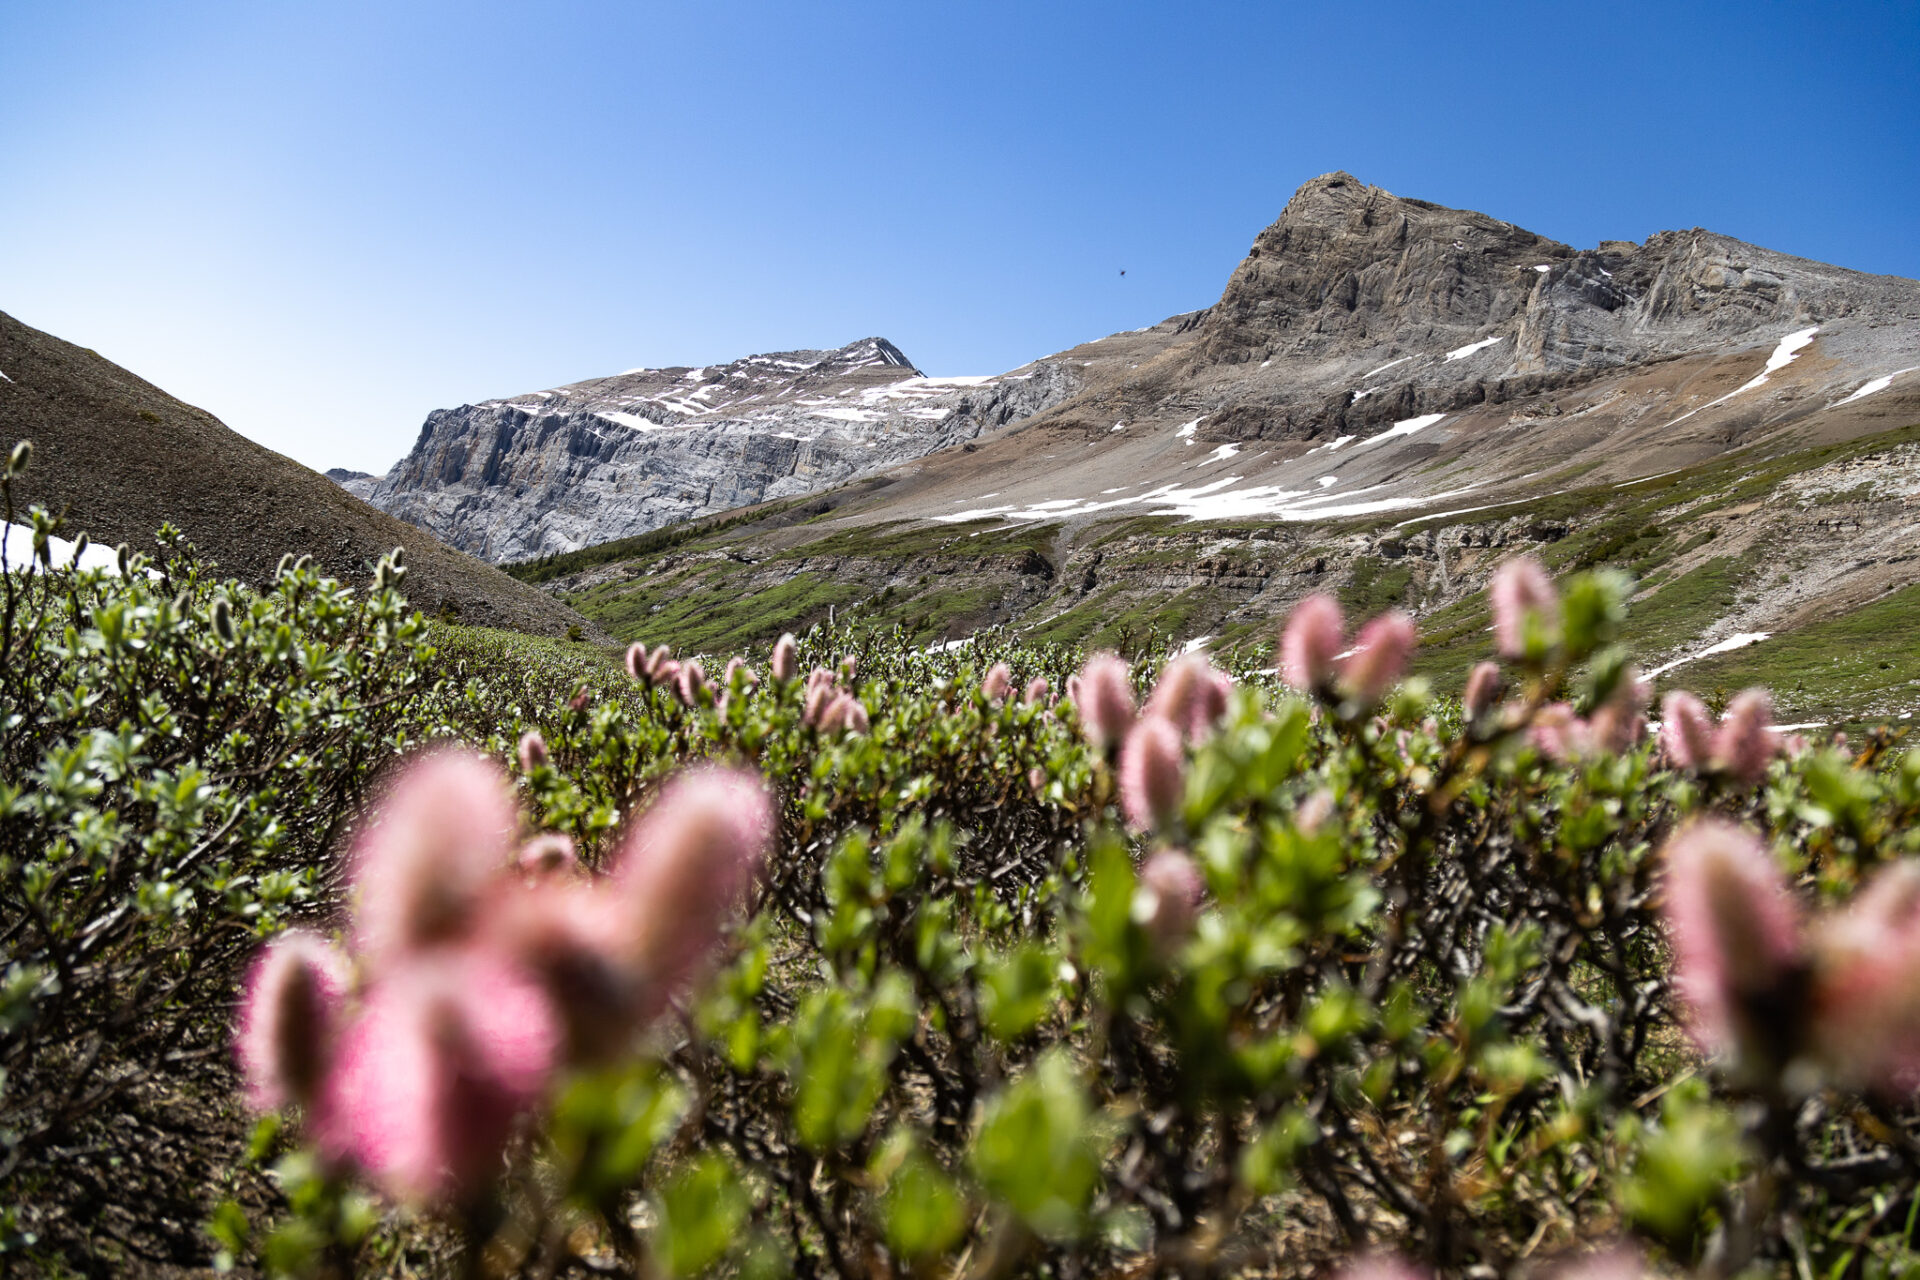
Banff and the Canadian Rockies generally faces colder temperatures, harsher terrain, and has plenty of “dangerous” wildlife like bears and cougars. I pull out all the stops when I pack for backcountry camping in Banff and the Canadian Rockies – I bring extra safety gear, extra layers, and extra food because weather changes on a dime here and unexpected situations can always occur.
I lived in Banff for years and have spent countless nights in the park’s backcountry. This post contains all my best tips regarding planing and packing for a backcountry camping trip in Banff – I use all the gear mentioned in this post, so the recommendations come from honest and positive experiences.
ps – I consistently keep this post up to date with my newest gear additions, reviews, and updates
Skip ahead:
- About Backcountry Camping in Banff
- Safety Tools to Pack for Backcountry Camping in Banff
- Best Sleep System for Backcountry Camping in Banff
- How to Cook While Backcountry Camping in Banff
- How to Stay Hydrated on Banff Backcountry Hikes
- What Toiletries to Pack for Backcountry Camping in Banff
- Accessories to Bring Backcountry Camping in Banff
- Best Backpack for Banff Backcountry Hikes
- Best Footwear for Banff’s Backcountry Trails
- What Clothes to Pack for Backcountry Camping in Banff
I have affiliate links in this post which means when you book a hotel or purchase a product, I may make a small commission ~ at no additional cost to you (full disclosure). These funds go back into The Holistic Backpacker and help me create more free content like this!
Thank you for supporting my work!
Interactive Banff Map – from a LOCAL
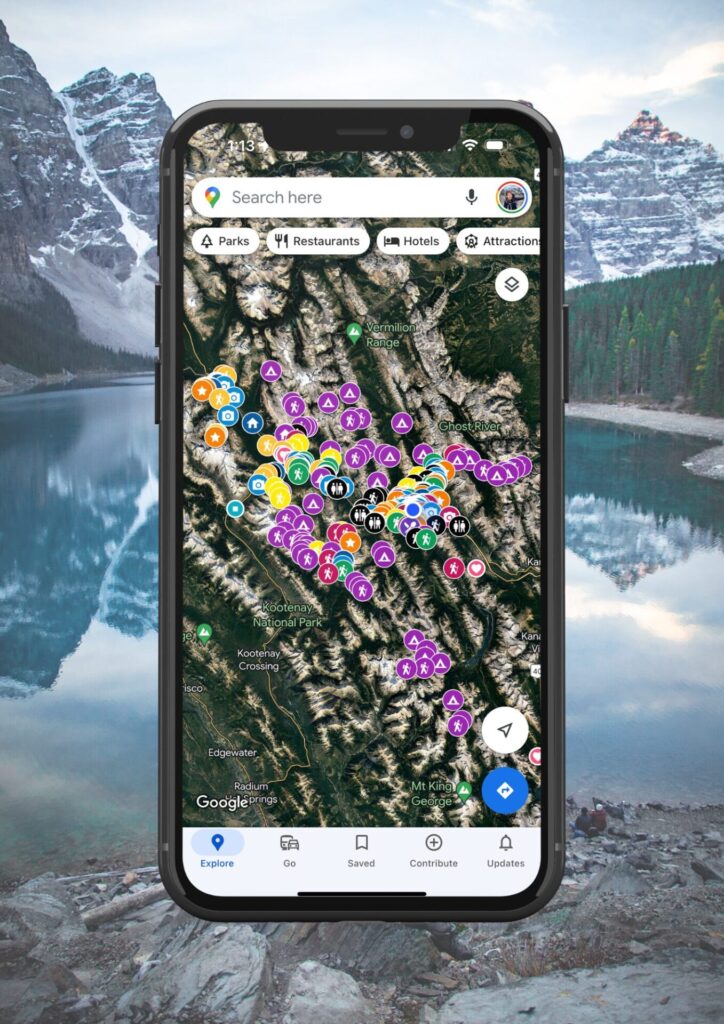
Get my 600+ local Banff recommendations saved to your Google Maps app
I lived in Banff for years & know all the best spots!
Outdoors: 100+ hiking trails, scrambles, backcountry routes, waterfalls & lakes
Planning: lodging, parking, restaurants, public washrooms, transit hubs, shopping & services
Things to do: tours, viewpoints, unique activities, & local secrets
About Backcountry Camping in Banff
Here’s a quick overview regarding everything you need to know about planning prior to packing for backcountry camping in Banff.
Backcountry camping in Banff requires advanced reservations via the Parks Canada Reservation System. Bookings for the campgrounds can go live as early as January (this date changes annually) and popular sites book up within minutes for the entire summer – make your reservations in January. You CANNOT random camp in Banff without a permit – it is illegal and you can be fined. The wardens patrol the backcountry in the summer.
ps – if you miss out on the reservation you were hoping to book, sign up for cancellation notices. I use this site and have snagged cancellations at some of the most popular sites like Lake O’Hara
Backcountry camping in Banff typically starts in June and can extend until early September, however there are some backcountry sites open year round. Weather, snow, and elevation all play a factor in determining when you can go backcountry camping in Banff. Essentially, some trails become “hike-able” earlier than others and some years you can comfortably backcountry camp in Banff for longer periods. It all depends.
Other Things to Know About Backcountry Camping in Banff
Bears, cougars, and a plethora of other wildlife species call Banff home. It’s highly recommended you carry bear spray and know how to use it. There are separate cooking areas at each backcountry campground (no food or scents in the tent area at any time) with either metal lockers or poles with hooks where you can leave your food and scented items.
There are often plenty of fresh water sources in Banff so you’ll usually have water nearby, but it’ll need to be filtered.
Banff’s backcountry campsites are often higher in elevation than Banff townsite meaning overnight temperatures will always be colder than in town. I use this website to find the most accurate weather forecasts.
You can find updated trail conditions via the Parks Canada website.
All my Banff backcountry camping guides & more information regarding booking/planning can be found on this page
Connect via socials:
STAY CONNECTED
Sign up for emails to receive a 25% discount on my travel maps.
Taylor ♡
Banff’s Backcountry Camping Trails
Here are a few of my recent Banff backcountry camping guides.
- Backpacking Lake Minnewanka to Ghost Lakes & Aylmer Lookout/Pass

- Banff Skoki Loop: 3 Day Banff Backpacking Trail Guide

- Glacier Lake Backpacking Trail – Banff National Park

Safety Tools to Pack for Backcountry Camping in Banff
Firstly, let’s go over all the safety gear you should pack for backcountry camping in Banff.

As mentioned earlier, the weather in Banff can change on a dime and there’s lots of wildlife around. Not to mention you’re hauling ass with a heavy pack through mountain terrain. Accidents can happen.
The following is what I pack for backcountry camping in Banff to ensure my safety:
Satellite Device: I never go hiking without my Garmin Inreach Mini 2. This device is tiny, lightweight, and can save your life in an emergency. You can also get weather updates, send messages to loved ones, and mark waypoints so you don’t get lost.
First Aid Kit: I’m not too savvy when it comes to first aid, so I usually pack a kit with some basic essentials – only things I confidently know how to use. This first aid kit is compact and has all the basics.
Fire Starter: you’re not always allowed to have fires in Banff’s backcountry, but bringing a fire starter or matches (store them in a ziplock) can make a world of difference in an emergency. Or they can be used to light your stove if the piezo ignitor stops working.
Maps: I’m also not overly savvy with paper maps, so I purchase Alltrails+ every year. Alltrails is a digital map app which allows you to download your route. It can track and display your location via satellite – no cell service required.
I also always pack this portable charger so I never have to worry about my phone dying
Bear Spray: non-negotiable. You can pick bear spray up at most outdoor shops or Canadian Tire.
Other Items to consider: whistle (usually built-in to technical backpacks), emergency bivy, sun protection (hat, sunscreen), extra snacks, blister prevention, extra water or the ability to filter water on-the-go (more about this below).
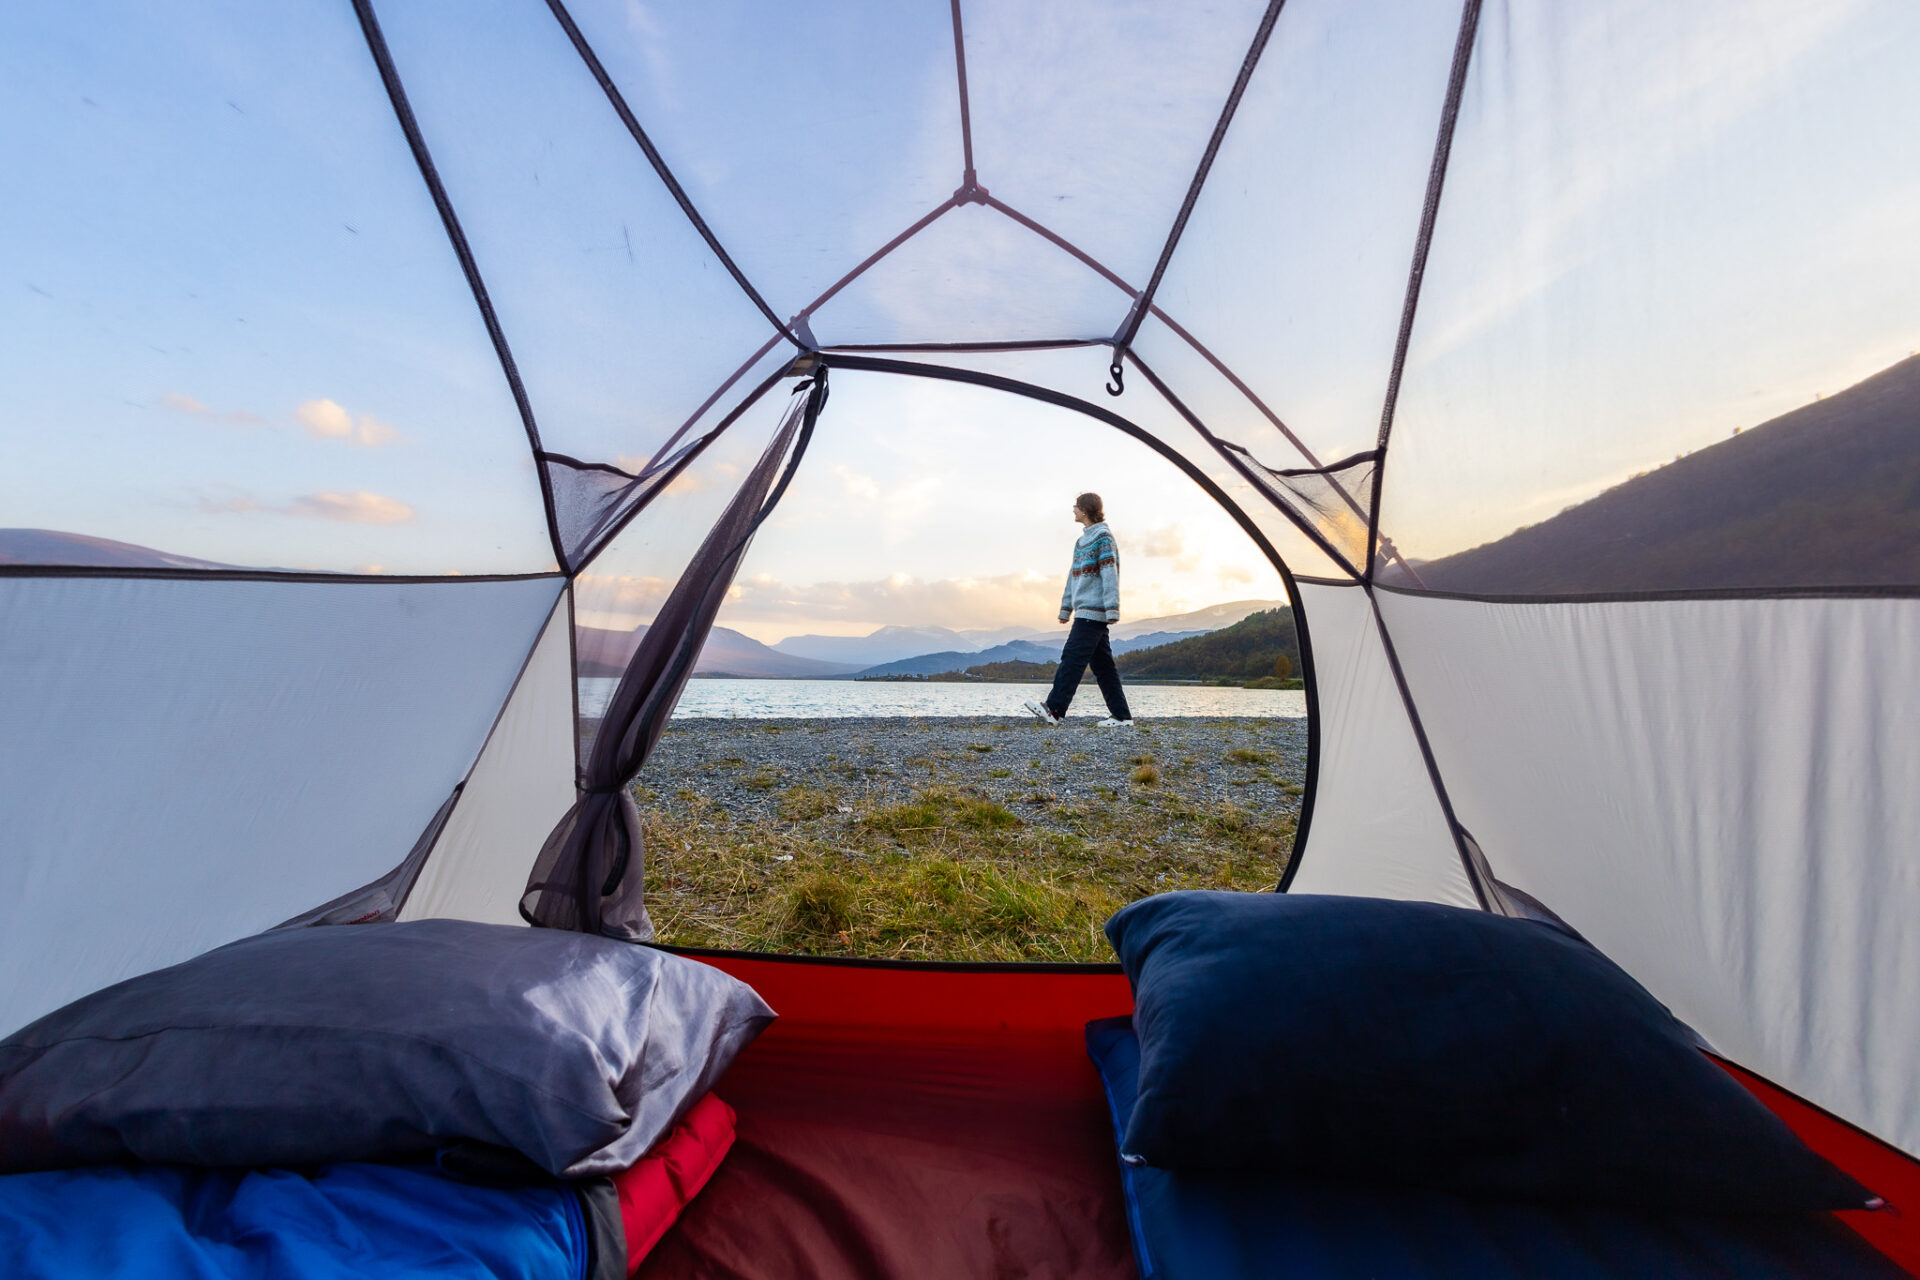
Best Sleep System for Backcountry Camping in Banff
Backcountry camping in Banff is cold – even in summer and especially at night. What to pack for backcountry camping in Banff regarding shelter and sleeping relies heavily on how you handle the cold. I’m personally always cold, so I carry a bit of extra weight to stay warm.
Here’s what I pack for backcountry camping in Banff to ensure I get a good sleep and stay warm:
Tent: I use the MSR Hubba Hubba which I adore. It’s roomy, light, and durable. It’s not “ultralight,” but Canadian Rockies weather can be brutal and I think the slight additional weight is worth the extra protection in this location specifically.
Sleeping Bag: these are always overly expensive, but I wanted a warm one so I opted for this model. It’s from a Canadian brand, rated to -20, and priced very fairly.
Sleeping Bag Liner: used to keep your sleeping bag clean as well as provide extra heat. I use a fleece liner for added warmth, but these cotton and silk blend liners work great too.
Sleeping Pad: lightweight with a high R-Value is key to stay warm, yet not overload your pack. I use this inflatable pad which is ultralight and has an R-Value of 7+. It used to be 4.5, so they’ve upgraded!
Pillow: many people deem these unnecessary, but I sleep much better with them. I bring 2 of these pillows – one for my head and one between my knees to stop hip pain – which are the lightest and most cost effective model on the market. Readers outside Canada can try this pillow which is equally great.
Extra items: I sleep with ear plugs, these -40 socks, high quality wool base layers, a hat, and I fill this water bottle with boiling water to put in my sleeping bag to stay warm.
I’ve also done a fair share of backcountry hammock camping – I have a high quality set up from this brand which I love. Hammock camping isn’t permitted on some trails in Banff and it’s frowned upon on others, however it’s a great option elsewhere or in rainy areas as it keeps you off the ground.
How to Cook While Backcountry Camping in Banff
Here’s what to pack for backcountry camping in Banff when to comes to cooking and staying well nourished.
Stove: I use the MSR Pocket Rocket Deluxe. This stove boils fast regardless of temperature and wind, but I have noticed overtime the piezo ignitor isn’t 100% reliable. I always bring matches just in case. Remember butane too.
Pots: I’ve tried a variety of pots and most end up being a disappointment or way overpriced. Honestly this cheap pot has been my favourite to date. Its size, weight, and versatility is perfect for my needs.
Food: I like to make my own snacks and meals with a dehydrator. I bring extra trail mix and other calorie dense snacks as emergency food. I’ll also pack an extra emergency meal for 3+ day backcountry camping trips in Banff because you never know when the ravenous hunger will strike.
Bone broth: I pack this bone broth for backcountry camping in Banff. It’s full of nutrients and protein, lightweight, and makes for a good soup base or morning beverage.
Extras: spork, Stasher bags (to organize food or cook dehydrated meals right in), biodegradable soap, a scrubby cloth for cleaning dishes, and a dry bag. A dry bag is also good to prevent food from spilling in your pack (thus making it a bear attractant) and to use if the site you’re at operates via bear hang for safely storing food.
Interactive Banff Map – from a LOCAL
Get my 600+ local Banff recommendations saved to your Google Maps app
I lived in Banff for years & know all the best spots!
Outdoors: 100+ hiking trails, scrambles, backcountry routes, waterfalls & lakes
Planning: lodging, parking, restaurants, public washrooms, transit hubs, shopping & services
Things to do: tours, viewpoints, unique activities, & local secrets
How to Stay Hydrated on Banff Backcountry Hikes
There are a few things to pack for backcountry camping in Banff when it comes to staying hydrated. Ensuring you’re hydrated is essential for a nice experience as the high elevation (causes altitude sickness for some), long and steep trails, plus carrying a heavy pack can easily deplete your water levels.
Water Bladder – carrying a water bladder serves as both an easy way to drink as you hike, plus acts a nice way to filter larger amounts of water from natural sources at once. My favourite water bladder is this one. I’ve used it for years and have never had issues with leaking or wear-and-tear.
Water Filtration – I filter water in two ways. Method 1 is using this filter which I can attach to my water bladder; it filters with each sip. Otherwise I use a combination of cheese cloth to block large particles from entering my water bladder, then pop a purifying tab or two in it to zap harmful bacteria.
Electrolytes – using a simple electrolyte like Celtic salt is an easy way to help your body use the water you drink rather than flush it right out. I like using Celtic salt as it doesn’t leave a taste in my water bladder, plus I can use it for cooking to add both flavour and nutrients to my dishes.
What Toiletries to Pack for Backcountry Camping in Banff
When I pack for a backcountry camping trip in Banff I bring minimal toiletries.
These are the toiletries I pack for backcountry camping in Banff to maintain a decent level of hygiene:
Oral hygiene: I use a child’s size bamboo brush with this small toothbrush cover to save on space. I also use these toothpaste tablets which are tiny and ultralight compared to toothpaste.
Skincare: I put sunscreen and any moisturizers in these tiny 15ml tins to save space.
Blisters: I’ve tried these blister pads that work great, but they’re pricey. Instead I put shea butter on my heels, cover them with cotton pads, then duct tape everything on. I wrap duct tape around a pen to save weight.
Cleanliness: I bring a small amount of whatever biodegradable soap bar I have on hand in these lightweight tin containers for washing hands, dishes, smelly armpits, etc. Alternatively this travel size liquid soap is great too.
Toilet paper: I bring extra of this in a plastic bag – camp food always seems to sneak up on you. Banff’s backcountry campgrounds all have drop toilets, but your must BYOT (bring your own toilet paper).
Hiking/camping with contacts? This post has my tips for keeping contacts sterile in the backcountry.
Accessories to Bring Backcountry Camping in Banff
When I pack for backcountry camping in Banff I try to stick to only essentials, but I do sneak in a few “luxury items.”
Dry Bag: I use these bags for hanging food (bear hangs at some sites), storing food, organizing clothes/electronics, and keeping everything dry.
Headlamp: I use this model which I researched for months before buying. I’ve used it in all kinds of hiking/camping/travel scenarios and LOVE it.
Hammock: I pack a hammock for hikes leading to lakes or backcountry trips where I know I’ll want to chill. This hammock is the lightest, most compact one I’ve found on the market. I bought the single size as it’s the lightest model.
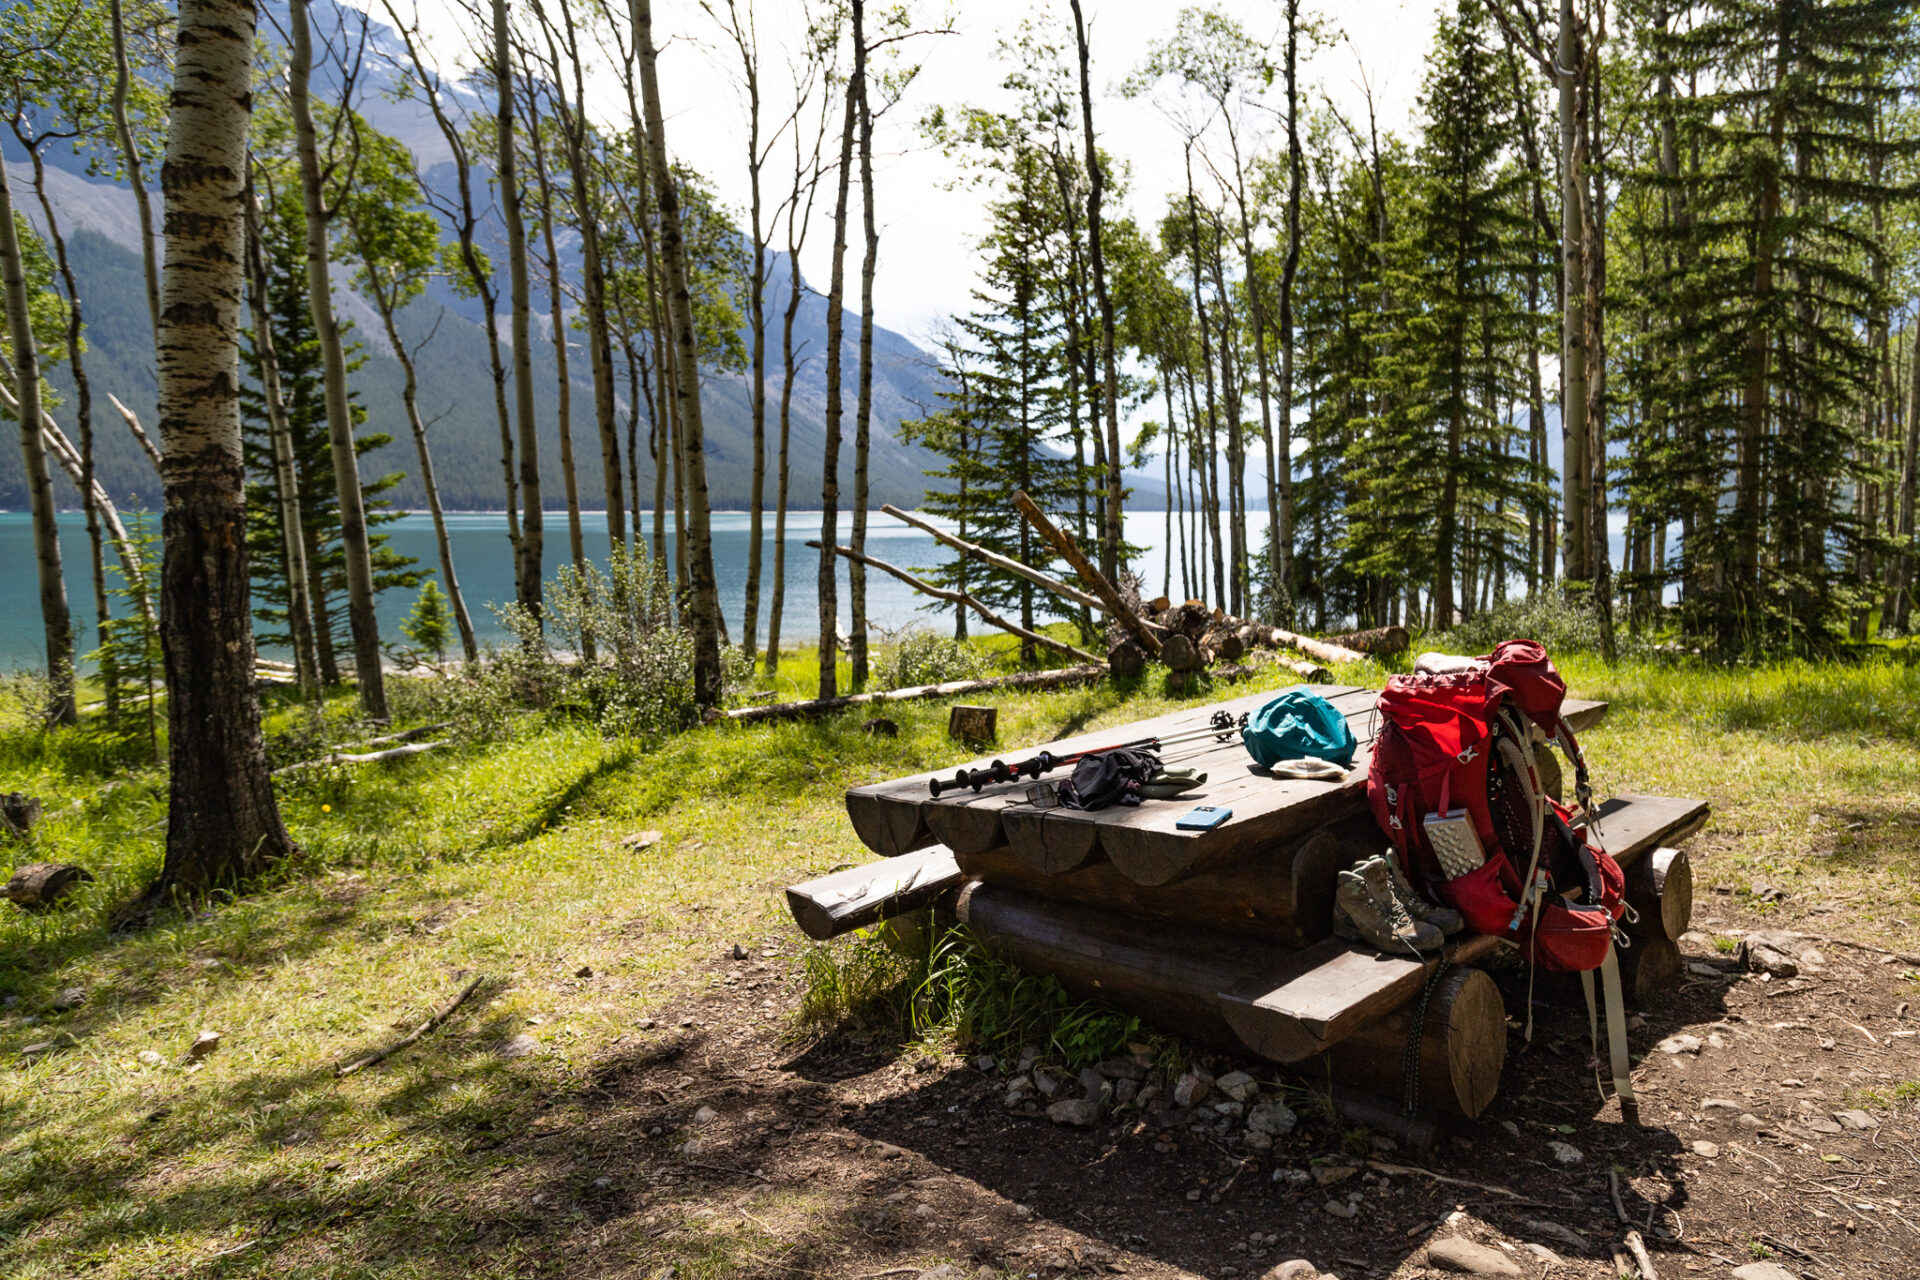
Hiking Poles: I never hit the trail without these. I use the cheapest pair I can find locally, but I’ve had my eye on this pair for ages as they’re lightweight and pack down small enough for travel.
Towel: only if you’re planning to swim or take a “shower.” I use a super lightweight cotton towel similar to the fabric of a sarong.
Portable Charger: I use this one and it always lasts 2+ charges.
Gloves: In colder climates or places with variable weather (like summer in the Canadian Rockies), I always bring this pair of gloves (here’s the men’s model) just in case.
Luxury Items: pillow (always an essential for me), rope for hanging clothes to dry, entertainment (book, kindle, journal, playing cards, etc), and a bug suit rather than bug spray as it’s lighter, cleaner, and scent free (for bears).
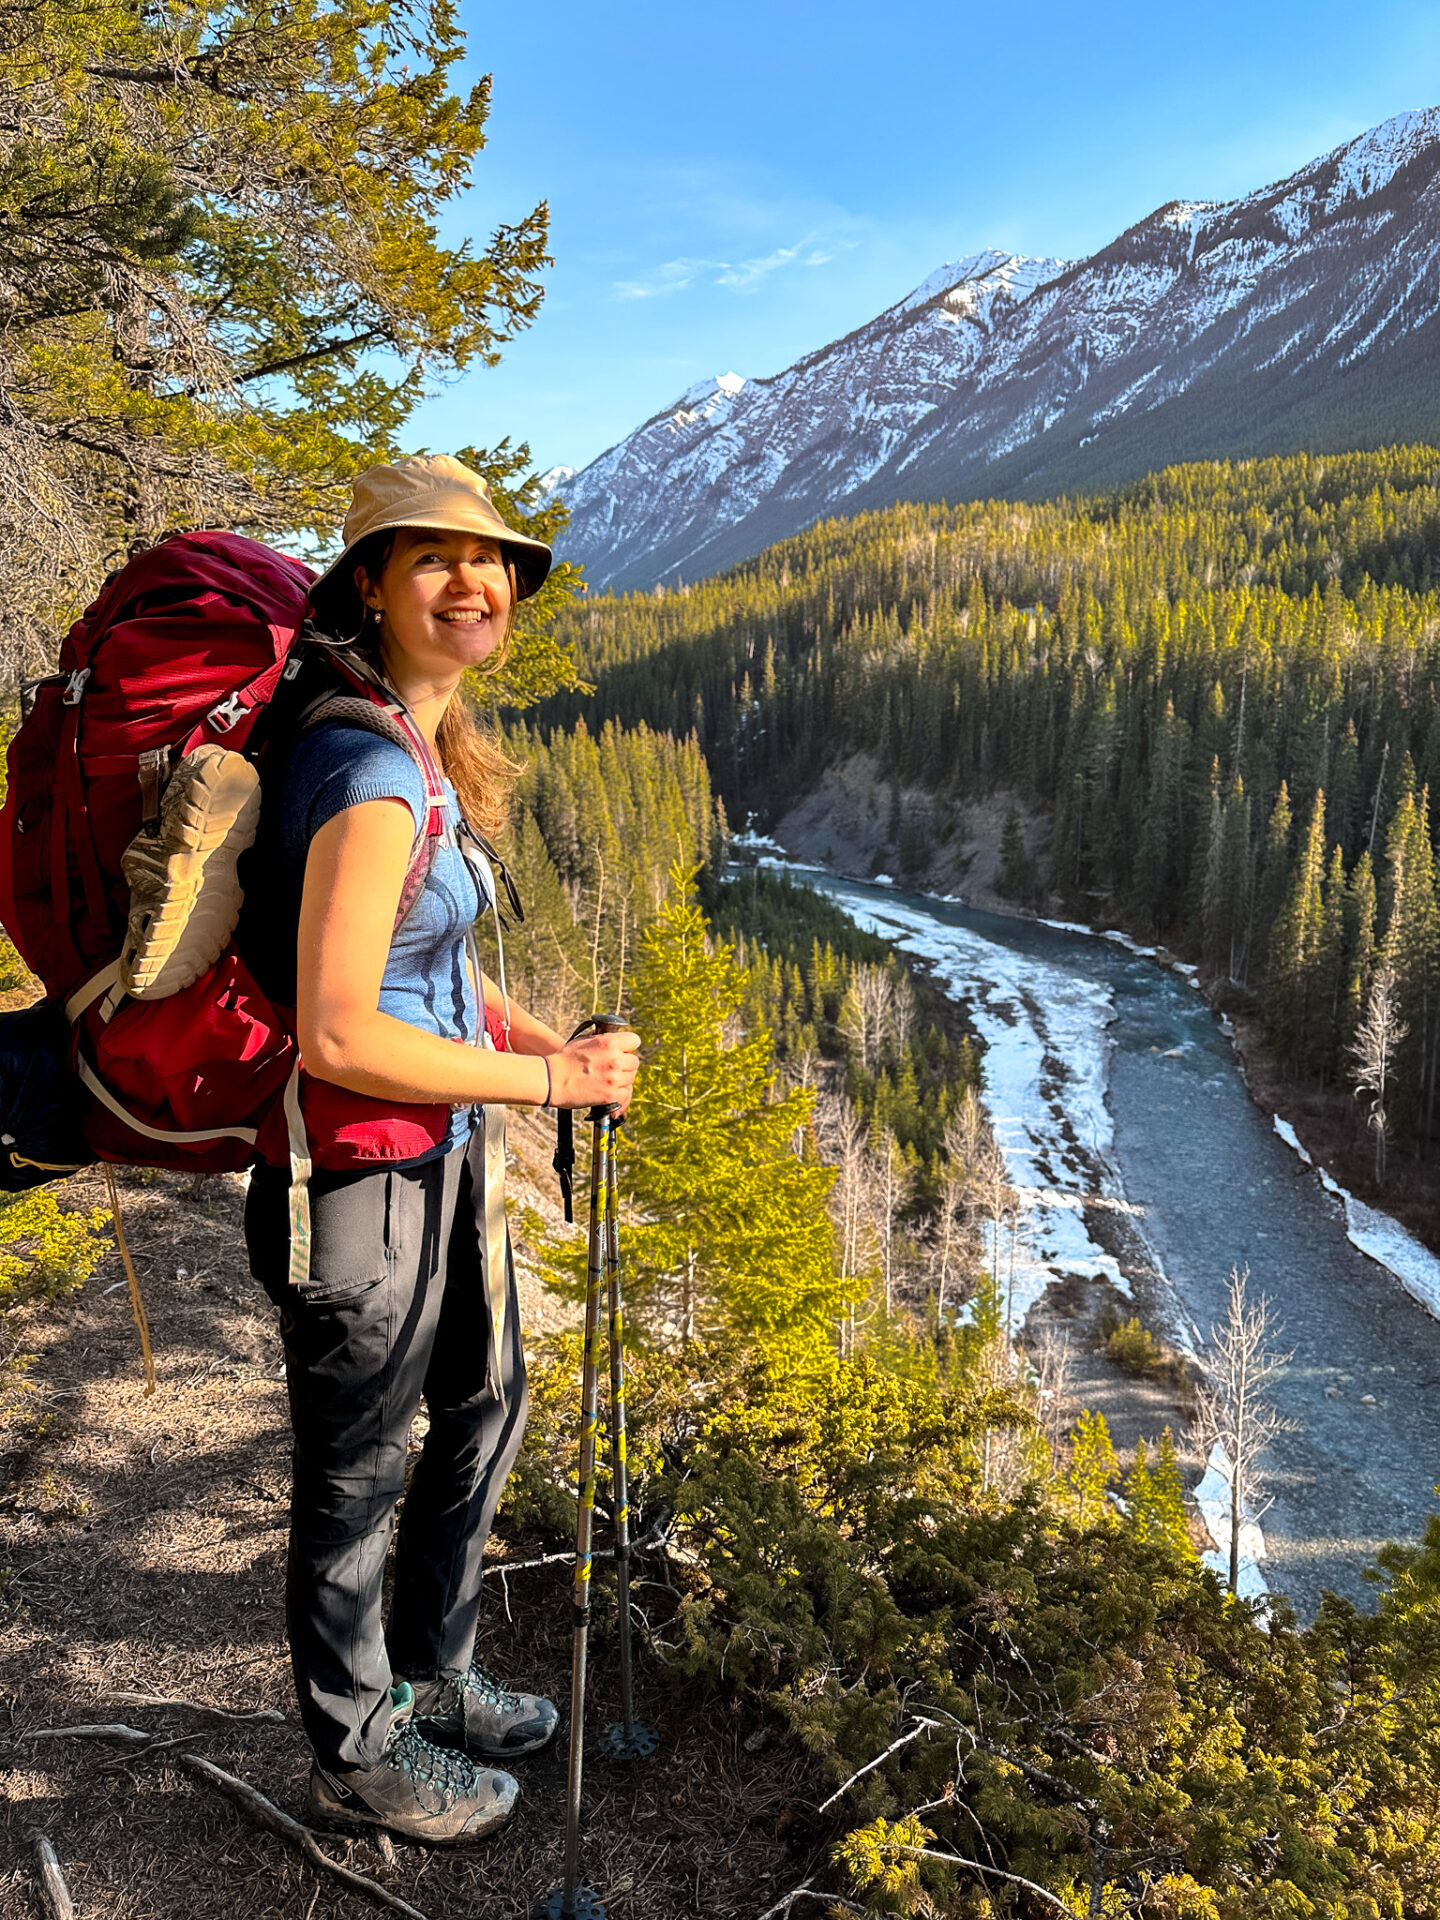
Best Backpack for Banff Backcountry Hikes
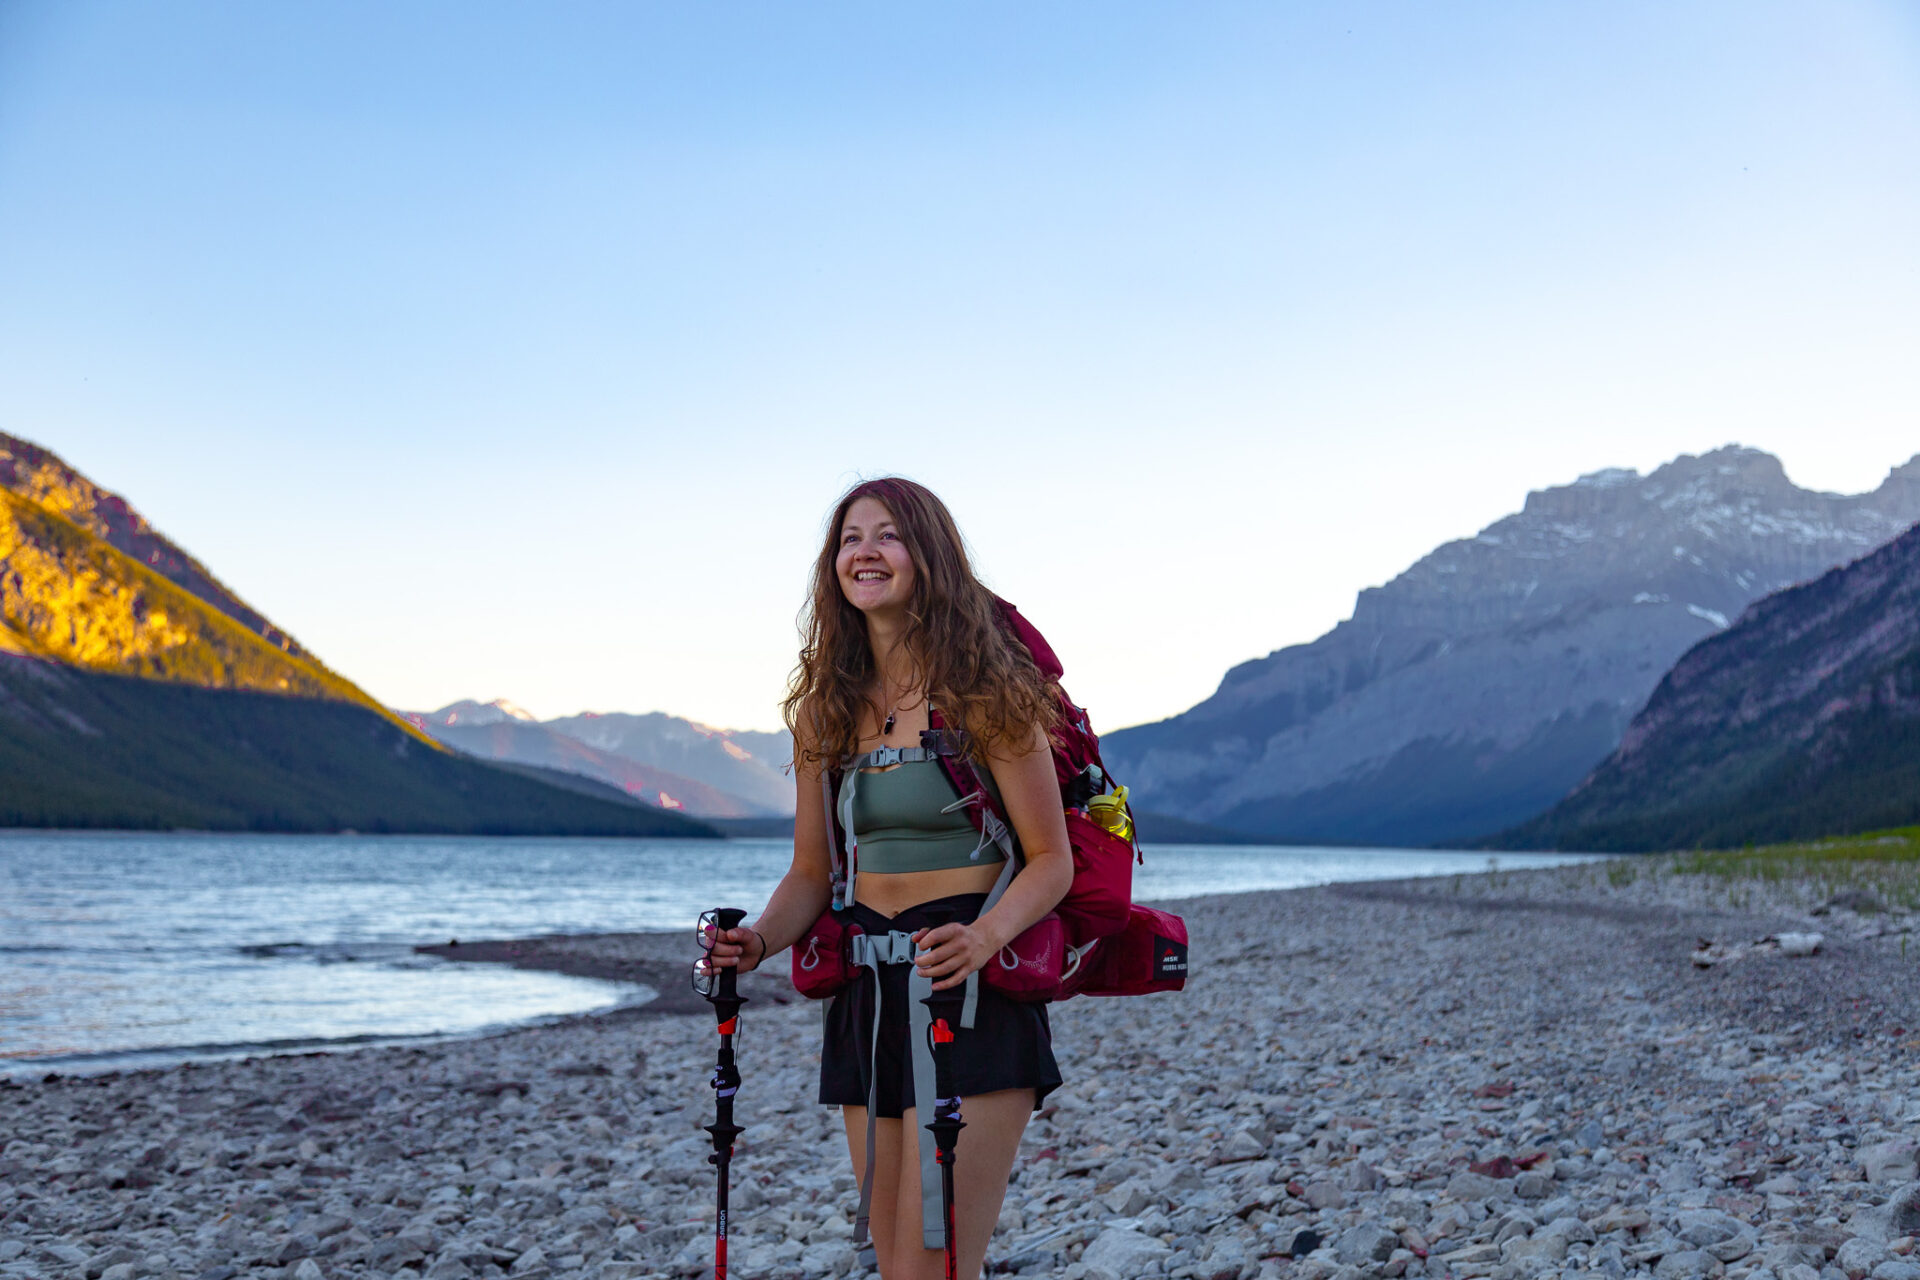
There’s only one backpack I use for backcountry camping trips in Banff – the Osprey Aura 65L. The Aura 65L is the preferred backpack for thruhikers and for those tackling the 4,000km+ PCT trail. The pack has a crazy range of features, lots of pockets, and an antigravity suspension system which takes the pack’s weight off your shoulders. You can also detach the top lid to make the pack smaller which is convenient for international travel and light overnight trips.
The men’s version of this bag is the Atmos 65L.
Best Footwear for Banff’s Backcountry Trails
When you choose what shoes to wear for backcountry camping in Banff you’ll want something sturdy, comfortable, and reliable.
Hiking Boots
I’ve been hiking for years – all over the world and in climates of +36 degrees to -30 degrees. I’ve only worn one hiking boot; the Scarpa Kailash (here’s the men’s model). This boot is durable, Goretex, comfortable, and has a strong base to handle any kind of terrain which makes it the perfect choice for backcountry camping in Banff.
At the time of writing this post I’ve owned only 2 pairs, each lasting 3 years and at least covering 2,000kms+ before reaching the “end of their life” (could still be used for everyday wear after this point). These boots are great for quick day hikes, rocky/loose terrain, backcountry, and everything in between.
Camp Shoes & Socks
When I reach camp after a long day of hiking, I always reach for my Crocs. I use the All-terrain model which is durable, has better grip, an adjustable strap, plus they can be worn as a water shoe for swims – Banff’s backcountry lakes are rocky. Bonus is they’re light and you can easily attach them to your pack’s external straps to carry.
- Here’s the All-terrain link for both Crocs Canada and Crocs USA.
For socks I only wear Smartwool. I prefer crew length with at least full cushion, if not more. I always pack an extra pair for backcountry camping in Banff.
What Clothes to Pack for Backcountry Camping in Banff
What to pack for backcountry camping in Banff when it comes to clothing can be difficult. Weather changes on a dime, rain is always possible, summer afternoons will likely be hot, whereas evenings are almost always cold. The best advice I can give you is to bring versatile layers.
Day Clothes: I always opt to wear a long sleeve wool shirt to protect against the sun without needing sunscreen, but sometimes I’ll pack a wool tank top as well. I prefer pants (with pockets) over shorts to again protect my skin from the sun and to protect my legs from shrub scratches. I usually only bring 1 outfit for multiple days of hiking, but sometimes I’ll treat myself to a second sports bra for 3+ day trips to be a little less grungy.
Rain Gear: ALWAYS bring a waterproof jacket AND waterproof pants. They’re light, pack up small, and can make a world of difference in the rain or if you’re cold and need an extra layer.
Sleeping: bring a set of high quality wool base layers and a toque – ONLY wear them when you’re sleeping. To stay warm overnight I also wear these -40 wool socks, fill this bottle with boiling water and put it in my sleeping bag by my feet, and I’ll occasionally bring reusable beaver pelt foot warmers. I do this in peak summer as well as shoulder season as temperatures overnight in July can be freezing just the same.
Jackets – in addition to my rain jacket I also always pack a down jacket. I try to only wear it in the colder mornings and evenings or if I end up getting cold in the night. In the day I try to just wear a long sleeve and my rain coat. If I know daytime temperatures will be cold, I’ll bring an additional mid layer, usually a blend of wool and synthetics.
Extras: bring an additional pair of hiking socks, an extra pair of underwear, a bathing suit top (for the ladies), and potentially a bug suit. I also always bring a pair of Sutro sunglasses (smaller size for ladies), this hat (USA link), and a pair of these gloves (men’s sizing)
Specific items and links for what’s mentioned above can be found in this post
Interactive Banff Map – from a LOCAL
Get my 600+ local Banff recommendations saved to your Google Maps app
I lived in Banff for years & know all the best spots!
Outdoors: 100+ hiking trails, scrambles, backcountry routes, waterfalls & lakes
Planning: lodging, parking, restaurants, public washrooms, transit hubs, shopping & services
Things to do: tours, viewpoints, unique activities, & local secrets
Quick Banff Guide
RENT A CAR: I highly recommend renting a car to explore Banff’s remote trailheads and attractions not accessible by public transport. My favourite site to find the best local rental deals is this one.
How to get to Banff: fly into Calgary International Airport. From here, rent a car (what I recommend) or take one of the following shuttles to Banff: On-It (budget) runs during the summer months | Pop-a-Ride is a ride-share program – you can use my Poparide link to save $5 on your first trip | Banff Airporter and Brewster are professional services.
Moraine Lake & Lake Louise: read my guide for how to get there with the new road closures. If you want to see Moraine Lake at sunrise, you can book a shuttle here.
Best Activities in Banff: here are all my recommendations for the best tours, activities, and unique experiences in Banff & beyond.
Lodging & Camping: see my guide which outlines the best hotels in Banff by category. Summer and peak winter visits require advance bookings. Camping reservations must be made on the Parks Canada reservation system which typically opens in January – make your reservations then.
First time visiting Canada? This page outlines all my travel tips for those new to Canada.
When to visit: this post breaks down each month in Banff with average temps and corresponding activities.
Reservations: for activities and restaurants, reservations should be made in advance during summer and holidays. Get Your Guide and Viator are popular tour booking platforms whereas OpenTable is used for restaurants.
Parks Pass: your vehicle needs a parks pass which can be purchased from the East Parks Gates, the Visitor Centre, or online. An annual Discovery Pass is more economical if you’ll be in Canada’s National Parks for more than 7 days in 1 year.
Roam Transit: in Banff, use the local transit service, as much as possible to avoid parking issues in popular places like Lake Louise and Johnston Canyon.
Parking: use the large free lot next to the train station. More town parking info can be found here and parking fees can be paid here.
Wildlife Safety: 11 ways to stay safe from wildlife, bear safety, & bear basics.
My Featured Banff Blogs
Travel Guides
Banff Activities
Happy adventuring!
Taylor ♡
Like This Post?
Share with friends or save it for later!

About the Author
HI, I’m Taylor – the voice behind The Holistic Backpacker.
After moving to Banff National Park in 2020 I became an outdoor adventure enthusiast and vowed to never stop exploring.
I now spend my days travelling the world, climbing mountains, and spending nights under the stars in the Canadian Rockies backcountry.
I created The Holistic Backpacker so I could share my adventures and help connect people like you with the same amazing experiences.