

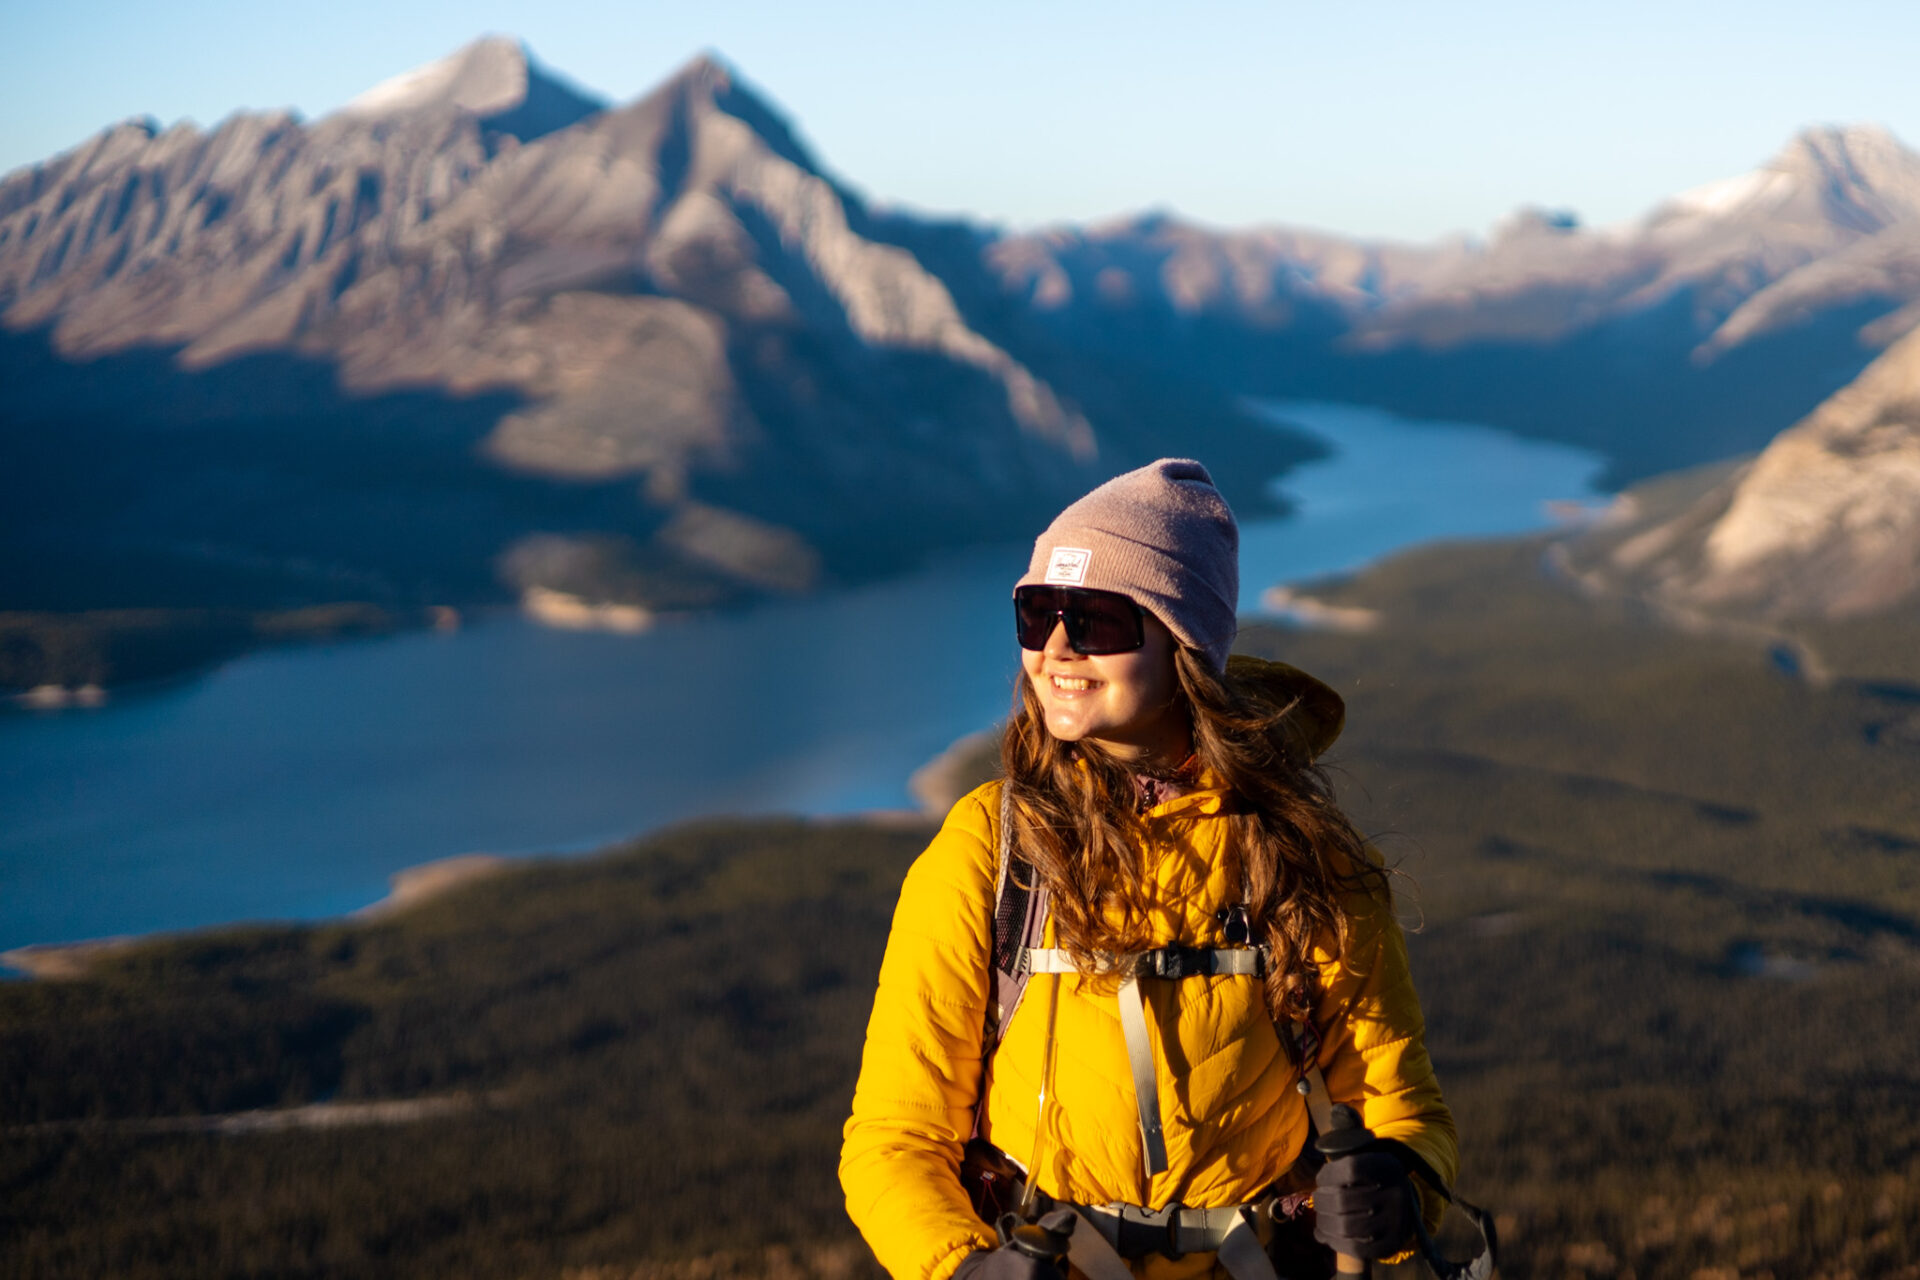
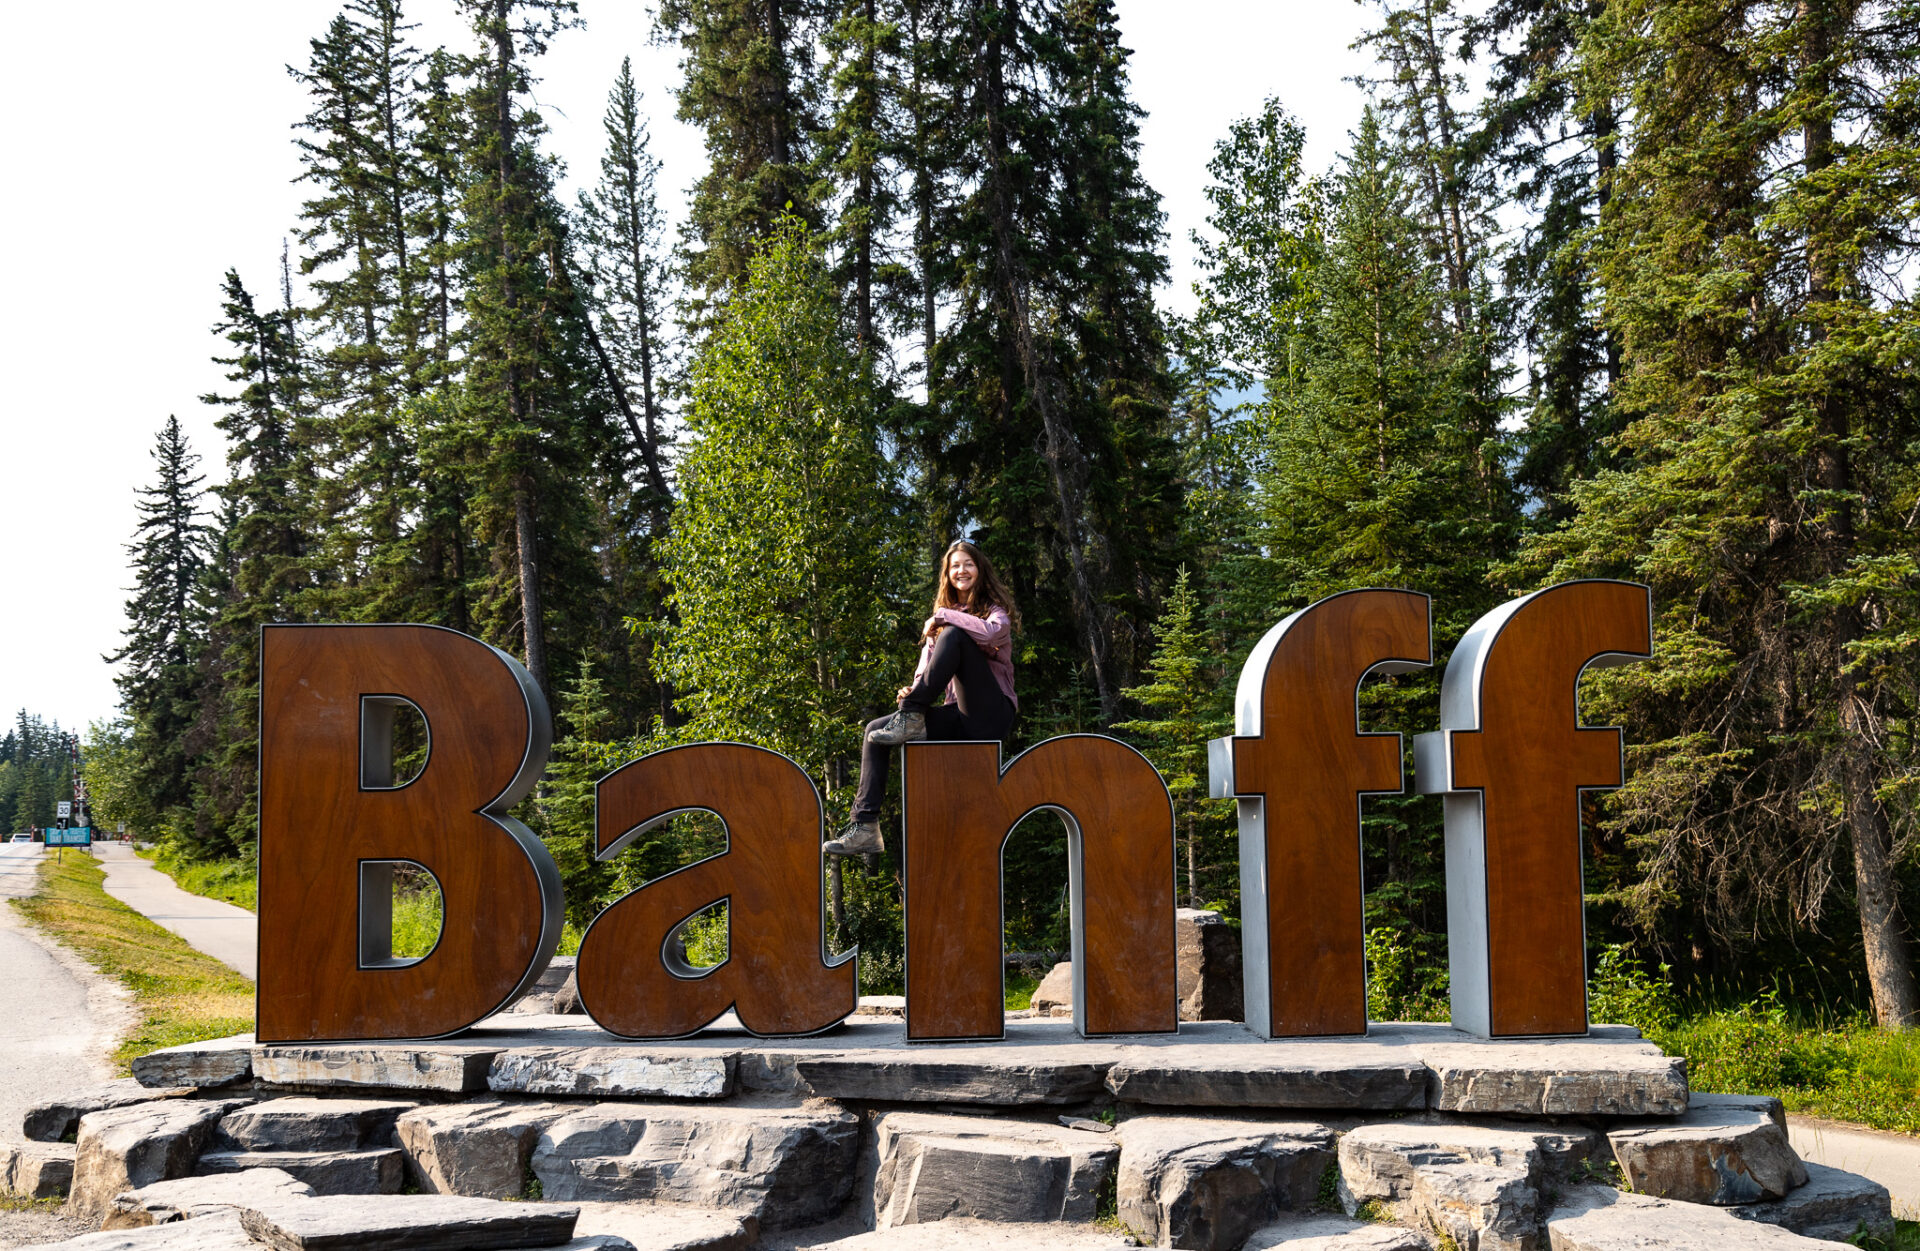
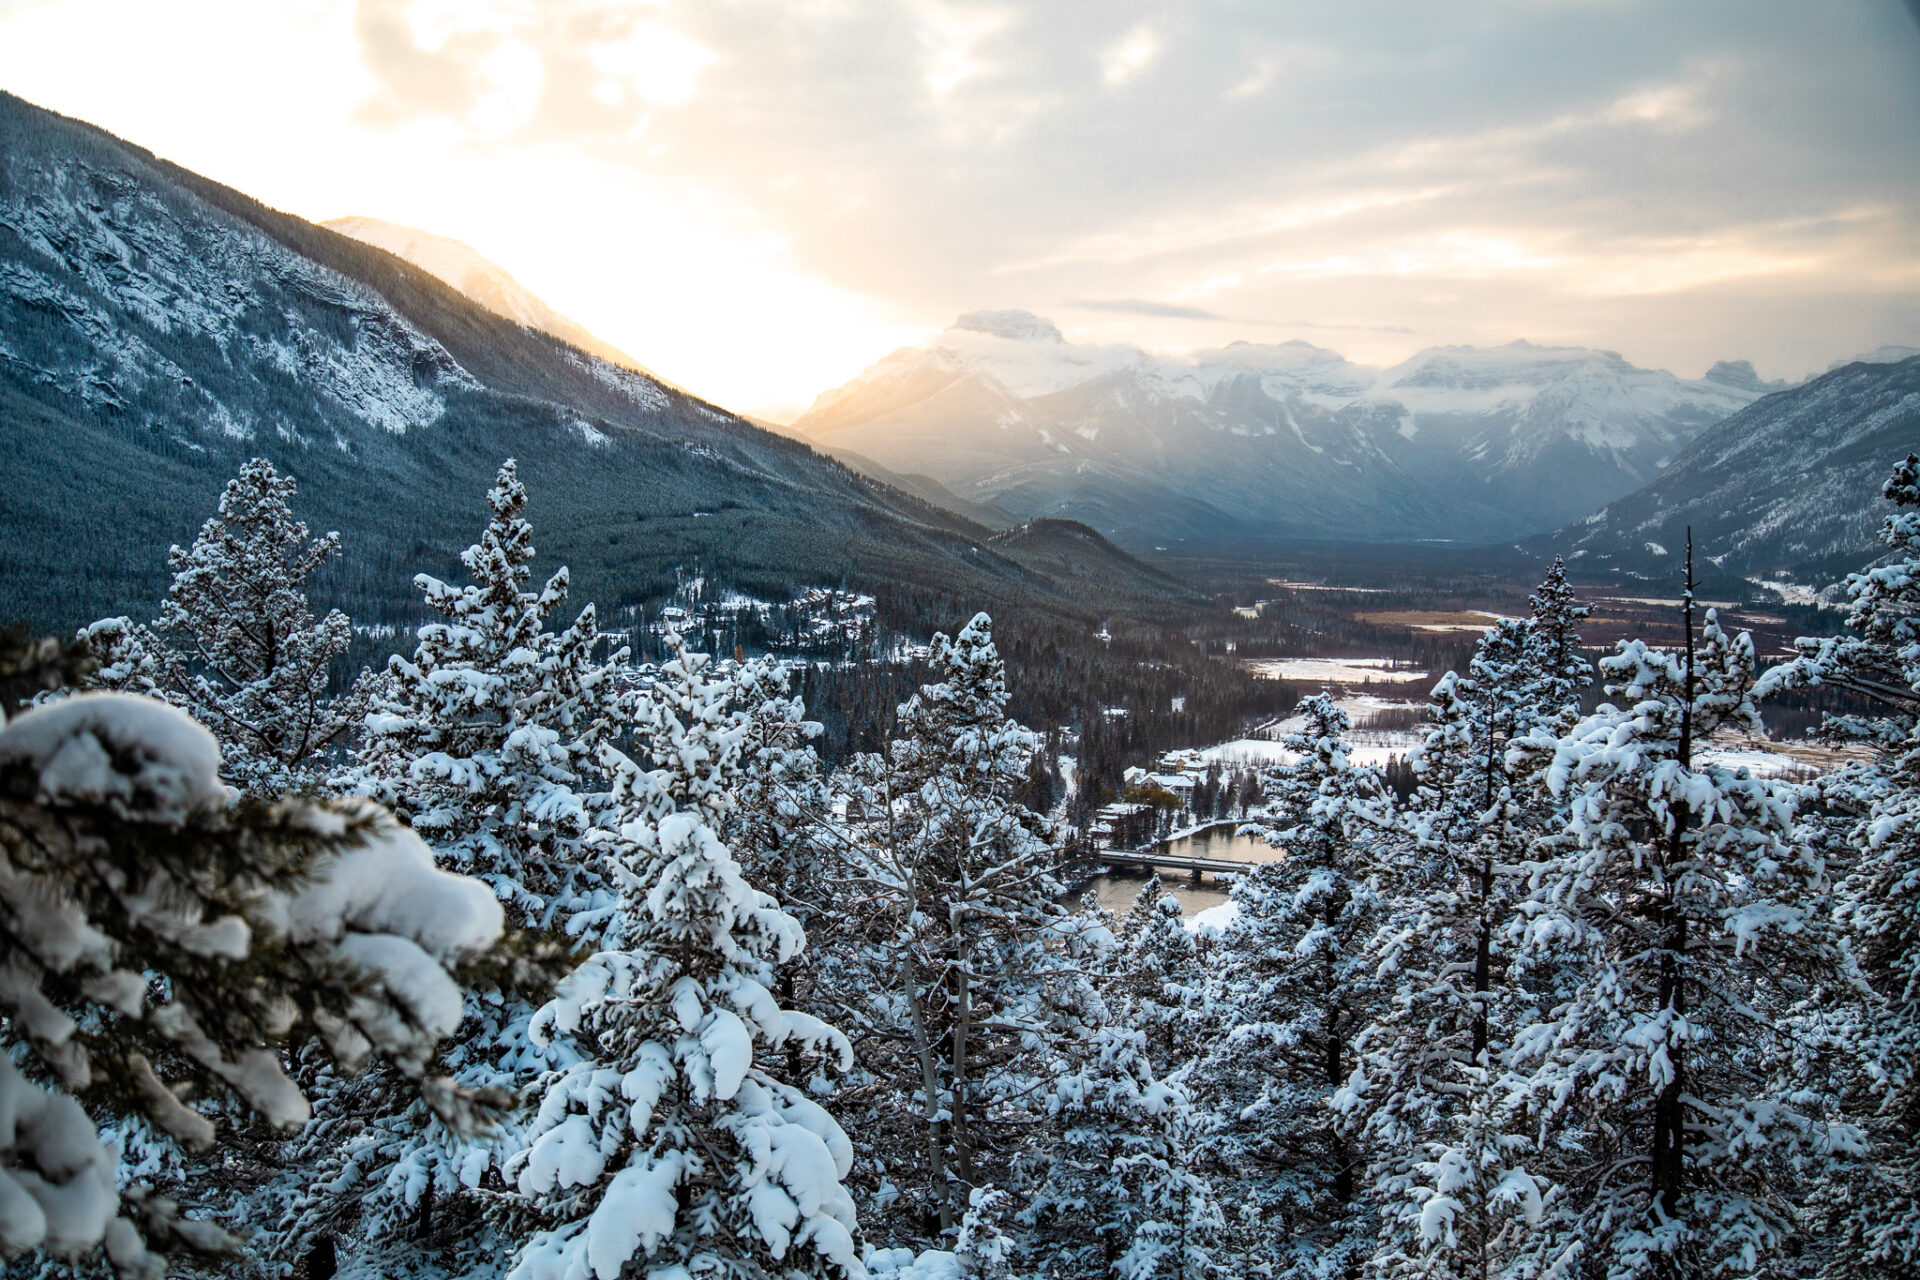
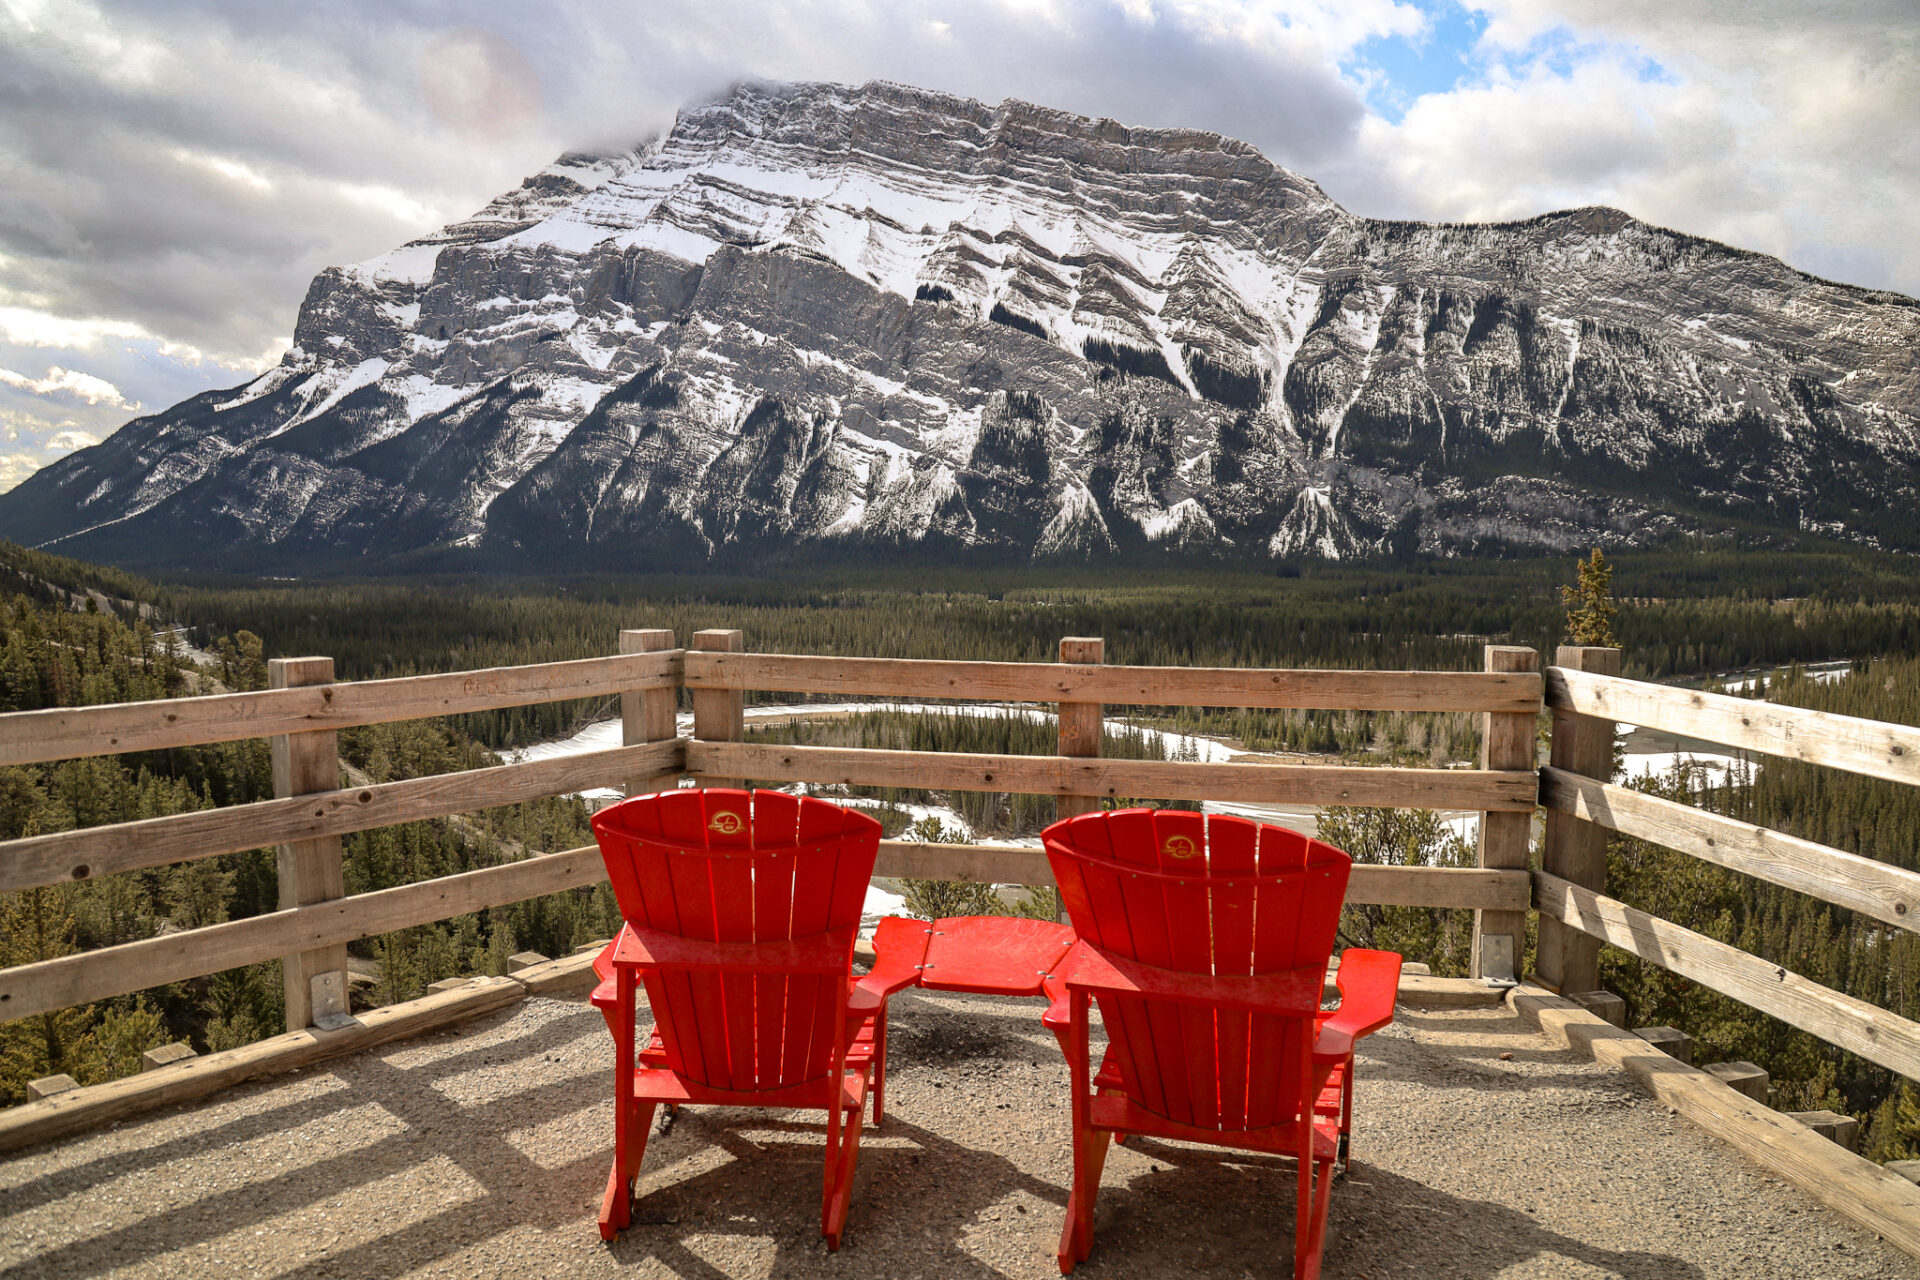
25+ Easy Hikes In Banff for Summer & Winter
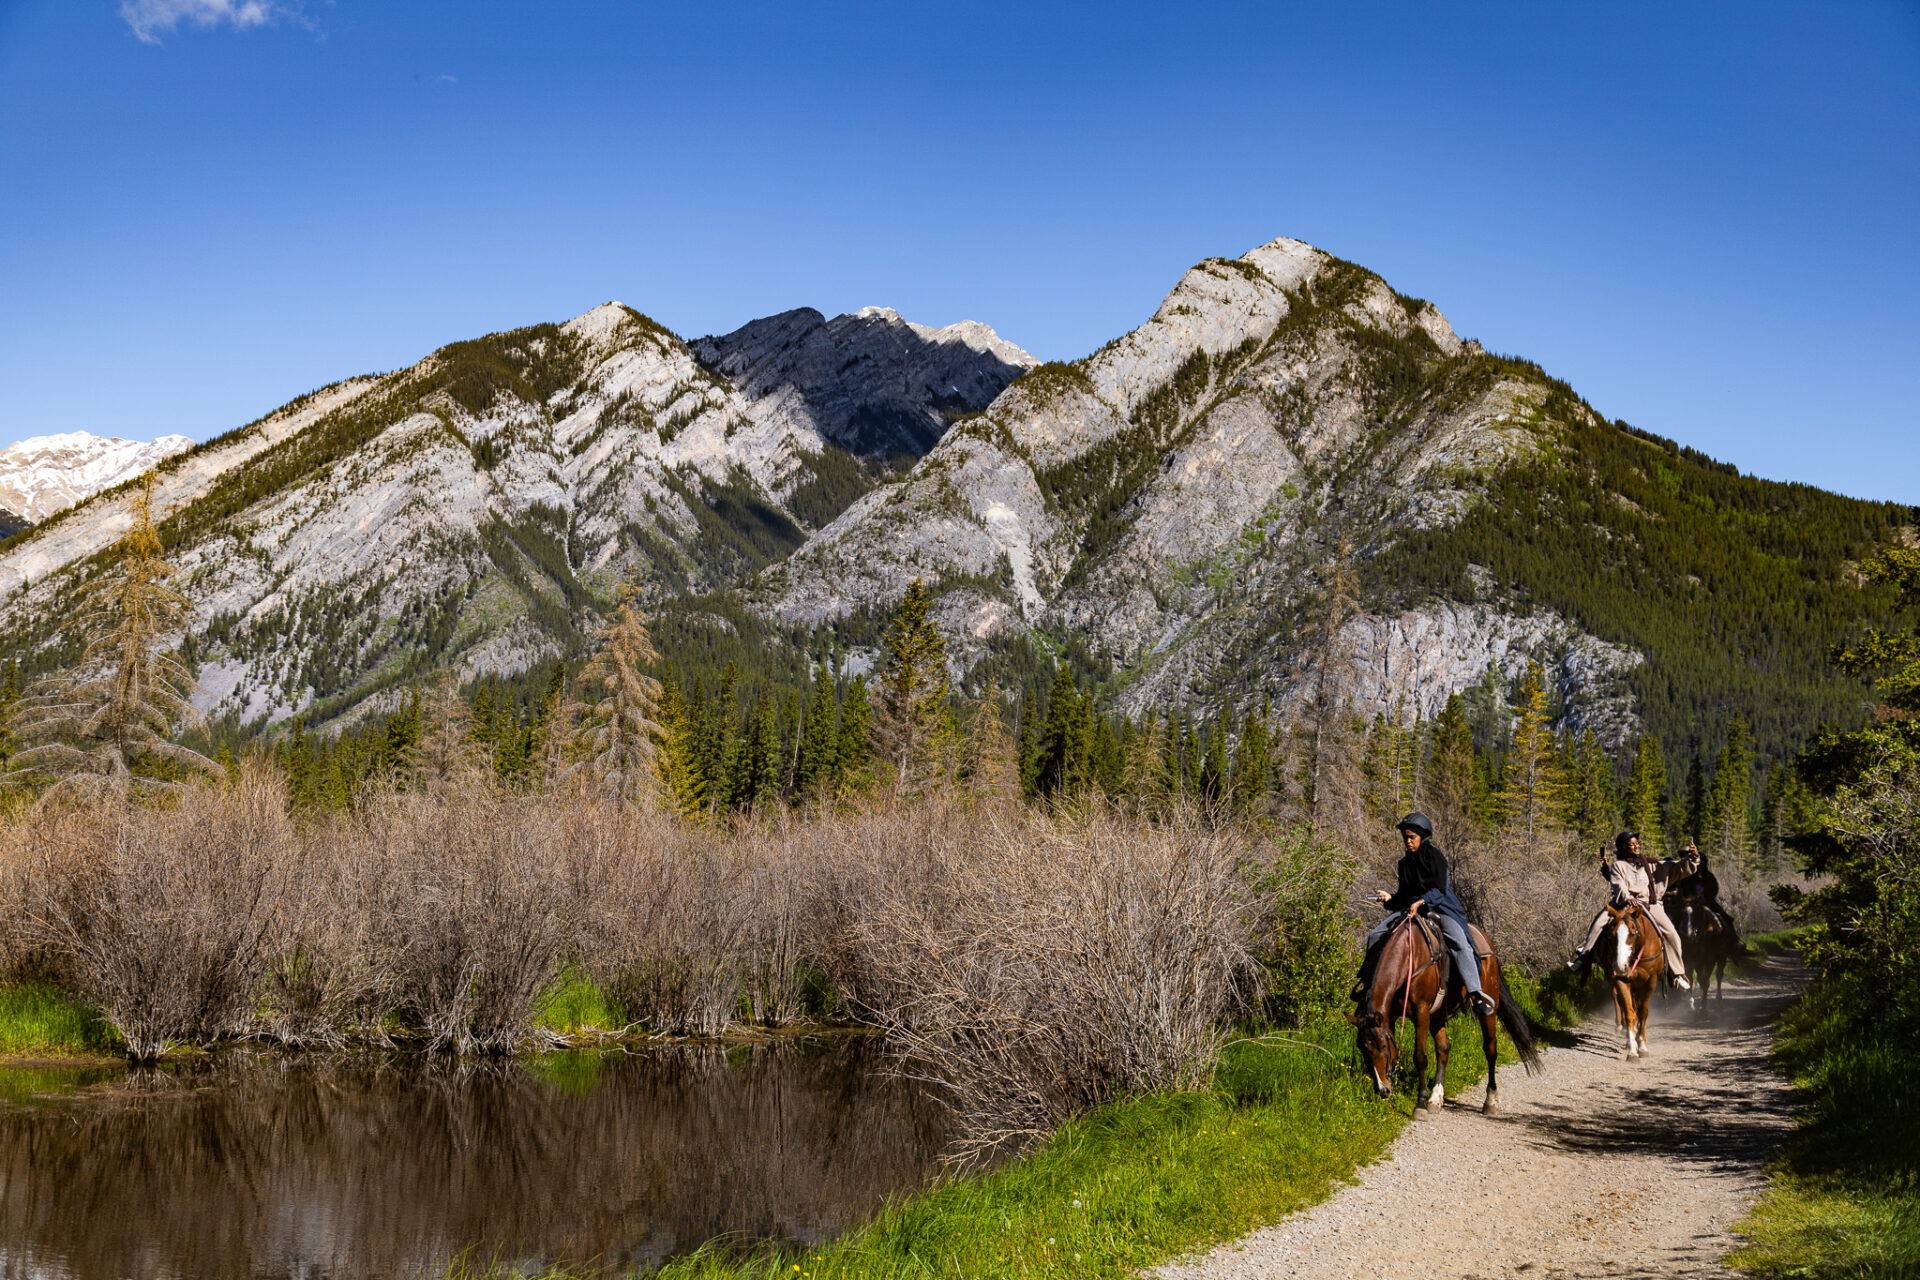
Banff National Park is home to the Canadian Rockies – an incredible mountain range with ample opportunities for scrambling, backcountry adventure, and epic summit missions. Rather than focusing on peak bagging, in this post I’ll outline easy hikes in Banff that can be completed in both summer and winter.
The easy Banff hikes listed in this post are straightforward and require no previous hiking experience. Although proper footwear is recommended, no “fancy-dancy” hiking equipment is needed. These trails are suitable for children and for your furry four legged friends.
I lived in Banff for years and as such was fortunate enough to explore every nook and cranny of the park. This post outlines popular easy hikes in Banff as well as some “off-the-beaten path” options too.
ps – every hike mentioned in this post and 50+ more trails are marked in my Banff and Lake Louise map with photos, descriptions, and Alltrails links.
Skip Ahead:
- Canadian Rockies hiking tips
- About camping in Banff
- Where to stay in Banff
- 25+ Easy hikes in Banff
- Recommended hiking gear
- Banff winter hiking gear & information
Banff hikes good for kids
I have affiliate links in this post which means when you book a hotel or purchase a product, I may make a small commission ~ at no additional cost to you (full disclosure). These funds go back into The Holistic Backpacker and help me create more free content like this!
Thank you for supporting my work!
Interactive Banff Map – from a LOCAL
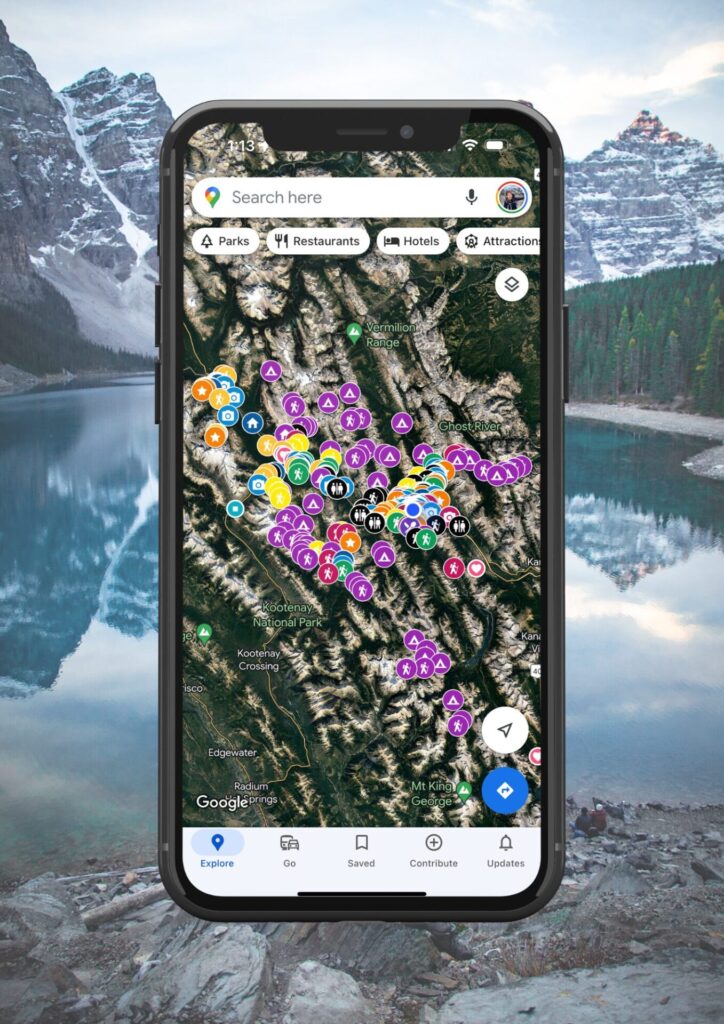
Get my 600+ local Banff recommendations saved to your Google Maps app
I lived in Banff for years & know all the best spots!
Outdoors: 100+ hiking trails, scrambles, backcountry routes, waterfalls & lakes
Planning: lodging, parking, restaurants, public washrooms, transit hubs, shopping & services
Things to do: tours, viewpoints, unique activities, & local secrets
Quick Banff Guide
RENT A CAR: I highly recommend renting a car to explore Banff’s remote trailheads and attractions not accessible by public transport. My favourite site to find the best local rental deals is this one.
How to get to Banff: fly into Calgary International Airport. From here, rent a car (what I recommend) or take one of the following shuttles to Banff: On-It (budget) runs during the summer months | Pop-a-Ride is a ride-share program – you can use my Poparide link to save $5 on your first trip | Banff Airporter and Brewster are professional services.
Moraine Lake & Lake Louise: read my guide for how to get there with the new road closures. If you want to see Moraine Lake at sunrise, you can book a shuttle here.
Best Activities in Banff: here are all my recommendations for the best tours, activities, and unique experiences in Banff & beyond.
Lodging & Camping: see my guide which outlines the best hotels in Banff by category. Summer and peak winter visits require advance bookings. Camping reservations must be made on the Parks Canada reservation system which typically opens in January – make your reservations then.
First time visiting Canada? This page outlines all my travel tips for those new to Canada.
When to visit: this post breaks down each month in Banff with average temps and corresponding activities.
Reservations: for activities and restaurants, reservations should be made in advance during summer and holidays. Get Your Guide and Viator are popular tour booking platforms whereas OpenTable is used for restaurants.
Parks Pass: your vehicle needs a parks pass which can be purchased from the East Parks Gates, the Visitor Centre, or online. An annual Discovery Pass is more economical if you’ll be in Canada’s National Parks for more than 7 days in 1 year.
Roam Transit: in Banff, use the local transit service, as much as possible to avoid parking issues in popular places like Lake Louise and Johnston Canyon.
Parking: use the large free lot next to the train station. More town parking info can be found here and parking fees can be paid here.
Wildlife Safety: 11 ways to stay safe from wildlife, bear safety, & bear basics.
My Featured Banff Blogs
Travel Guides
Banff Activities
Easy hikes in Banff good for kids
Canadian Rockies Hiking Tips
Guides for hikes in: Banff | Jasper | Kananaskis | Kootenay | Waterton | Yoho
Approach: take a conservative approach if you’re new to hiking and ensure you have lots of daylight. Trails here are steep, long, and can have challenging terrain.
Best Time of Year: July to early September is the most reliable for weather and minimal snow. This post outlines each month in Banff.
- Hiking in winter? Stick to easy, well-trafficked trails unless you’re knowledgeable about avalanche terrain. I always check the avalanche bulletin and use both Caltopo and Google Maps satellite view to survey terrain before hiking.
Pets: leashed dogs are allowed on all trails in the Rockies unless otherwise stated.
Safety: tell someone where you’re going and when you plan to return. I always carry the Garmin InReach Mini for additional safety as there’s minimal cell service in the Rockies.
Wildlife: carry bear spray and know how to use it. Here are bear safety tips from Parks Canada.
Maps: I purchase the Alltrails+ membership and download my maps before hiking so I always know where I am.
Helpful Canadian Rockies Hiking Posts:
More of my detailed hiking tips can be found here
Canadian Rockies Camping Tips
Plan to go camping in Banff and the Canadian Rockies? Here are some useful things to know.

Unless you’re on some form of public land – random camping and free car camping is not permitted in the Canadian Rockies. If you do plan to “free” camp in the designated areas, you must purchase the Public Lands Camping Pass.
Camping Reservations: reservation day (when bookings go live) usually occurs in January. Most summer camping reservations must be made then as sites fill up instantly.
- National park camping reservations can be made here and Kananaskis reservations can be made here: backcountry | front country.
- Can’t get a reservation? Sign up for cancellation notifications via Schnerp. I use this resource frequently and have found cancellations at the most popular spots in the Rockies like Lake O’Hara.
When to Camp: most campgrounds close for the winter, however a few remain open year round. July-August is best for backcountry camping. Keep in mind, temperatures are typically very cold at night even during peak summer.
Hut Camping: the Alpine Club of Canada has established alpine huts scattered around the Rockies and beyond. These huts must be booked in advance and cater to backcountry skiers, hikers, and climbers.
Packing advice and my personal gear recommendations can be found in my Backcountry Gear Guide.
Easy hikes in Banff
Connect via socials:
STAY CONNECTED
Sign up for emails to receive a 25% discount on my travel maps.
Taylor ♡
Where to Stay in Banff
From hostels to camping to luxury hotels – Banff has accommodations for everyone. Here are my top recommendations for where to lodge in Banff based on every budget.
I recommend giving this post a read as I’ve listed every Banff hotel worth staying at and organized them by category.
- Hostels – Samesun Banff (best location + bar/restaurant on-site), Banff International Hostel (second best), and HI Banff.
- Budget hotels – Bow View Lodge and High Country Inn.
- Mid-range stays – Banff Park Lodge, Mount Royal, Elk & Avenue, and the Banff Caribou & spa.
- Luxury stays – Fairmont Banff Springs and the Rimrock Resort.
- Cabin retreats: Johnston Canyon Bungalows, Baker Creek, and Castle Mountain Chalets.
- Camping – reservation information can be found here. Ensure you book campsites far in advance as they’re full during summer.
- For those on ski trips: lodge on-mountain at Sunshine Village, stay near Norquay, and see my Lake Louise suggestions below.
Lodging Options Near Banff
Enjoy the nature and activities of Banff National Park, but lodge away from the busy tourist town centre at any of the following:
- Lake Louise – Fairmont Chateau Lake Louise (luxury), Paradise Lodge & Bungalows (500m from the lake), Lake Louise Inn (value stay), HI Lake Louise (hostel).
- Canmore – Malcolm Hotel (luxury), Stoneridge Mountain Resort (condo suites with fully equipped kitchens), Mountain View Inn (budget), Canmore Downtown Hostel & the Canmore Hostel (party hostel).
- Johnston Canyon – Johnston Canyon Lodge & Bungalows, Castle Mountain Chalets, and HI Castle Mountain Hostel.
- Yoho National Park – Emerald Lake Lodge and Cathedral Mountain Lodge.
- Kootenay National Park – Storm Mountain Lodge & Cabins.
- Kananaskis Country – Mount Engadine Lodge and Kananaskis Mountain Lodge (luxury), Crosswaters Resort (mid-range), and HI Kananaskis Wilderness Hostel (budget).

Best Banff Car Rentals
Most of Banff’s remote trailheads and attractions are inaccessible via public transportation. I 100% recommend renting a car to make the most of your time in the Rockies.
My favourite rental tool is this site as it compares all the local car rental shops to find you the best rate.
Easy hikes in Banff
My Favourite Activities in Banff
Banff Gondola – epic views from the top of Sulphur Mountain.
Banff Hop on Hop off – explore the park at your own pace.
Lake Minnewanka Cruise – take a scenic boat ride down the largest lake in Banff.
Moraine Lake sunrise – chartered bus to see alpenglow on Canada’s most beautiful lake.
Norquay via ferrata – epic beginner friendly climbing route across iron bars on Mt Norquay.
Sunshine Meadows Gondola – find wild alpine flowers and hike around pristine alpine lakes.
Click here for a complete list of the Banff tours I recommend:
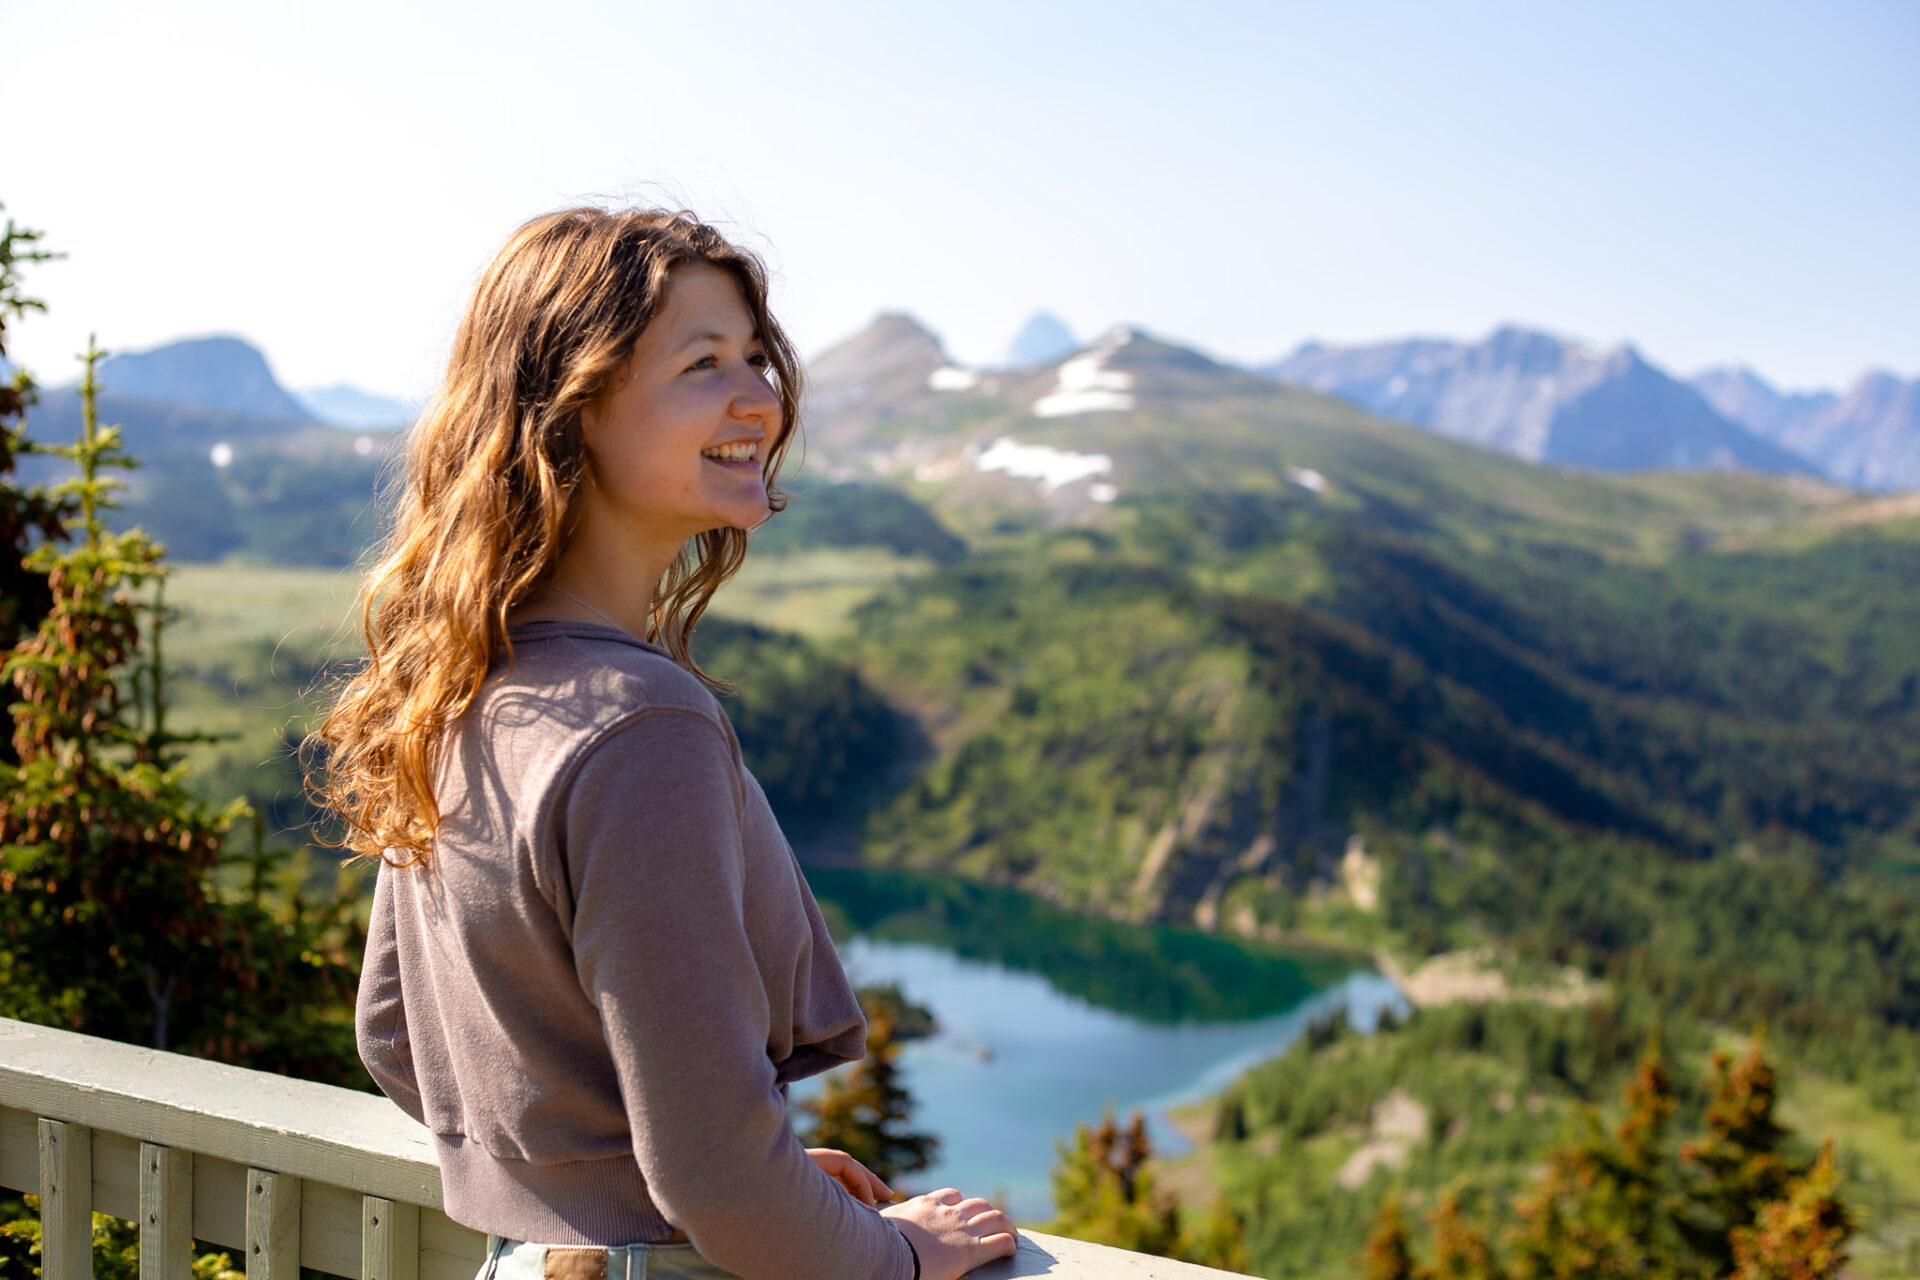
25+ Easy Hikes in Banff
These easy Banff hikes are quick and suitable for the whole family – including dogs. The hikes mentioned here (unless otherwise noted) are doable in winter with minimal-no avalanche risk. If you’re hiking in winter be sure to read my winter hiking blurb at the bottom of this post for footwear, gear and terrain info.
In addition to the popular easy hikes in Banff, I’ve noted a few “off-the-beaten path” trails in this list too. Enjoy!
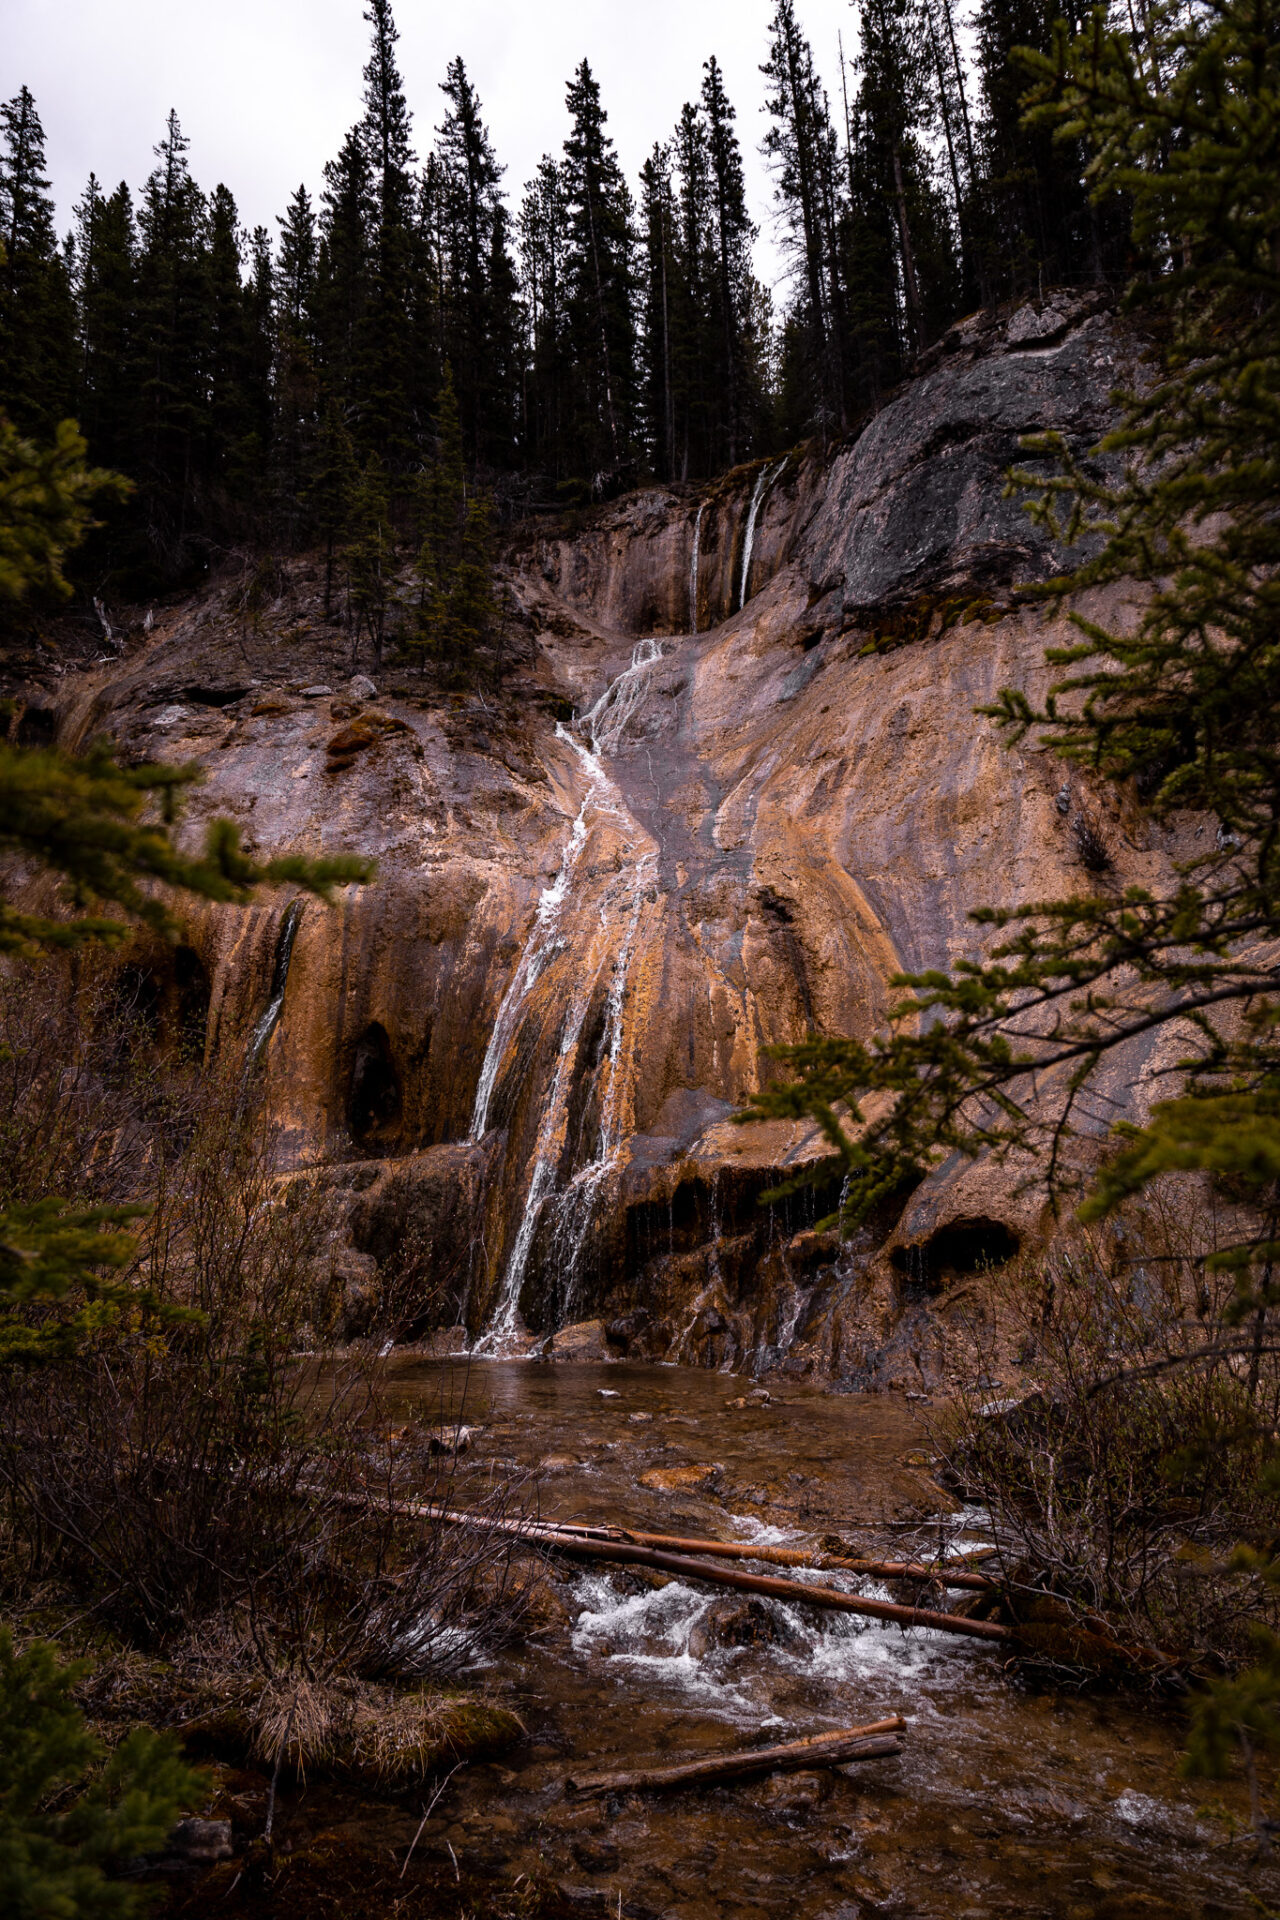
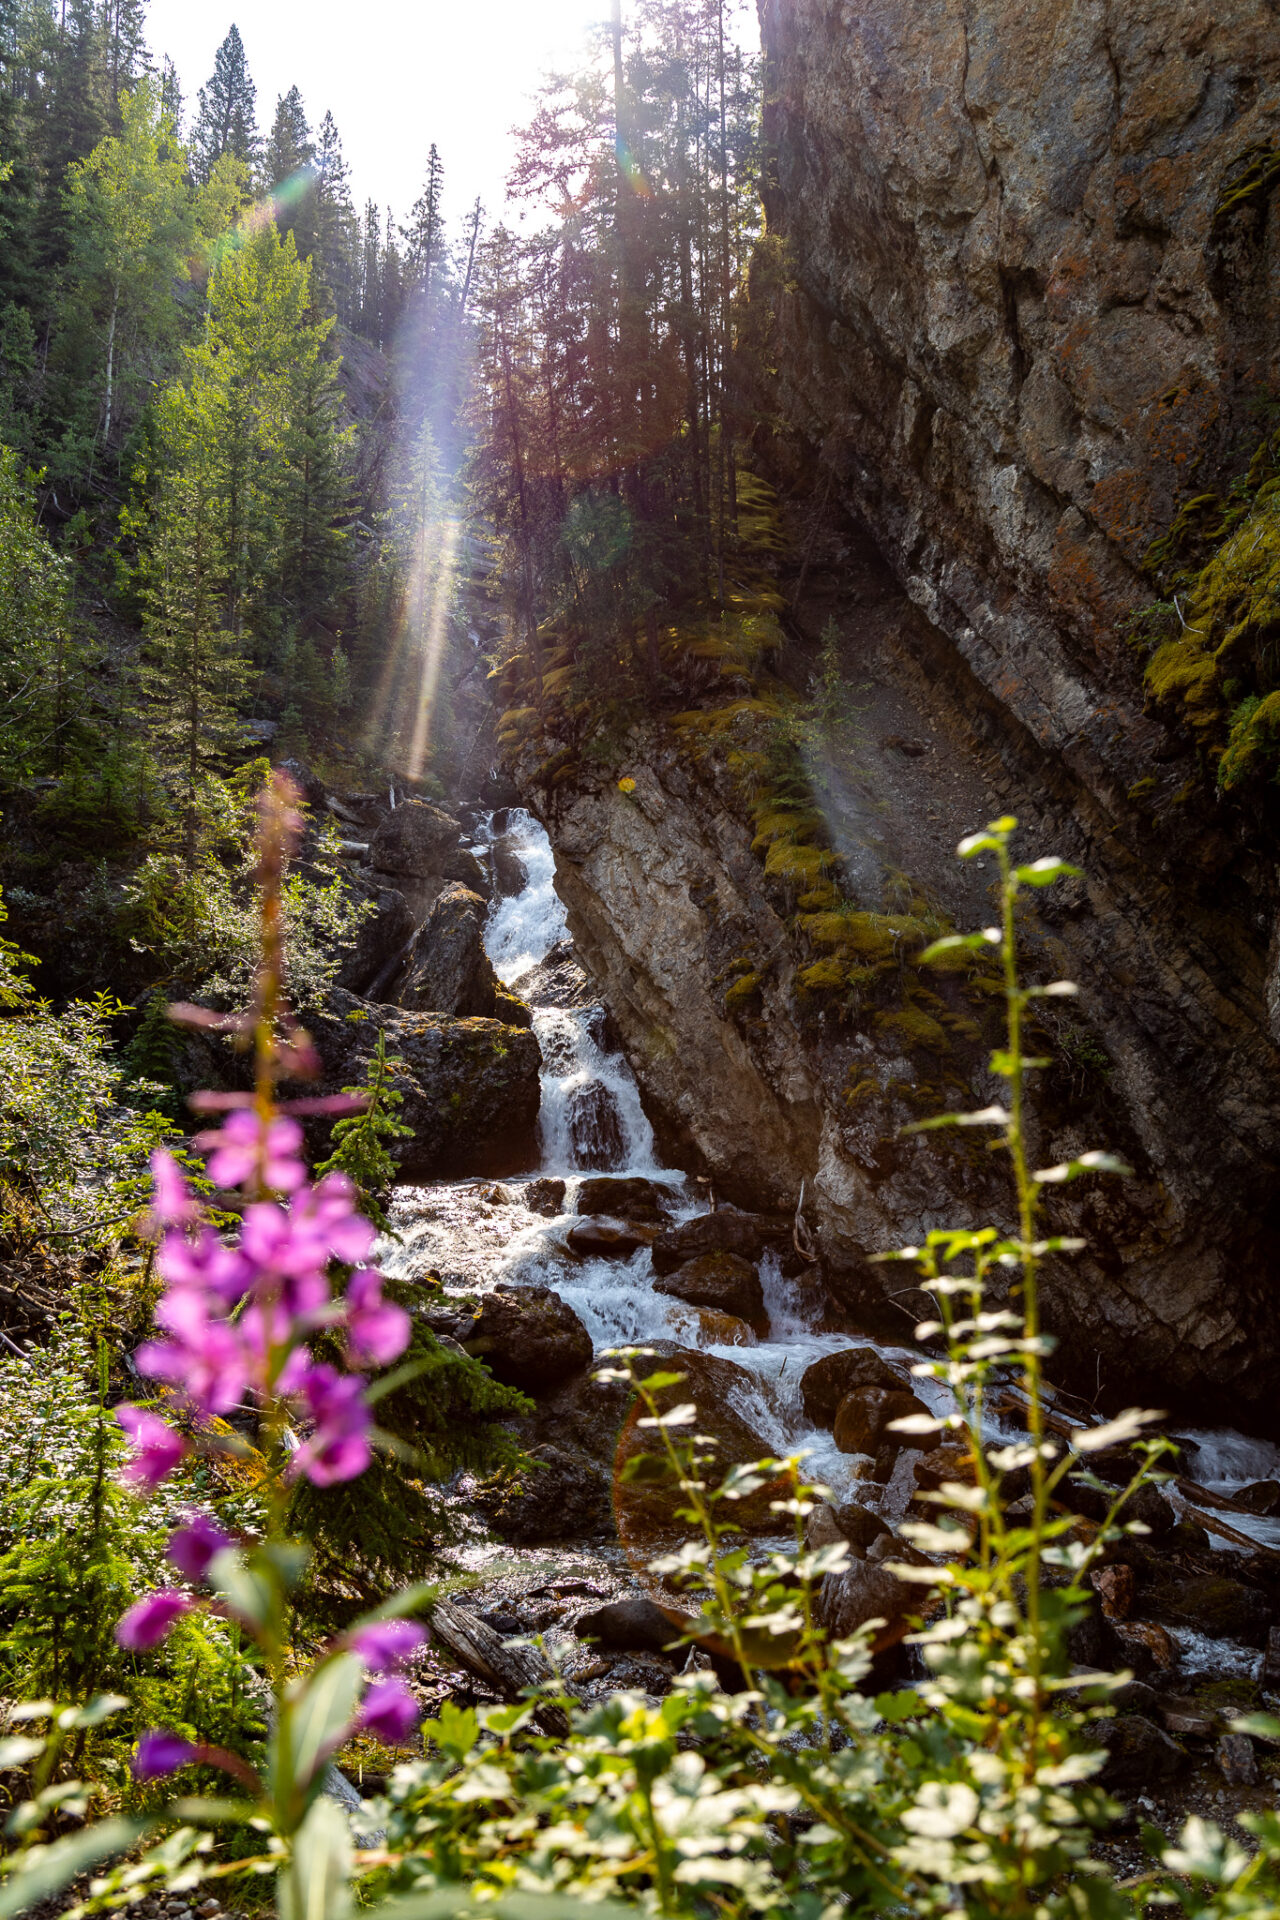
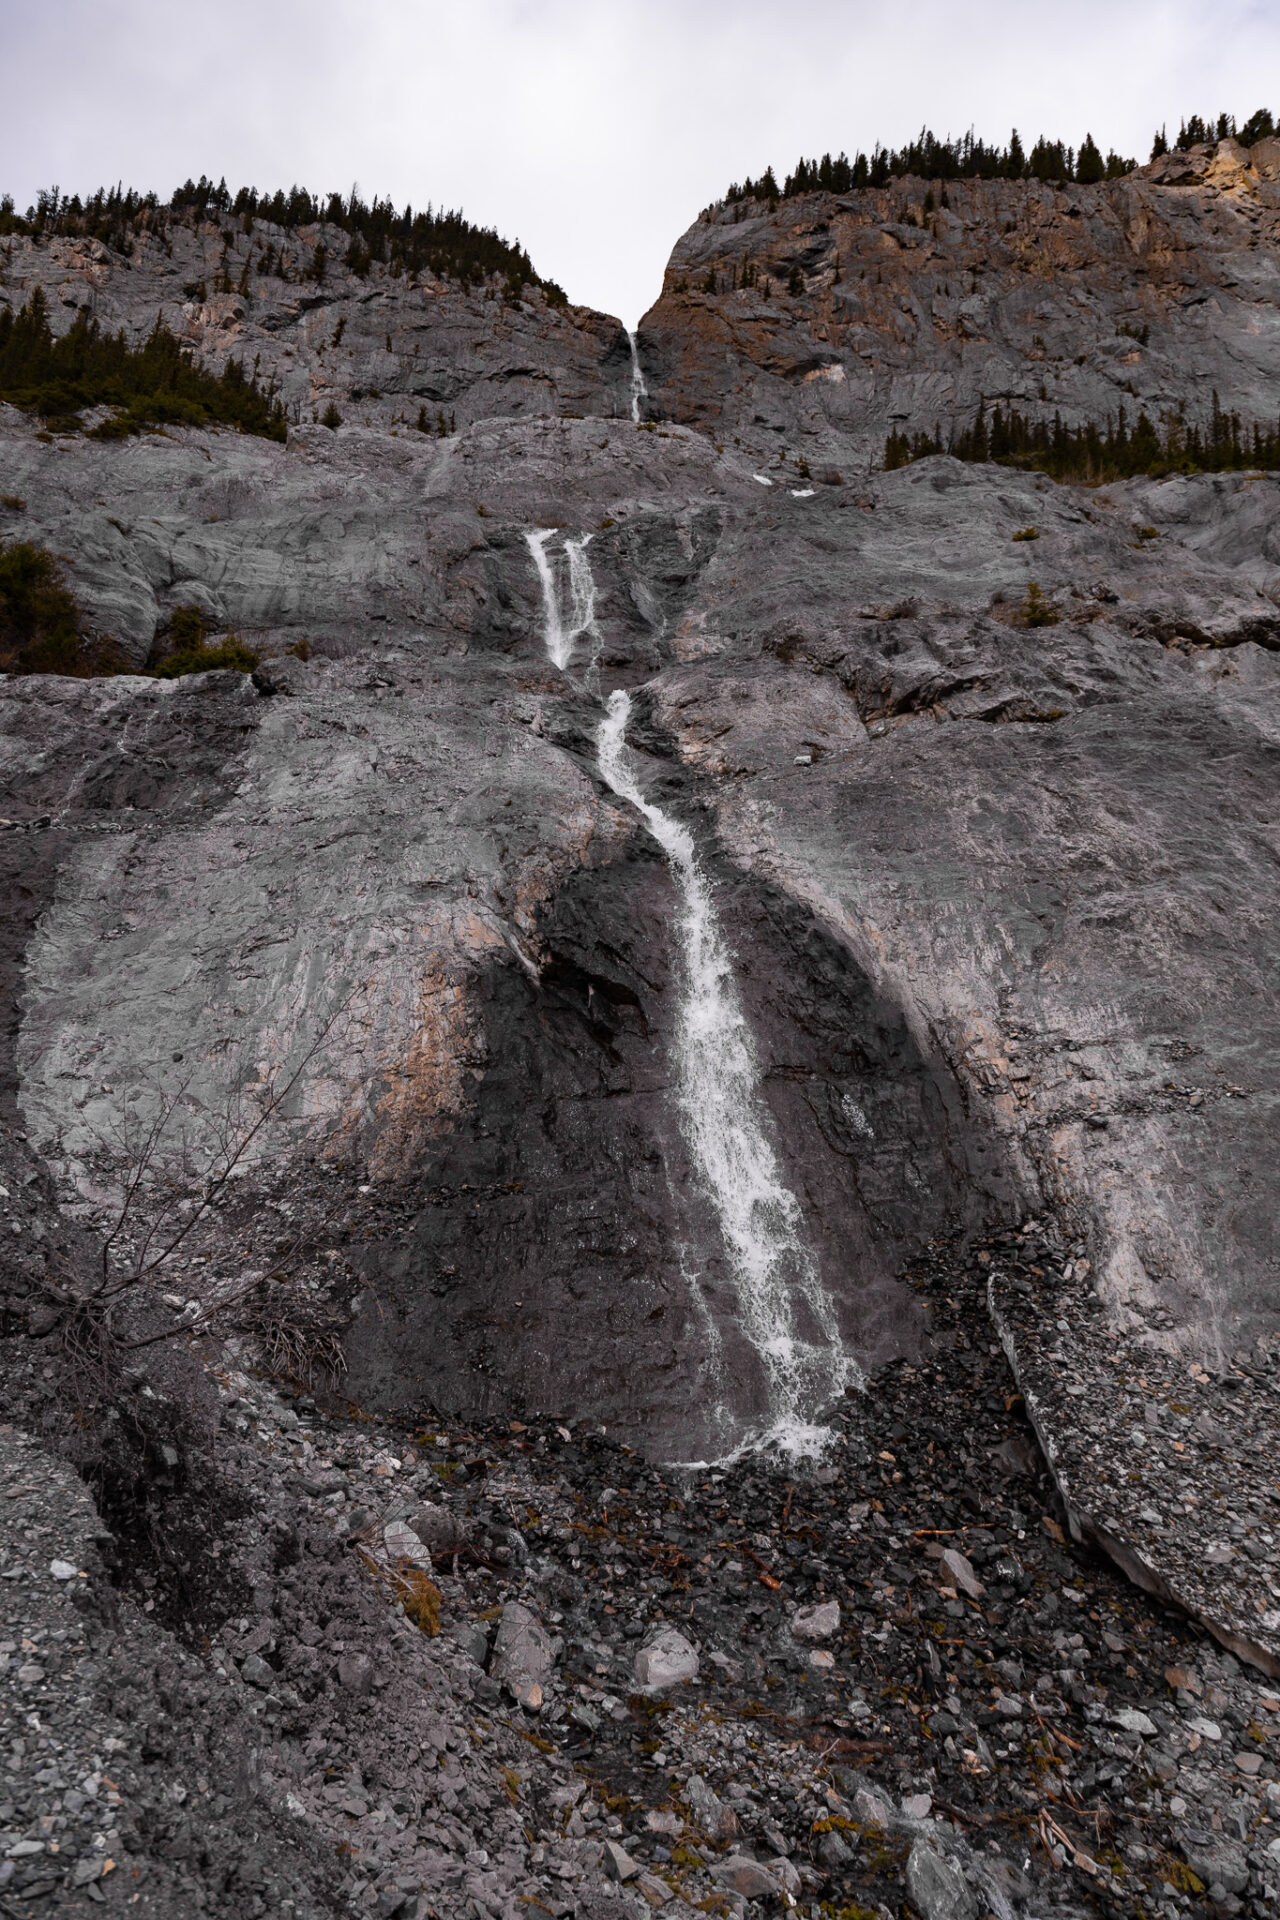
Tessa Falls
- Distance: 1.4kms
- Elevation gain: 80m
- Rated: easy
- Type of trail: out & back
- Estimated time: 30 minutes
- Trailhead GPS
Tessa Falls is one of the few “unknown hikes” in Banff which makes this the perfect easy hike in Banff if you’re looking for a trail with more solitude.
Tessa Falls is best seen in May during the spring melt when the heavier water flow cascades over the orange-coloured rock. At other times of year the waterfall will not be overly impressive as the snowmelt lessens.
Just in front of the falls you’ll find skinny logs laid across the river. You can cross these to get a closer look at the falls, but your feet will guaranteed get wet. Bring waterproof shoes or attempt the crossing barefoot – expect cold water temperatures even in summer.
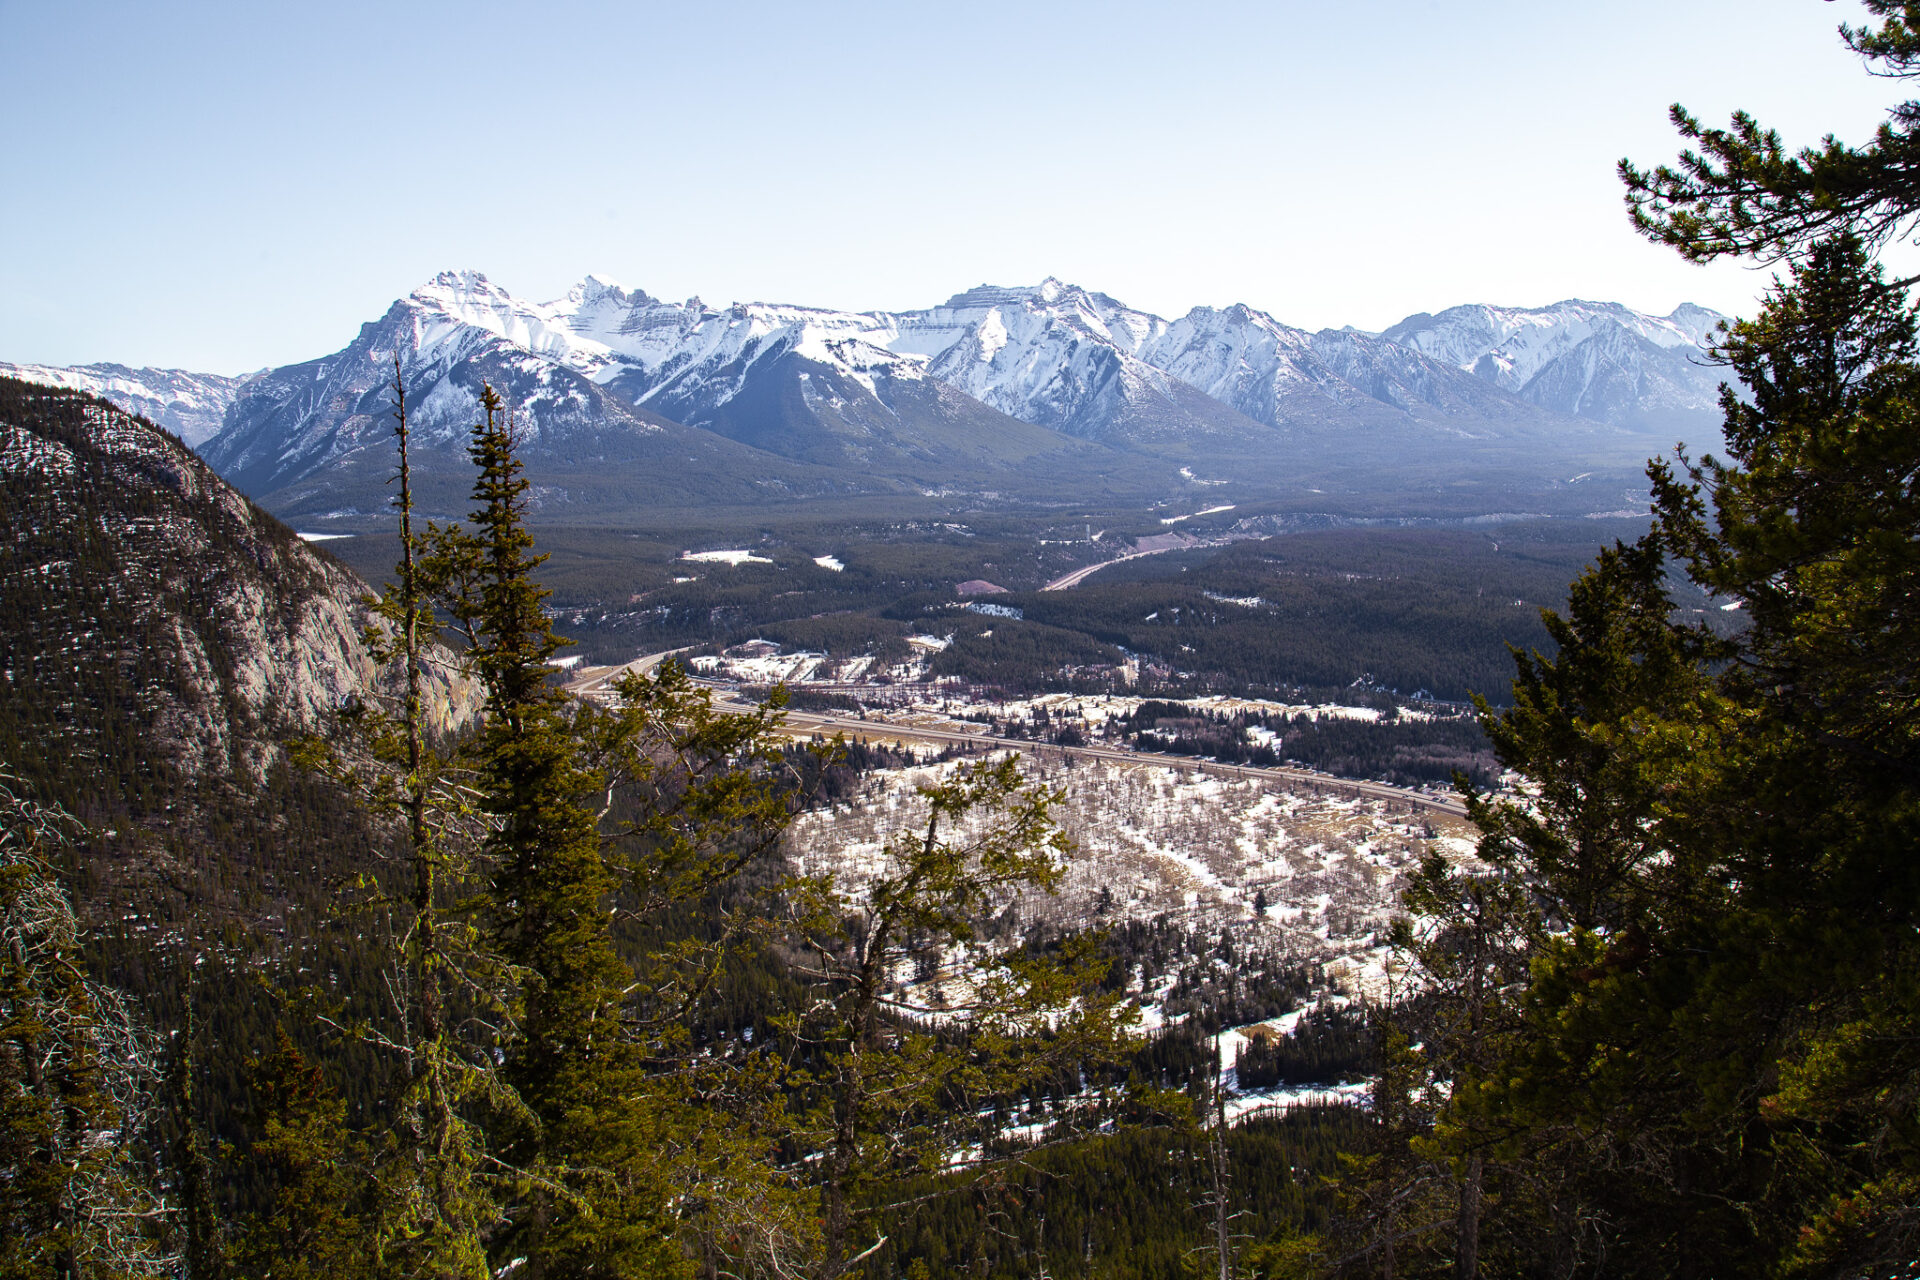
Tunnel Mountain
- Distance: 4.3km
- Elevation gain: 262m
- Rated: easy
- Type of trail: out & back
- Estimated time: 2hrs
- Trailhead GPS: Upper Trailhead & Lower Trailhead
Tunnel Mountain is one of the more demanding trails on this easy Banff hikes list, however it’s the smallest summit hike in the park. This makes it an excellent trail if you’re new to summit hiking or are looking for epic views with low effort.
The summit overlooks the town of Banff and the Bow Valley and it’s a great trail for sunrise and sunset, if you’re into that sort of thing.
Beware, this trail is extremely busy. On weekends during peak summer it’s frustrating to hike as the amount people literally crowds the trail. Try to hike early in the day or late in the day to avoid the chaos.
You can walk to Tunnel Mountain from town, or drive. If you walk up, start at the lower trailhead. If you drive up, park at the upper trailhead.
Here’s my complete Tunnel Mountain trail guide.
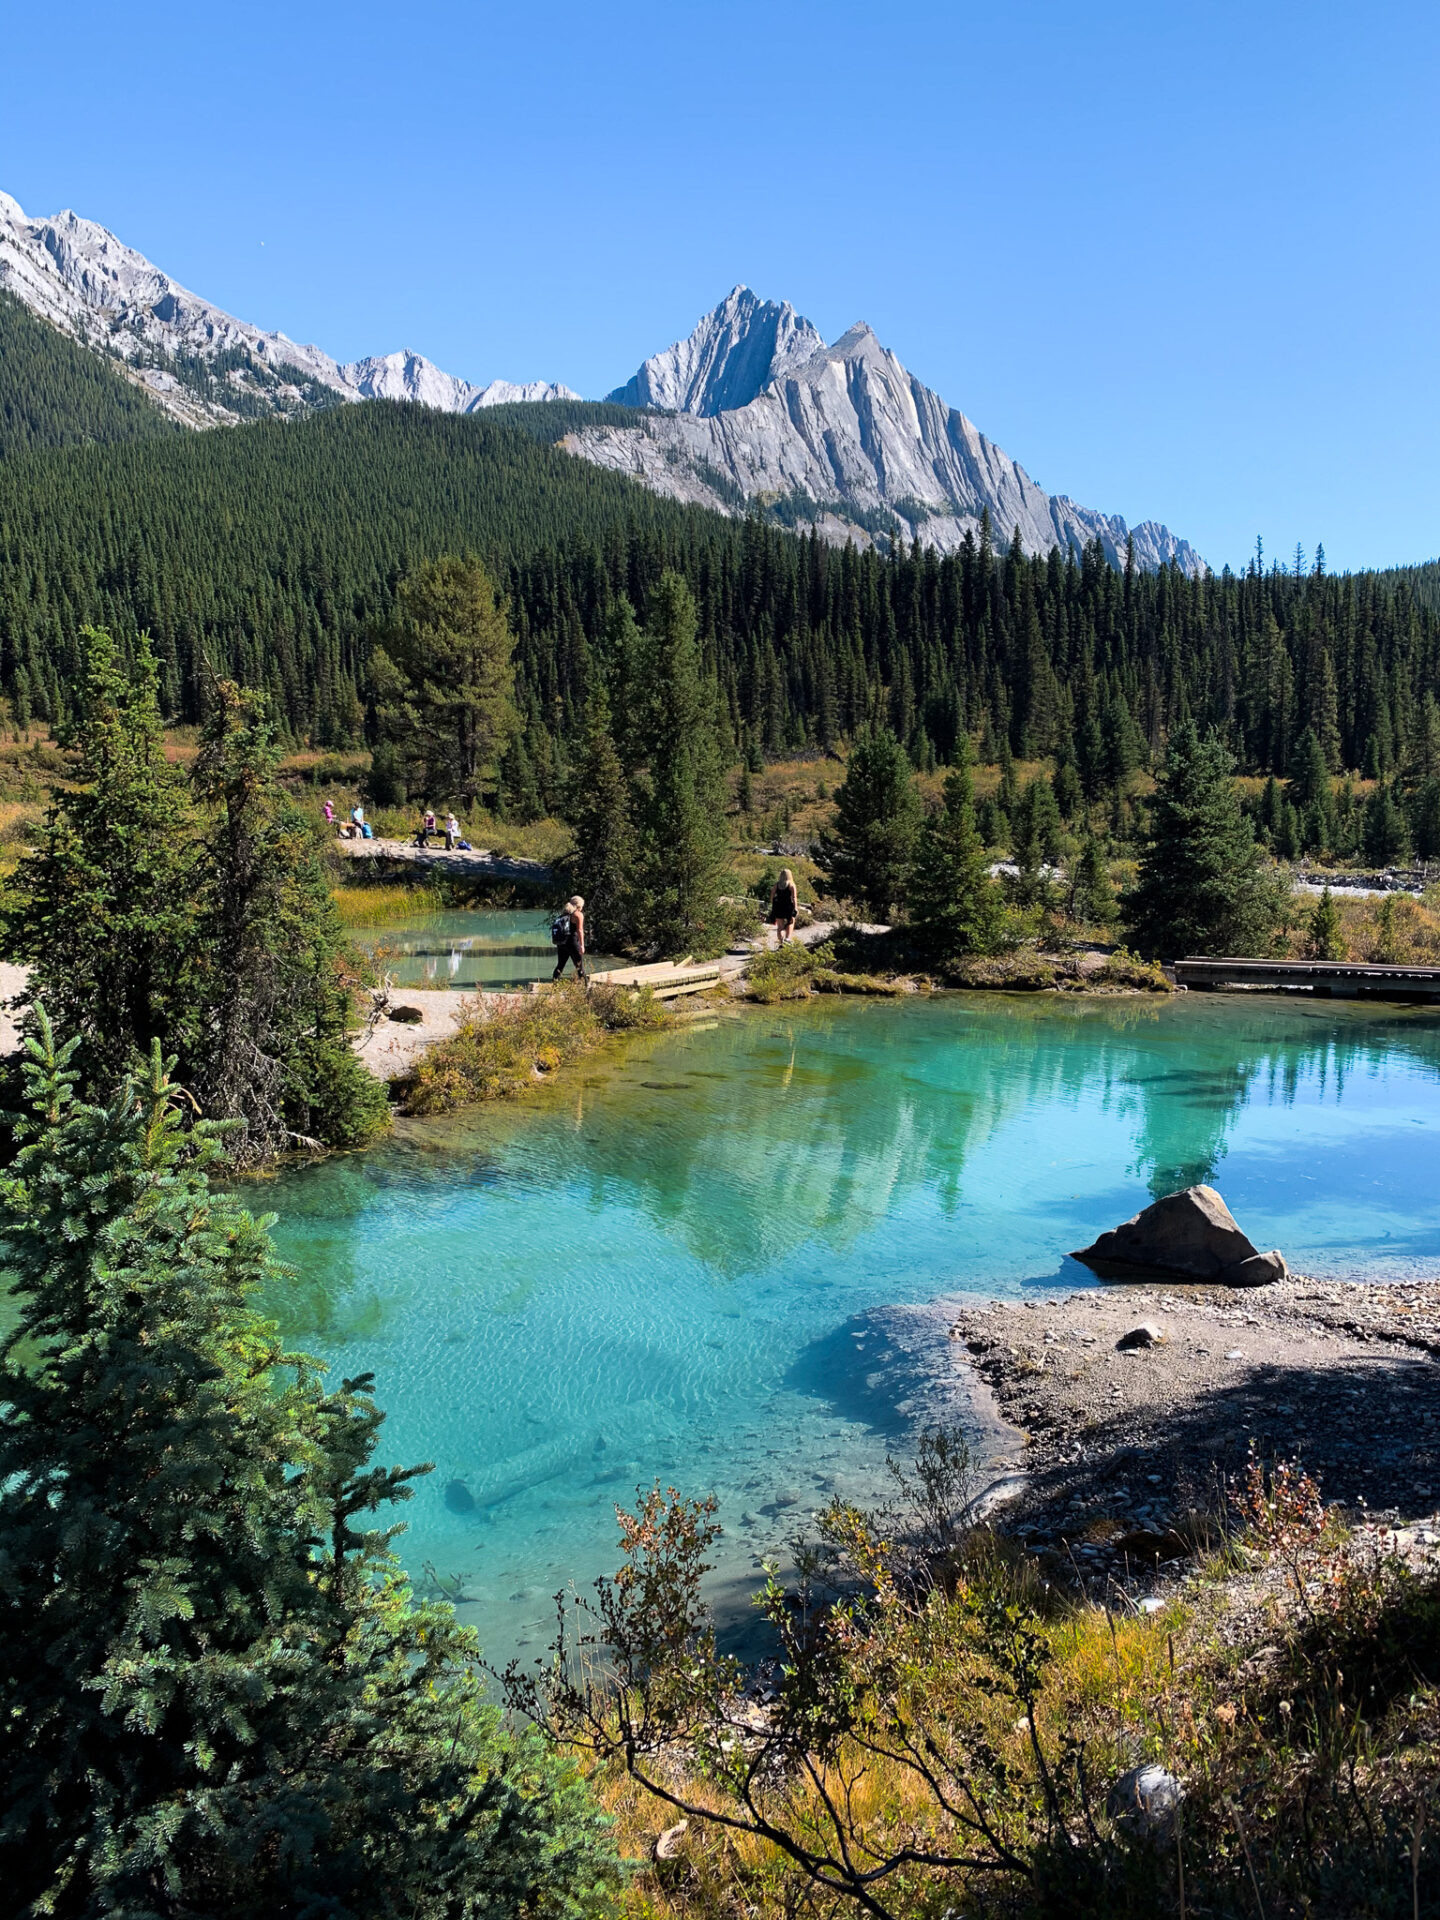
Sunshine Meadows Loop
- Distance: 5kms
- Elevation gain: 250m
- Rated: easy
- Type of trail: loop
- Estimated time: 2-3hrs
- Trailhead GPS: Sunshine Gondola Station & Meadows Viewing Deck
The Sunshine Meadows Loop is easily one of the best places to see wildflowers in Banff. This easy Banff hike is open year round – as a snowshoe/ski touring route in winter (avalanche risk present) and as a hike in summer.
July-August is the best time of year to visit to see the flowers.
You’ll need to take the Sunshine Village Gondola, then the Standish Chairlift to get up to the meadows. From here there’s a boardwalk to a viewing platform overlooking Rock Isle Lake, Grizzly Lake, and Larix Lake. You can hike down and around the lakes from the viewing deck.
Using the gondola to see the meadows offers a unique opportunity as typically Banff’s backcountry areas like this require demanding hikes to access. The gondola makes this hike low effort, but extremely high reward.
This trail is accessible via Sunshine Village’s free shuttle.
Interactive Banff Map – from a LOCAL
Get my 600+ local Banff recommendations saved to your Google Maps app
I lived in Banff for years & know all the best spots!
Outdoors: 100+ hiking trails, scrambles, backcountry routes, waterfalls & lakes
Planning: lodging, parking, restaurants, public washrooms, transit hubs, shopping & services
Things to do: tours, viewpoints, unique activities, & local secrets
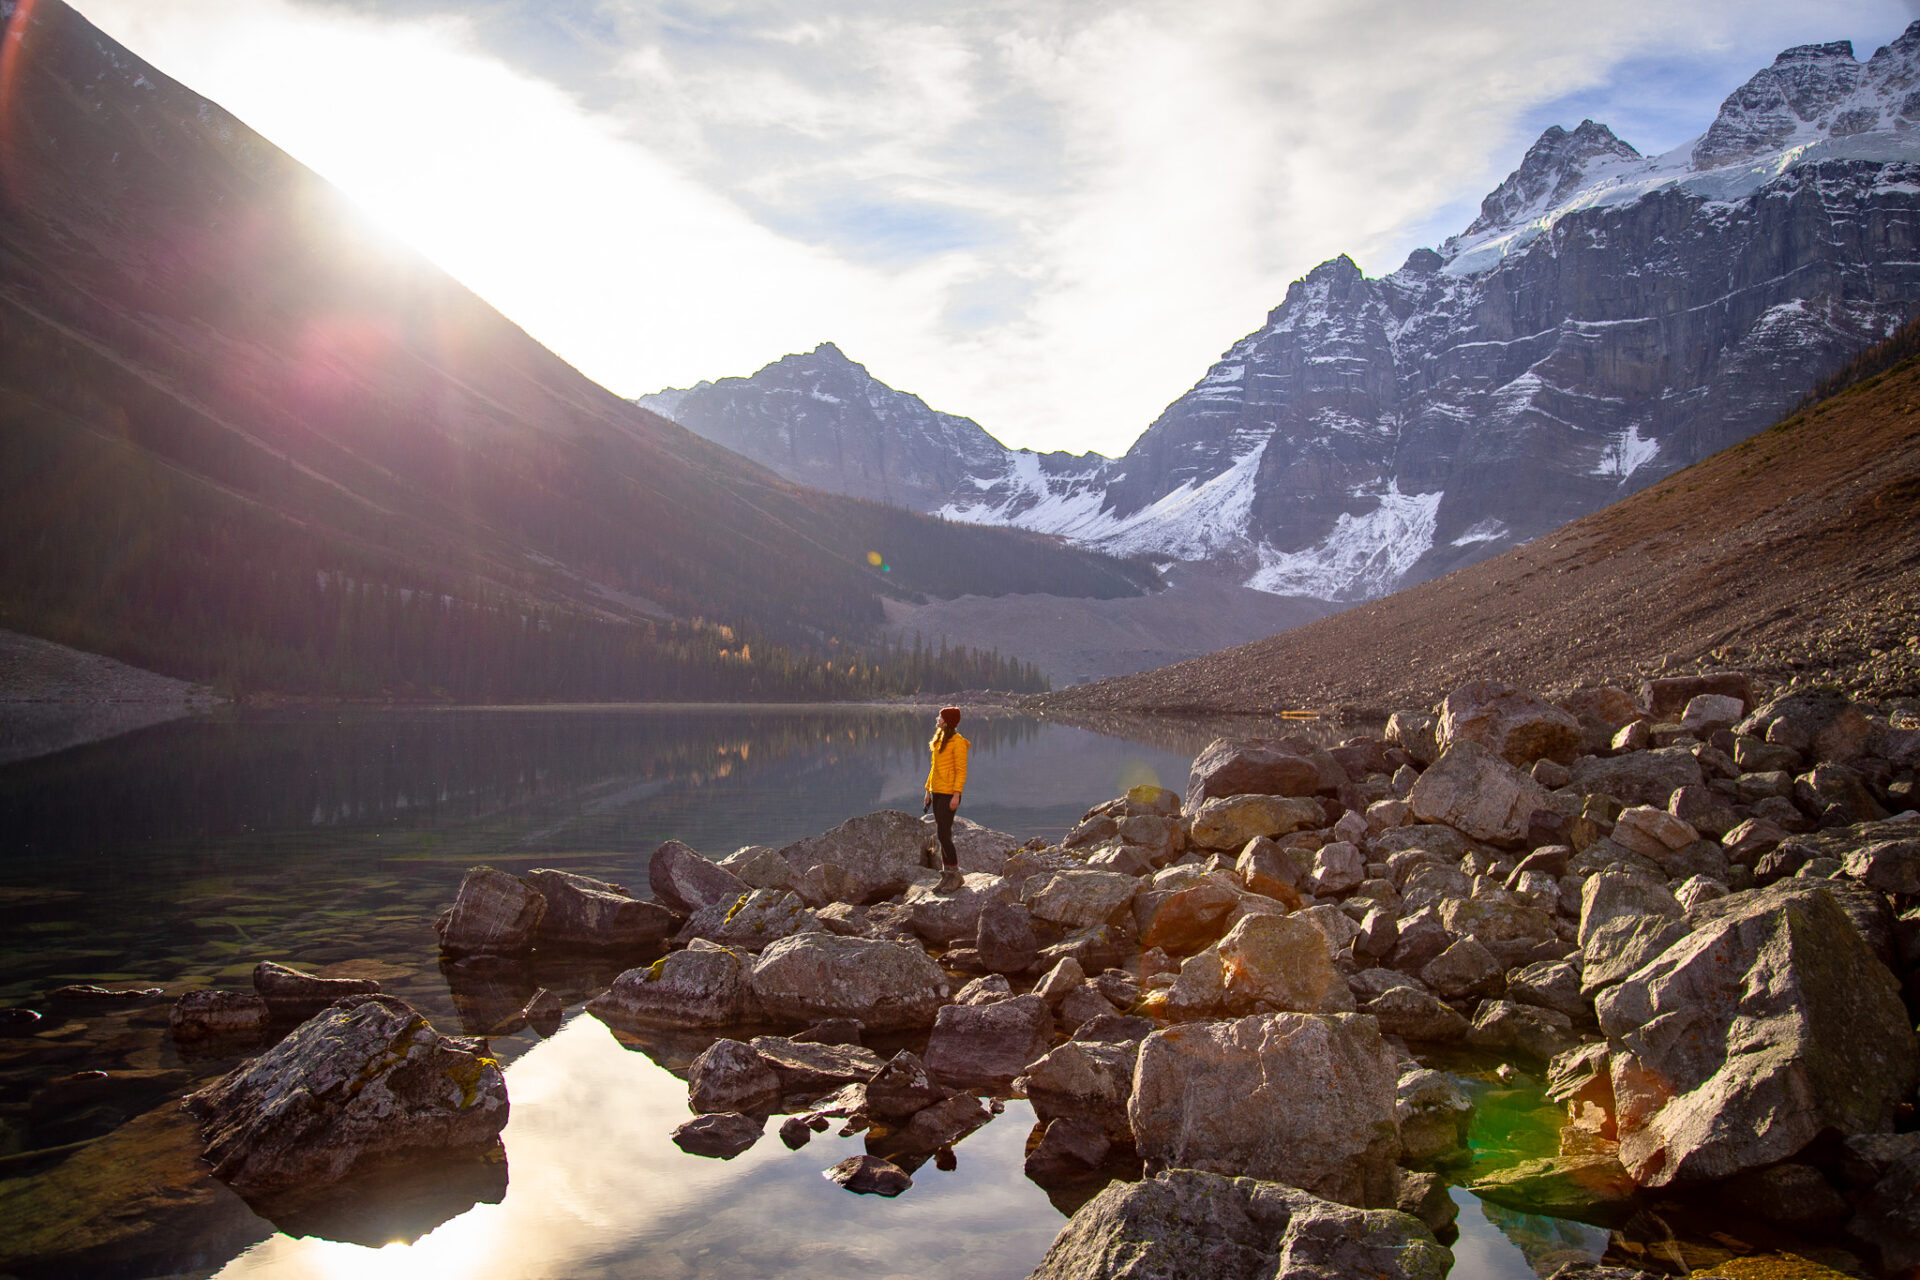
Consolation Lakes
- Distance: 6.4kms
- Elevation gain: 269m
- Rated: easy
- Type of trail: out & back
- Estimated time: 3hrs
- Trailhead GPS
This is the easiest hike available from Moraine Lake. The trail is forested at first, then opens up to insane views of Consolation Lakes and the surrounding mountains. Wildlife is common here so it’s strongly recommended to hike in groups of 4+ and carry bear spray.
The beauty of this hike totally took me by surprise and as such I highly recommend this easy Banff hike. Just beware that the last stretch of trail to the lake does meander over large boulders. Balance is required here and elderly people may struggle.
There’s a second lake behind the first, however I do NOT recommend trying to access it. The ‘trail’ to it is complete bushwhacking on the one side and on the other it’s a traverse across the bottom of a steep scree slope prone to rockfall. The views are significantly better from the first lake anyways.
As of summer 2023, Moraine Lake Road closed to personal vehicles. You now need to take public transit or book a private shuttle to access Moraine Lake and the surrounding trails. For more information on how to access Moraine Lake, you can reference my guide. You can also check the road status here as there’s a seasonal closure from October to June (dates vary).
If you’d like to book a sunrise shuttle to Moraine Lake, you can do so here.
Copper & Smith Lake
- Distance: 4.7kms
- Elevation gain: 264m
- Rated: easy
- Type of trail: out & back
- Estimated time: 2hrs
- Trailhead GPS
This family-friendly, easy Banff hike is popular for hiking, running, fishing, and paddle sports as Copper Lake is so close to the parking lot (10-15 minutes).
Past Copper Lake you can continue up a steeper, but short-lived trail to Smith Lake. You’ll see Smith Lake from above on the hike in, then the trail dips down to the lake’s level where you can go for a swim or hang a hammock on the tiny shoreline.
Sundance Canyon & the Marsh Loop
- Distance: 8.7km
- Elevation gain: 342m
- Type of trail: out & back
- Rated: easy
- Estimated time: 3hrs
- Trailhead GPS
Sundance Canyon is a busy, but beautiful trail starting at the Cave & Basin Hot Springs and Museum. You can access this easy Banff hike via route 4 with Roam Transit (operates in the summer only). Its proximity to town makes this one of my favourite easy hikes in Banff.
The first few kilometres of the trail follow a paved road (no vehicle access) along the Bow River which is best completed via bike to save some time. In the winter this is a great xc ski spot.
At the end of the road you’ll find the canyon trail which follows a packed path to a small waterfall. By the canyon there are a few relatively steep, but short-lived sections where some minor handholds are required for balance up wooden and stone steps. The rest of the trail meanders through the woods back to the road.
Closer to the Cave & Basin side of the trail you’ll find a turnoff for the Marsh Loop which is a quick detour to a Marsh area full of various bird species. If you opt to add the Marsh Loop to your Sundance Canyon hike, it’ll add approximately 30 minutes or so to the total time.
Kicking Horse Viewpoint
- Distance: 2.7kms
- Elevation gain: 179m
- Rated: easy
- Type of trail: out & back
- Estimated time: 1hr
- Trailhead GPS: Lake Louise Ski Resort Parking & top of gondola
The Kicking Horse Viewpoint is seen from the top of the Grizzly Express Quad at the Lake Louise ski resort. To get here you must book a lift ticket and take the chairlift to a higher point on the mountain where you can start hiking.
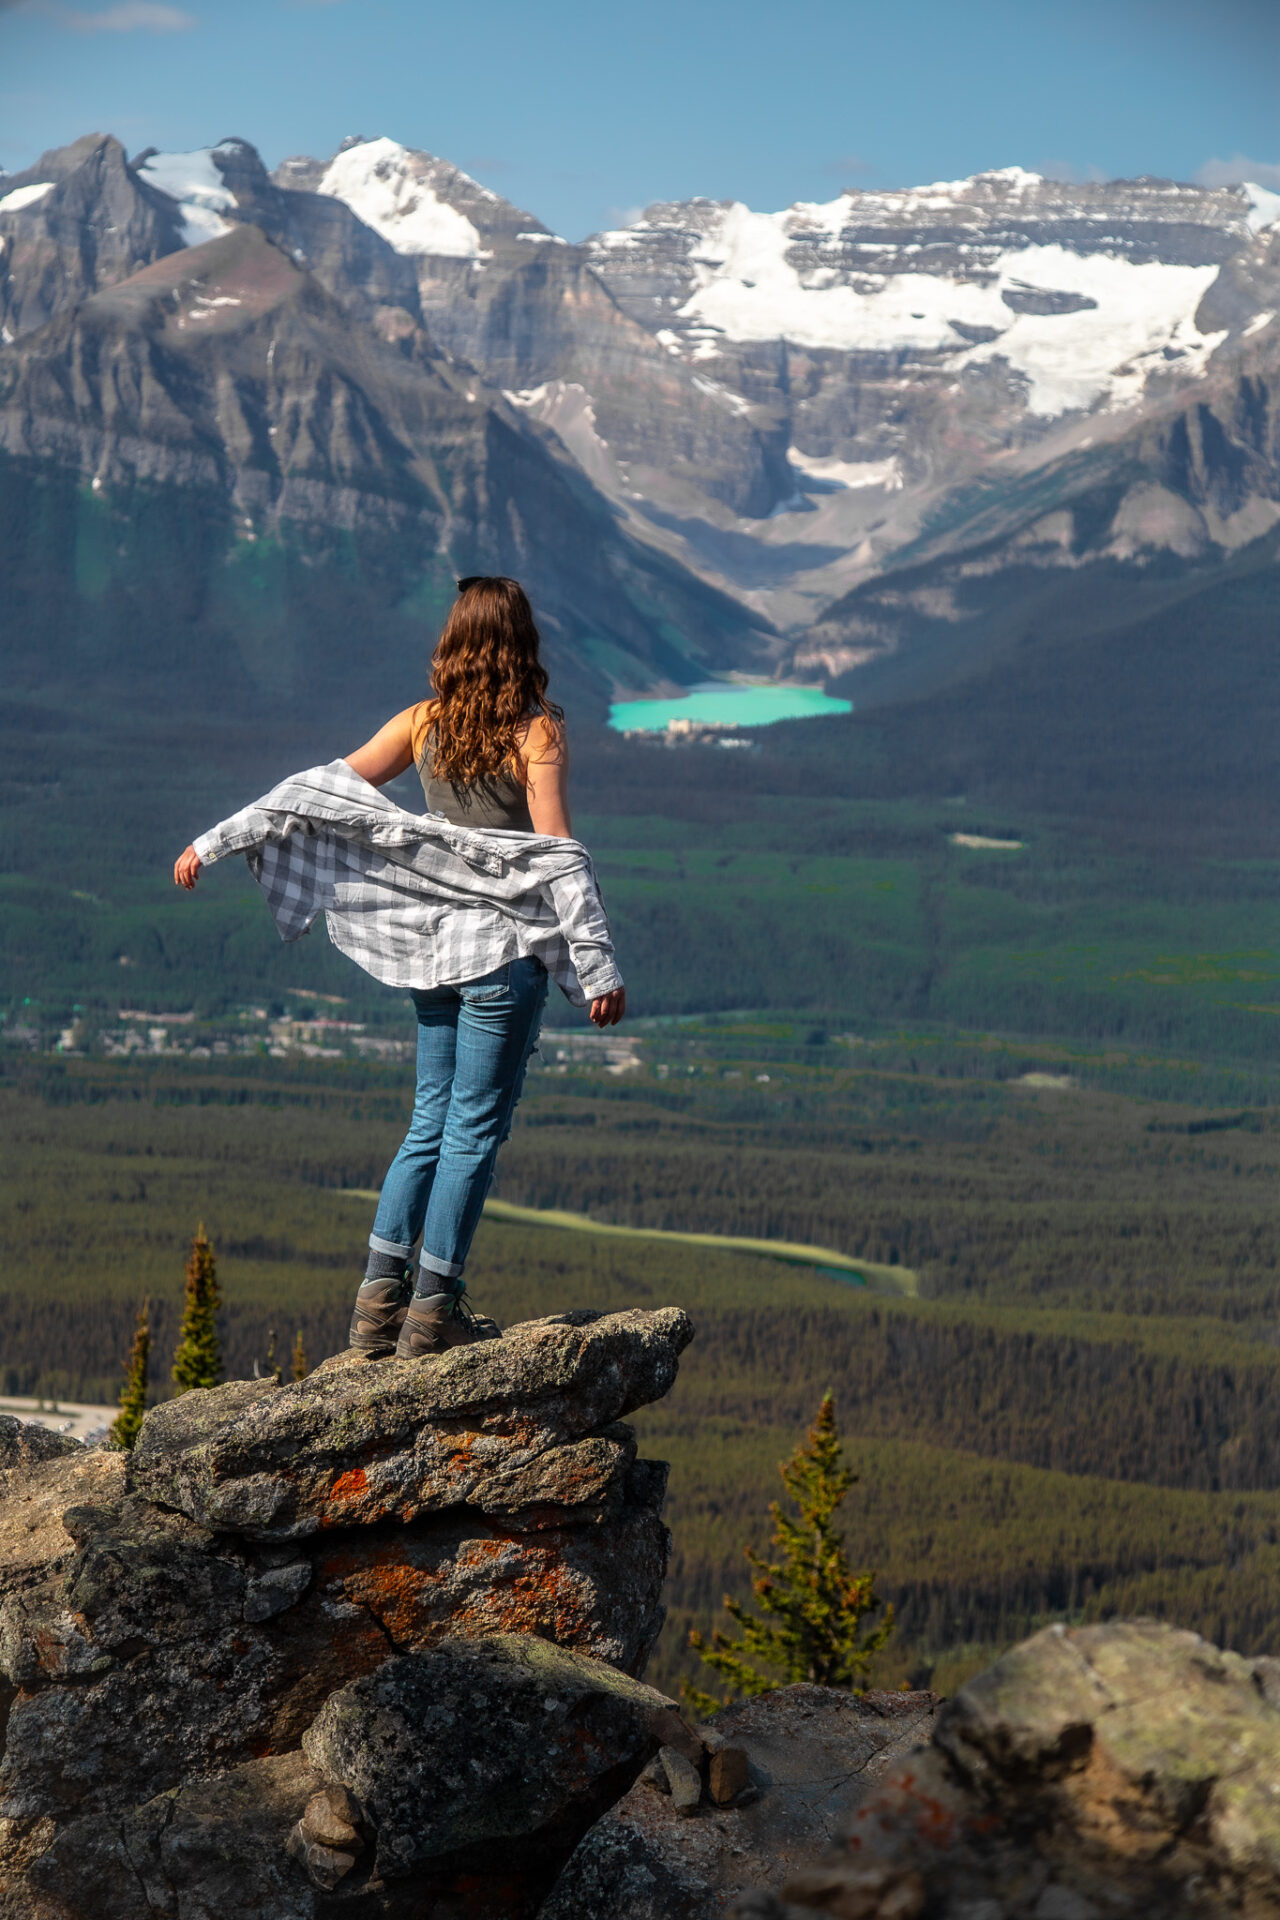
This trail ventures through fields of wildflowers and a Larch forest to a viewpoint looking down the Kicking Horse Valley toward Golden. From the viewpoint you’ll also find a Birdseye view of Lake Louise on the opposite side of the Bow Valley. This is a unique perspective only seen from the ski resort.
The trail I have linked below starts from the Whitehorn Bistro, but if you go left as soon as you step off the chairlift, you cut off 1km and 60m of elevation gain.
From the top of the chairlift you can also hike to the Ptarmigan Viewpoint – a 3.9km trail with 294m of elevation gain. The trail takes around 1.5hrs and the view is okay compared to the Kicking Horse Viewpoint.
Fairview Lookout
- Distance: 2.3kms
- Elevation gain: 156m
- Rated: easy
- Type of trail: out & back
- Estimated time: 45mins-1hr
- Trailhead GPS
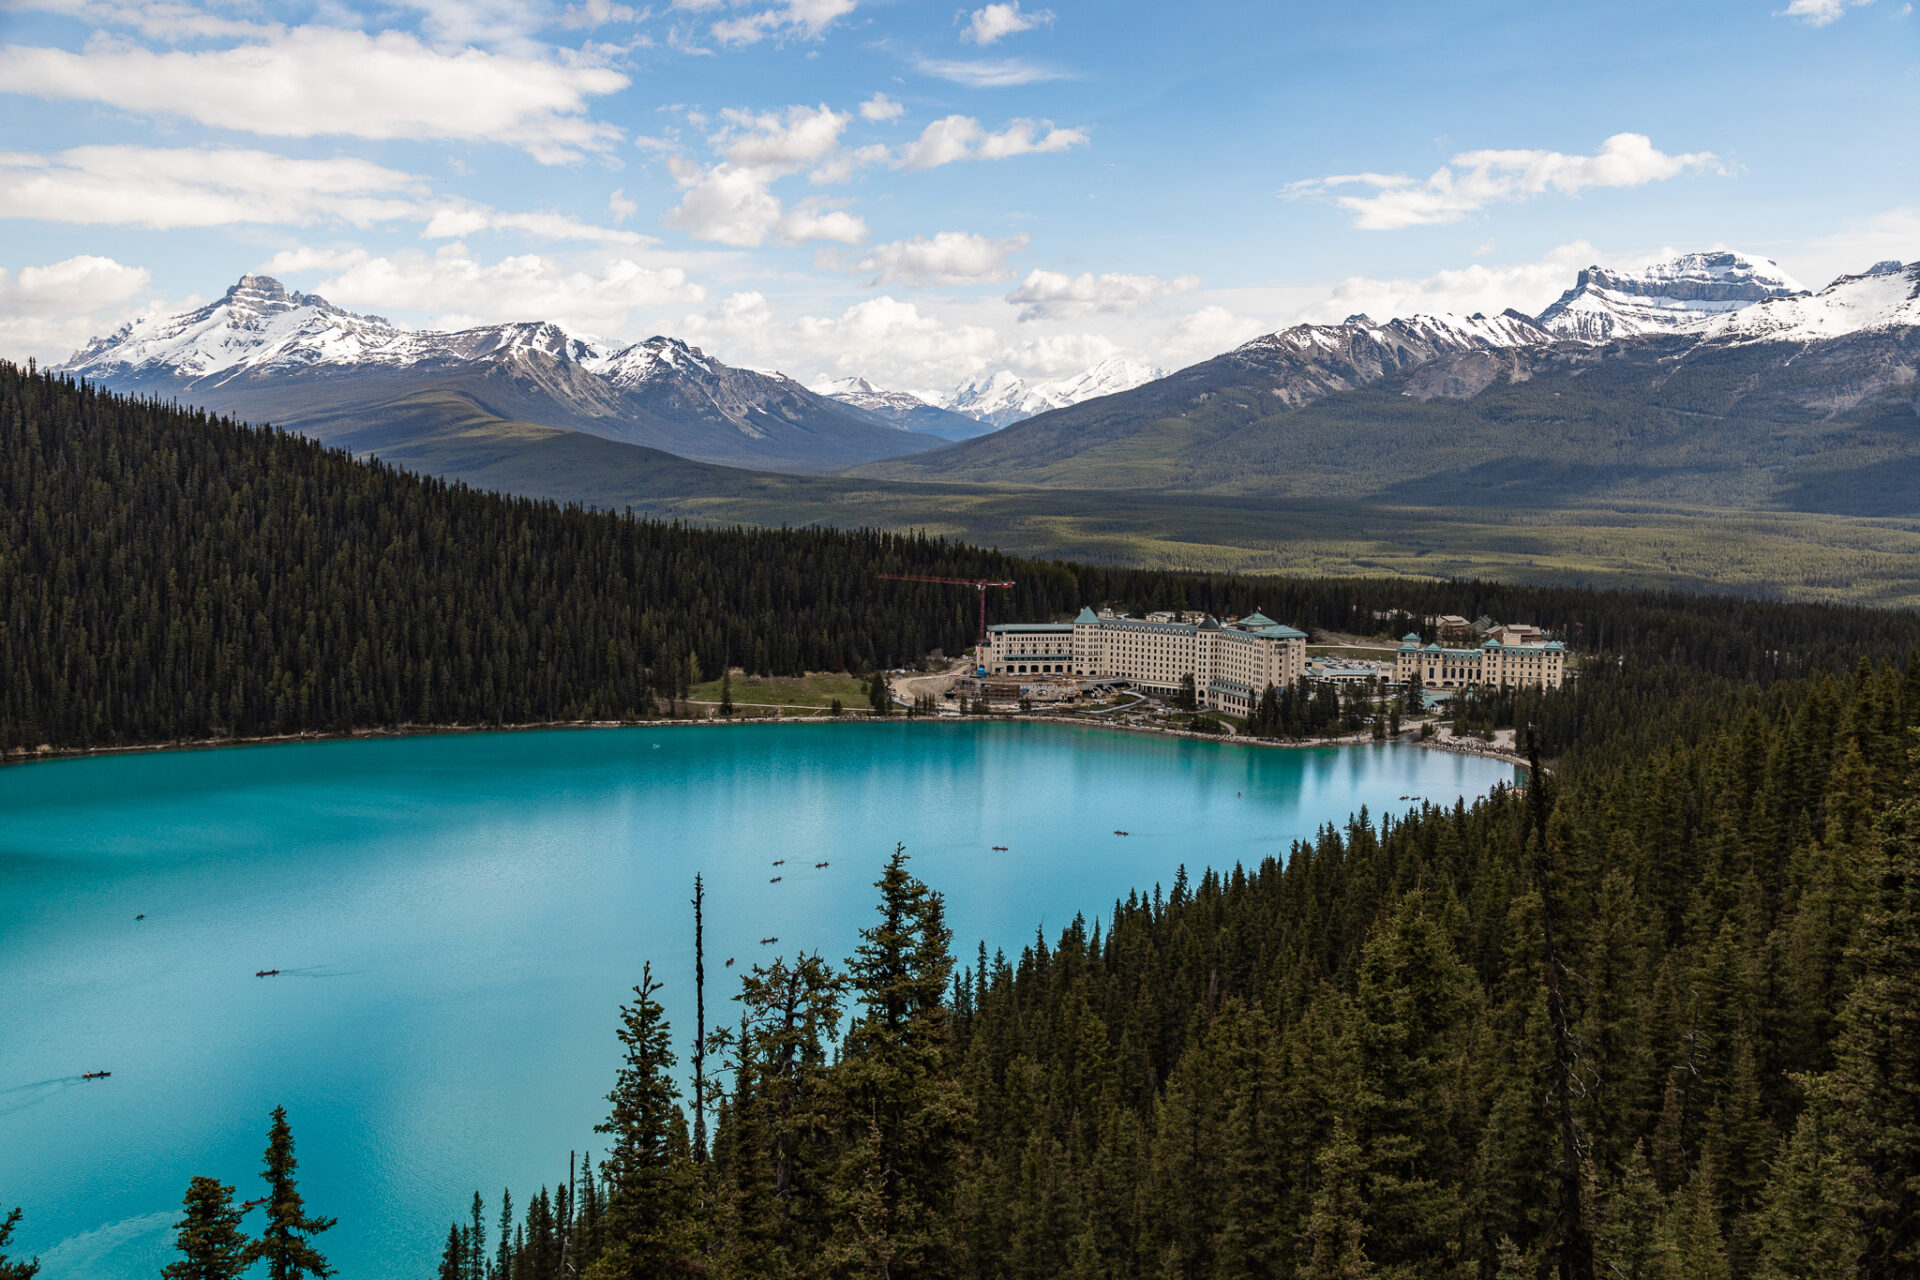
Fairview Lookout is a short and sweet hike that’s great for families and those new to hiking. This easy Banff hike follows a forested route all the way to the end of the trail where you’ll find a platform overlooking the Fairmont Chateau Lake Louise. The trail can get quite busy and the platform can be crowded so try to hike early in the day or in the evening for the best light.
Fast and fit hikers can easily complete this trail in under half an hour. This trail can be hiked year round, but be sure not to go further than the viewpoint in winter as past this you’ll be exposed to avalanche terrain.
More: How to get to Lake Louise & Moraine Lake
More: 25+ Lake Louise Hikes
Hoodoos Trail
- Distance: 10kms
- Elevation gain: 316m
- Type of trail: point to point or loop
- Rated: easy
- Estimated time: 3hrs
- Trailhead GPS: Surprise Corner & Hoodoos Viewpoint
This easy Banff hike is relatively quiet and offers superb views of the local mountains and the Bow River. The two trailheads are great spots to watch both sunrise (best from Surprise Corner) and sunset (best from Hoodoo Lookout). At the Hoodoo Lookout you’ll also be able to see a small set of hoodoos down below.
The trail wanders through the forest and along the Bow River behind Tunnel Mountain. The trail is very easy to follow and you can walk from town to both trailheads. Alternatively, you can start hiking from Surprise Corner then catch Roam’s route 2 service from Tunnel Mountain Village II campground back to town (or vice versa).
Cascade Falls
- Distance: 1.3kms
- Elevation gain: 147m
- Type of trail: out & back
- Rated: easy
- Estimated time: 1hr
- Trailhead GPS
Cascade Falls is a short and steep hike just outside the town of Banff, accessible via Roam Transit’s route 6. The waterfall you see flowing from Cascade Mountain on the drive toward Banff from Calgary is your objective here. The steep trail begins at the airstrip opposite to Cascade Ponds. The trail up requires some minor scrambling, but nothing complicated.
You can realistically stop anywhere along the trail as there’s no real “end point.” I find the spot just after you cross the waterfall offers a larger sitting area and a nice view of Mount Rundle and the Bow Valley. I always end my hike here and stop to admire the view.
Ice climbers frequent this area in the winter, however avalanches and ice falls do occur here. Beware if you decide to hike in winter.
Interactive Banff Map – from a LOCAL
Get my 600+ local Banff recommendations saved to your Google Maps app
I lived in Banff for years & know all the best spots!
Outdoors: 100+ hiking trails, scrambles, backcountry routes, waterfalls & lakes
Planning: lodging, parking, restaurants, public washrooms, transit hubs, shopping & services
Things to do: tours, viewpoints, unique activities, & local secrets
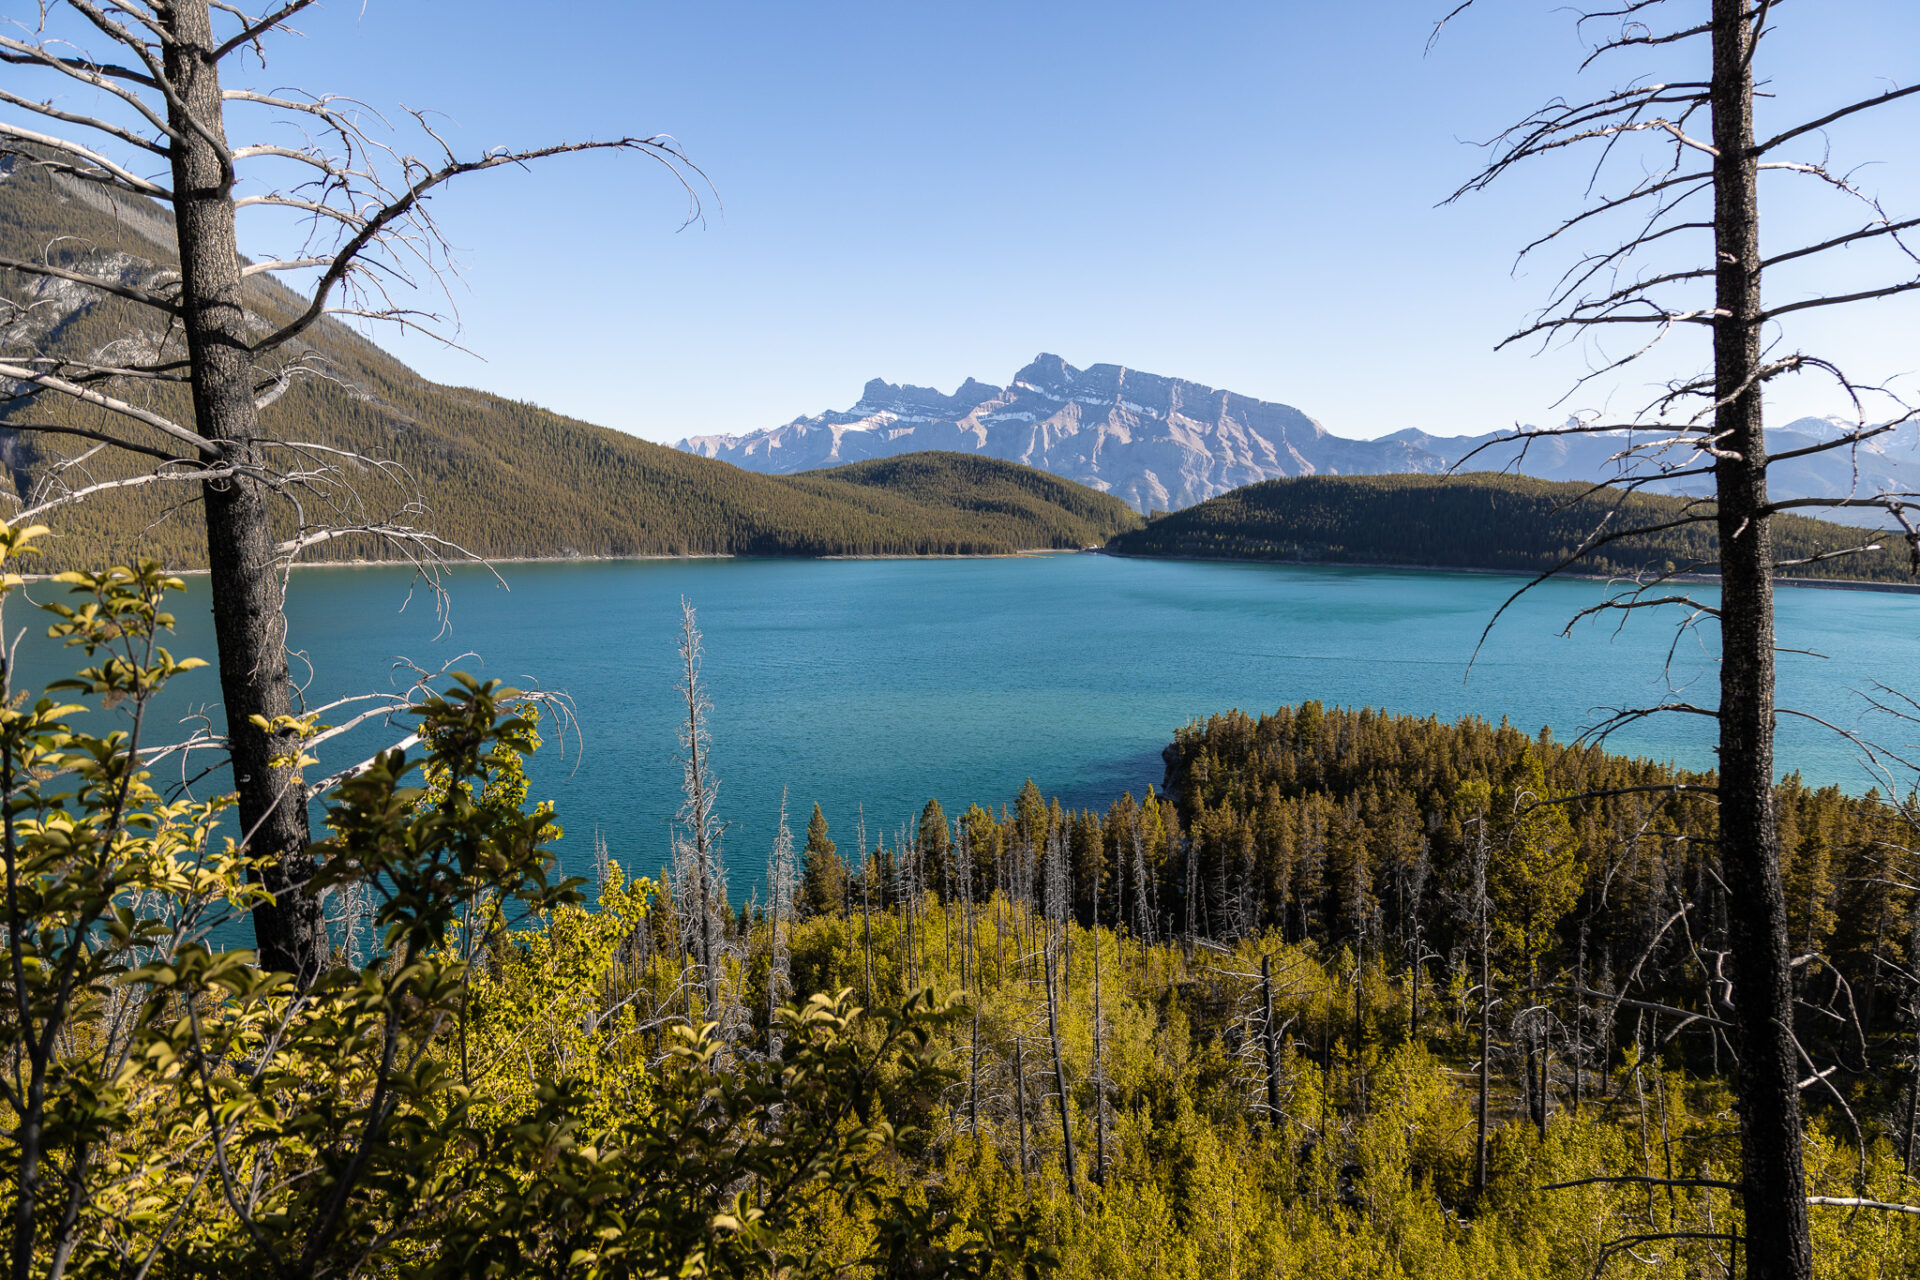
Stewart Canyon & the Lake Minnewanka Viewpoint
- Distance: 5.8km
- Elevation gain: 209m
- Rated: easy
- Type of trail: out & back
- Estimated time: 2hrs
- Trailhead GPS
Stewart Canyon is often an easy Banff hike that’s overlooked, but shouldn’t be. The trail wanders around the Lake Minnewanka shoreline, then crosses a bridge and follows the beautiful Stewart Canyon from a higher vantage point. At the end of the trail you drop back down to ground level where you can dip your feet in the canyon water or sit and enjoy the sound of flowing water.
On the return hike you can opt to walk to a viewpoint which overlooks Mount Rundle from across the lake. The trail to the viewpoint adds an extra 2.5kms and 60m of elevation gain – approximately 30 minutes total.
There are trail restrictions in the area, however this does not affect hikers going to Stewart Canyon. If you opt to hike to the viewpoint you’ll have to enter the restricted area – this just means you need to be in a group of 4+ from July 10 to Sept 15. No dogs or bikes permitted on the trail during this time either.
This trail is accessible via route 6 with Roam Transit.
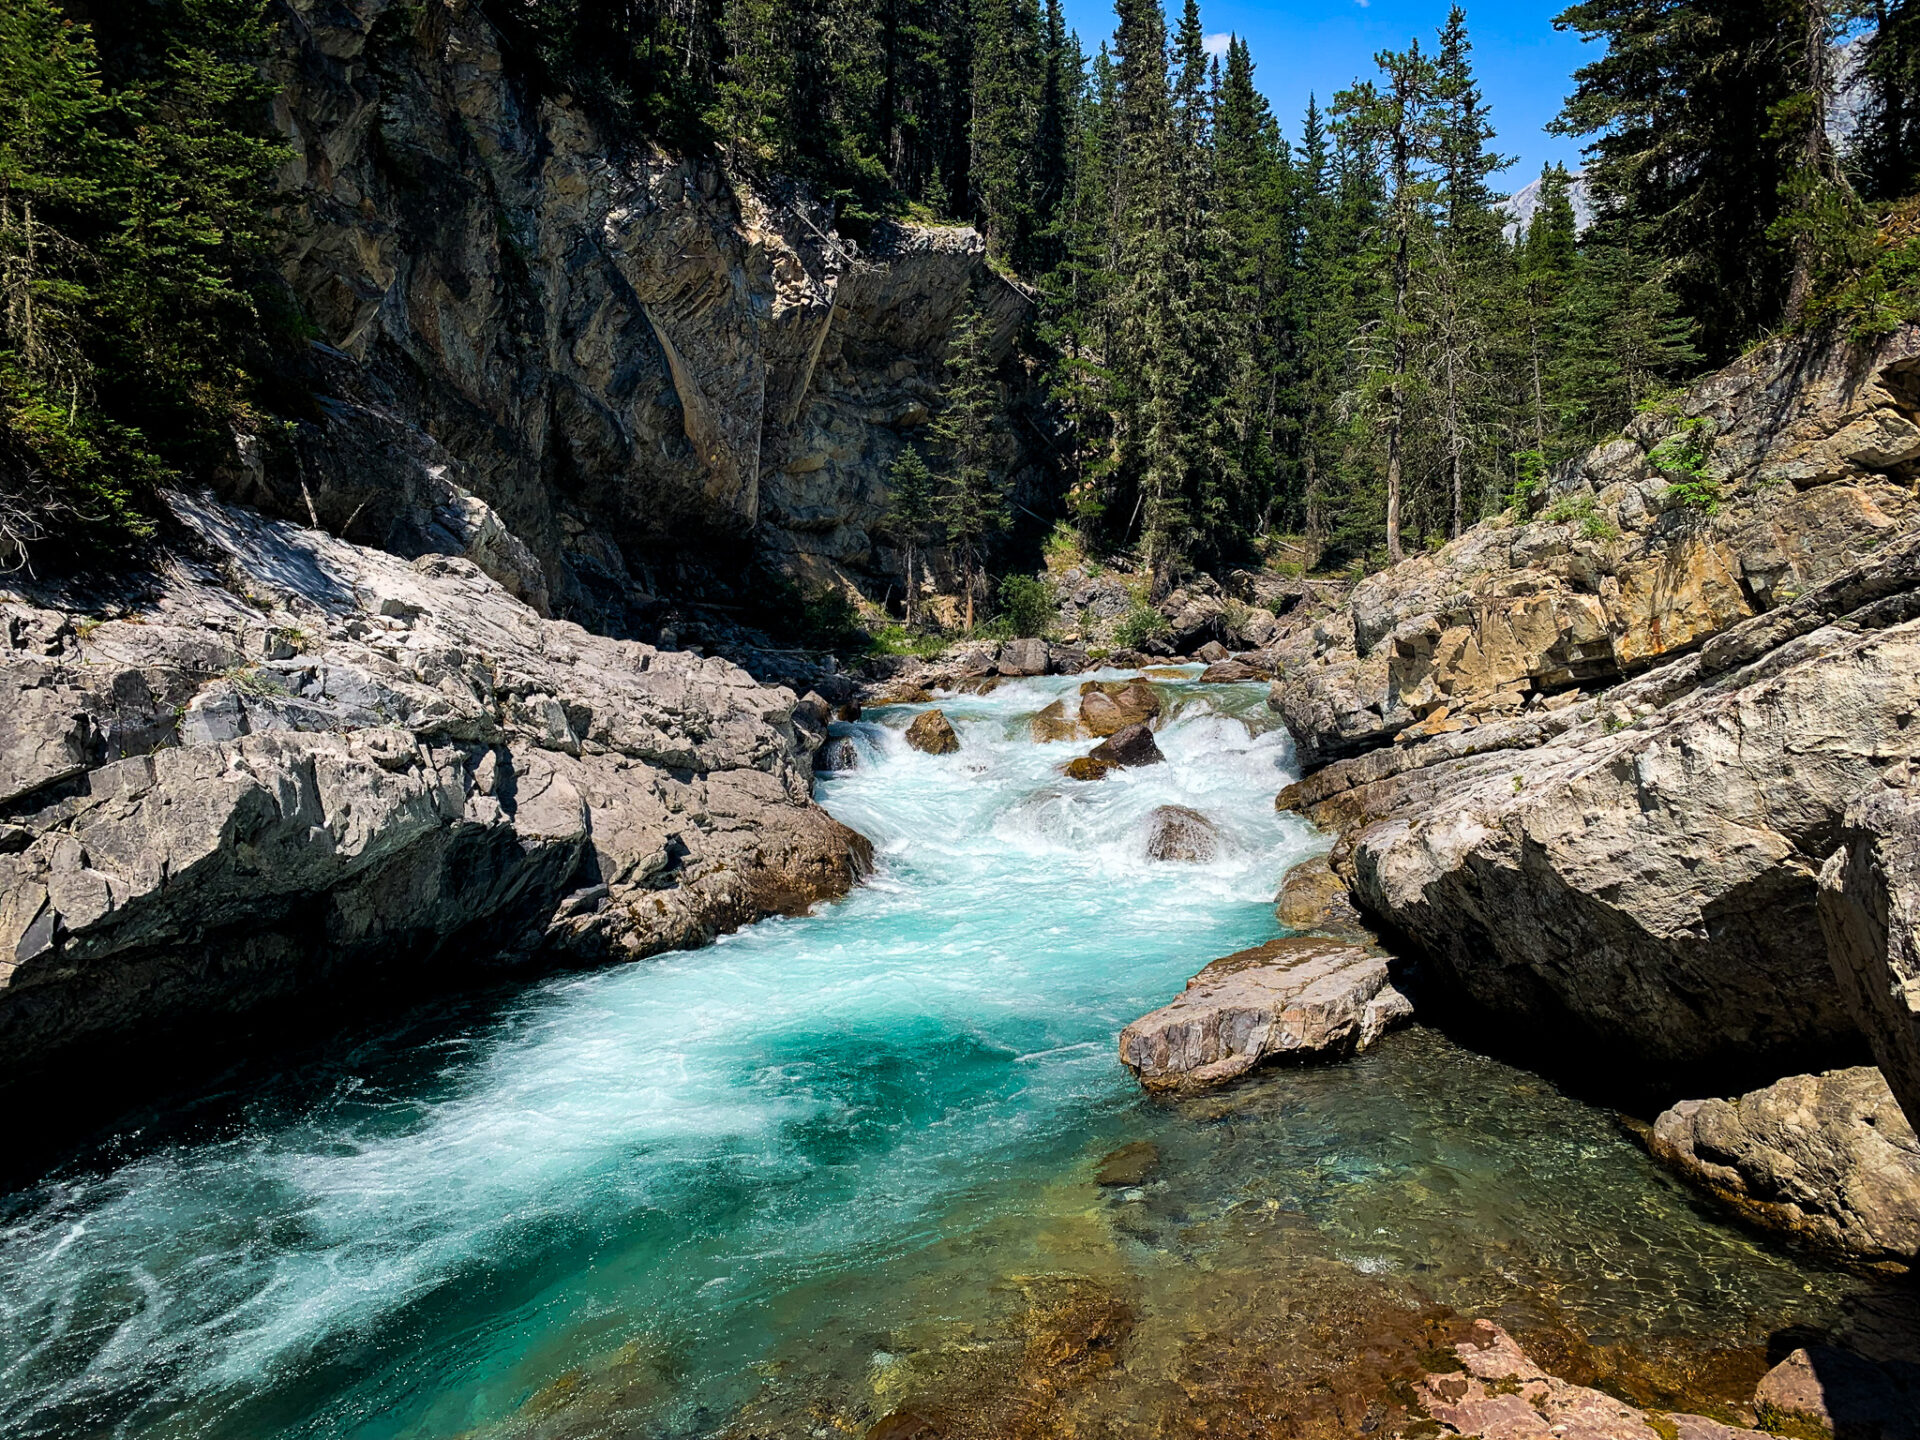
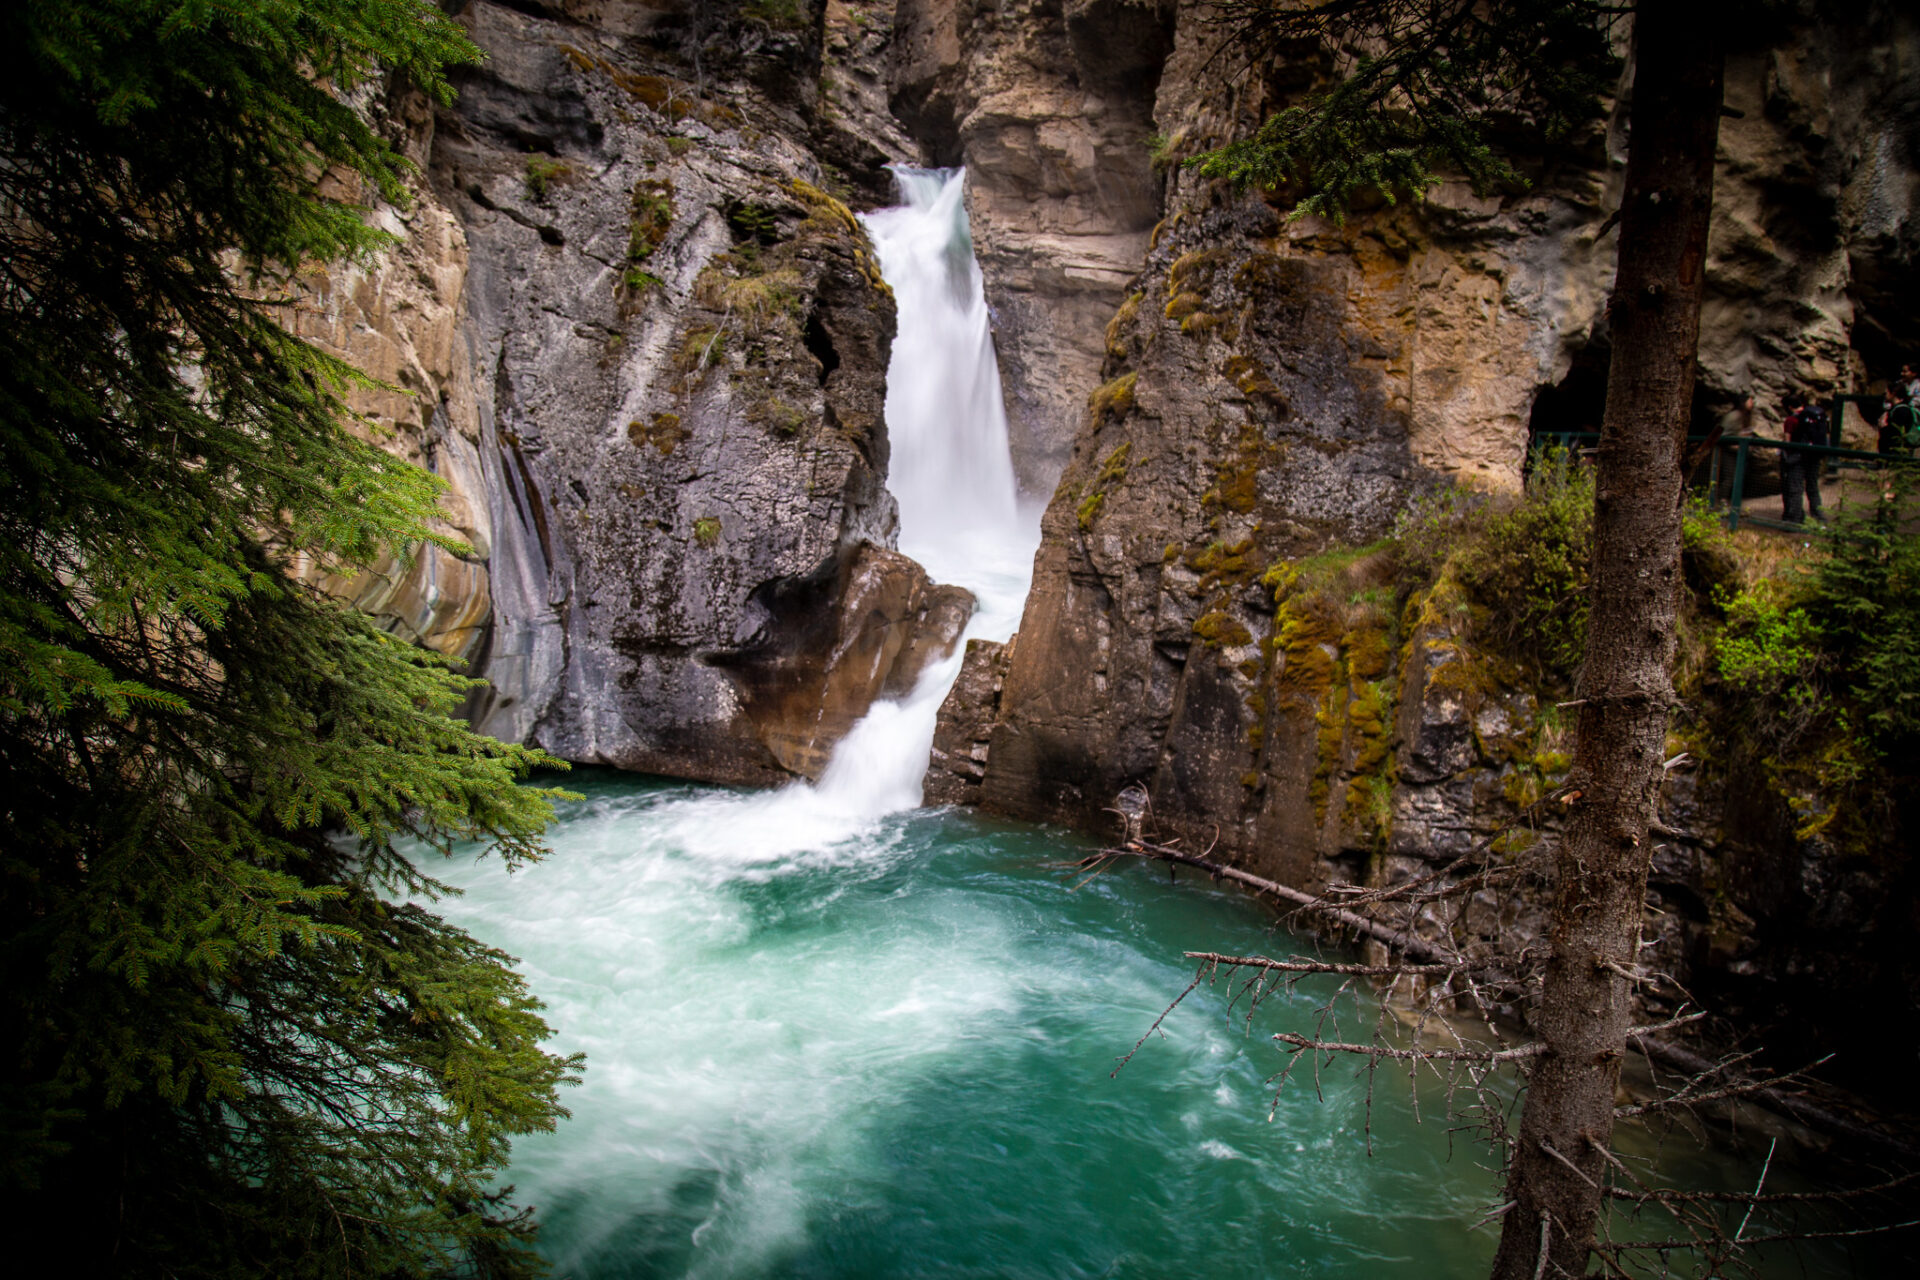
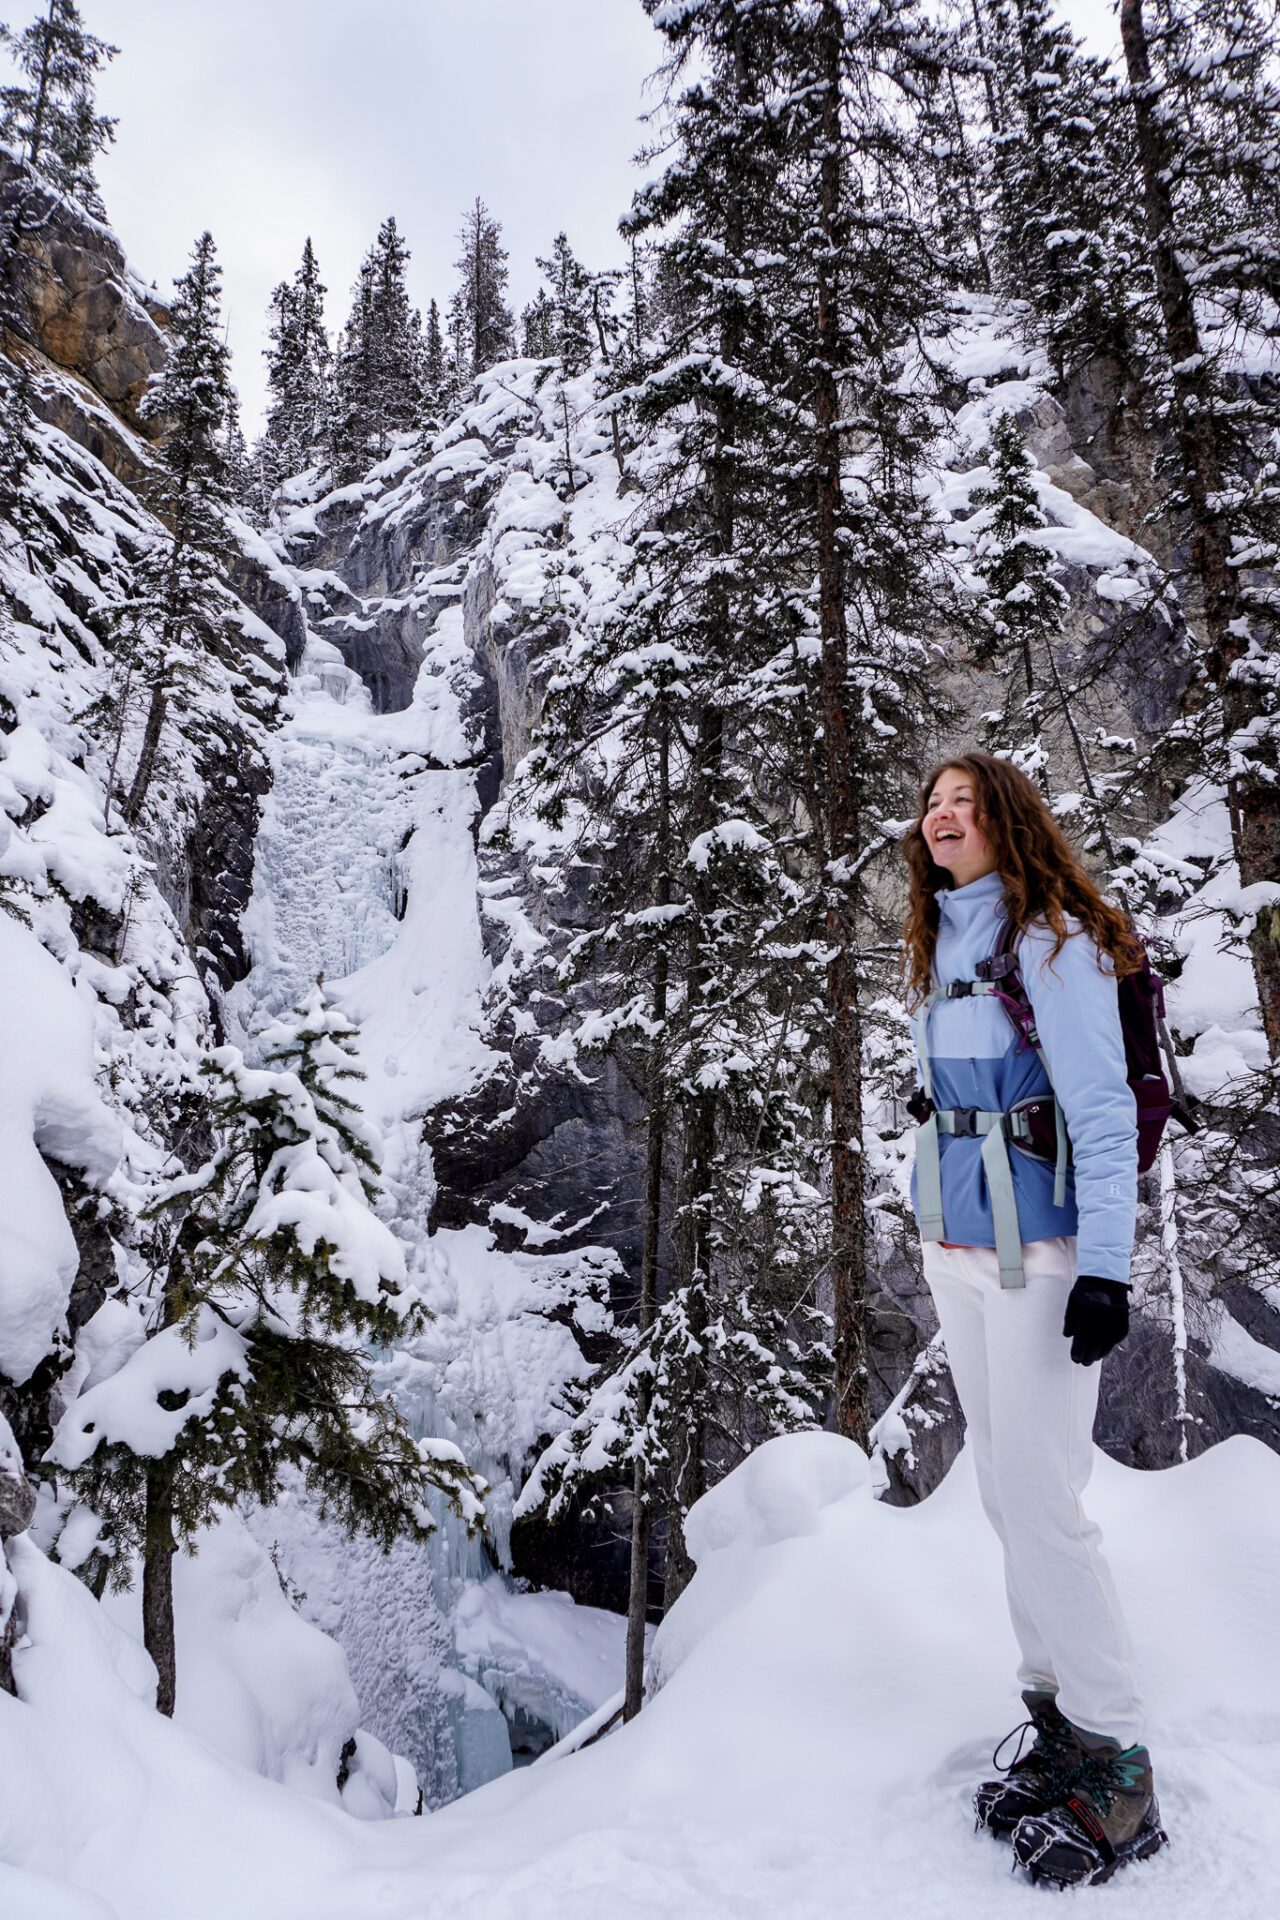
Johnston Canyon Ink Pots Hike
- Distance: 5.5kms
- Elevation gain: 274m
- Rated: easy
- Type of trail: out & back
- Estimated time: 2hrs
- Trailhead GPS
Johnston Canyon is, without a doubt, the most popular easy hike in Banff. The trail is always jam-packed with people no matter the season, but for good reason.
The trail wanders through a canyon via metal boardwalks over waterfalls and bright blue water. In the winter months the canyon completely freezes over turning the once liquid waterfalls into giant columns of ice. To see pictures of the canyon in winter, check out my Johnston Canyon trail guide.
Past the Upper Falls, you can opt to continue on toward the Ink Pots which are 5 blue/green bubbling pools. The trail here adds an additional 5.8kms and 305m of elevation gain roundtrip. I’d highly recommend continuing on to the Ink Pots as they are stunning and the valley they sit in is so peaceful.
If you prefer to skip the massive crowds at Johnston Canyon, you can go straight to the Ink Pots via the Moose Meadows trailhead.
This easy Banff hike is accessible via route 9 with Roam Transit.
Here’s my complete guide to the Johnston Canyon Ink Pots Hike
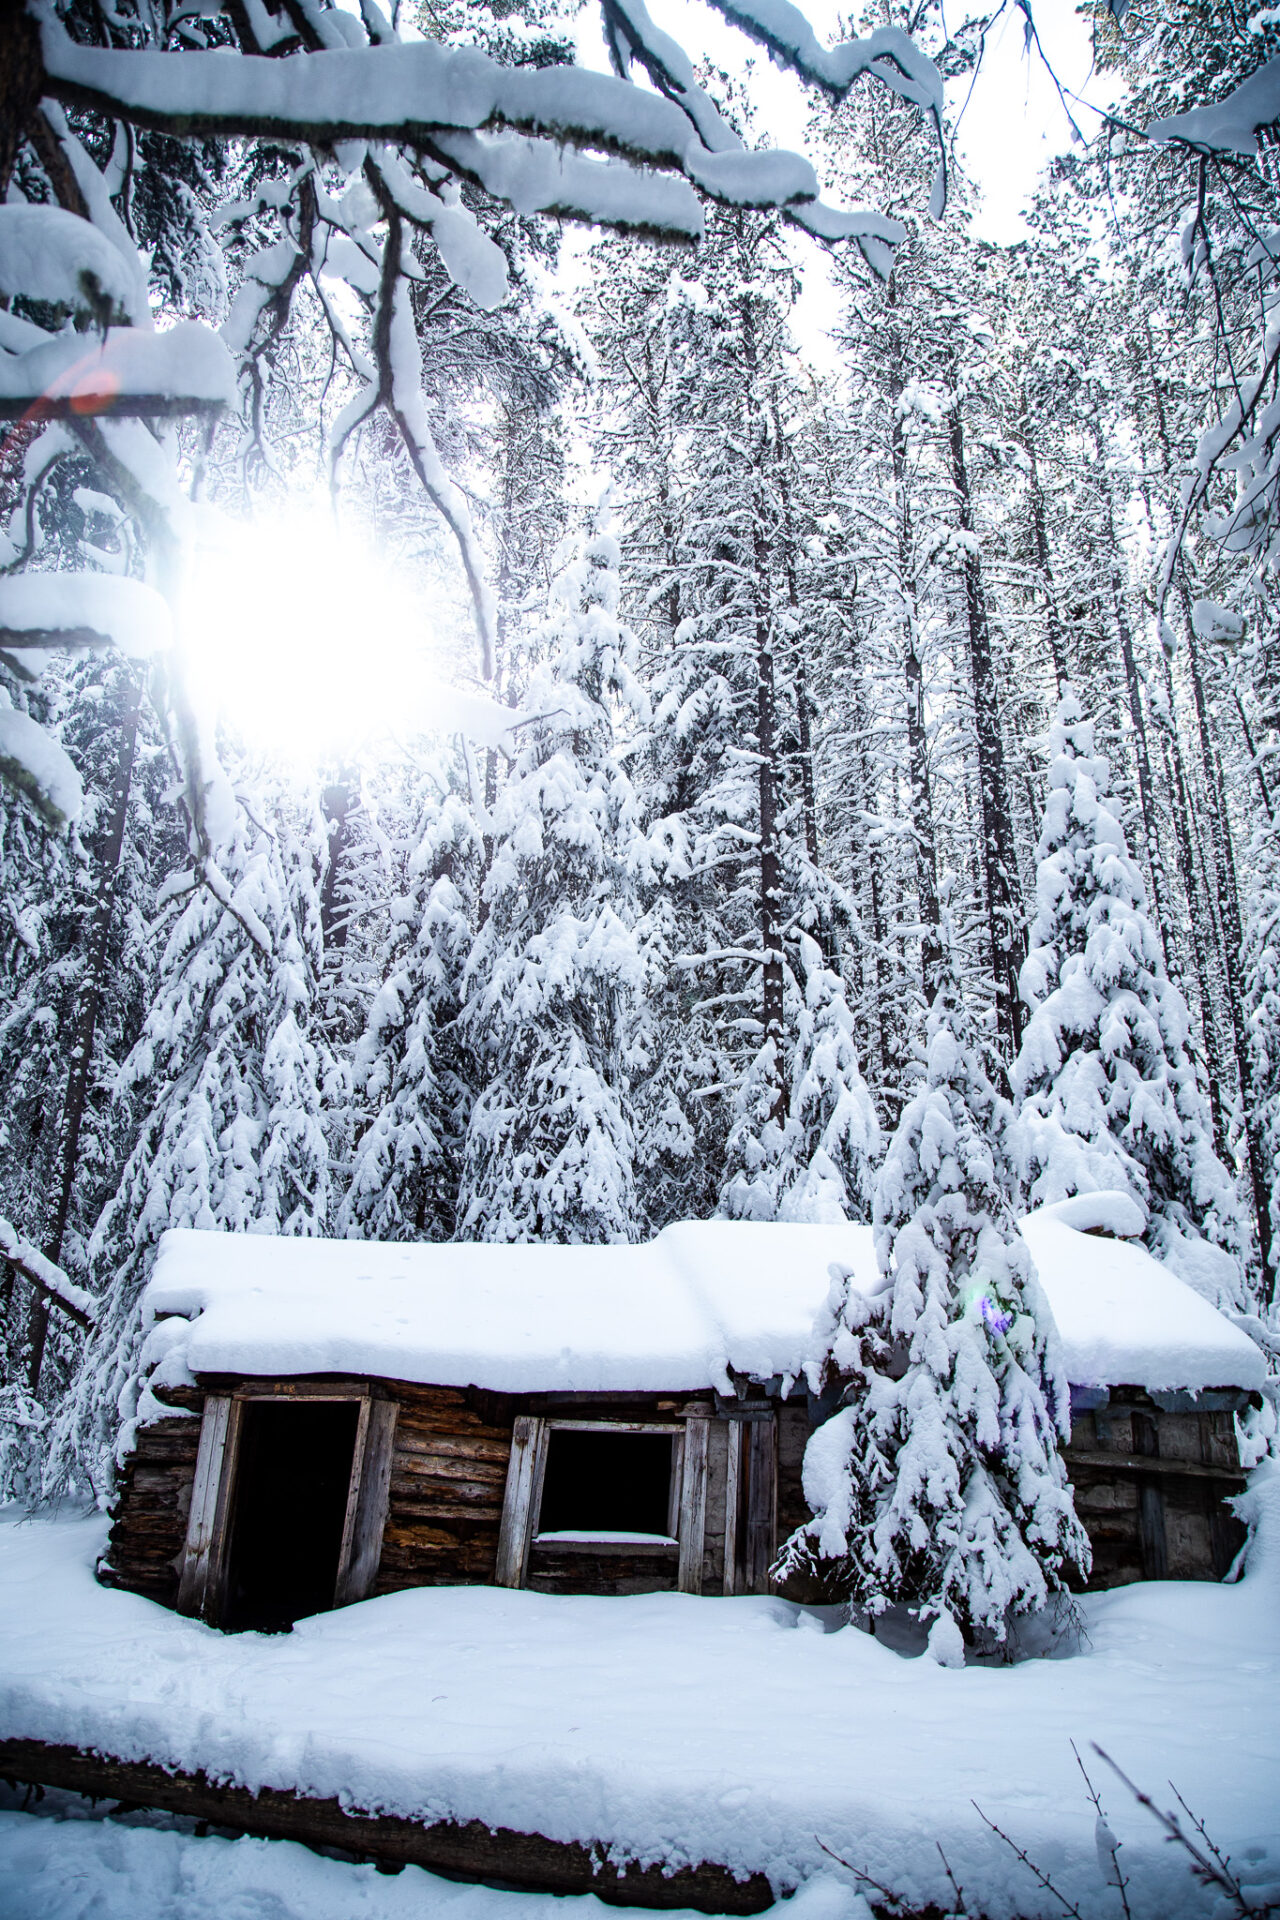
Johnson Lake Loop & the Hermit of Inglismaldie
- Distance: 2.9kms
- Elevation gain: 69m
- Type of trail: loop
- Rated: easy
- Estimated time: 1hr
- Trailhead GPS
Johnson Lake is one of the warmer lakes in Banff making this one of the best places to swim in Banff. The area also makes for a great easy Banff hike as there’s a simple trail that laps the lake. The trail experiences minor elevation changes and is a great place to stretch your legs at all times of the year.
My favourite time of year to walk the Johnson lake loop is in winter. The trail is usually quiet and the snow makes for beautiful scenery.
The hermit cabin pictured above has no official trail leading to it, so you’ll have to venture off the main path to find it. It’s located toward the back corner of the lake, opposite to the parking lot.
This trail is accessible via route 6 with Roam Transit.
Vista Lake

- Distance: 2.7kms
- Elevation gain: 165m
- Rated: easy
- Type of trail: out & back
- Estimated time: 1hr
- Trailhead GPS
Vista Lake is one of the greenest lakes I’ve ever seen. It’s located right off the Banff-Windermere highway (93) on the same trail to Arnica and Twin Lakes. The walk down and back is super quick, making this a great pit stop if you’re driving longer distances and need a break OR if you’re looking for an easy Banff hike with very low effort.
More: Arnica & Twin Lakes Guide
Silverton Falls
- Distance: 1.8kms
- Elevation gain: 111m
- Rated: easy
- Type of trail: out & back
- Estimated time: 1hr
- Trailhead GPS
Banff’s waterfalls are typically quite easy to access and Silverton Falls is no different. This quick, easy Banff hike is part of the Rockbound Lake/Castle Mountain trail – a more demanding day hike in the area.
The best time of year to complete this hike is in May/June when the snowmelt is at its highest or during winter when the falls freeze over.
More: Rockbound Lake guide
Stoney Lookout Trail
- Distance: 4.2km
- Elevation gain: 226m
- Type of trail: out & back or loop
- Rated: easy
- Estimated time: 1.5hrs
- Trailhead GPS
Stoney Lookout is an easy Banff hike with views overlooking the town below and Cascade Mountain. This area of forest is one of the oldest in Banff which means there’s plenty of moss and old, creaky trees around. I won’t lie, it can be a bit spooky if you’re hiking alone!
You can complete this trail in an out and back fashion or continue hiking past the viewpoint. The trail will take you back in a loop with the exit being closer to Norquay’s base lodge rather than the opposite end of the parking lot where you started.
This trail is accessible via Norquay’s free shuttle.
Fenland Loop & Vermillion Lakes
- Distance: 1.9km
- Elevation gain: 56m
- Rated: easy
- Type of trail: loop
- Estimated time: 30mins
- Trailhead GPS
The Fenland loop is the easiest hike in Banff accessible by walking. It’s super short and has essentially no elevation gain. I’d definitely consider this a walk over a hike as you can bring a stroller. This trail is very muddy in the spring. Goretex boots recommended.
The trail wanders through the forest and around a small creek just across the road from the Fenlands Centre. At the back of the trail you can cut across the creek over a small bridge to Vermillion lakes road. From this point it’s only a 6 minute walk to the first dock on the lake.
Cascade Ponds
- Distance: 1.4km
- Elevation gain: 61m
- Rated: easy
- Type of trail: loop
- Estimated time: 30mins
- Trailhead GPS
Cascade ponds is a turquoise body of water located close to town – you can access this lake via route 6 with Roam Transit. It’s a day-use area that features picnic tables and fire pits, but there’s a nice trail that loops the lake here too.
Cascade Ponds is a great place to spend a warm summer day swimming, having a fire in the provided pits, or stretching your legs around the lake on this easy Banff hike.
Spray Loop Trail
- Distance: 11.6kms
- Elevation gain: 449m
- Type of trail: out & back
- Rated: easy
- Estimated time: 4hrs
- Trailhead GPS
The Spray River trail is an easy Banff hike (or bike ride) you can walk to from town. It has 2 sides: East and West. I recommend starting from the East side, crossing the bridge at the 6ish kilometre mark and coming back via the West side.
Views are minimal along the way and people more or less do this one for exercise, however it’s a great spot for xc skiing in the winter months and there’s a backcountry campsite along the trail (Sp6).
Bow Falls Viewpoint

- Distance: 2.7km
- Elevation gain: 51m
- Rated: easy
- Type of trail: out & back
- Estimated time: 45mins
- Trailhead GPS
While we’re talking about easy hikes in Banff you can walk to from town, lets add Bow Falls to the list. This hike is located within the town of Banff itself. The trail is short and follows a wide, forested trail along the Bow River. At the end of the trail you’ll have to climb and descend a few sets of stairs.
The falls are best seen in May/June during the snowmelt or in the dead of winter when they freeze over.
Lower Bankhead

- Distance: 1km
- Elevation gain: 23m
- Rated: easy
- Type of trail: loop
- Estimated time: 15mins
- Trailhead GPS
The Bankside trail meanders through the industrial side of the old mining town of Bankhead. This easy Banff hike (more like walk) is 1km long and takes 15-30 minutes to complete depending on how much time you spend time reading the signs and learning about the area’s past.
There are remnants of old buildings here as well as some original equipment and machinery that were previously used in the coal mines that run through Cascade Mountain.
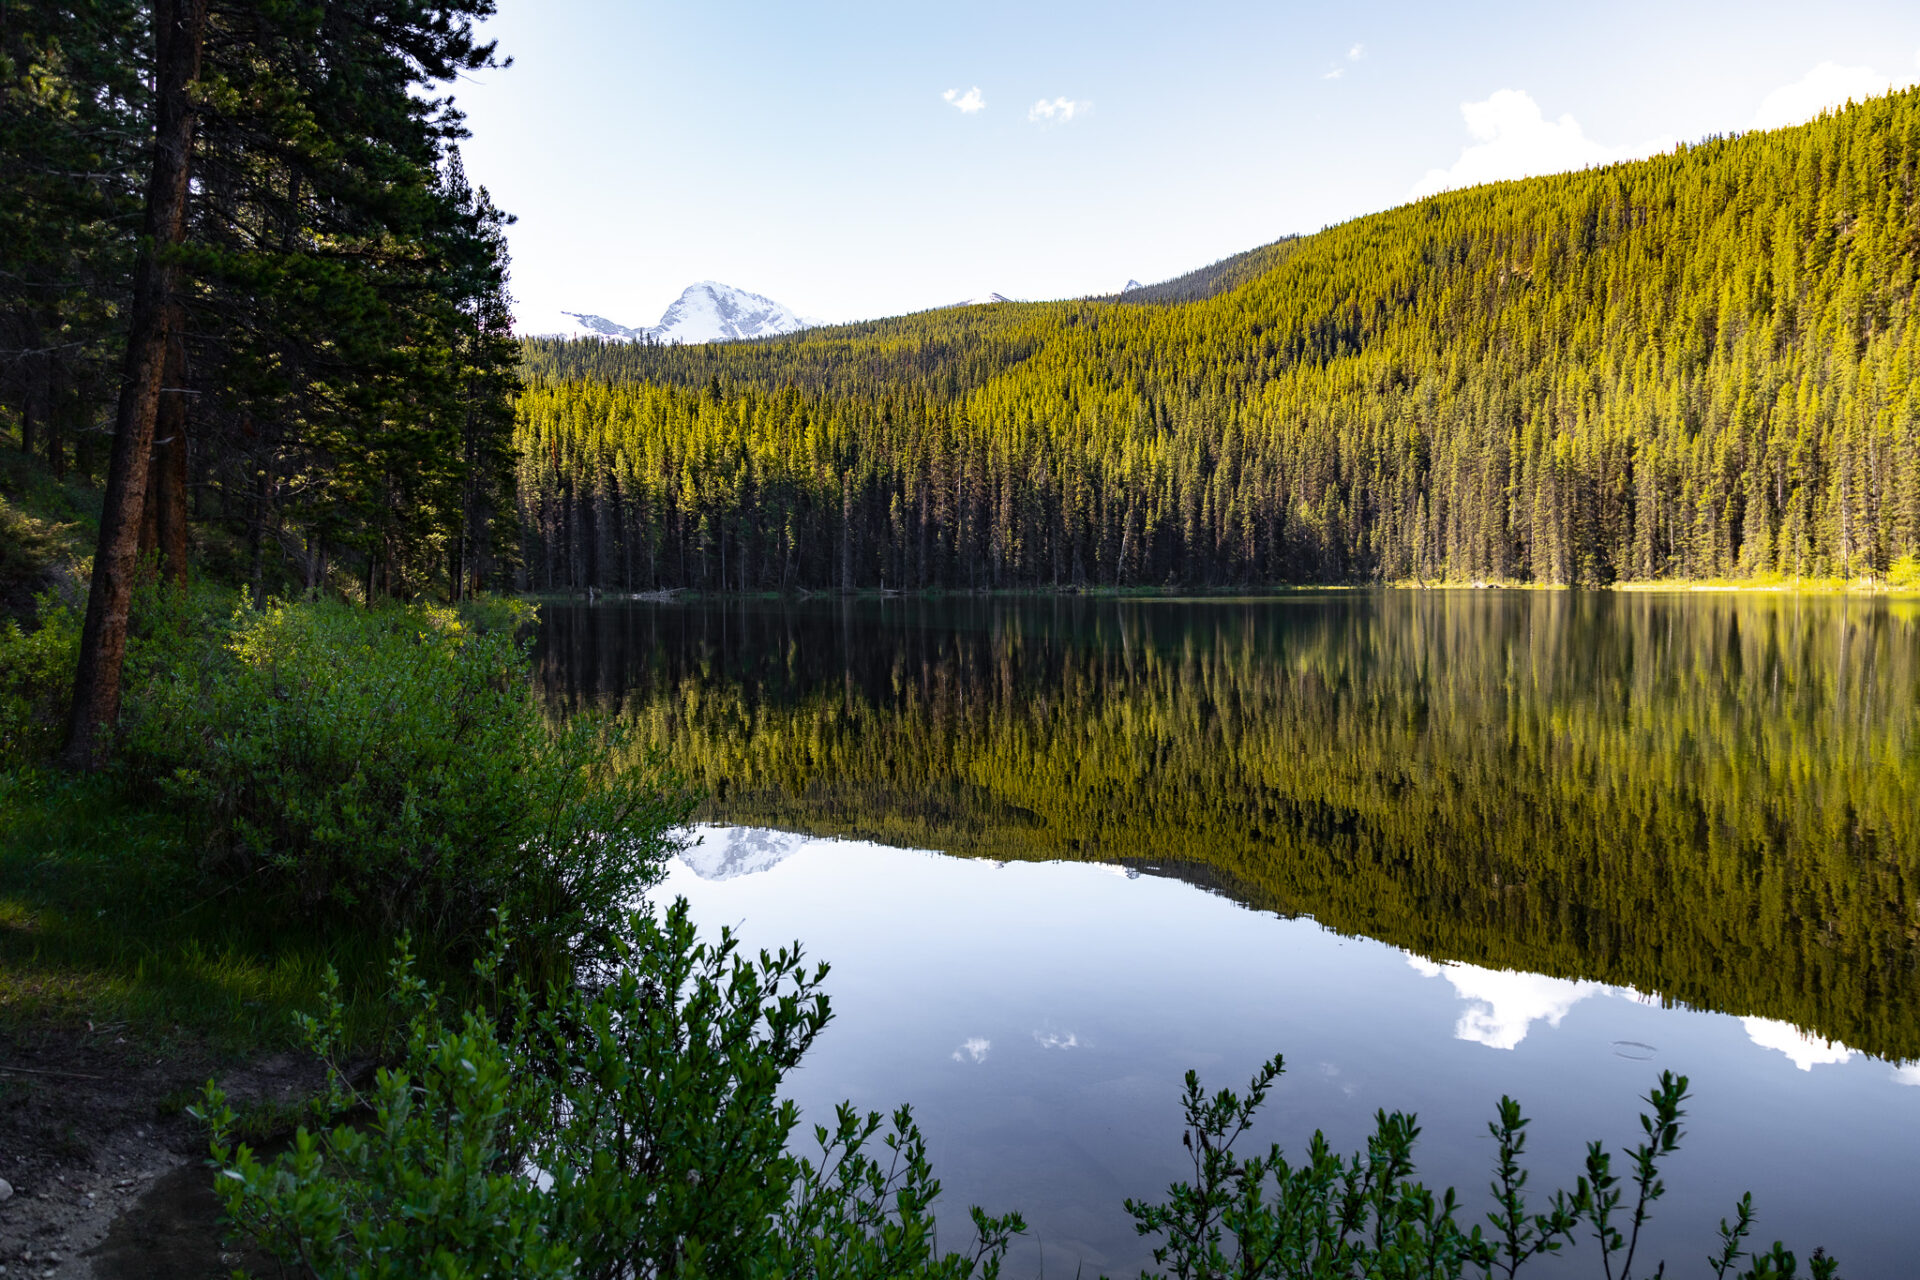
More Easy Hikes in Banff
The following are easy hikes in Banff I haven’t personally done, but you’re welcome to check out.
- Bow River Trail: this 6.8km trail follows the Bow River through the town of Lake Louise and the Lake Louise campgrounds.
- Pipestone Loop: Easy, forested walk near Lake Louise. In the winter this is a great xc trail. If you’d like to make this trail longer, you can take the extended route.
- Tramline Trail: This is an excellent easy trail with very low traffic right in the centre of Lake Louise. This is a great alternate hike when you can’t get parking at the Chateau Lake Louise or Lake Moraine, but don’t want to drive back or take the shuttle bus. There’s still lots to see along this route and this trail is definitely one of the better family-friendly winter trails in the area.
Recommended Hiking Gear for the Rockies
Below are my personal recommendations and favourite products for Canadian Rockies specific hiking gear.
Backpack: I use the Osprey Sirrus 24L (men’s edition) for quick day hikes and the Osprey Sirrus 36L (men’s edition) for longer hikes requiring more gear.
Hydration: I use the 3L Hydrapak to carry water and always have aquatabs on-hand if I need to filter water.
Footwear: I currently use the Scarpa Kailesh (men’s version) and full cushion crew Smartwool socks.
Safety: I always carry the Garmin Inreach Mini 2 as my satellite device.
Here are my detailed posts for Canadian Rockies hiking gear
Rockies Hiking Gear: Winter
If you’re planning to hike the Rockies in winter, you’ll need to add a few more items to your gear arsenal.
The items below are what I use.

Spikes: I love Hillsound’s trail crampon which provides killer traction and long-lasting durability.
Snowshoes: I use TSL’s sustainable Symbioz Hyperflex snowshoe, however any snowshoe from TSL is top of the line. This one is their midrange model which offers similar features at a light weight and better price point.
Gaiters: this is my top pick for gaiters which are great for keeping water and snow out of your boots. If you’re on a budget, these ones are a little more cost effective and have plenty of great reviews.
Warmth: I use Aurora Heat’s reusable hand + ultra foot warmers for both hiking and skiing. They’re made of beaver pelt by Indigenous women in Canada’s Yukon.
Softshell Pants: these are my favourite pants (men’s sizing) for cold weather hiking. They’re water resistant, wind resistant, and warm. If you’re reading from the USA, these REI pants are equivalent: women’s sizing | men’s sizing.
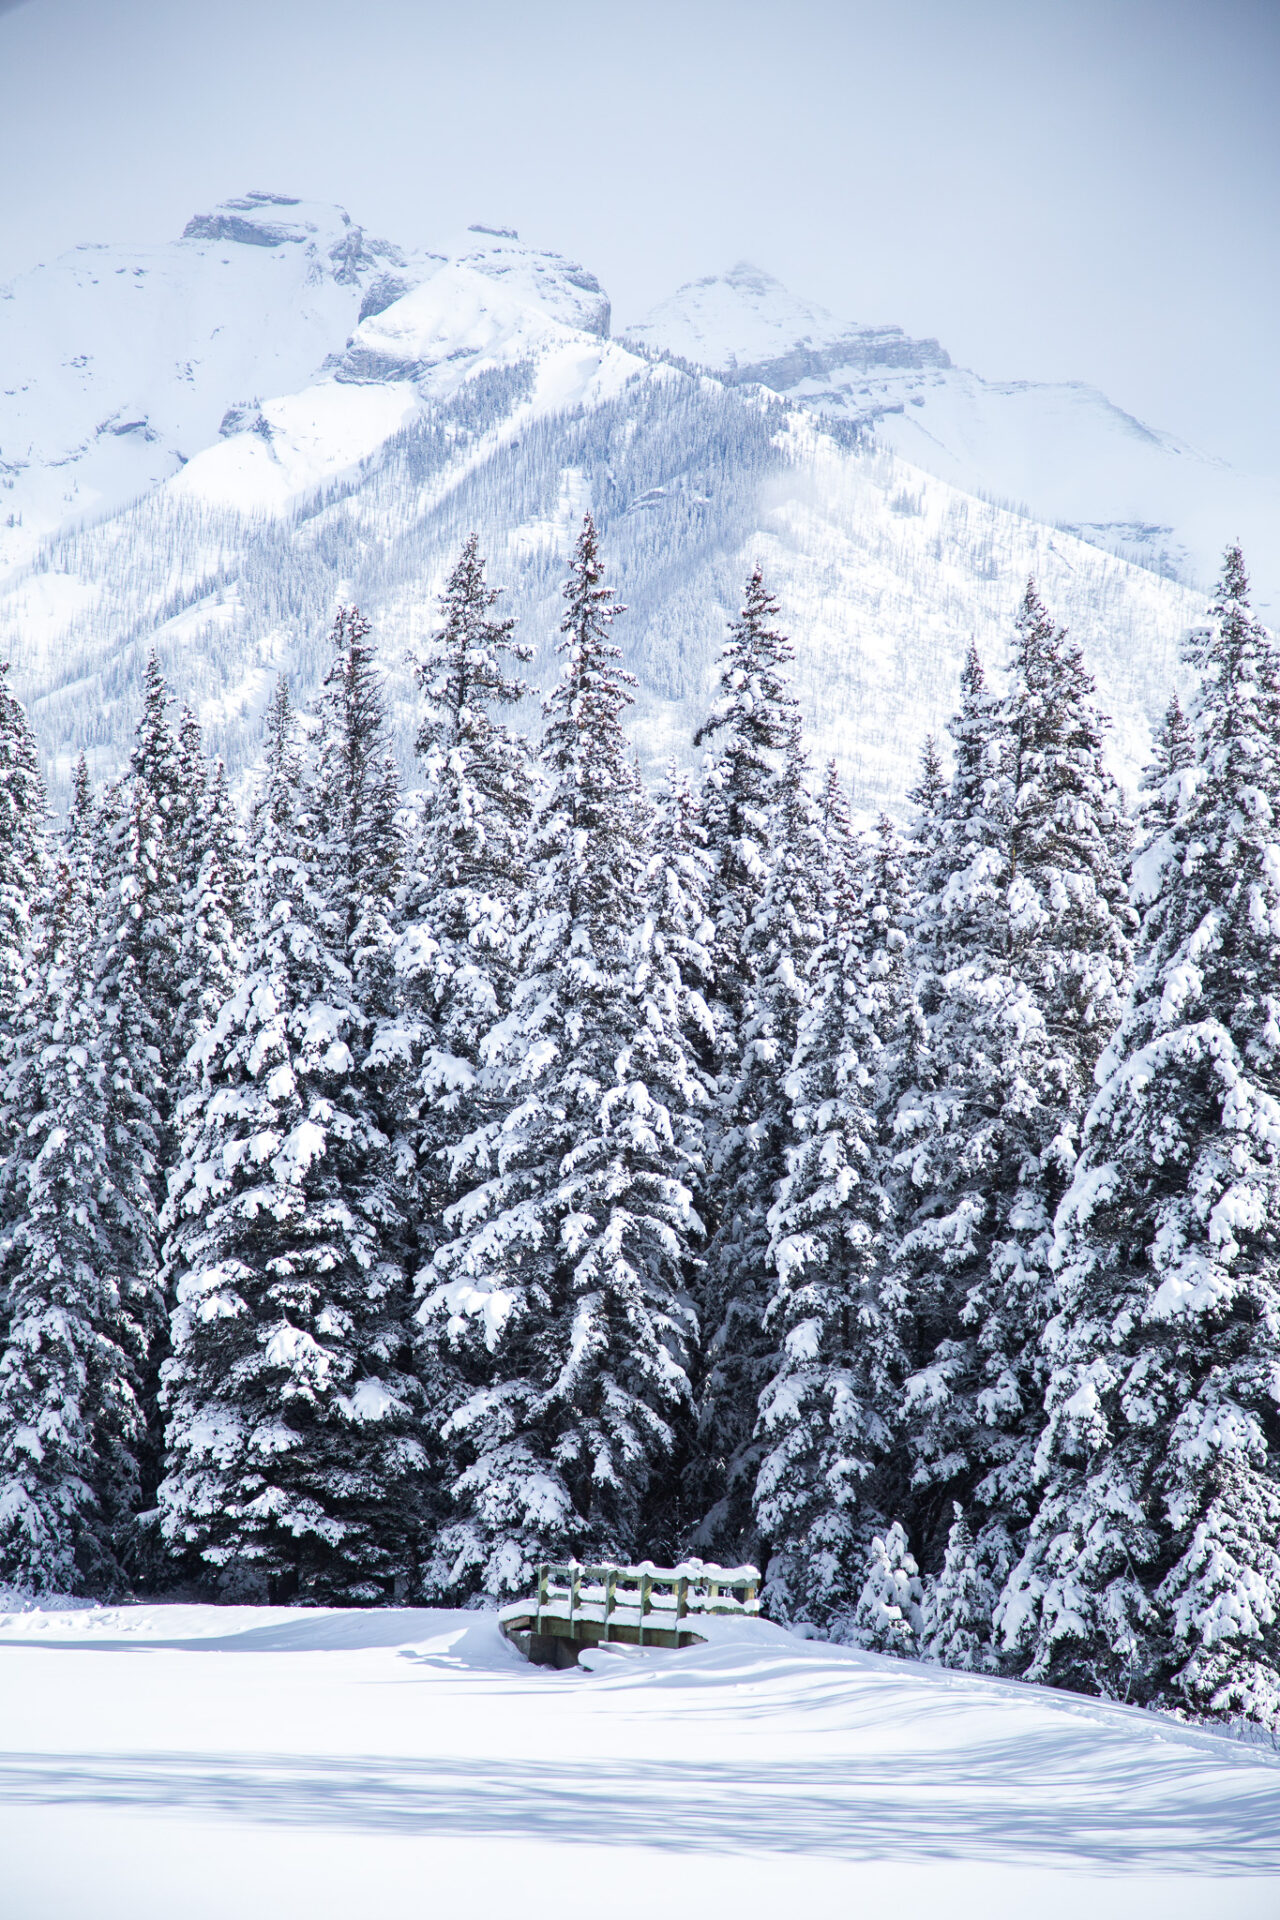
Easy Banff hikes in winter
Interactive Banff Map – from a LOCAL
Get my 600+ local Banff recommendations saved to your Google Maps app
I lived in Banff for years & know all the best spots!
Outdoors: 100+ hiking trails, scrambles, backcountry routes, waterfalls & lakes
Planning: lodging, parking, restaurants, public washrooms, transit hubs, shopping & services
Things to do: tours, viewpoints, unique activities, & local secrets
Easy hikes in Banff
Happy adventuring!
Taylor ♡
Like This Post?
Share with friends or save it for later!

About the Author
Hello, I’m Taylor.
I’m a world traveller, adventure enthusiast, and holistic health aficionado.
I spend my days travelling the world, climbing mountains, road tripping, and camping wherever nature allows it.
I created The Holistic Backpacker so I could share my adventures and help connect people like you with the same amazing experiences.


One Comment
Pingback: