Opal Ridge Loop: An Almost Deadly Adventure – Scrambles In Kananaskis
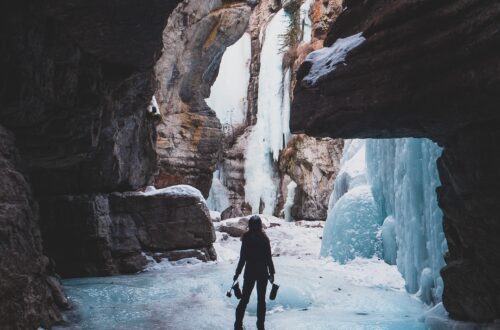
WOW. Opal ridge in Kananaskis – also one of the best scrambles in Kananaskis – is one of those makes you grateful to be alive hikes. The trail features steep terrain, the most extensive and unique mountaintop views I’ve seen to date, alpine meadows, lakes, and quite often big horn sheep and other wildlife.
Hiking Opal Ridge was a bit of an adventure… Actually that’s an understatement. I took a friend of mine on her first big mountain hike and quite frankly got us into a super scary situation. Due to some route-finding issues we had to climb out of an insanely steep gully covered in loose rock and scree, then had to blast it down dangerous mountain terrain to beat the setting sun.
Fear not, this was on a slightly different route than what you’ll be hiking. I’ll tell you everything you need to know about hiking the usual Opal Ridge trail as well as explain in detail what to expect if you hike the alternate route (Opal Ridge Loop).
Before you hike in Kananaskis Country: as of 2021 you need a Kananaskis Conservation Pass to enter the area. This is also prime grizzly territory. Make sure you bring bear spray and know how to use it.
Now, let’s go hiking!
Skip Ahead:
- Getting to Opal Ridge Loop – scrambles in Kananaskis
- About Opal Ridge trail – scrambles in Kananaskis
- Hiking Opal Ridge – scrambles in Kananaskis
- Essential day-hiking gear
- What to wear hiking
- WARNING: Opal Ridge Loop
- Tips for a successful hike
- Best places to stay in Kananaskis
I have affiliate links in this post which means when you book a hotel or purchase a product, I may make a small commission ~ at no additional cost to you (full disclosure). These funds go back into The Holistic Backpacker and help me create more free content like this!
Thank you for supporting my work!
Getting To Opal Ridge Loop
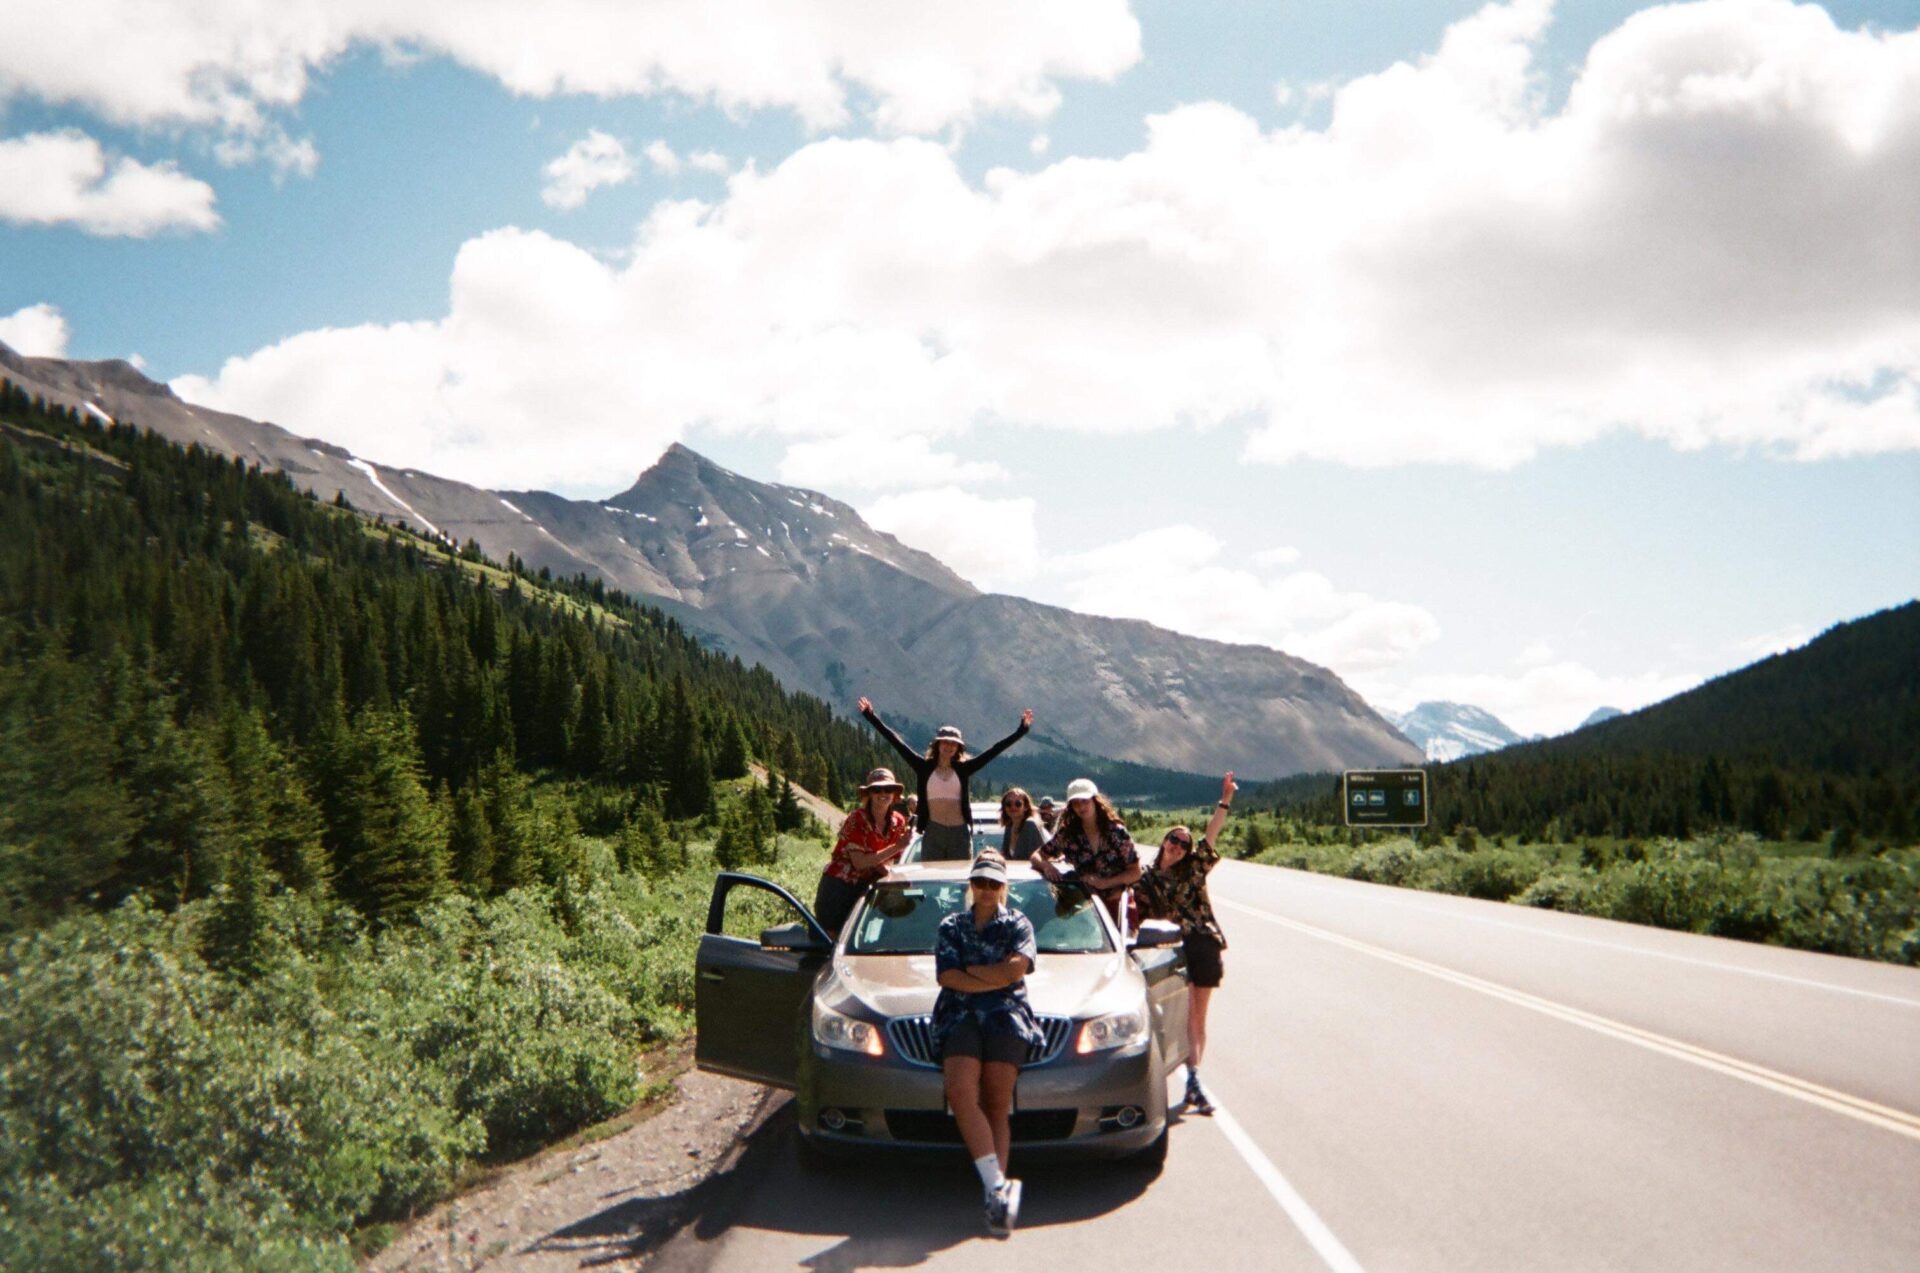
Opal Ridge is located in Kananaskis Country on Highway 40 (AKA Kananaskis Way). The trailhead is at the Fortress Junction Service Centre which is about an hour drive from Banff, 45 minutes from Canmore, and about 1.5hrs from Calgary.
You won’t find any shuttles that take you through Kananaskis Country, so if you don’t have a car you’ll have to rent one.
If you plan to visit Kananaskis Country outside the summer months, make sure you check online to see if the road will be open. Only part of the highway is cleared during winter months.
Best Alberta Car Rental
Most of Alberta is inaccessible via public transportation. I 100% recommend renting a car here so you can fully enjoy all the mountains, lakes, and badlands.
My favourite Alberta car rental tool is this site. It compares all the local car rental companies to ensure you’re getting the best rate.
About The Opal Ridge Trail: Scrambles In Kananaskis
- Distance: 7.2km
- Elevation gain: 1, 035m
- Type of trail: out & back (loop if you complete the Opal Ridge Loop)
- Rated: hard
- Estimated time: 4-4.5hrs
Before I start telling you about Opal Ridge, it’s important to note that this is a difficult hike and scramble in Kananaskis. It should not be attempted by novice hikers; you’ll need great physical fitness and some route-finding skills to complete Opal Ridge.
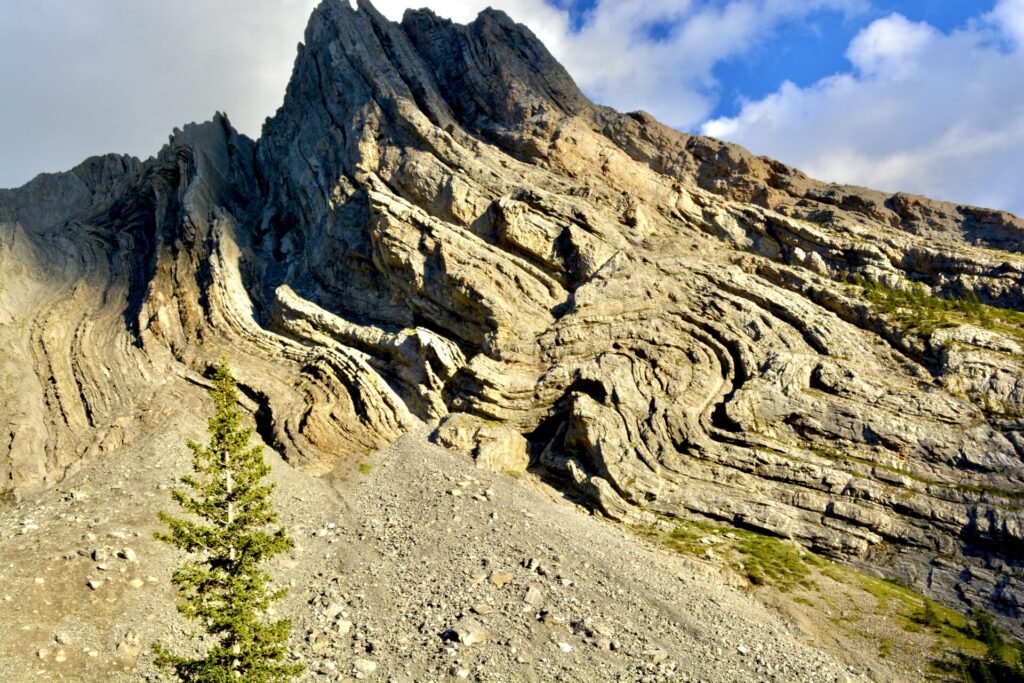
The Opal Ridge trail in Kananaskis is steep. In 3.6km (the ascent) you’re gaining over 1000m, which equals to about 300m per kilometre. The hike up is an absolute grind and you won’t come across any flat sections, so buckle up and prepare to work the whole way up – this is one of the best scrambles in Kananaskis so it’s well worth the effort.
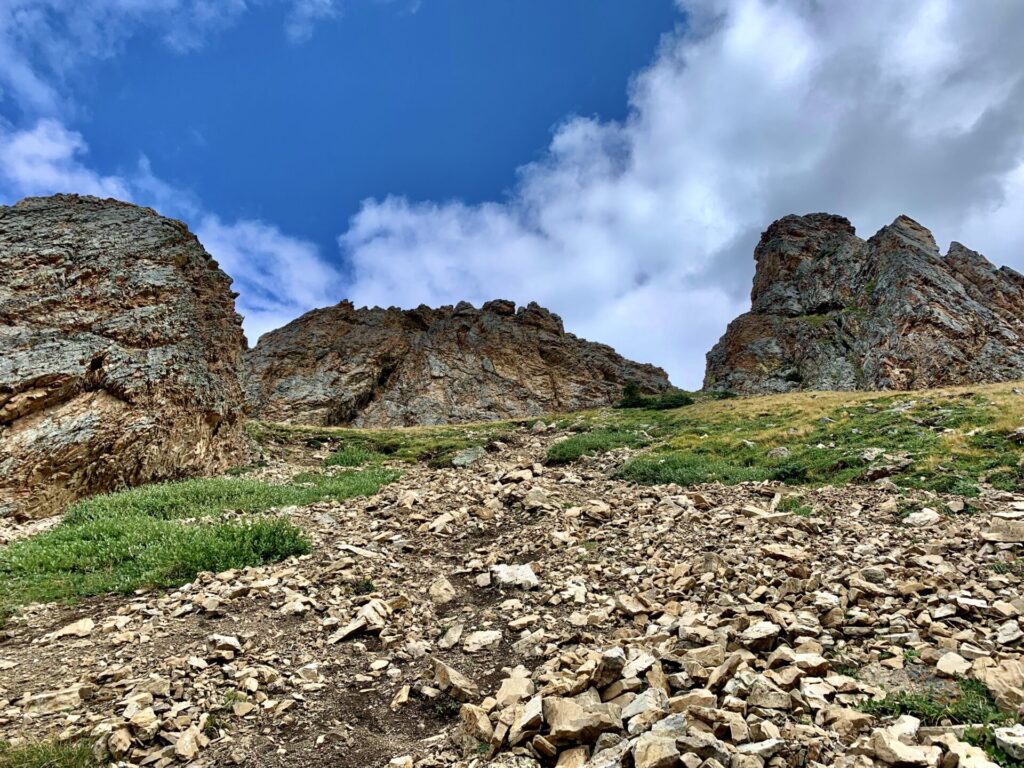
The trail is fairly easy to follow – on the way down you’ll notice orange & pink markers which are not obvious on the way up – until you come to the scree section. This is where route-finding skills come into play. There’s no solid trail and you can pretty much go up wherever you want.
Throughout the hike the terrain changes. You’ll get a mix of loose rock and scree, slabs, steep grassy areas, as well as beaten down path. This is great and keeps the trail interesting the whole time.
One piece of advice I can give you is to stay more left on the ascent. I was naturally drifting right and had to backtrack and scramble up large rock faces multiple times.
Hiking Opal Ridge: Scrambles In Kananaskis
The hike I talk about here is Opal Ridge – if you’re wanting to complete Opal Ridge Loop, keep reading as that route takes you down a completely different way.
The trailhead is at the north end of the parking lot (opposite of the gas station). You’ll see a mound of dirt, this is where the trail connects. You’ll start hiking straight up from the beginning, but then you’ll come to a large path. Head left here and keep walking until you see a row of small rocks on the ground blocking you from walking any further. This is where you start climbing up.
The great thing about this hike is that you’ll start getting views of the valley very early on.
This is one of those scrambles in Kananaskis that’s no joke. It’s steep, you’ll need to put every ounce of energy into this summit, and you’ll use your hands to help navigate the terrain. Once you break from the tree-line you can expect varying terrain and route-finding. Again, I recommend keeping left as you ascend.
Bring hiking poles for Opal Ridge Loop – these take up to 25% of your weight off your knees, are great for balance, and help significantly on the way up by giving your legs a bit of a break.

You’ll be hiking and scrambling the closer you get to the top. I wore gloves (men’s version) when I hiked Opal Ridge. If you’re hiking on a cold day I’d recommend bringing gloves as well as lots of warm layers because there’s no cover or places to shelter from the wind on the ridge.
Out of nowhere you’ll start approaching large rocks and the terrain seems to become even steeper. This is how you know you’ve almost reached the top.
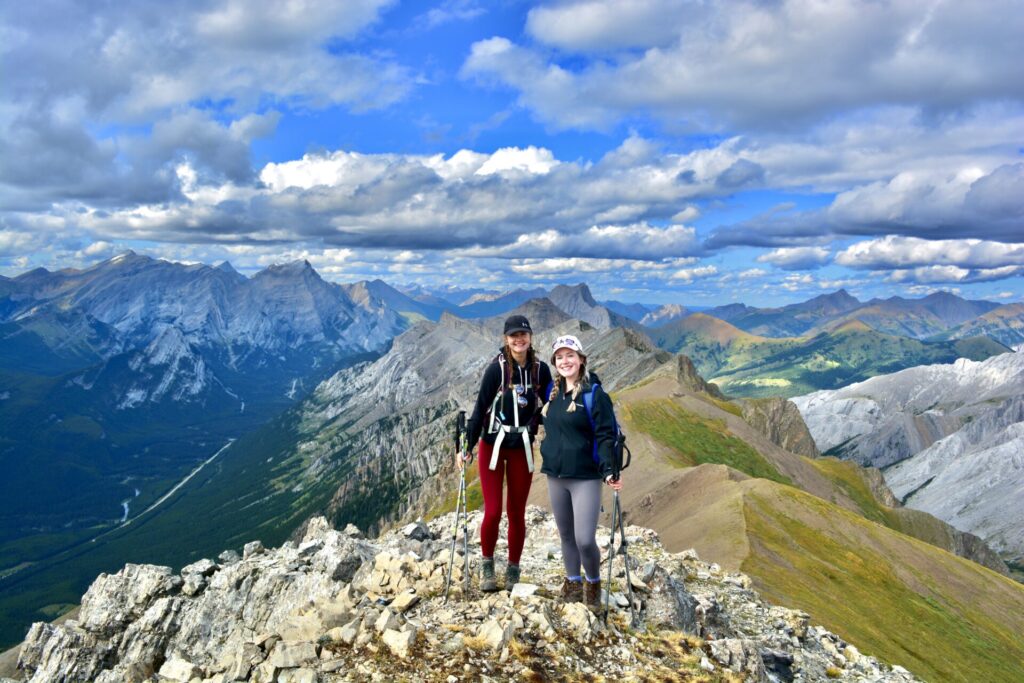
Summit Views
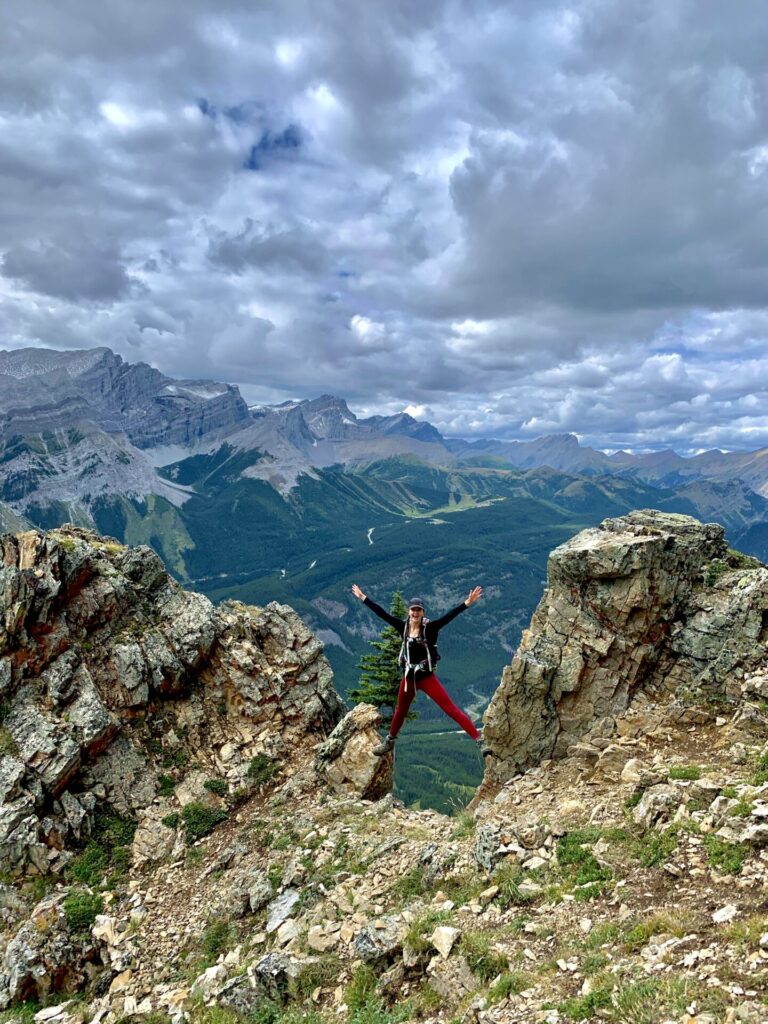
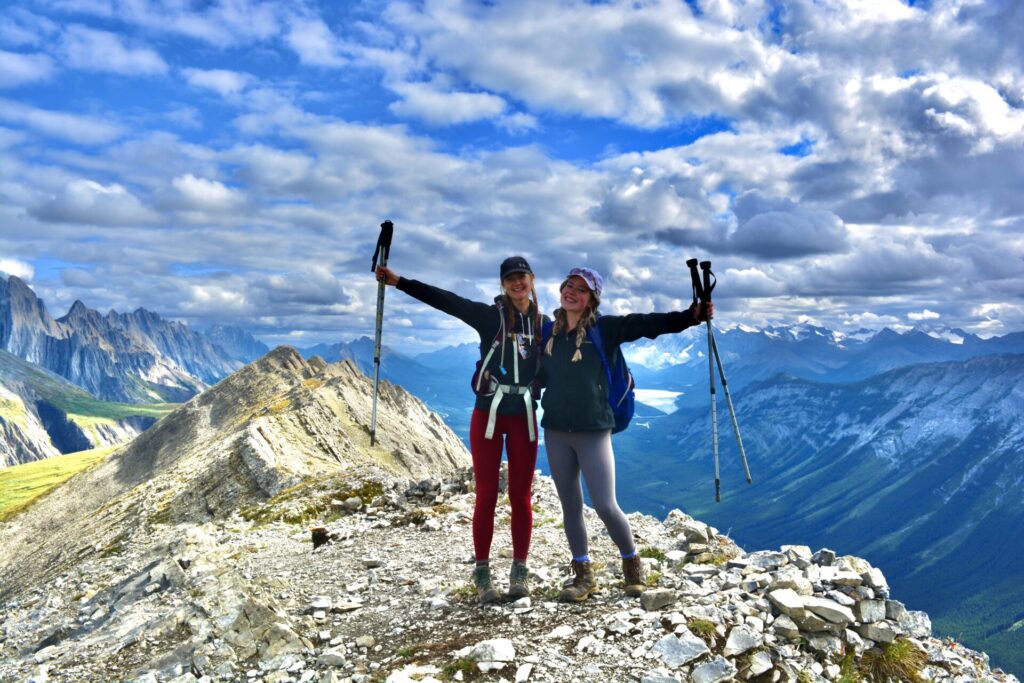
Once you reach the top it’s only a quick walk to the true summit! Opal Ridge has multiple peaks, but the first peak you come across is the true summit and the best place to take photos.
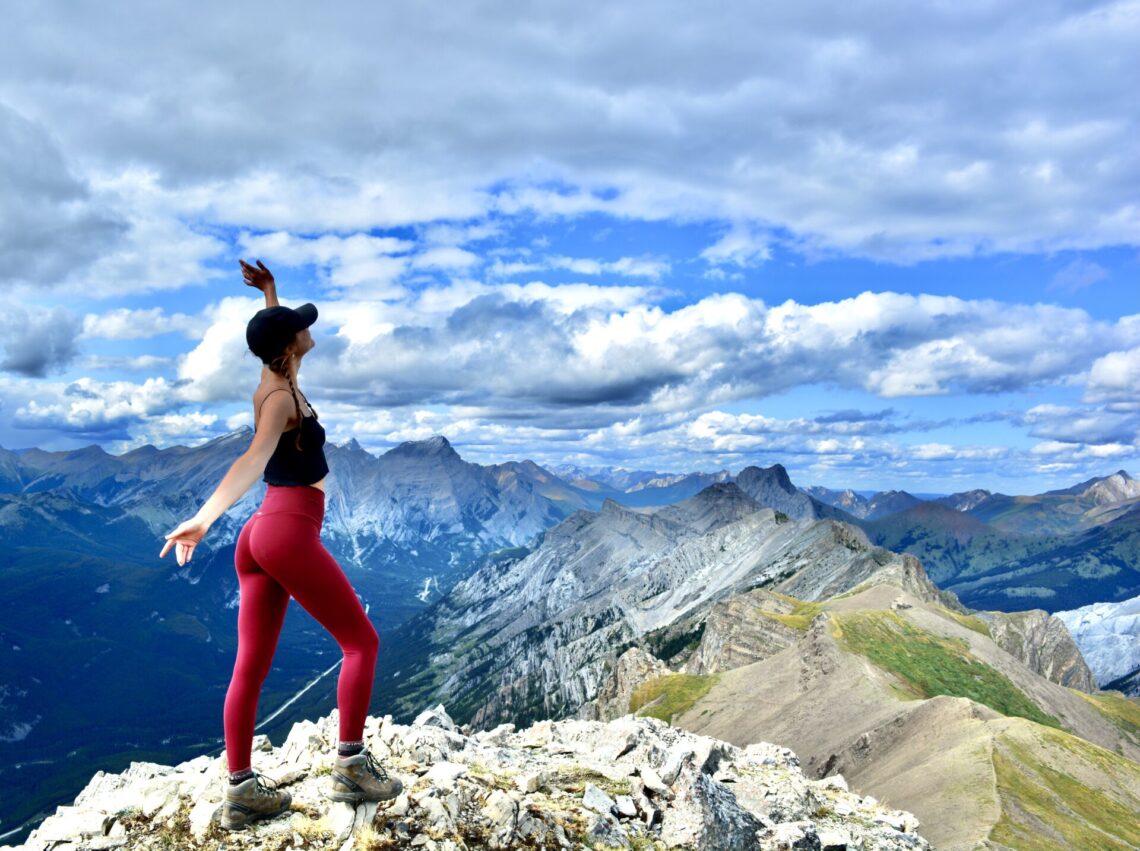
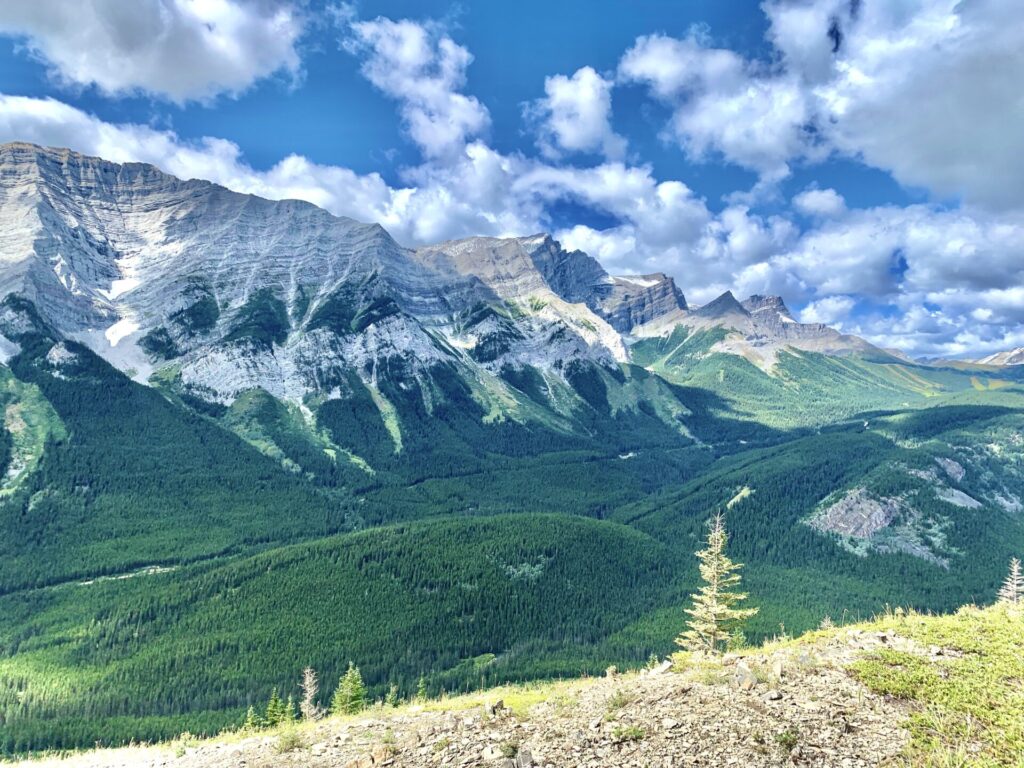
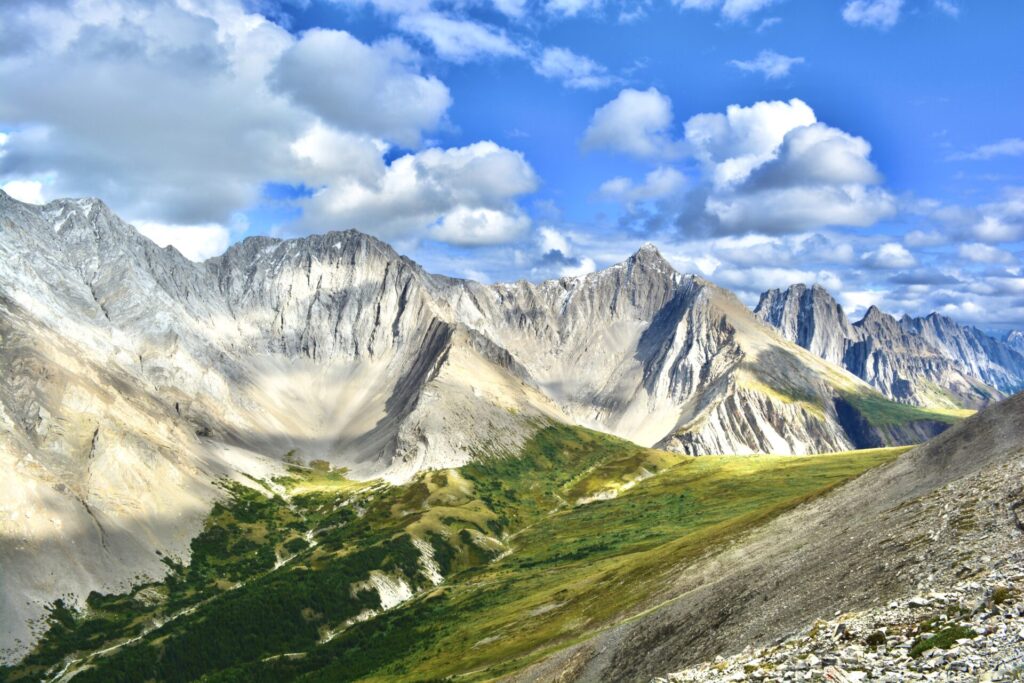
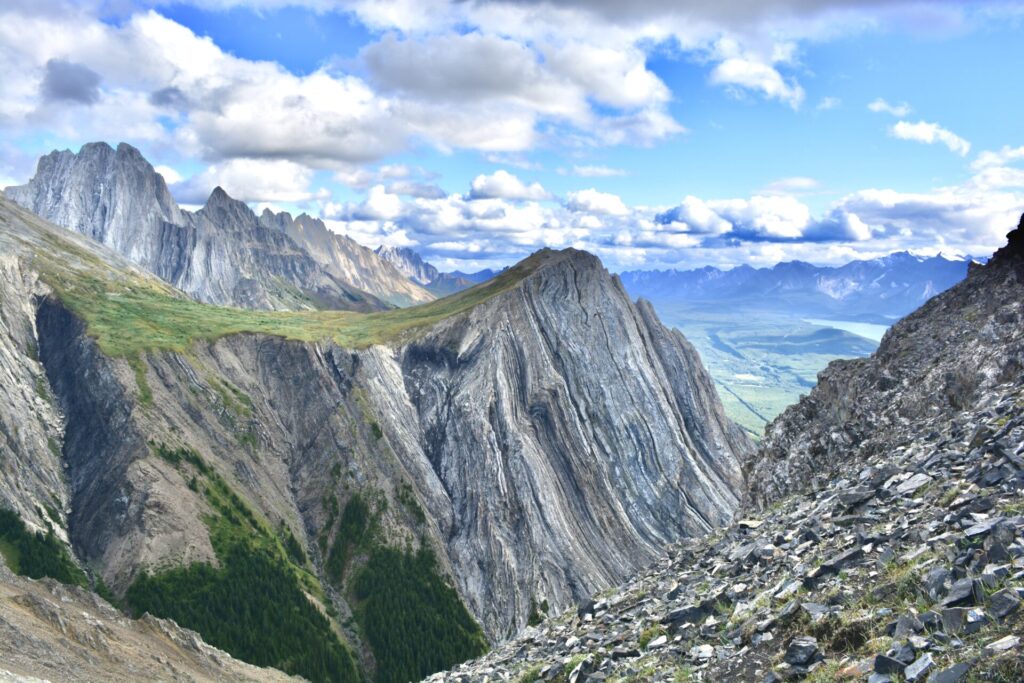
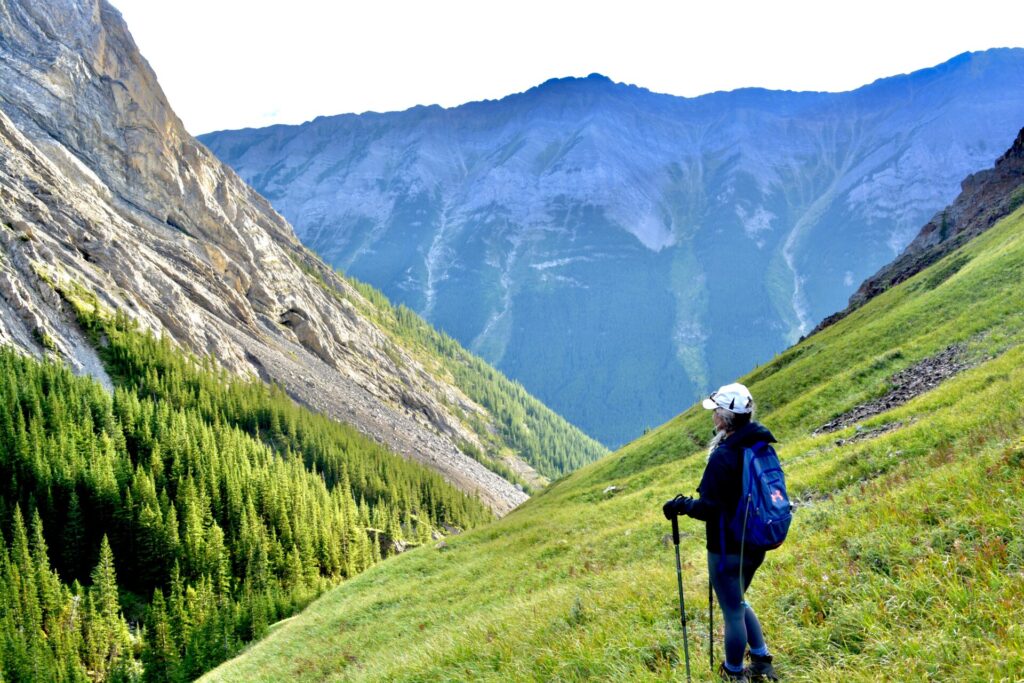
On the backside of Opal Ridge the views will open up to the most incredible mountains. They’re rugged, detailed, and seriously look like they don’t even belong in The Canadian Rockies. My hiking partner and I both agreed the rolling alpine valleys made us feel like we were in Scotland and that the surrounding peaks looked like something out of the Italian Dolomites.
From the summit you’ll have 360 degree views of the surrounding valleys, mountains, and lakes. What I found most striking about this were the multi-coloured mountains. You had the classic grey and Rocky Mountains along with the greenest valleys AND what looked to be orange coloured mountains far off in the distance. Spectacular.

The Descent
After you’ve reached the summit, you’ll head back down the way you came up – look for the orange and pink markers on the way down. I didn’t go down this route, instead I did the Opal Ridge Loop. I’ll talk about this wild story next.
You have the option of waking further to check out the other peaks. I would definitely recommend doing this because the views somehow get even more dramatic the further you walk, but I advise to go down the way you came up unless you’re an experienced adventurer.
Connect via socials:
STAY CONNECTED
Sign up for emails to receive a 25% discount on my travel maps.
Taylor ♡
WARNING – Opal Ridge Loop: Scrambles In Kananaskis
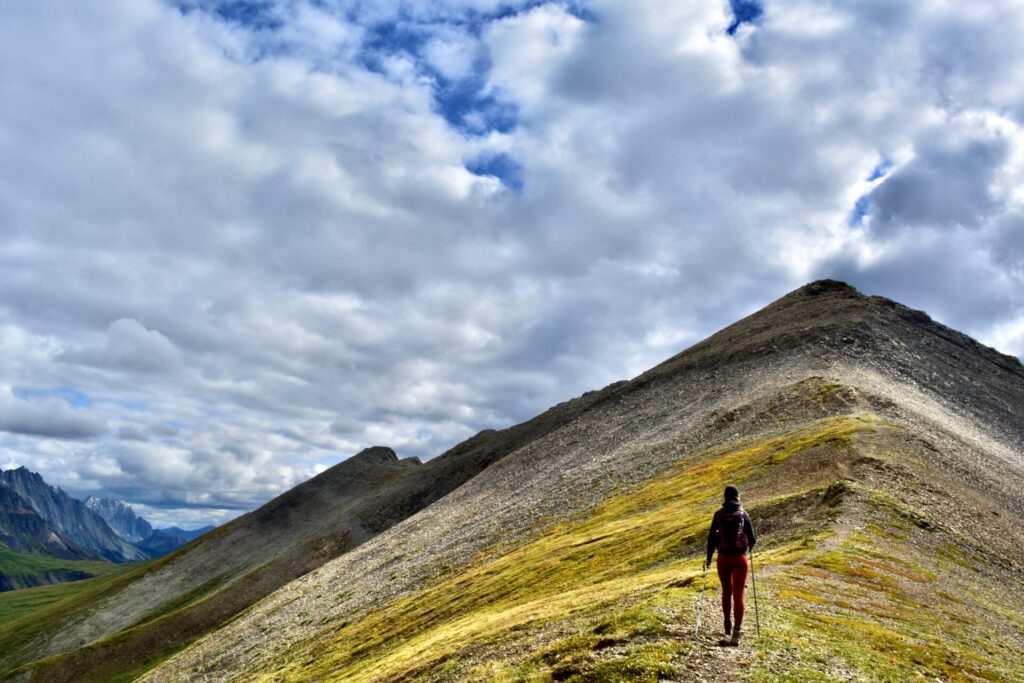
What I previously talked about was the Opal Ridge route. Instead of hiking this route I wanted to see a bit more of the area and decided to complete the Opal Ridge Loop which takes you along the ridge-line and descends on the opposite side of the mountain where you hike up.
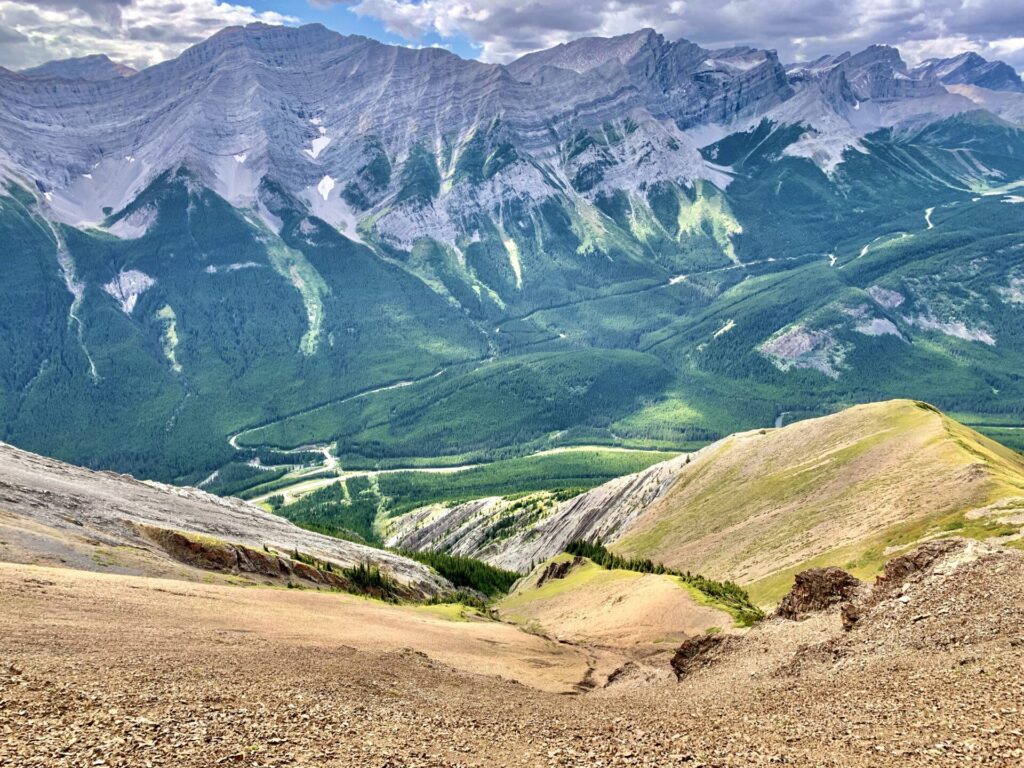
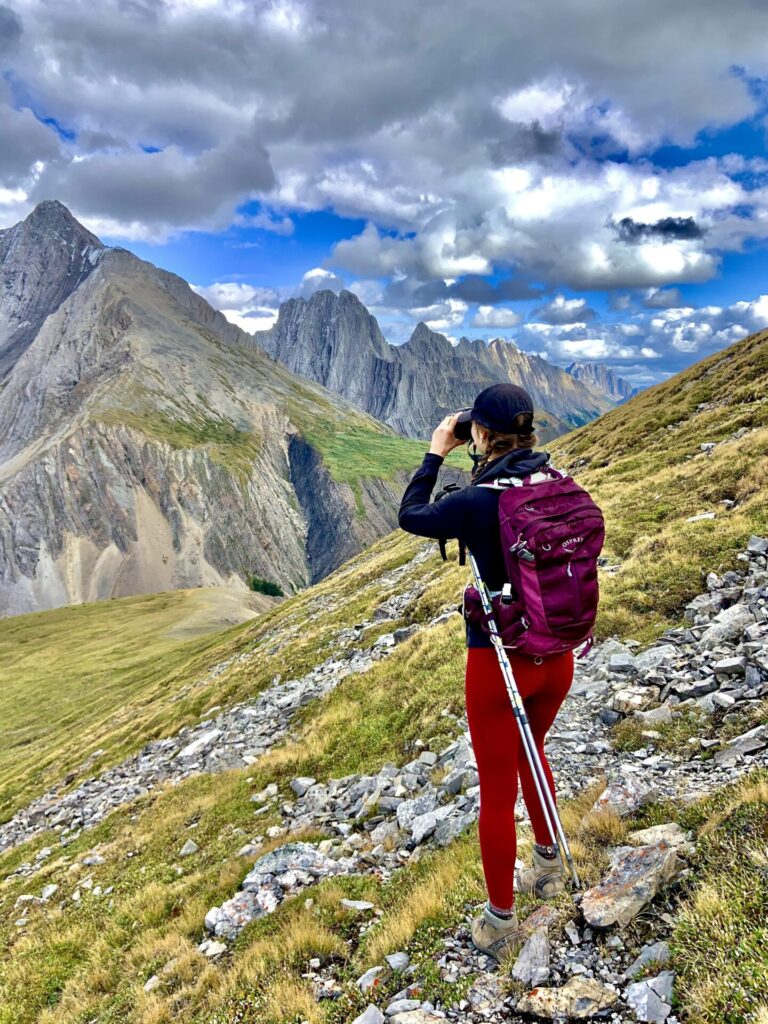
From the true Opal Ridge summit you continue walking along the ridge, staying as close to the top of the ridge as possible. Doing this allows you to see more of Opal Ridge as well as get a closer view of the surrounding mountains and a wider view of the valley. Walking along the ridge was by far my favourite part of this hike – I was literally left speechless by the beauty.
I think I took around 500 photos on this hike…
Where We Went Wrong…
The end of the ridge is where things got really dicey and quite scary for us. We started hiking Opal Ridge around 12-1pm. What was supposed to take only 4 hours ended up taking 9 due to the situation we encountered.
As you start descending the ridge you’ll see a massive gully full of scree rock – DO NOT GO DOWN THIS WAY. My Alltrails map glitched and sent us down here. I felt okay with this initially because I saw a clearly defined path and other footprints. It seemed to be very steep and a little dangerous, but we went along with it.
We were sliding all over the place, got caught in a few small rock slides, and were started to wig out. My hiking partner had never scrambled or hiked in scree rock before so I was especially worried for her. After a while of hiking down the gully, the path we were following disappeared. This indicated to me that previous hikers made the same mistake and had to re-route.
For our safety, I decided it was best to pull trig and change our route completely before the rocks let go and something bad happened.
What Did We Do?
We had to scramble back up the steepest terrain I’d ever dealt with and literally had to climb over a few massive rocks to escape the scree slope. Luckily we came out of it with only a few scrapes and bruises. I then reloaded my Alltrails map which still seemed to have no idea where to send us. This was quite alarming because we were running out of daylight and needed to find a way down asap.
We walked back along the entrance to the gully and found a very lightly beaten down path. Since we didn’t have another option we decided to follow it. We walked and butt scooted down both rocky and grass covered areas. It took us forever because the terrain was so extreme and we were so worried about losing our balance.
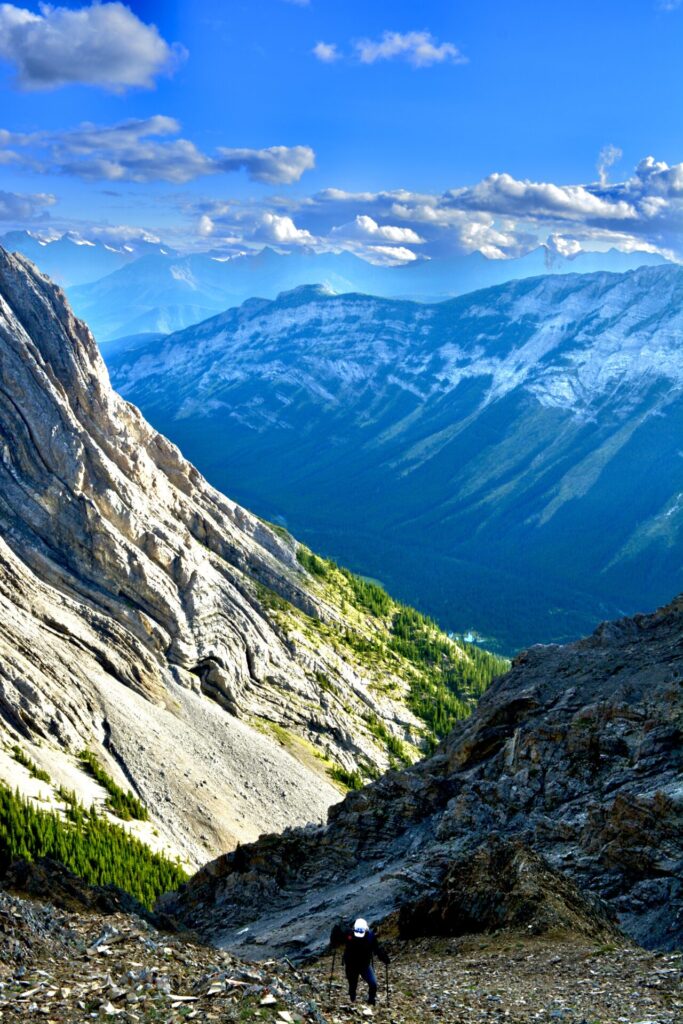
At this point we were still about 3/4 up Opal Ridge when that beautiful golden hour light spread across the mountains… This view was incredible, but also made us freak out because it meant the sun was setting fast.
We continued along and found a stream, crossed the stream, then had to bushwhack through a really tight area of trees. Eventually we came out, walked back up a bit and thankfully found the real trail!
From here we hiked as quickly as we could to get down the mountain. As twilight hit we were on the ground level trail heading back to the car. This marked 3kms to the end of the hike. We decided it was best to book it, as Kananaskis is prime grizzly territory and we didn’t want to get caught in the woods with no light.
By the time we hit the road, it was pitch black. We made it back just in time.
What You Need To Know About Hiking Opal Ridge Loop
To this day I still have no idea where the actual trail takes you down Opal Ridge and this is why I only recommend hiking the Opal Ridge Loop if you’re an experienced hiker and have route finding skills. This was an amazing adventure and one of my favourite hikes to date, but only because we were lucky. This hike could have had a very different ending.
So if you plan to complete Opal Ridge Loop, stay away from the rock gully. Walk all the way around it until you hit the green valley floor, then hike down the grassy area. When you can (best before the tree-line starts), cross the stream and watch for the trail. You’ll want to be on the right side of the stream when you descend. Once you find the main trail it’s easy to find your way down.
Tips For A Successful Hike
- There’s a gas station at the parking lot with snacks and a bathroom – go to the bathroom before you hike, there’s nowhere to hide and take a pee
- Bring warm layers – there’s NO protection from the elements up on the ridge
- If you complete the loop, start this hike early, allot extra time to complete it, and only attempt it if you have experience and are skilled
- Unless you have the proper gear and experience, wait until June-ish to ensure the snow is gone
- Bring gloves – I use these (men’s version). They really help with the scrambling section, especially if it’s cold
- Bring hiking poles – these help with the steep terrain on the way up and save your knees on the way down
- Prepare for your scrambles in Kananaskis and familiarize yourself with scrambling safety.
Where to Stay in Kananaskis Country
Unless you plan on camping, lodging options are a bit limited in Kananaskis. Here are a few options for every budget:
Booking.com- Hostel – HI-Kananaskis Wilderness Hostel.
- Glamping – Sundance by Basecamp. Sundance gives you the opportunity to camp in a regular tent, glamping tent, or tipi.
- Mid-range hotel – Crosswaters Resort in Kananaskis Village.
- Luxury Stay – the Kananaskis Mountain Lodge is one of the most luxurious getaways in the Banff-region. At the lodge you’ll find the Kananaskis Nordic Spa which is the most sought after spa in the region. Mount Engadine Lodge is another unique option which gives you the opportunity to lodge in yurts, glamping tents, and cabins. Gourmet food and great views included.
- Stay nearby – If these Kananaskis stays aren’t what you’re looking for, check out lodging options in nearby Canmore or Banff.
- Camping – Kananaskis offers tons of camping facilities scattered throughout the area and they almost always have availability. If you’re one to free-camp, Kananaskis has PLUZ (Public Land Use Zones) and Wildland areas, both of which you can random camp in for free. This is something I have yet to figure out in the Kananaskis region, but if you’re interested you can find more information about it here
Happy adventuring!
Taylor ♡
Like This Post?
Share with friends or save it for later!

About the Author
HI, I’m Taylor – the voice behind The Holistic Backpacker.
After moving to Banff National Park in 2020 I became an outdoor adventure enthusiast and vowed to never stop exploring.
I now spend my days travelling the world, climbing mountains, and spending nights under the stars in the Canadian Rockies backcountry.
I created The Holistic Backpacker so I could share my adventures and help connect people like you with the same amazing experiences.