A Trek up Tent Ridge in Kananaskis Country
The Tent Ridge hike in Kananaskis Country is perfect if you’re looking for a moderately challenging hike with phenomenal views. The hike features jaw-dropping views of the Spray Valley, an overhead view of the Spray Lakes Reservoir, and it’s an ideal place to watch sunrise.
In this trail guide I’ll tell you everything you need to know about hiking Tent Ridge, a few things I wish I would have known before hiking the trail, as well as tips to ensure you have a successful hike.
Looking for more great hikes in Kananaskis? Click here.
Now, let’s go hiking!
Skip Ahead
- How to get to the Tent Ridge trailhead
- About the Tent Ridge trail
- Hiking Tent Ridge
- Recommended hiking gear
- What to wear hiking in the Rockies
- Where to stay in Kananaskis
I have affiliate links in this post which means when you book a hotel or purchase a product, I may make a small commission ~ at no additional cost to you (full disclosure). These funds go back into The Holistic Backpacker and help me create more free content like this!
Thank you for supporting my work!
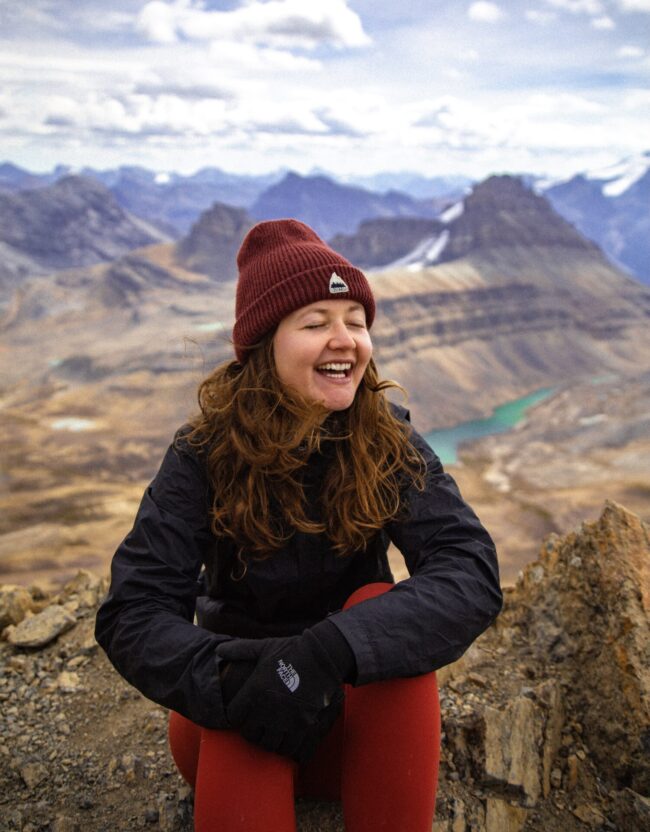
Tent Ridge hike Kananaskis
How to get to the Tent Ridge Trailhead
The Tent Ridge hike is located in Spray Valley Provincial Park which is part of the magnificent Kananaskis Country (my favourite hiking destination in the Rockies). The actual Tent Ridge trailhead can be found along Mount Shark Road, not far past Mount Engadine Lodge.
The official parking lot is small and not well-marked so make sure you have google maps downloaded.
There are no shuttles or buses that drive through Kananaskis Country, so if you plan on hiking you’ll need to drive or rent a car to access the Tent Ridge trailhead.
Best Alberta Car Rental
Most of Alberta is inaccessible via public transportation. I 100% recommend renting a car here so you can fully enjoy all the mountains, lakes, and badlands.
My favourite Alberta car rental tool is this site. It compares all the local car rental companies to ensure you’re getting the best rate.
Note there’s a seasonal road closure in Kananaskis (more info) and, as of summer 2021, you need a conservation pass to visit Kananaskis Country.
Tent Ridge hike Kananaskis
About the Tent Ridge Trail
- Distance: 10.1km
- Elevation gain: 828m
- Rated: hard
- Type of trail: loop
- Estimated time: 4.5hrs
The Tent Ridge trail is moderately challenging and well-trafficked. The beginning of the hike (depending on which way you hike) is much easier to navigate than the last section; I’ll talk about this more next.
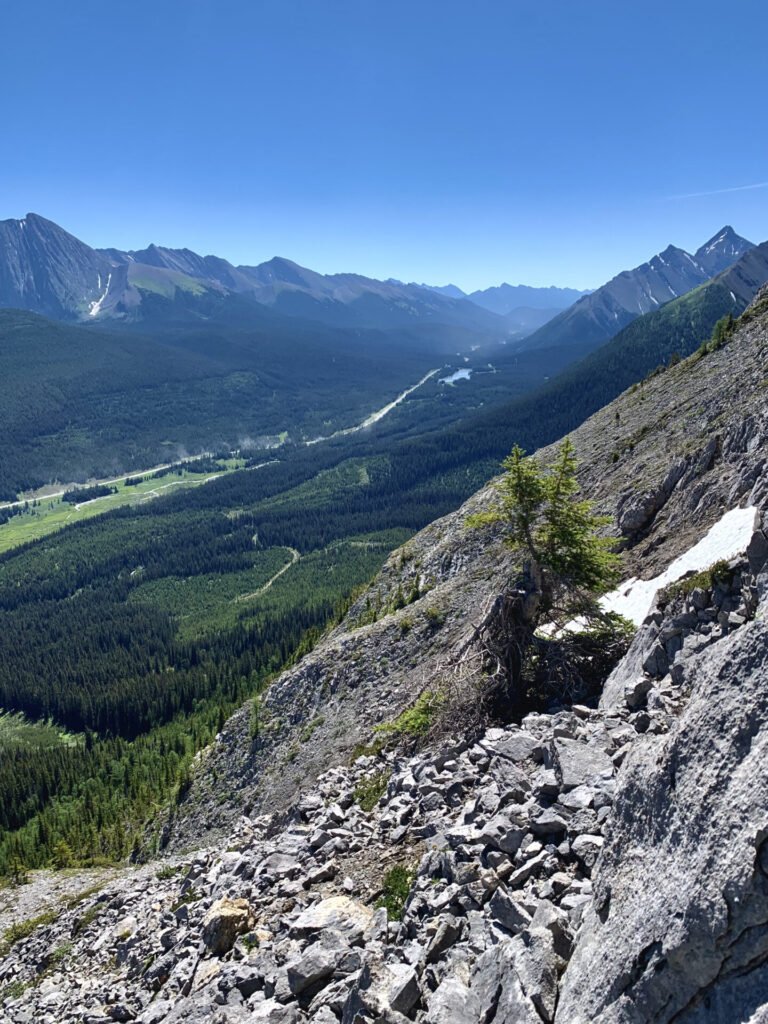
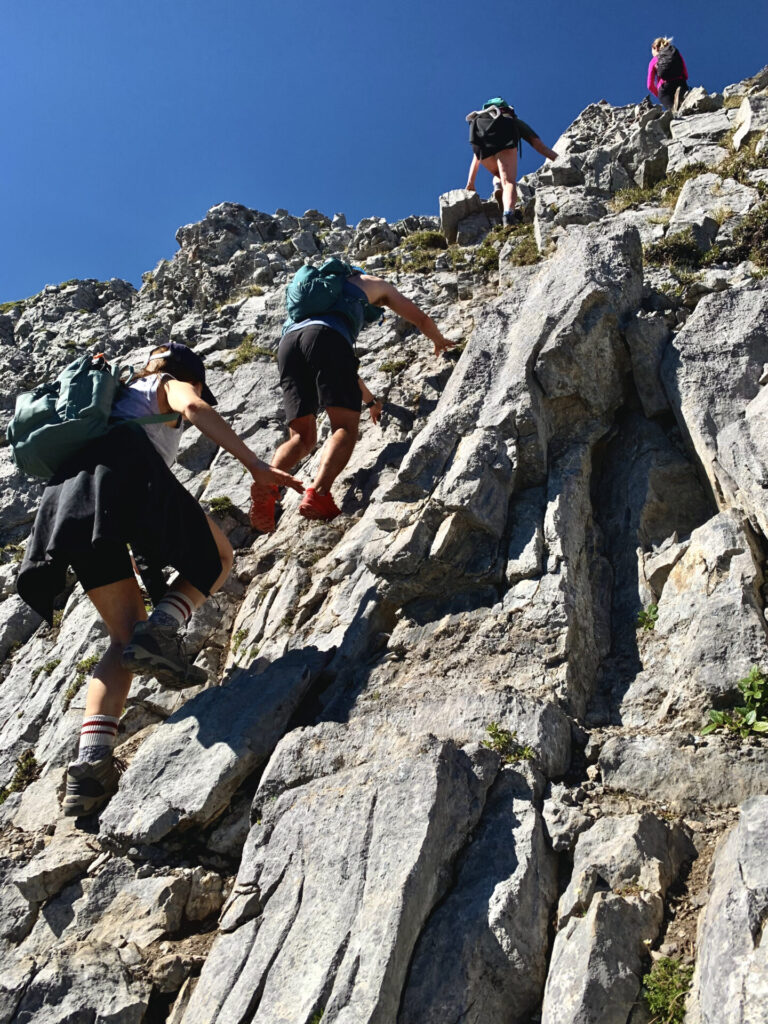
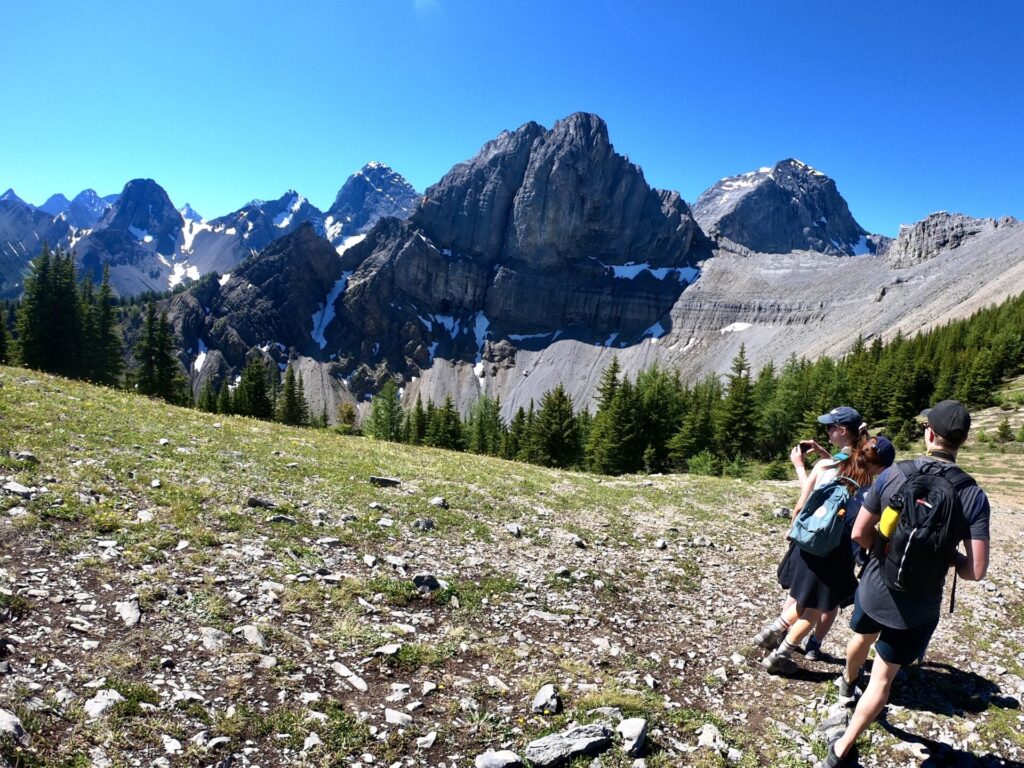
The trail starts out in a wooded area full of Larch trees then enters a beautiful alpine meadow. Next the trail enters a bit of a loose scree section where some scrambling/bouldering is required. The ability of scrambling required here is beginner, although the terrain is quite steep.
You’ll then reach the “first peak,” but this is only the beginning. After this, the trail loses a significant amount of elevation, then gains it back with an additional 50m or so. From here you’ve got an easy ridge walk to complete the Horseshoe before descending down a steep slope from which you’ll re-enter the forest. Significant route finding skills will be required from here.
More Helpful Info
- This trail is best hiked in the summer months (June to September). In winter the trail is extremely hazardous and crosses through multiple avalanche paths.
- Due to steep elevation and bit of bouldering/scrambling, it’s not recommended you bring your furry friends or children.
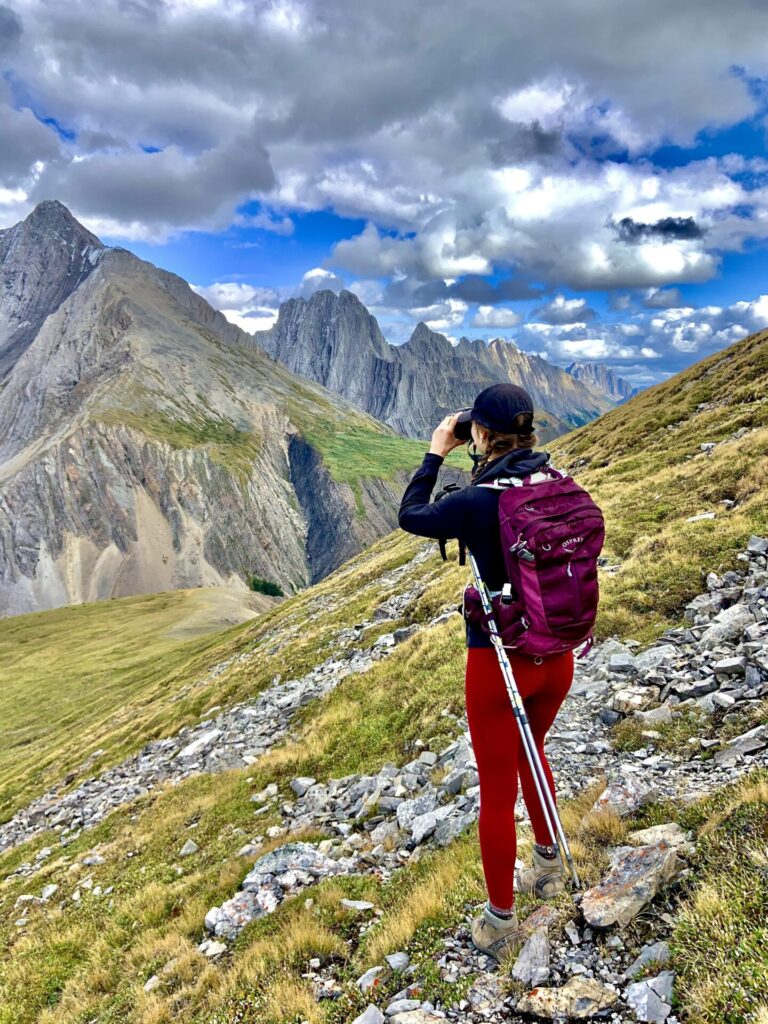
- On the Ridge you’ll be exposed for a significant amount of time. Bring lots of sunscreen or ensure you dress warm depending on weather conditions. If it’s cold and windy these are my favourite jackets to wear hiking in the Rockies.
- It’s recommended users hike clockwise (more about this next).
- Proper hiking boots (I use these/men’s version) and trekking poles are highly recommended for the Tent Ridge hike.
- The trail occasionally is closed due to bear activity. Make sure you’re bear aware and always carrying bear spray.
- There’s no water source once you reach the ridge. Come prepared with minimum 2L of water – I always bring my 2L Hydrapak.
Connect via socials:
STAY CONNECTED
Sign up for emails to receive a 25% discount on my travel maps.
Taylor ♡
Tent Ridge hike Kananaskis
Hiking Tent Ridge
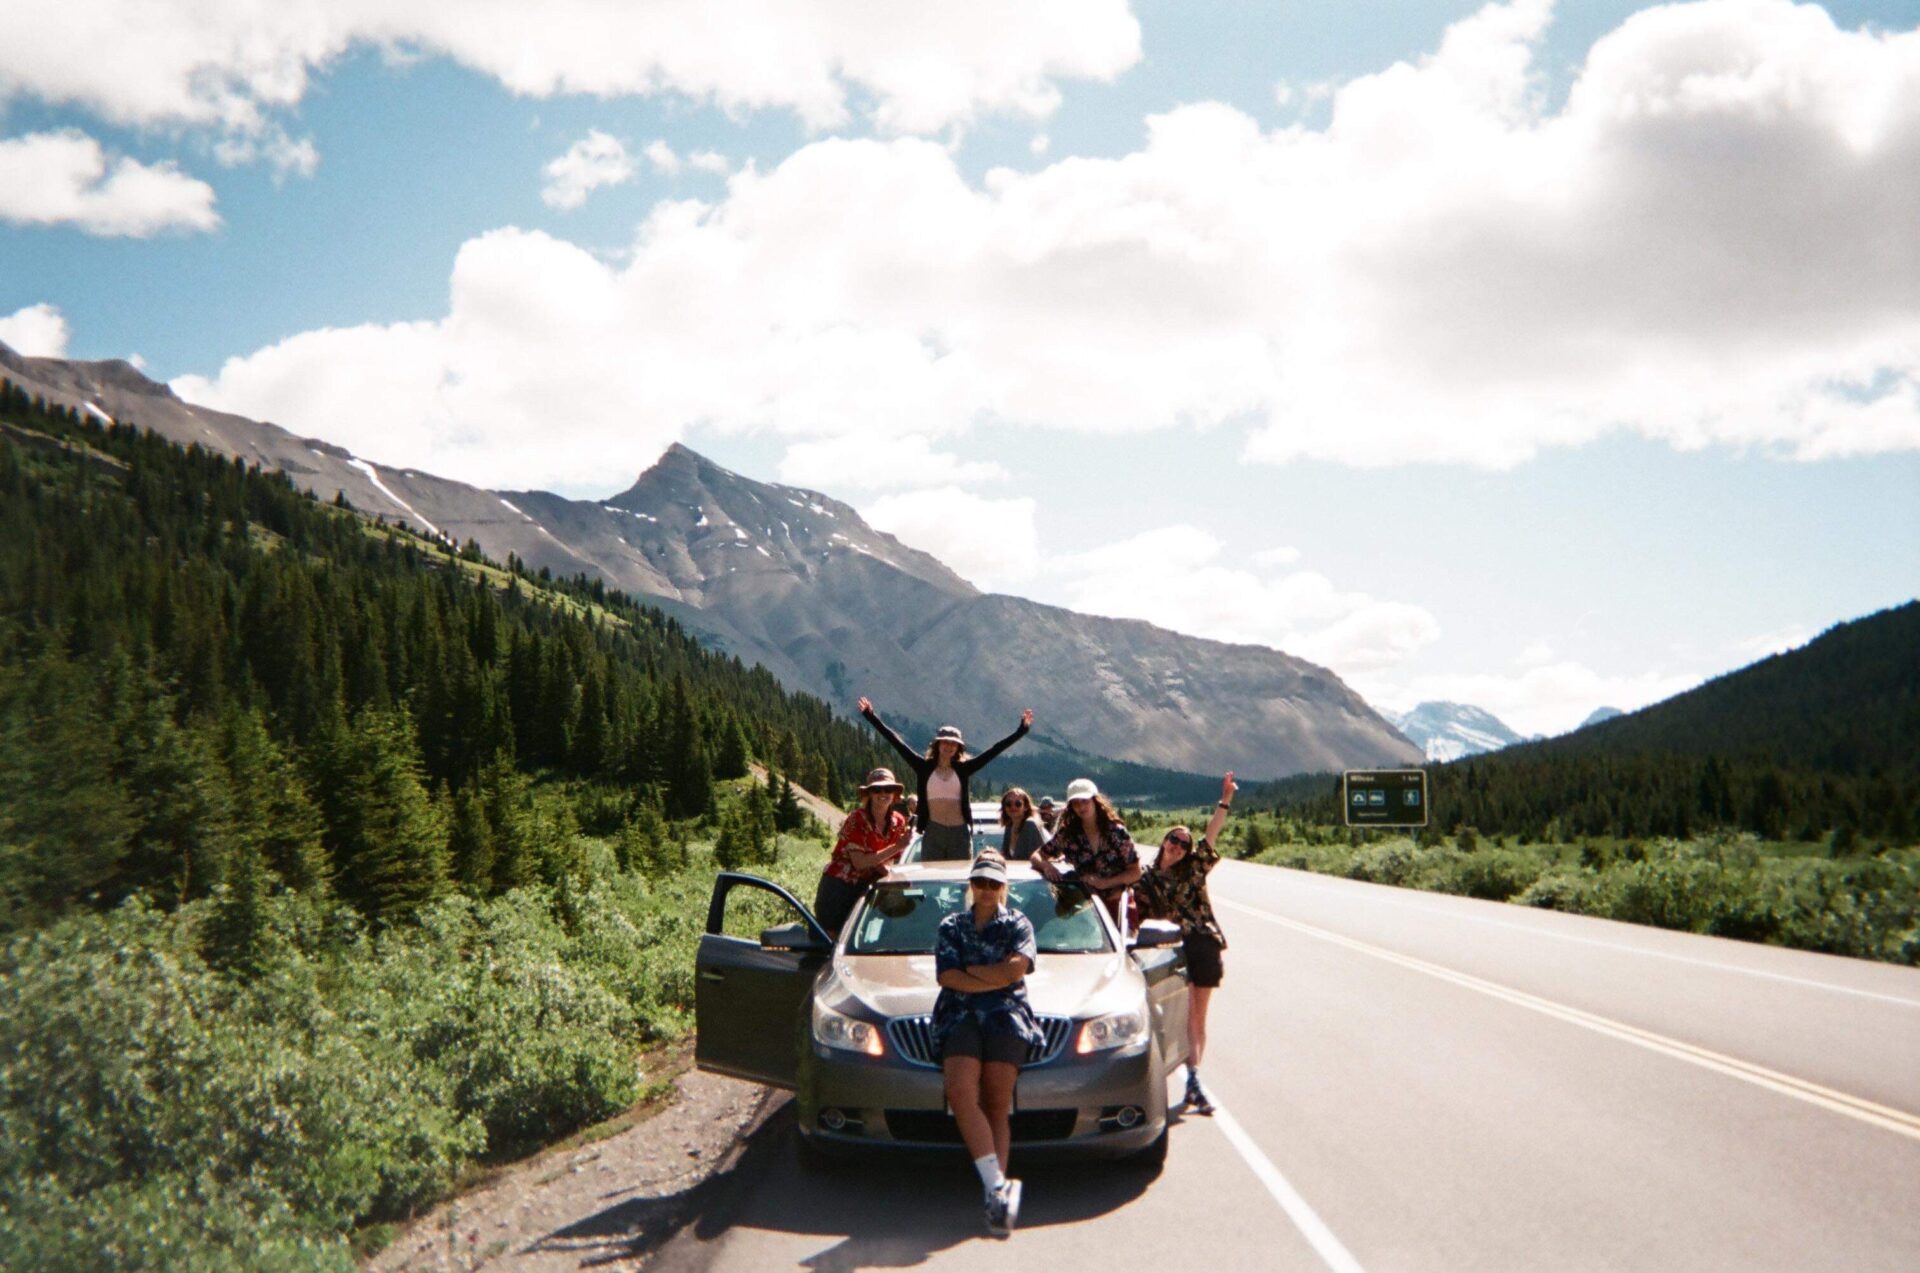
From the parking lot hikers will need to decide which direction they want to hike. For the purpose of this trail guide I’ll be speaking from the perspective of clockwise, however here’s a bit more info so you can make a directional decision that best suits you:
- Clockwise: this is the more popular route; I’ll tell you everything you need to know about it subsequently.
- Counter clockwise: This route is lesser travelled. I found what would be the beginning of this hike to be very difficult to navigate; my hiking group and I actually got lost. The only reason I’d recommend hiking counter clockwise is because it’s closer to where you’ll want to watch sunrise (overlooking the reservoir). If you hike this direction, prepare for extremely steep grades and lots of route-confusion.
Trailhead to the “First Peak”
The Tent Ridge trail immediately enters a wooded section full of Larch trees; prepare to find beautiful fall colours here in September and ensure you have bear spray. You’ll consistently gain elevation (although not overly strenuous) in the wooded section for about 3km until you reach the meadow. In the meadow you’ll find beautiful wildflowers around July.
Shortly after the meadow you’ll find a steep climb to the “first peak” of Tent Ridge. I’m not gonna call this a scramble because it honestly just feels steep rather than an actual scramble. It is very steep though and hikers will need to borderline boulder up a small section before reaching the top. It looks scarier in the photo than in real life, I swear!
“First Peak” to the Actual Summit
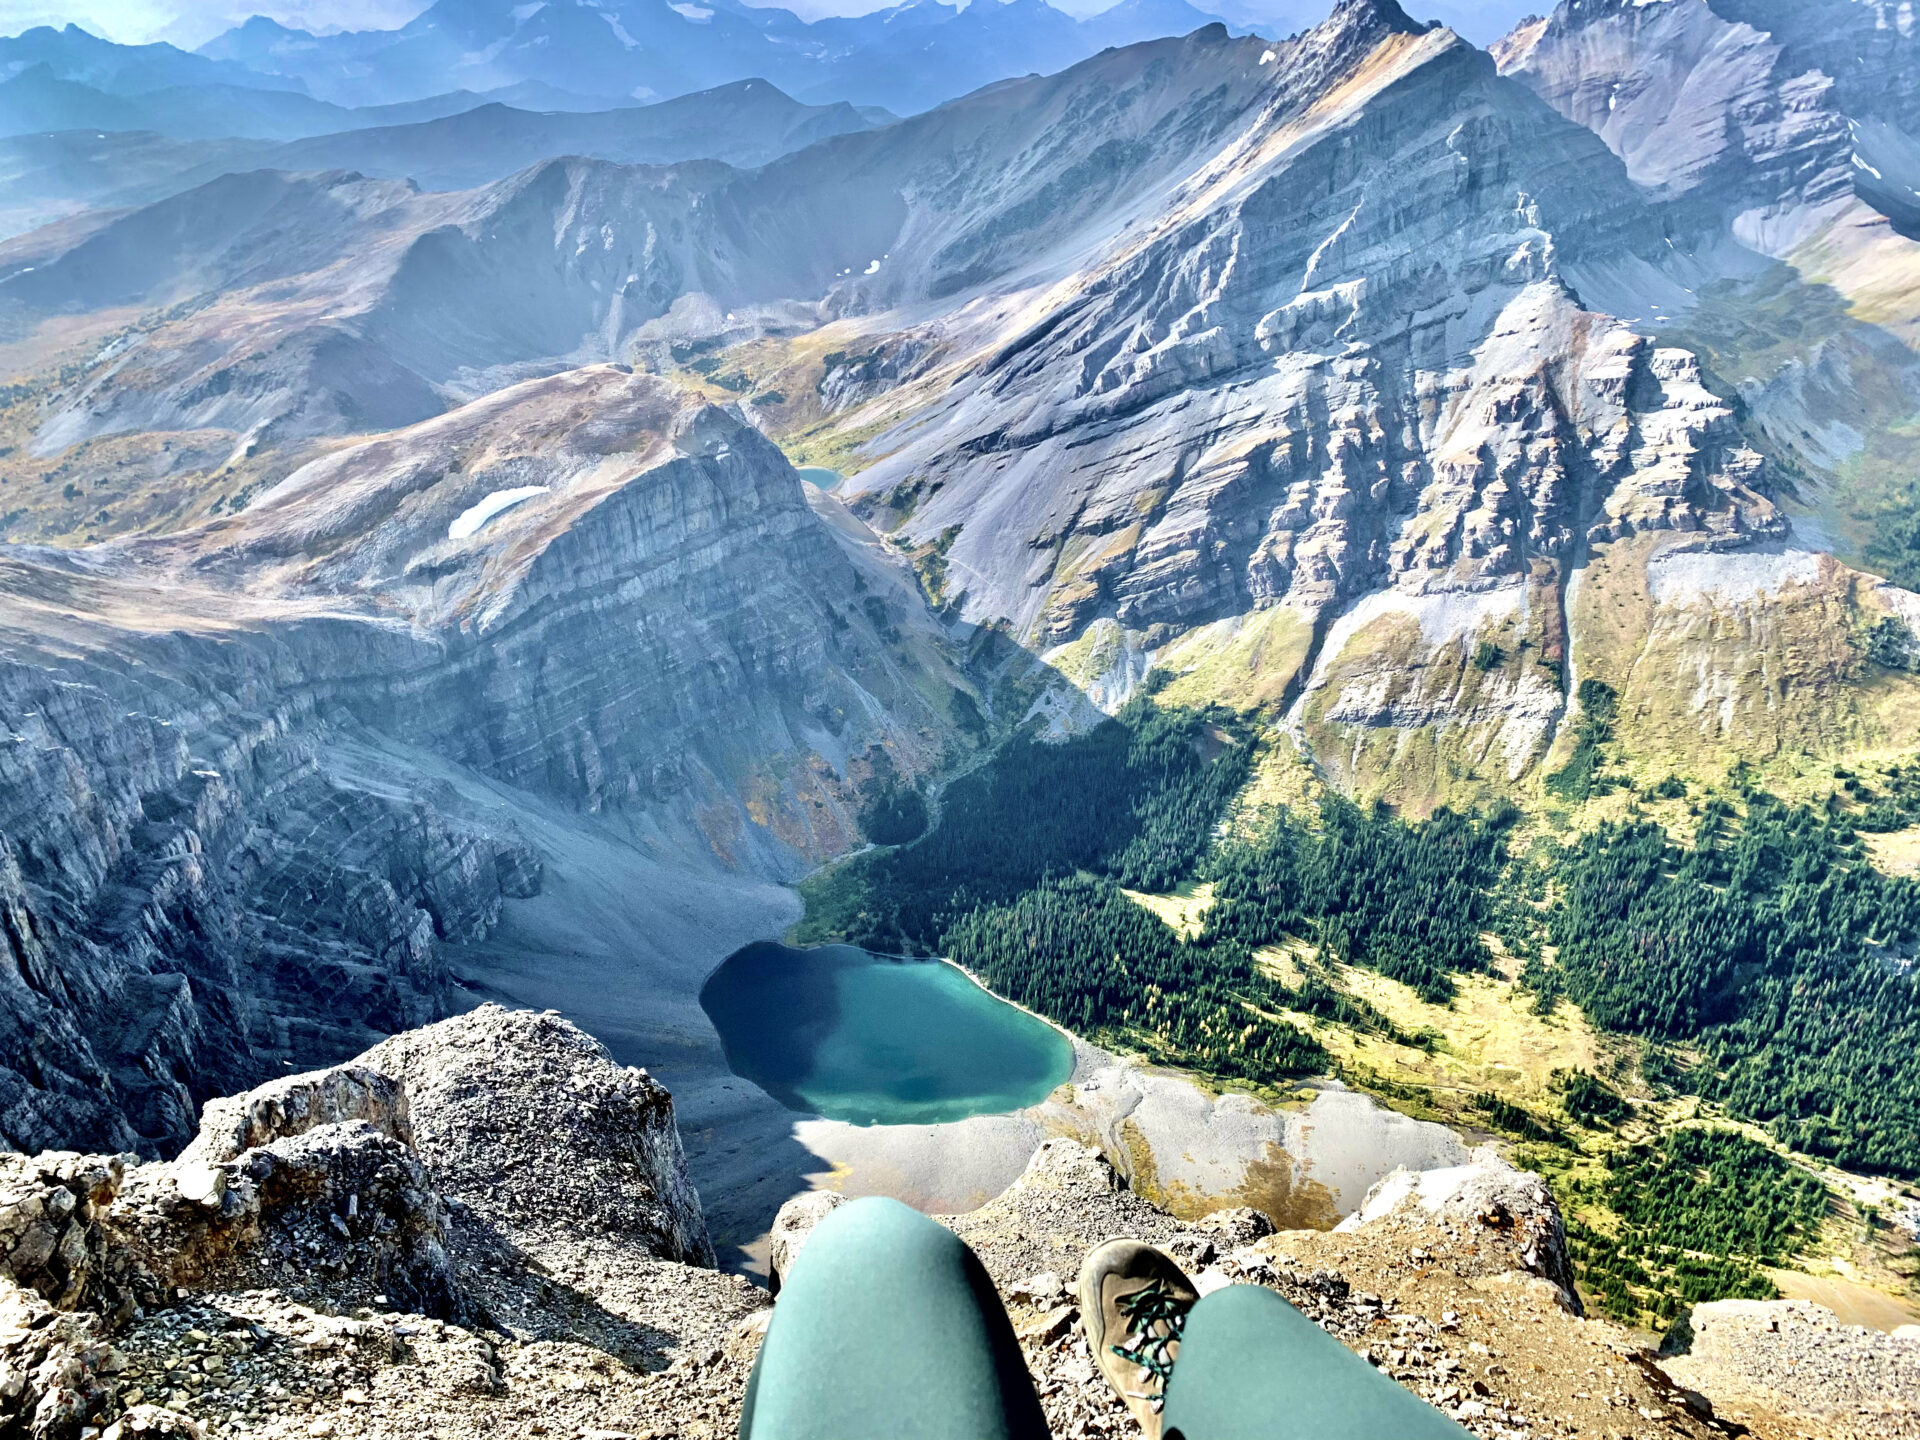
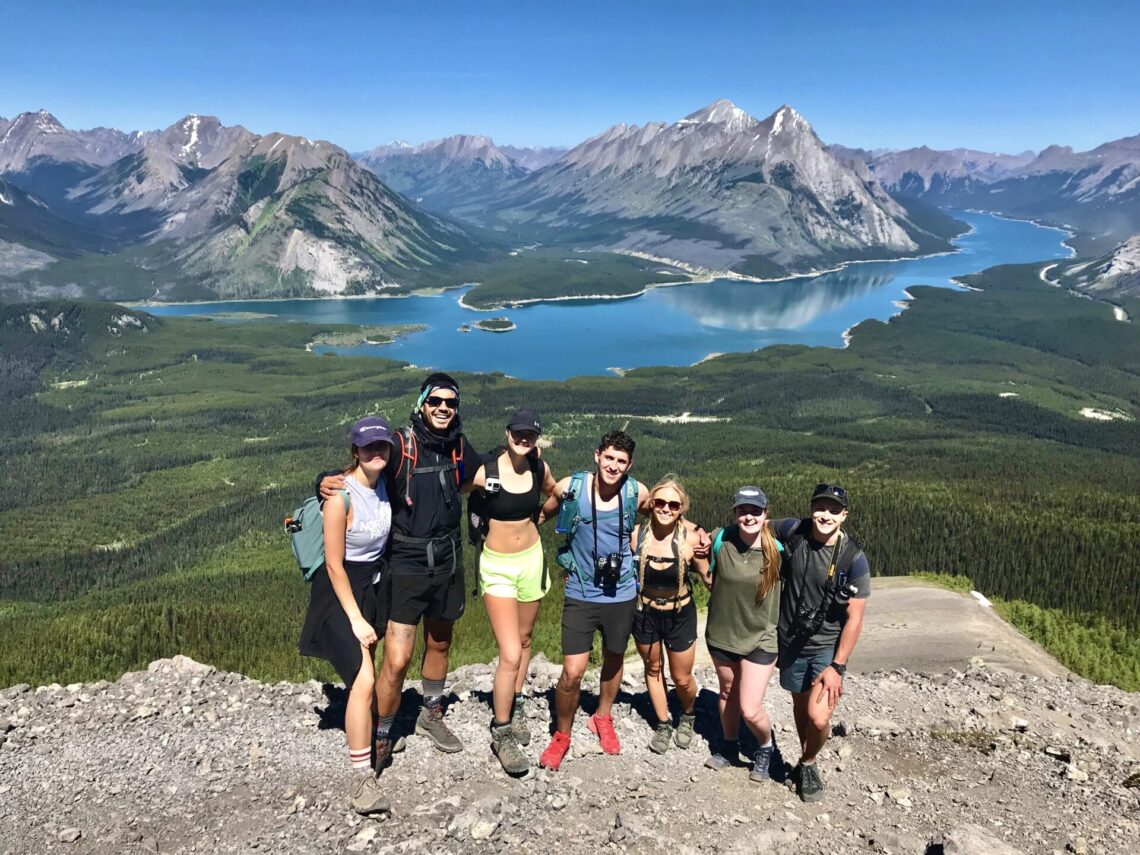
Upon reaching the “first peak” hikers will find a weather station, INCREDIBLE views of the surrounding mountains, and the tiny Tryst Lake. I really fudged up and only used my GoPro for photos the day I hiked Tent Ridge. My photos don’t do Tent Ridge justice at all… Like not even a little bit.
From here, Tent Ridge pretty much became my worst nightmare. I was new to hiking at the time and the steep climb up to the first peak nearly killed me. When I reached the top though, the first thing I saw was… Another peak.
After the first peak you’ll loose all the elevation you just gained (okay not all but it felt like it) and have to climb back up to an even higher peak. This climb is around 200m, but feels like a thousand. I’m not trying to sound dramatic here, but I totally sound dramatic.
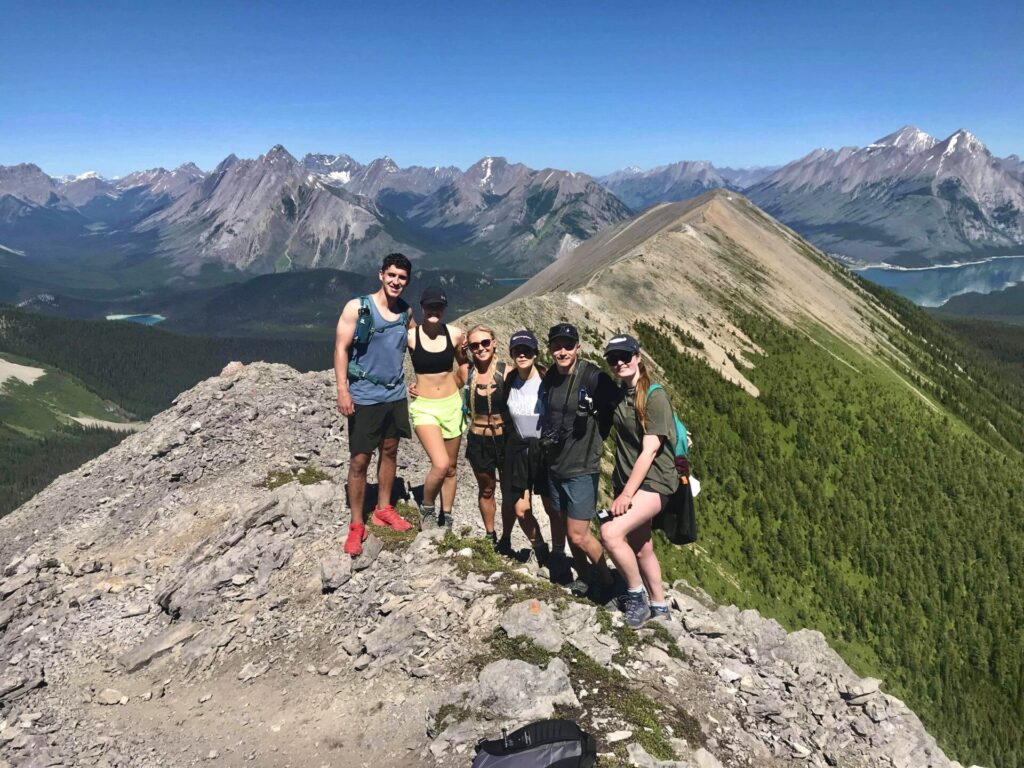
Once you reach the true Tent Ridge summit though, it’s all smooth sailing.
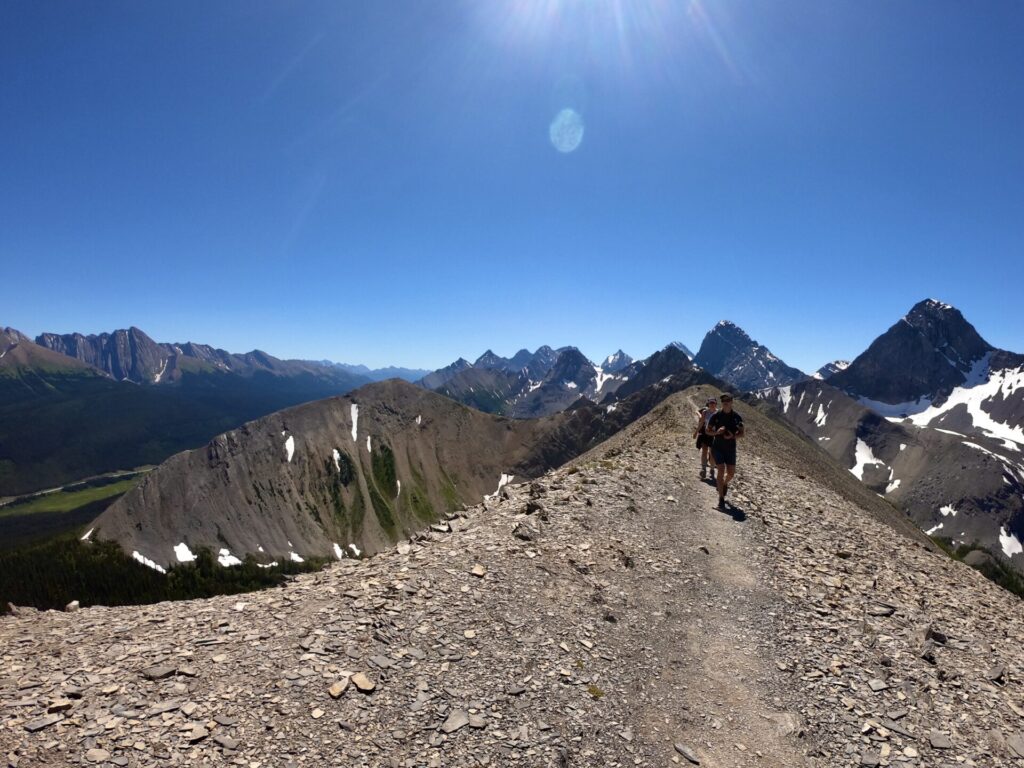
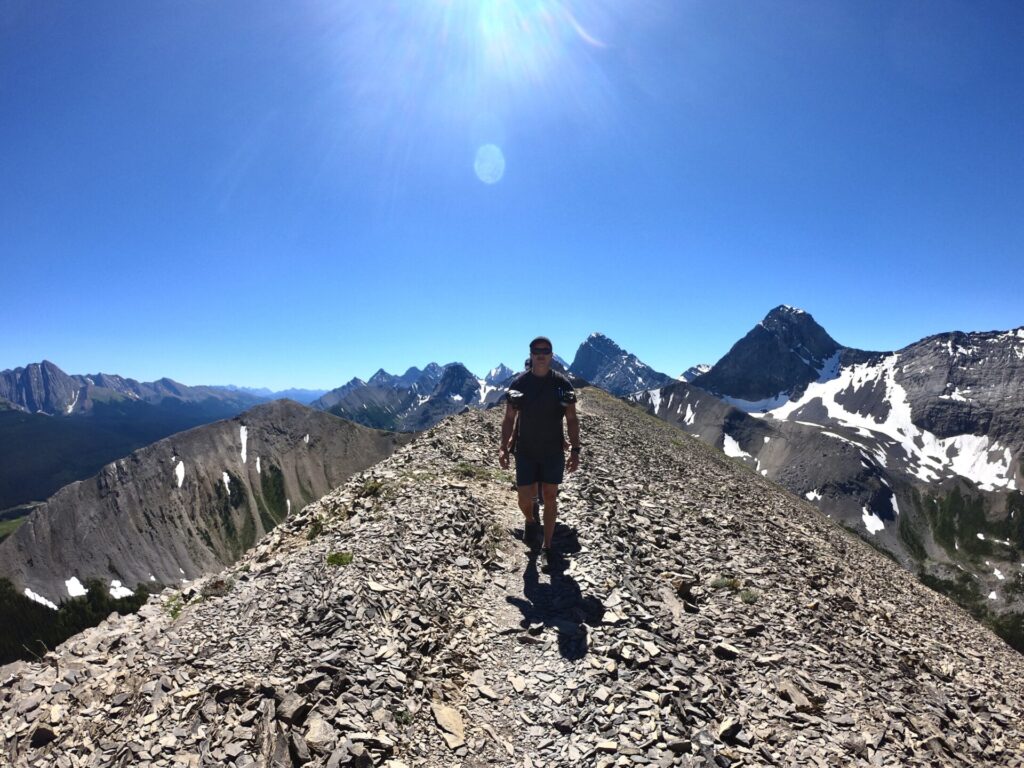
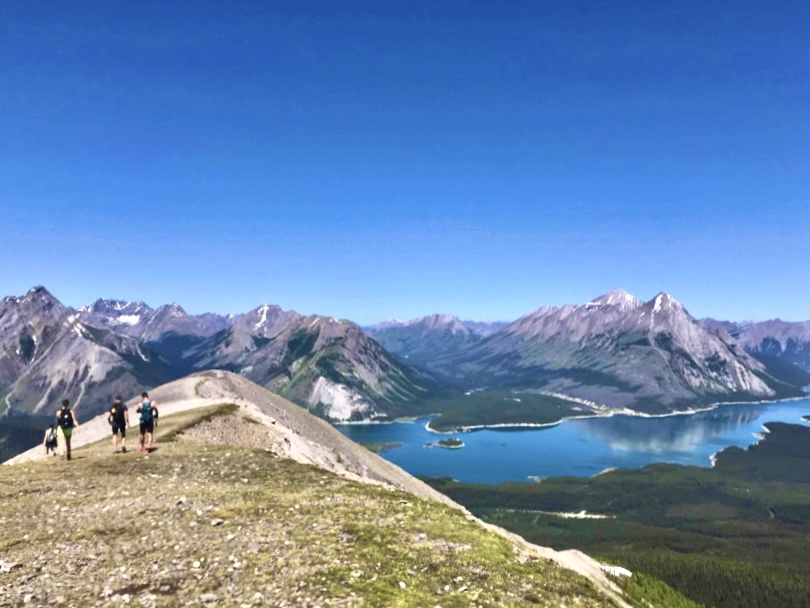
Ridge Walkin’
After reaching the Tent Ridge summit, hikers will enjoy a (mostly) flat trail across the ridge that’s well packed and easy to follow. There are so many beautiful mountains close-by – make sure you stop every once in a while to admire them.
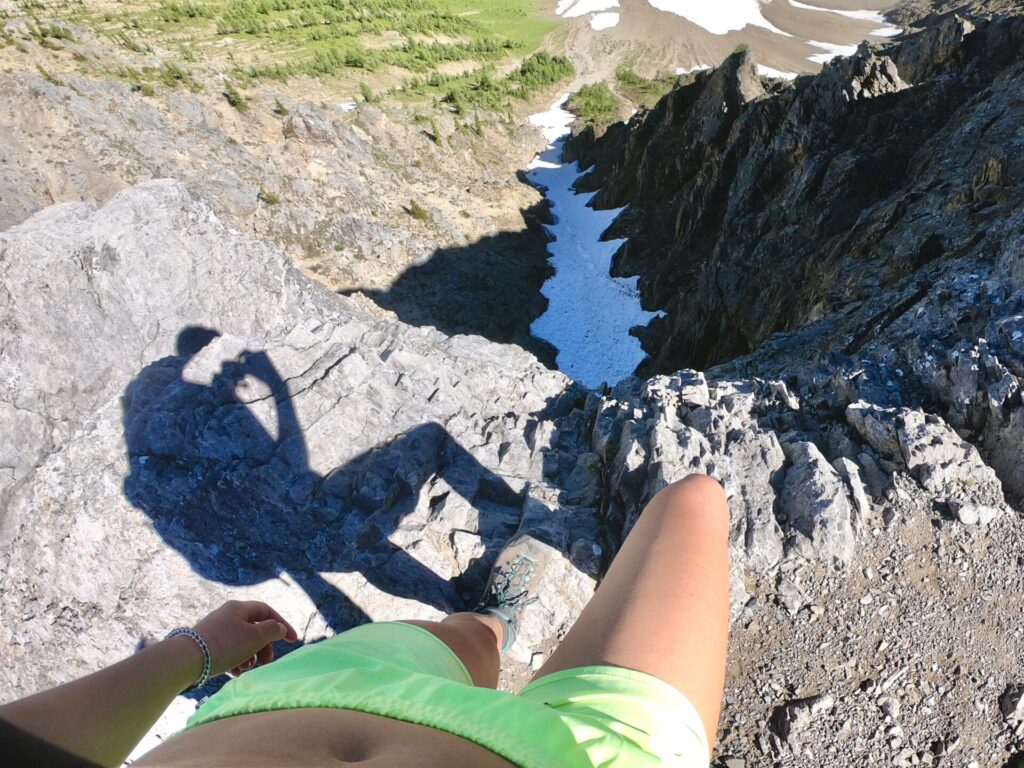
One of my favourite things about Tent Ridge was the literal drop-off that followed the majority of the ridge. I’ve got a thing for cliff drops, and let me tell you Tent Ridge didn’t disappoint.
At the end of Tent Ridge, hikers will find the beautifully blue Spray Lakes Reservoir. The reservoir is the star the show – if you’re hiking for sunrise, this is where you’ll want to watch from.
Completing the Loop
Your hike won’t end here. After reaching the end of Tent Ridge, hikers will descend down a steep slope. Trail runners may find it easier to run through parts of this descent, however it’s very steep so careful attention must be paid to foot placement. I highly recommend utilizing trekking poles and proper hiking boots (I use these/men’s version) with ankle support to help with balance.
After the steep part of the descent, the trail will re-enter the wooded area. The trail is pretty overgrown and hard to follow from this point. Luckily my hiking group had the Alltrails map downloaded, but we still got semi-lost. We ended up going completely off-trail, bushwhacking, and (literally) climbing down some ridiculous terrain.
I managed to injure my leg (just a slight gash, no biggie) right as I bushwhacked through the final row of trees before the parking lot. I was totally unprepared, but if I were to redo this hike I’d pack a small first aid kit, an emergency beacon with GPS, and extra water. At the time I only had a water bottle, which wasn’t enough. I now use a 2L Hydrapak for every hike in the Rockies.
Explore More Hikes In Kananaskis
Kananaskis is an area just outside of Banff that’s made up of multiple Wildland Areas and Provincial Parks. Kananaskis is my favourite hiking destination in the Canadian Rockies, so I urge you to explore more hikes in the area!
Click here to explore more of Kananaskis.
Featured Kananaskis Hikes:
- Cool Experiences: Yamnuska scramble, Mist Mountain hot springs, Grotto winter canyon walk.
- Ridge Walks: Pocaterra Ridge, Sarrail Ridge & Rawson Lake, Opal Ridge, Tent Ridge, and Wasootch Ridge.
- Summits: EEOR and Ha Ling.
- Incredible Scenery/Lakes: West Wind Pass, Picklejar Lakes, and Grassi Lakes.
Explore Kananaskis Country by Area:
Visit National Parks Nearby:
Looking for more hikes? Click here to explore all of my trail guides.
Tent Ridge hike in Kananaskis
Tent Ridge hike Kananaskis
Where to Stay in Kananaskis Country
Unless you plan on camping, lodging options are a bit limited in Kananaskis. Here are a few options for every budget:
Booking.com- Hostel – HI-Kananaskis Wilderness Hostel.
- Glamping – Sundance by Basecamp. Sundance gives you the opportunity to camp in a regular tent, glamping tent, or tipi.
- Mid-range hotel – Crosswaters Resort in Kananaskis Village.
- Luxury Stay – the Kananaskis Mountain Lodge is one of the most luxurious getaways in the Banff-region. At the lodge you’ll find the Kananaskis Nordic Spa which is the most sought after spa in the region. Mount Engadine Lodge is another unique option which gives you the opportunity to lodge in yurts, glamping tents, and cabins. Gourmet food and great views included.
- Stay nearby – If these Kananaskis stays aren’t what you’re looking for, check out lodging options in nearby Canmore or Banff.
- Camping – Kananaskis offers tons of camping facilities scattered throughout the area and they almost always have availability. If you’re one to free-camp, Kananaskis has PLUZ (Public Land Use Zones) and Wildland areas, both of which you can random camp in for free. This is something I have yet to figure out in the Kananaskis region, but if you’re interested you can find more information about it here
Tent Ridge hike Kananaskis
Happy adventuring!
Taylor ♡
Like This Post?
Share with friends or save it for later!

About the Author
HI, I’m Taylor – the voice behind The Holistic Backpacker.
After moving to Banff National Park in 2020 I became an outdoor adventure enthusiast and vowed to never stop exploring.
I now spend my days travelling the world, climbing mountains, and spending nights under the stars in the Canadian Rockies backcountry.
I created The Holistic Backpacker so I could share my adventures and help connect people like you with the same amazing experiences.