Summiting Ha Ling & Miner’s Peak in Canmore
The Ha Ling & Miner’s Peak trail is one of the most, if not the most, popular hike near Canmore. This is a well travelled trail that features incredible views of the East End of Rundle as well as a bird’s eye view of the town of Canmore.
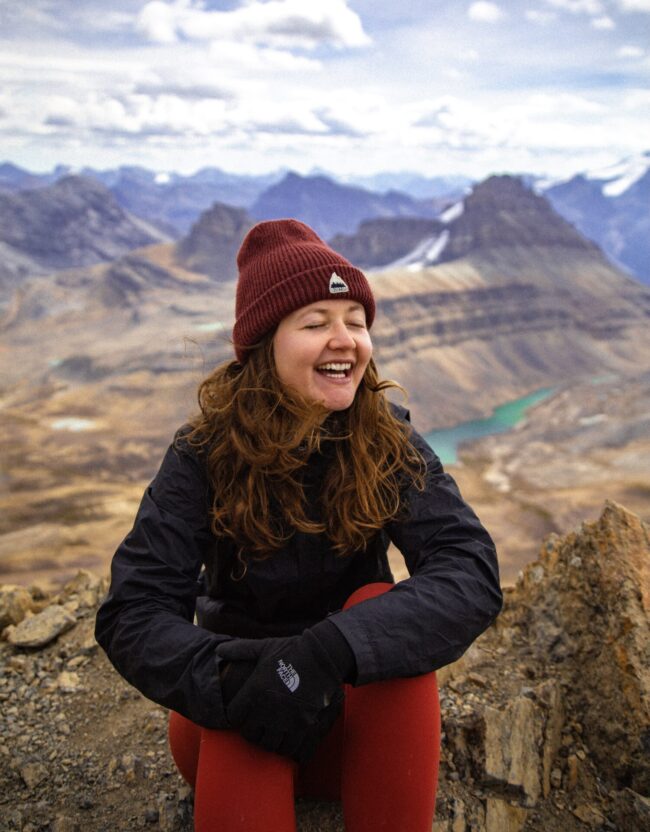
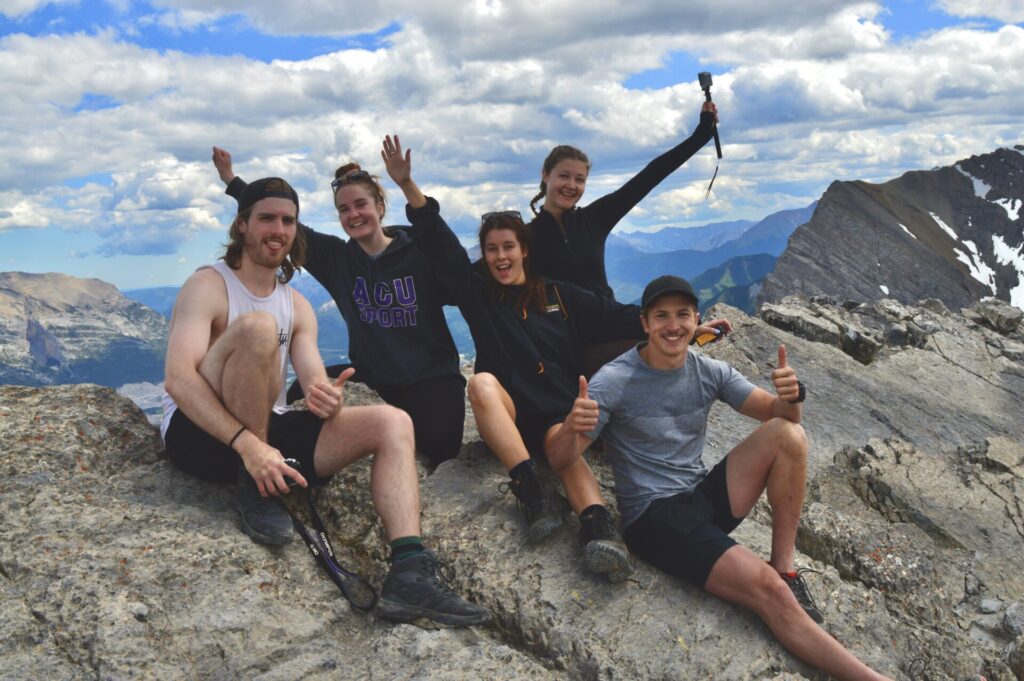
The Ha Ling & Miner’s Peak hike is perfect for beginners looking to “up their hiking game” and is a great introductory trail for hiking in the Canadian Rockies. This was one of my first summits in the Banff region so it holds a special place in my heart.
In this post I’ll outline everything you need to know about hiking Ha Ling & Miner’s Peak as well as outline all the gear you need for hiking in the Canadian Rockies.
Now, let’s go hiking!
Skip Ahead:
- How to get to Ha Ling & Miner’s Peak
- About the Ha Ling & Miner’s Peak trail
- Hiking Ha Ling & Miner’s Peak
- Hiking Ha Ling in winter
- Essential hiking gear
- What to wear hiking
- Tips for a successful hike
- Best places to stay in Canmore
I have affiliate links in this post which means when you book a hotel or purchase a product, I may make a small commission ~ at no additional cost to you (full disclosure). These funds go back into The Holistic Backpacker and help me create more free content like this!
Thank you for supporting my work!
How to get to Ha Ling & Miner’s Peak
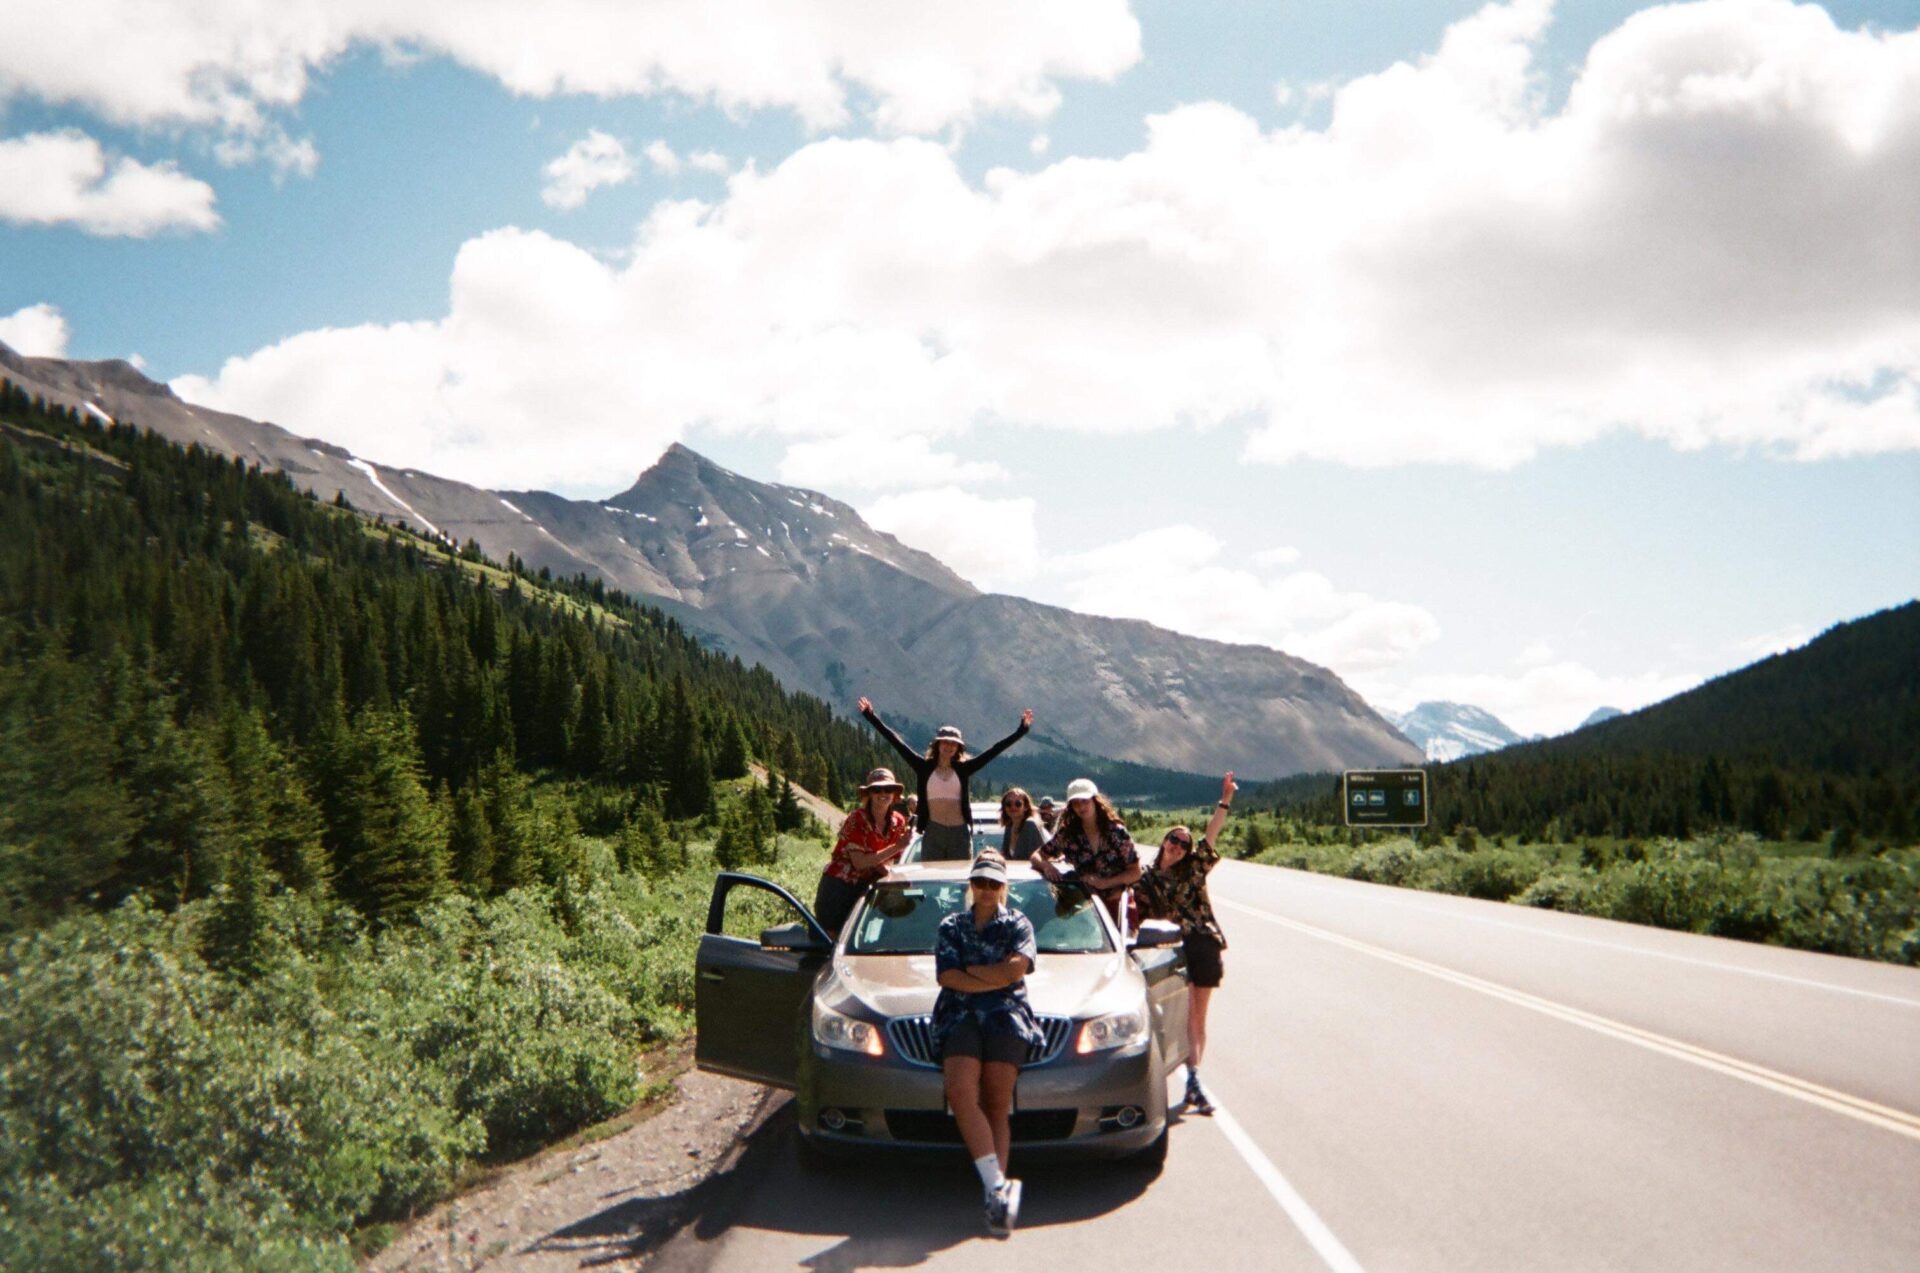
Ha Ling & Miner’s Peak is located in Canmore which is a 20 minute drive from Banff National Park. There’s no shuttle to the Ha Ling trailhead, so if you don’t have a car you’ll have to rent one to complete this popular hike near Canmore.
Best Alberta Car Rental
Most of Alberta is inaccessible via public transportation. I 100% recommend renting a car here so you can fully enjoy all the mountains, lakes, and badlands.
My favourite Alberta car rental tool is this site. It compares all the local car rental companies to ensure you’re getting the best rate.
The road to the Ha Ling Trailhead – 742 AKA Smith-Dorrien/Spray Lakes Trail – turns into a gravel road which is oftentimes littered with Bighorn Sheep. If you’ve never driven up a mountain road before, this will probably blow your mind!
742 is one of the 2 major roads in Kananaskis Country that connects you to all the great hiking trails in the area. Be sure to check out my other trail guides for Kananaskis Country. This is my favourite hiking destination in the Canadian Rockies
It’s important to note that as of 2021 you need a conservation pass if you plan to enter Kananaskis.
About Ha Ling & Miner’s Peak Trail
- Distance: 8.2km
- Elevation gain: 864m
- Rated: hard
- Type of trail: out & back
- Estimated time: 4hrs
Alternate route – make it a scramble! The Ha Ling scramble via North Bowl takes you down Miner’s gully and turns this out & back trail into a loop. I haven’t done this myself and I’d only recommend this to experienced hikers, but if you’re searching for more of a challenge here it is.
More: Scrambles in the Canadian Rockies
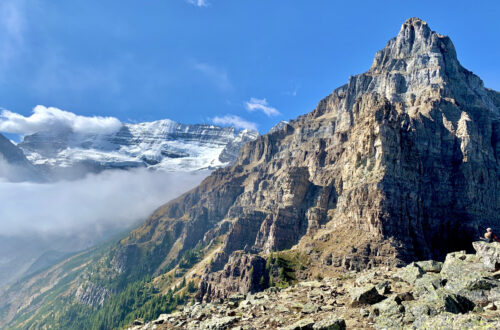
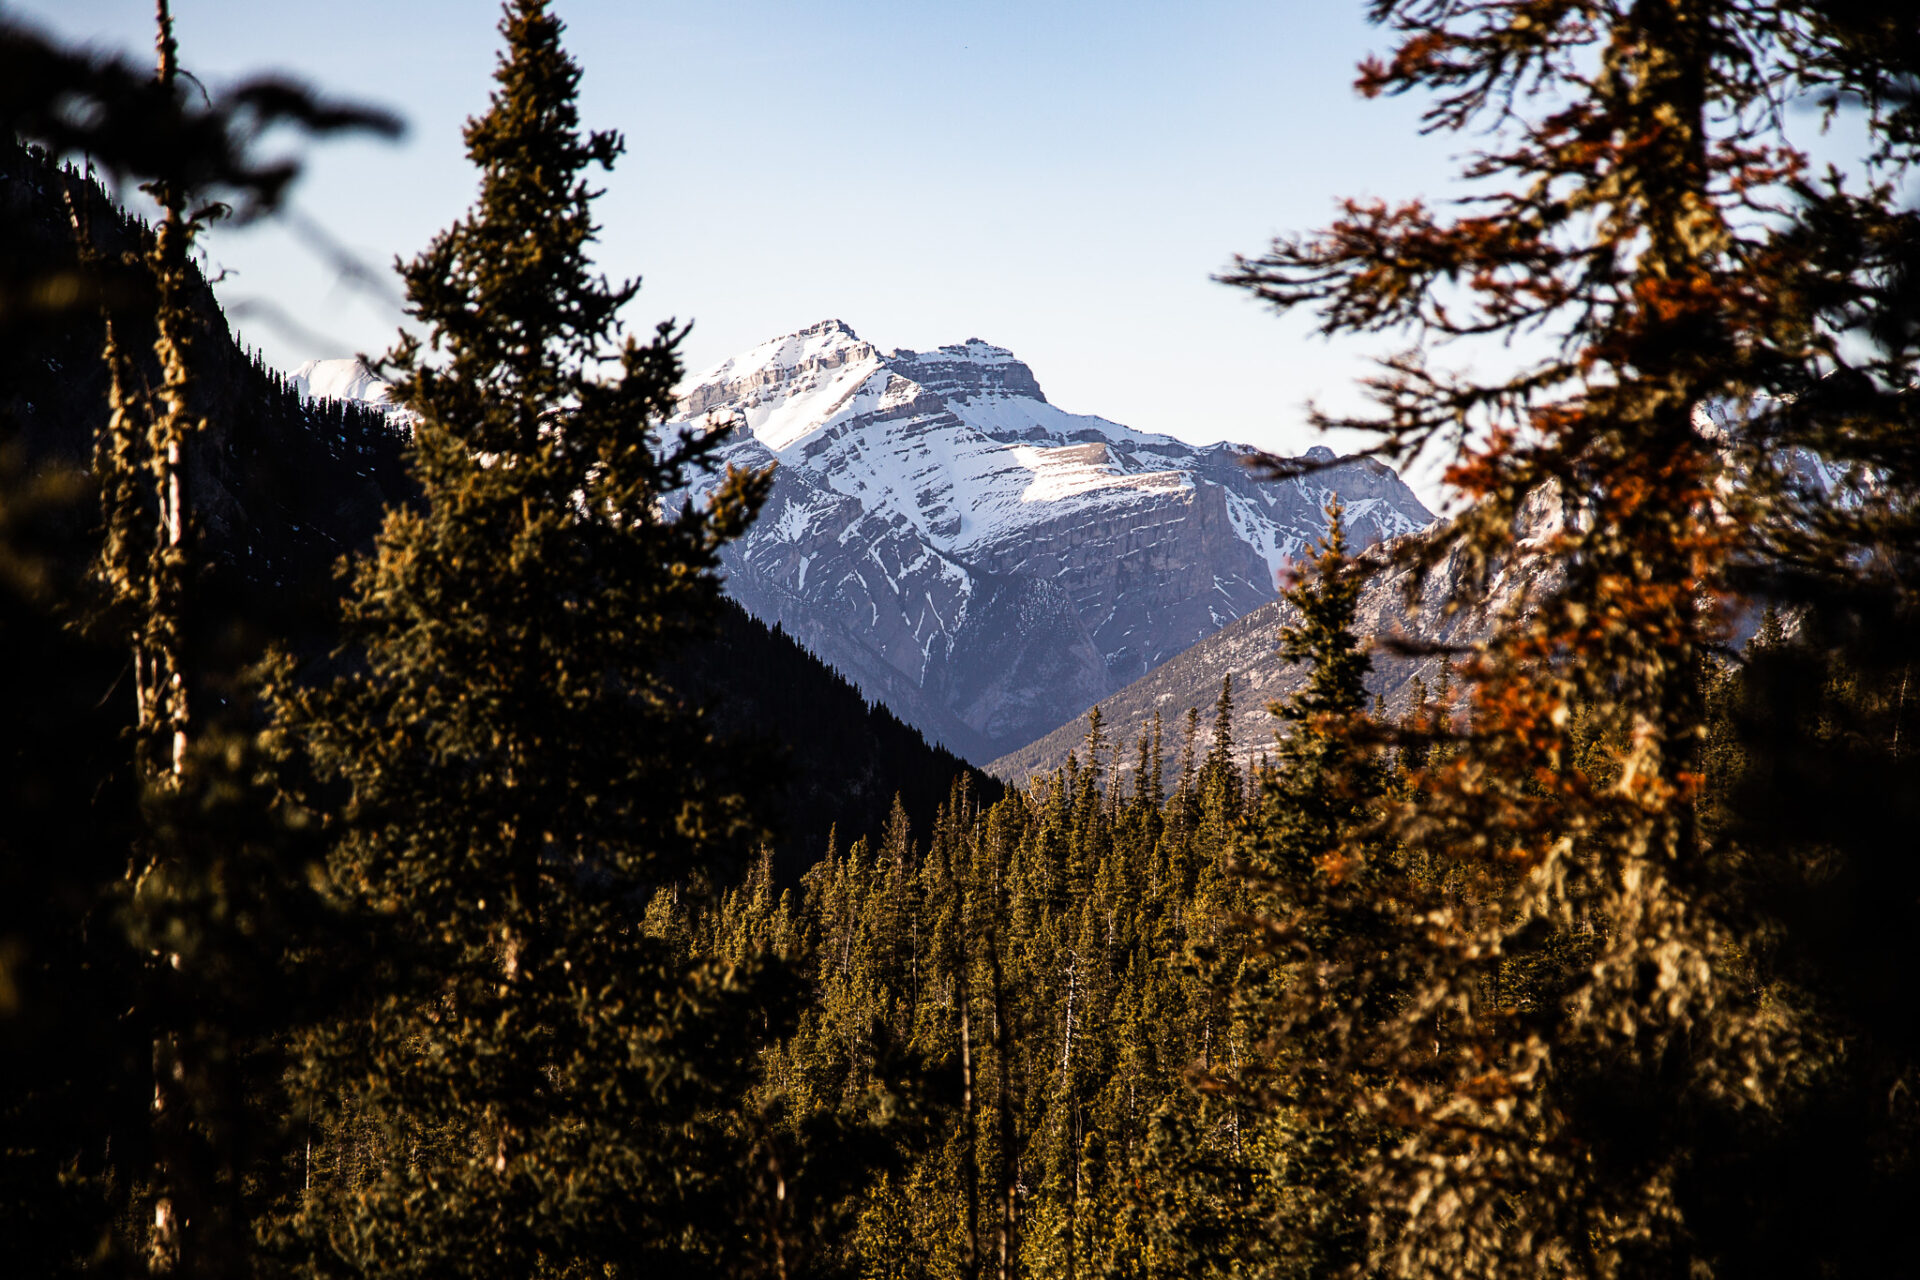
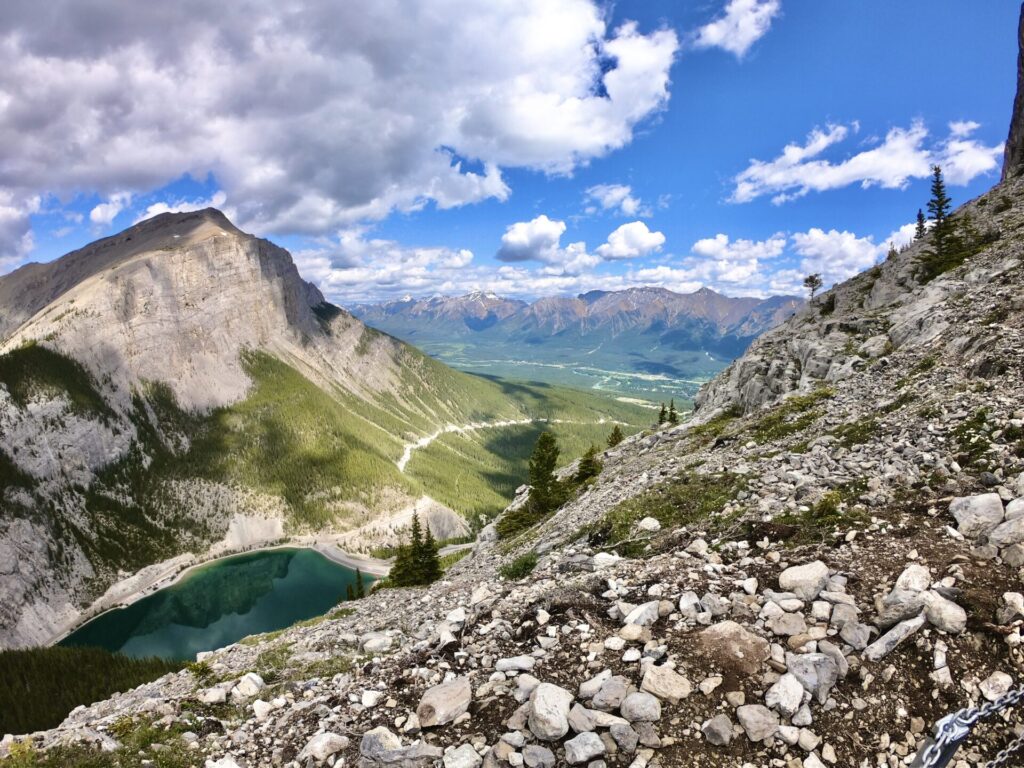
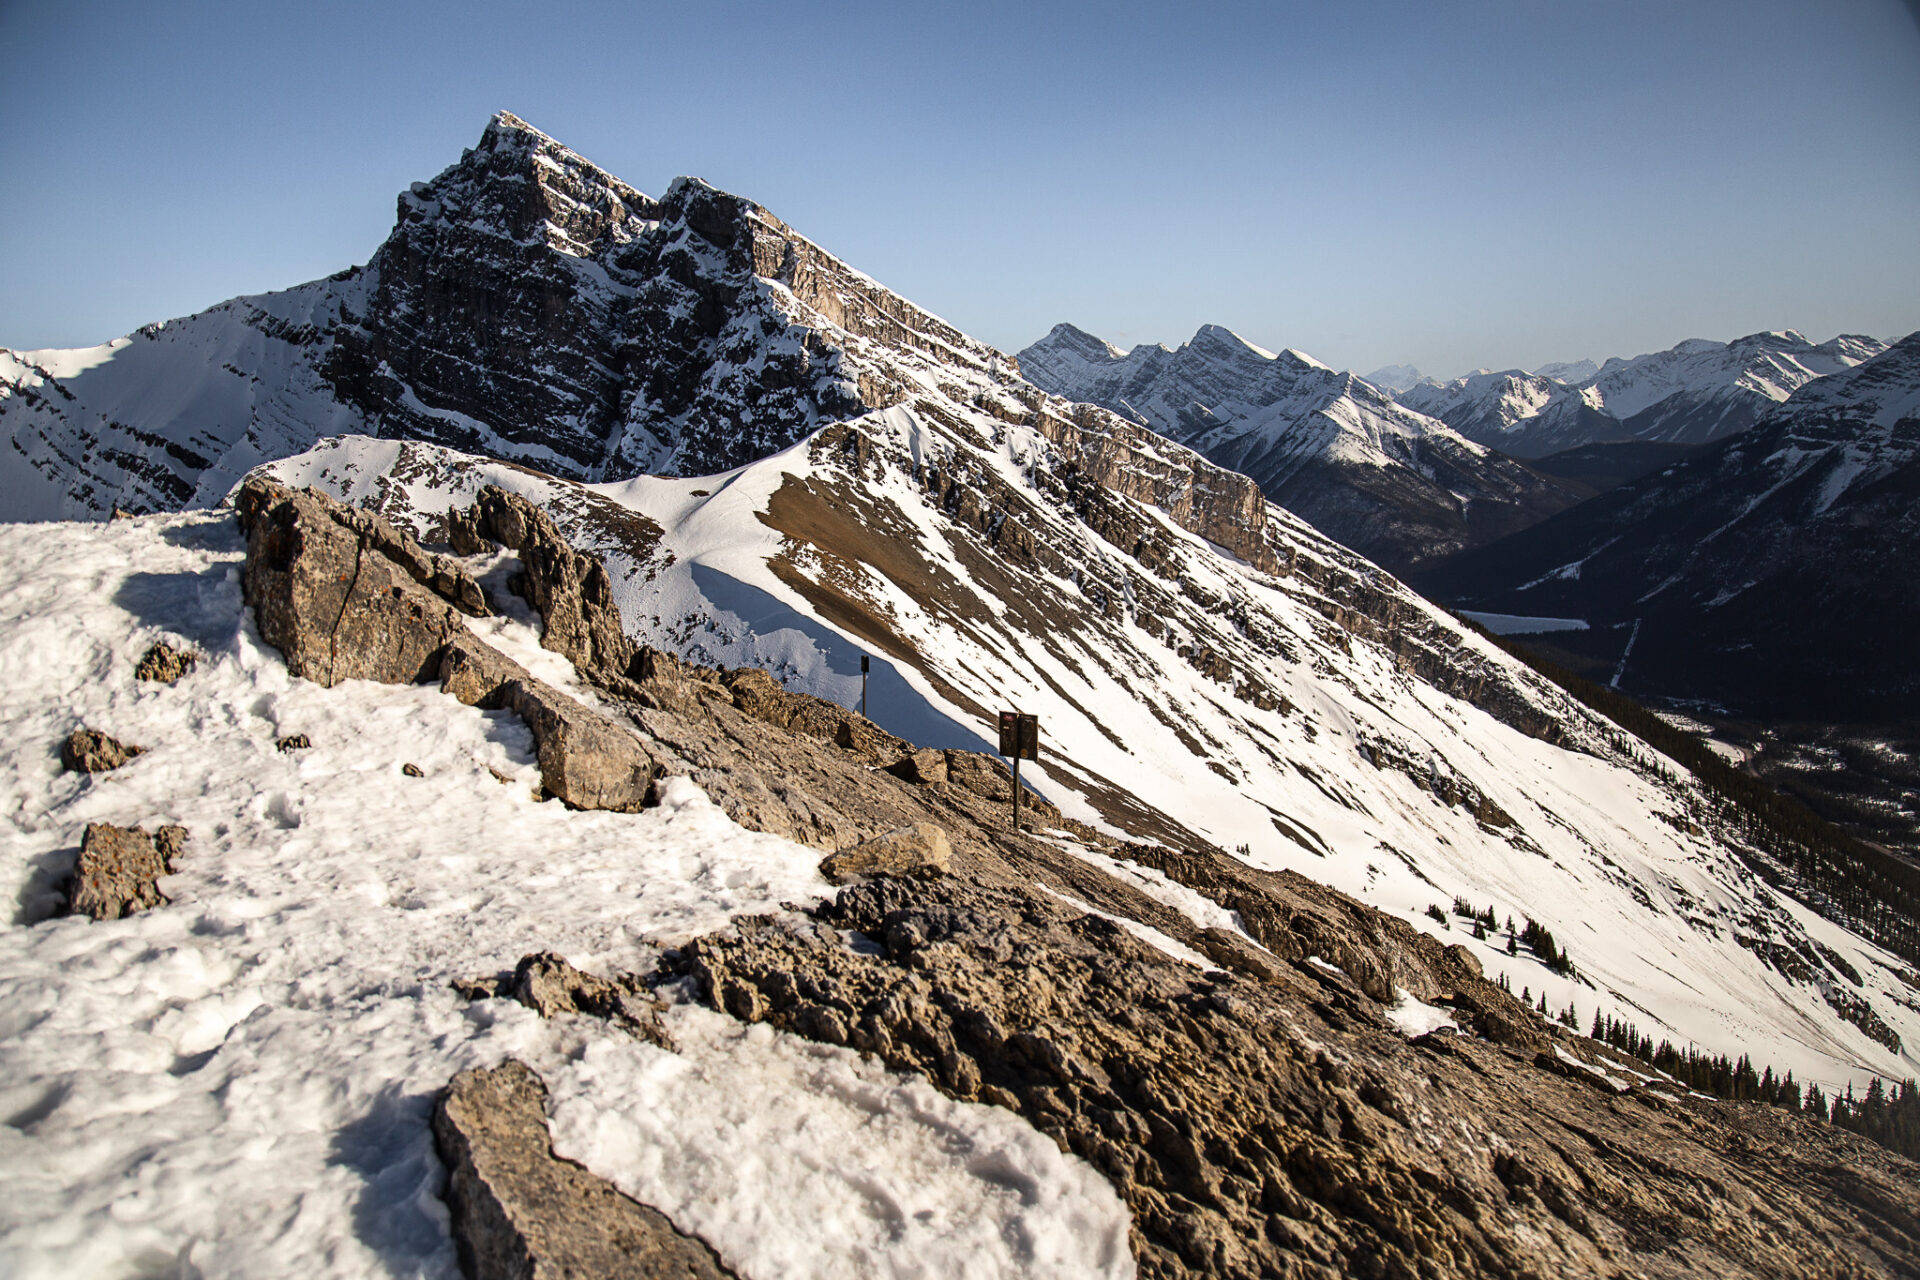
Ha Ling & Miner’s Peak is a well-trafficked trail that can be hiked year round (although in winter the road may be closed, adding extra distance to your hike). The trail follows switchbacks up Ha Ling Mountain through the forest.
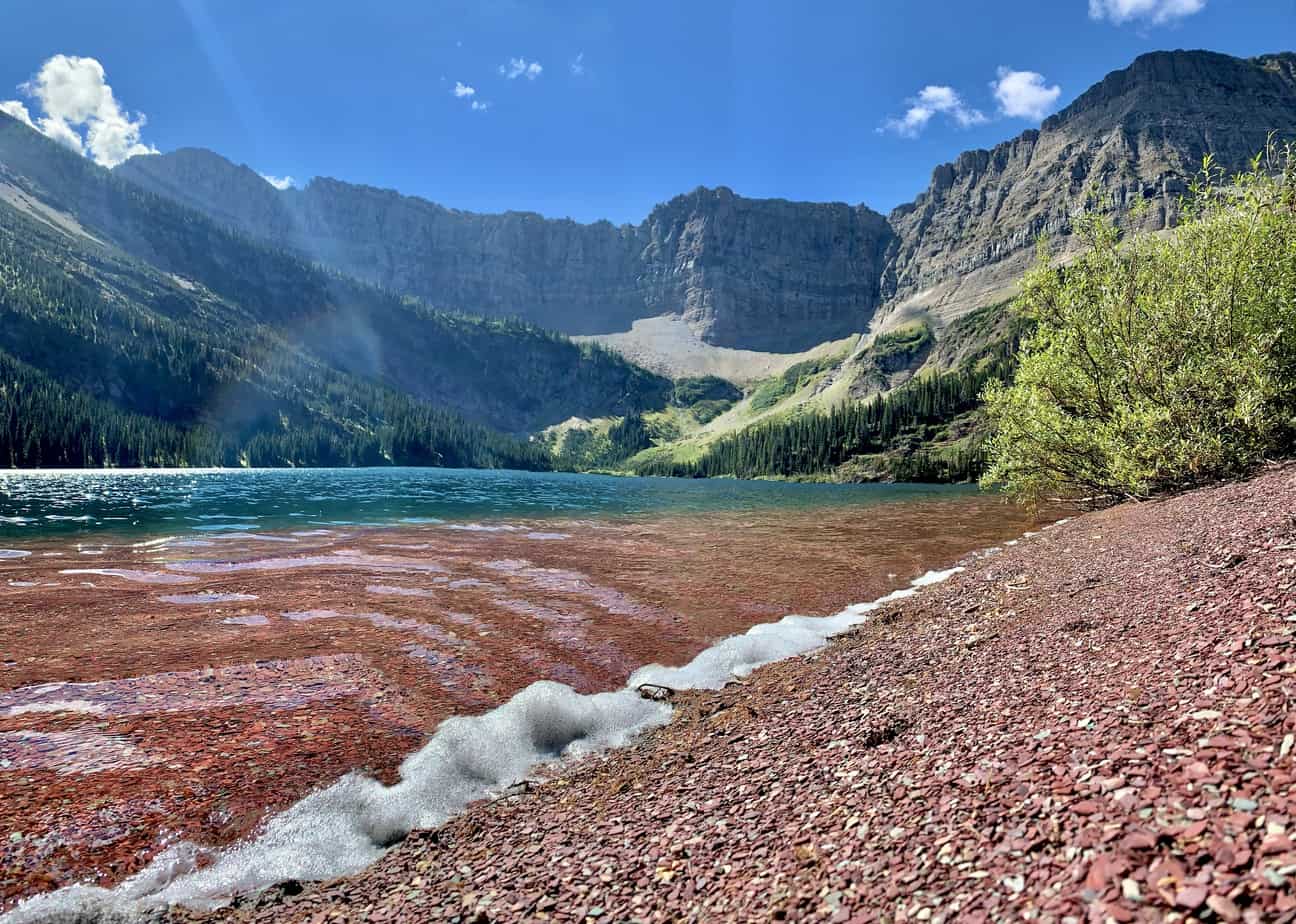
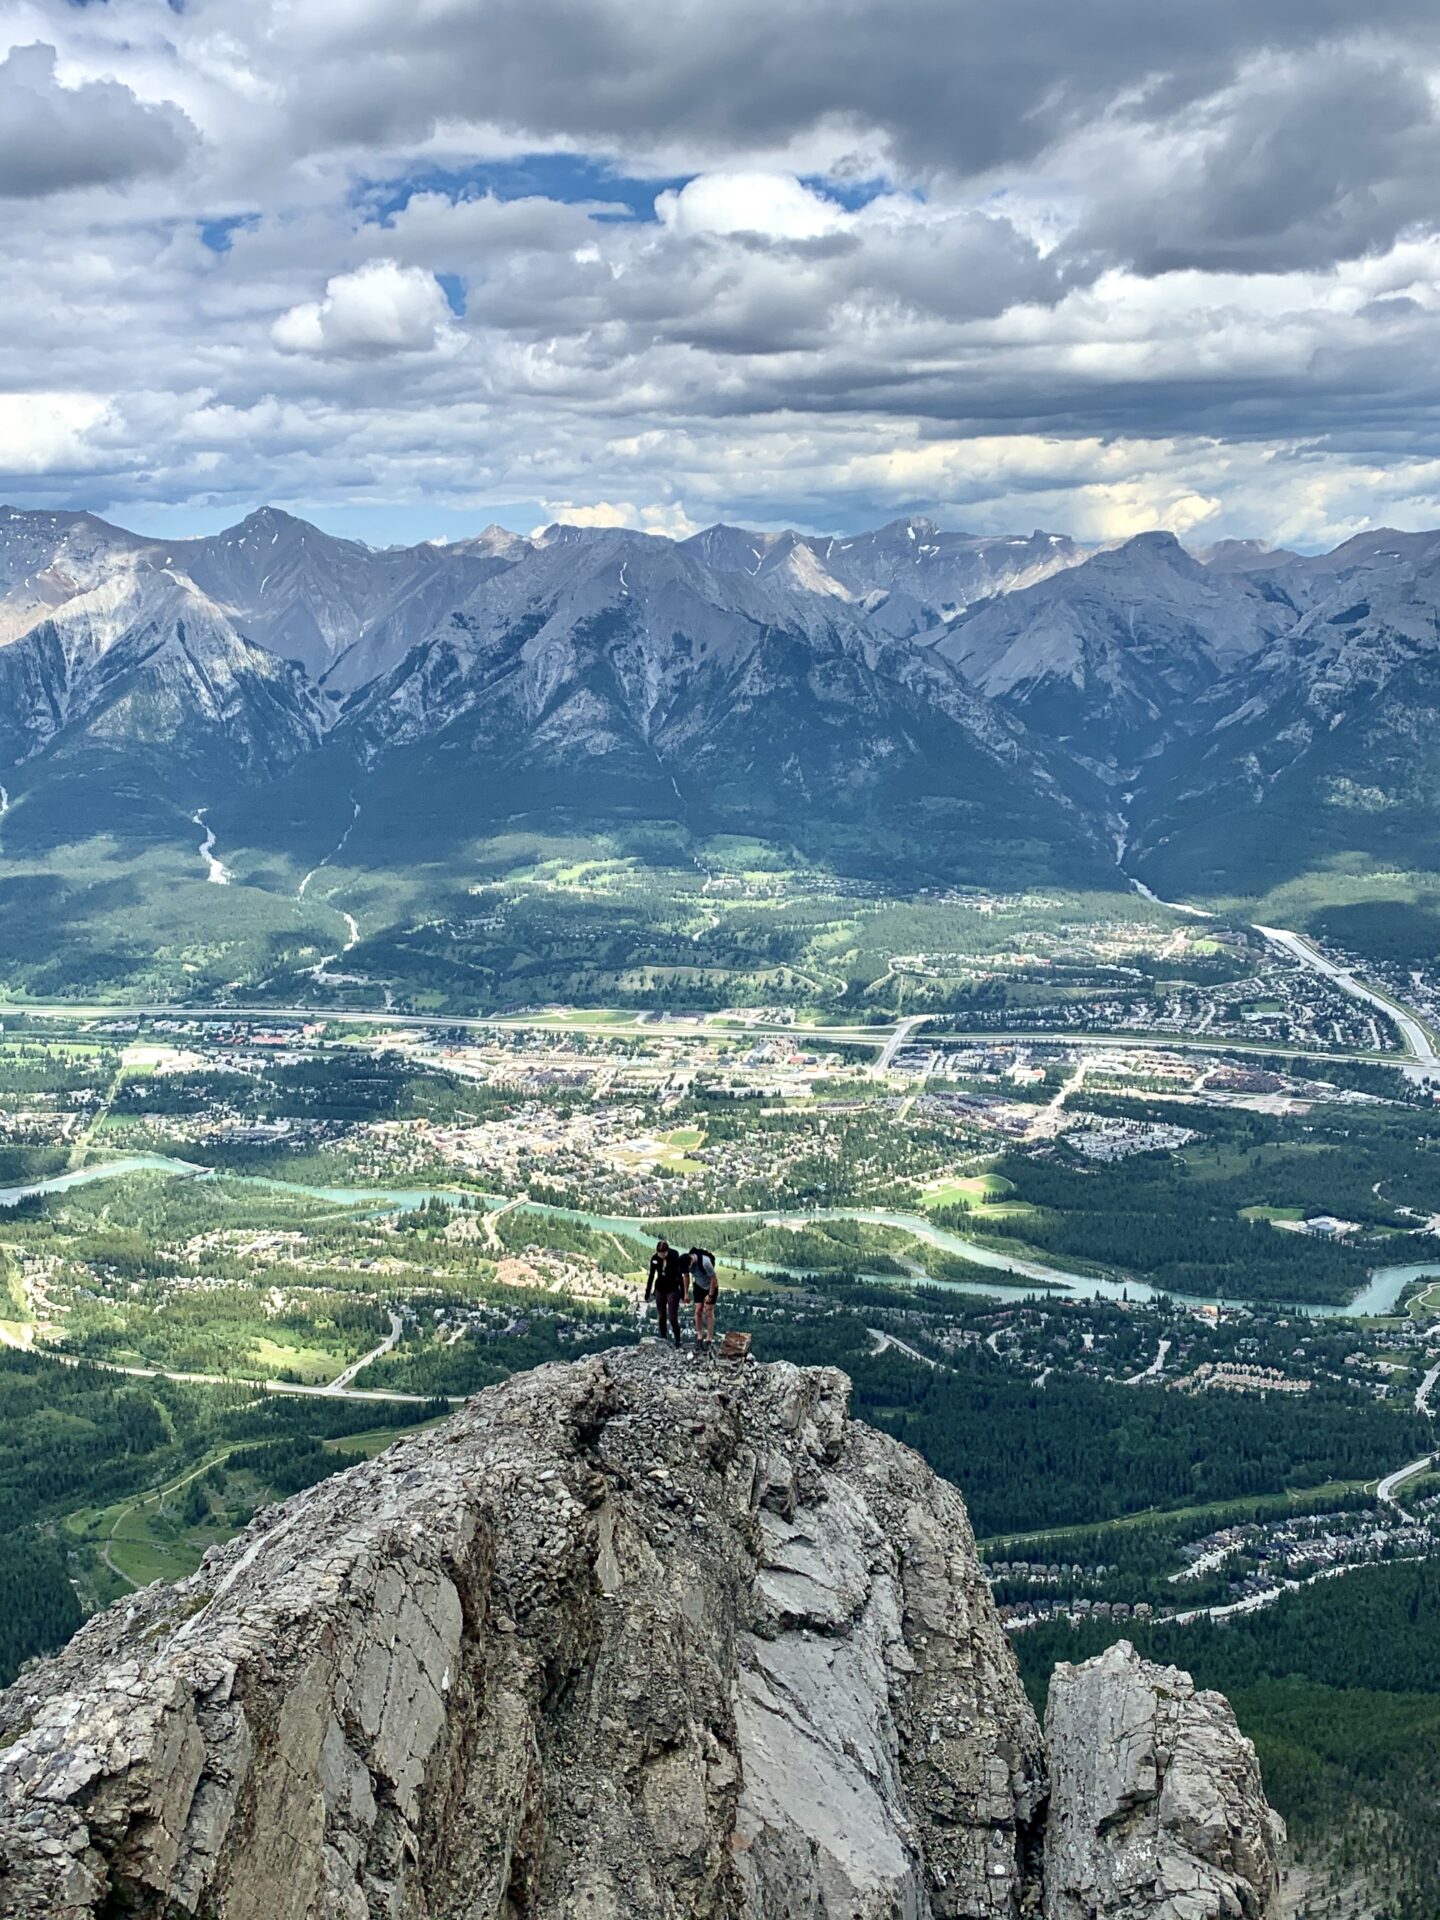
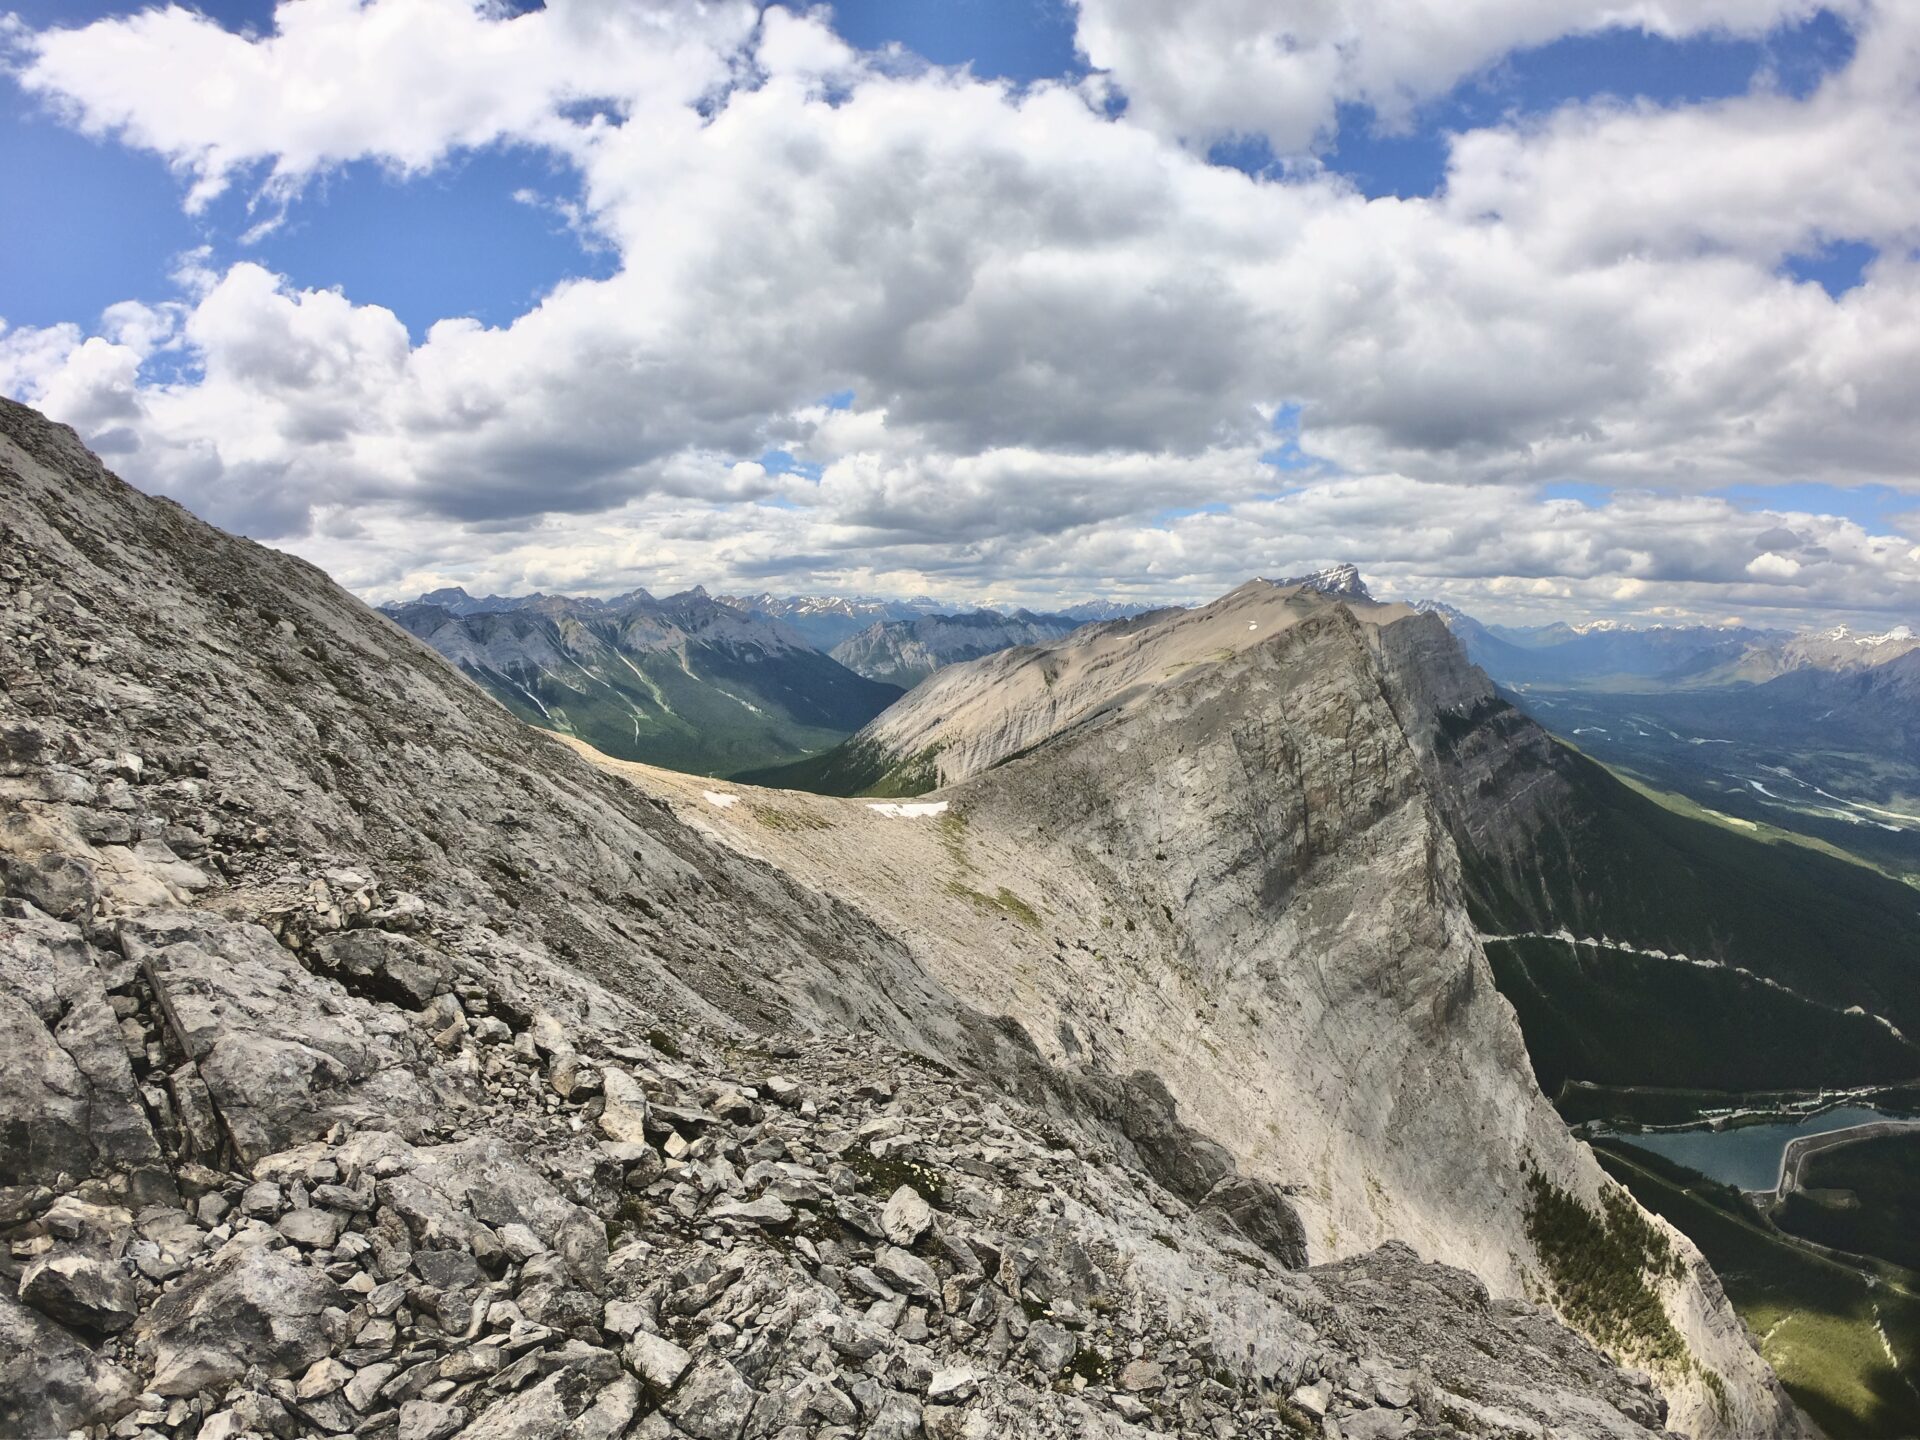
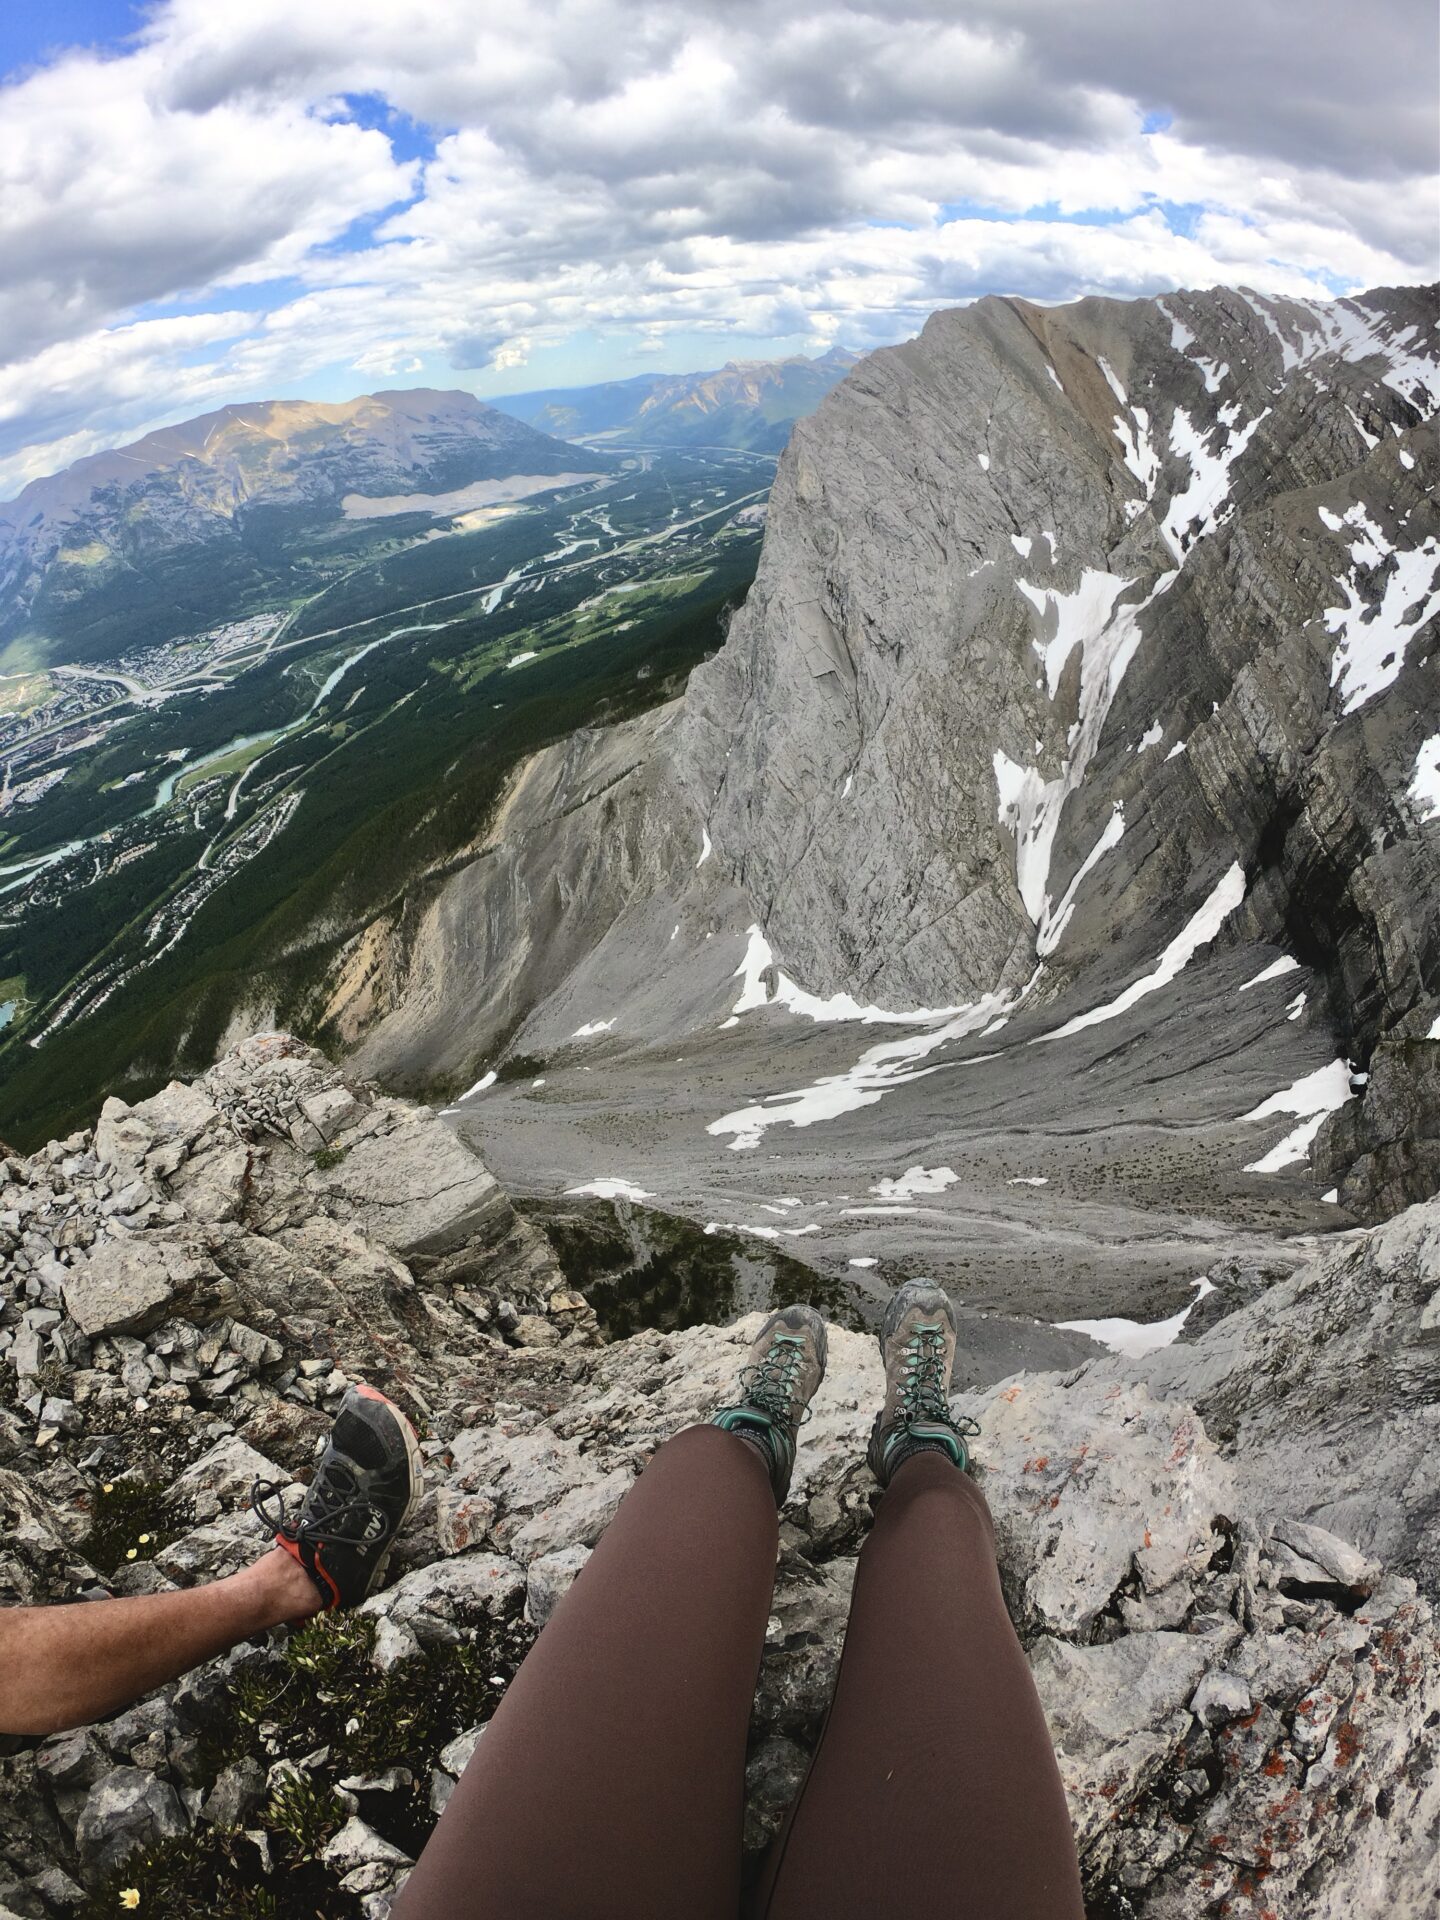
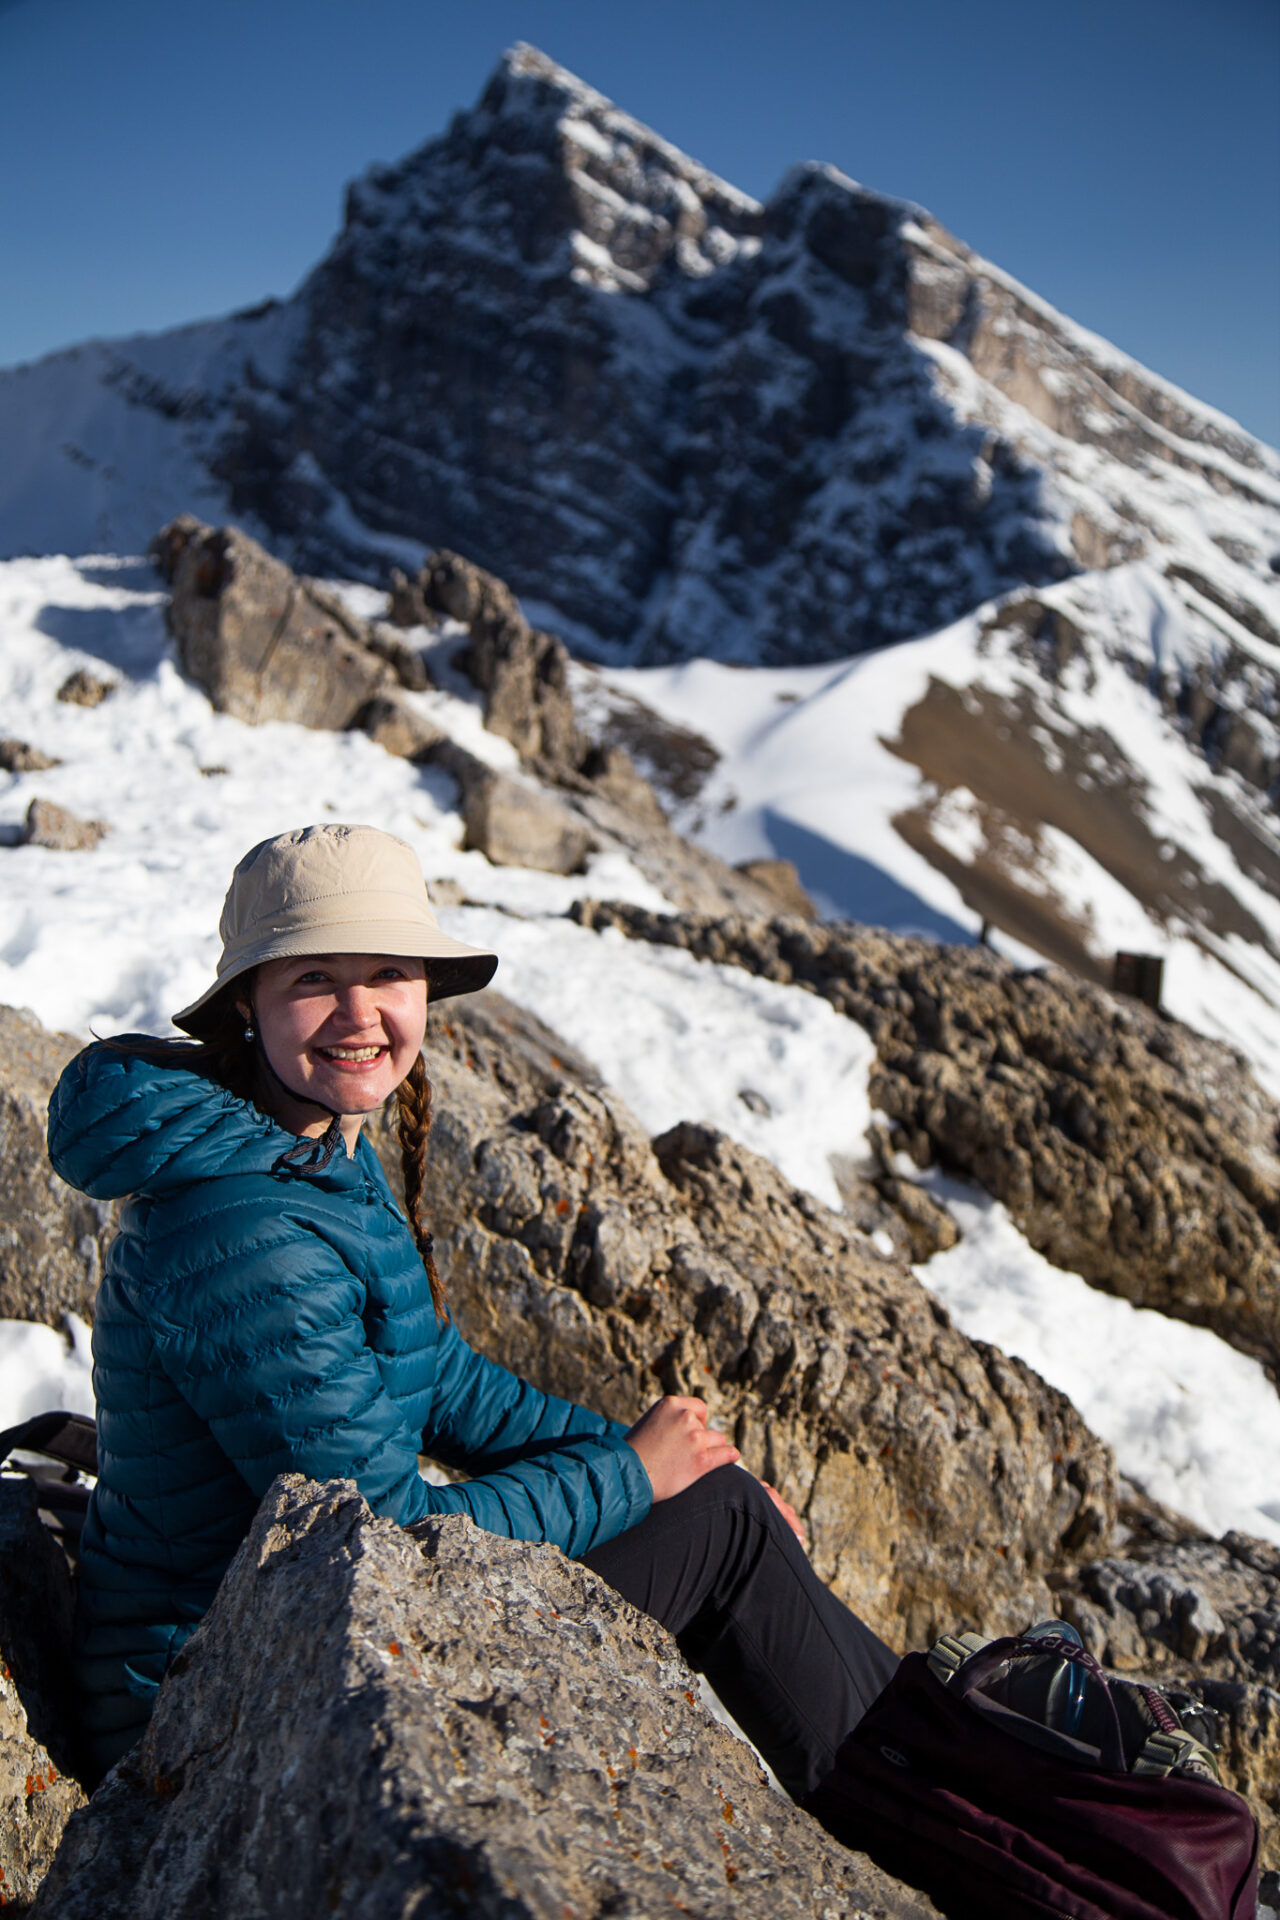
Views are minimal for the first section of this hike until you exit the tree line. After this point you’ll have wide open views of the East End of Rundle, Whiteman’s Pond, and a river. Shortly after you’ll arrive at a steep set of stairs which will then take you up to an easy scramble to reach the ridge.
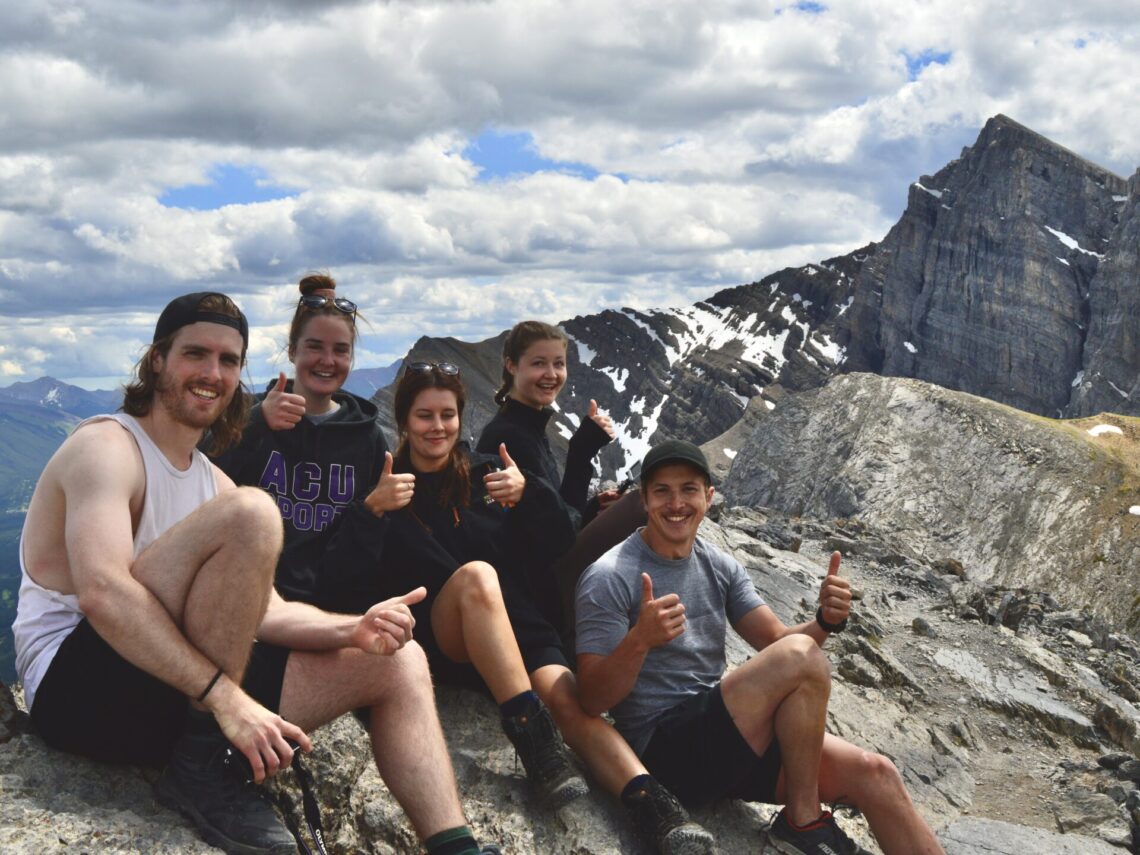
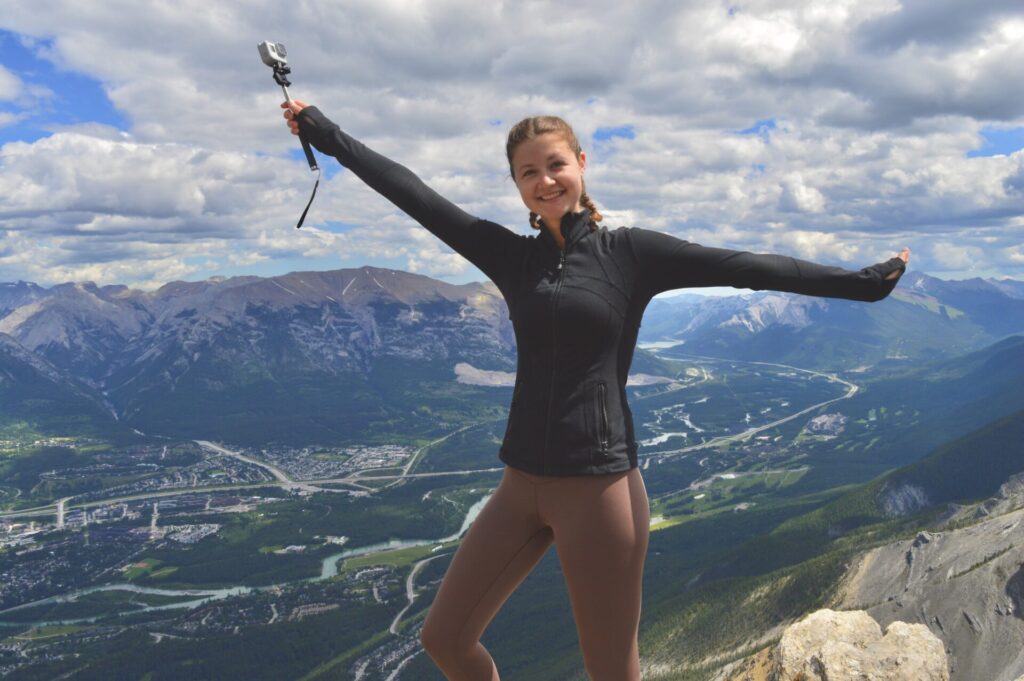
Once you reach Ha Ling summit you’ll be totally exposed. Even in summer it can get quite cold, so I definitely recommend packing layers. Next I’ll talk about a few pieces of gear and clothing I recommend for this hike to keep you warm and protected.
Connect via socials:
STAY CONNECTED
Sign up for emails to receive a 25% discount on my travel maps.
Taylor ♡
Hiking Ha Ling & Miner’s Peak
The Ha Ling & Miner’s Peak trail starts off as a grind. You’ll be gaining steady elevation through a series of switchbacks through the forest. For the first 2 kilometres there won’t be much to see, but then you’ll break the tree line and the views will open up to the East End of Rundle, Whiteman’s Pond and a river.
This first section of the hike is very straightforward and the path is easy to follow. For this reason plus the sheer amount of traffic, Ha Ling & Miner’s Peak is great if you’re interested in trying solo-hiking.
To Ha Ling Peak
I personally would rather scramble up steep terrain than use stairs, so this next section nearly killed me. Shortly after the viewpoint you’ll come to a steep set of stairs that seem to last forever. This part is pretty yuck, but as soon as you pass the stair section you’ll reach the quick and easy scramble that takes you up to Ha Ling Peak.
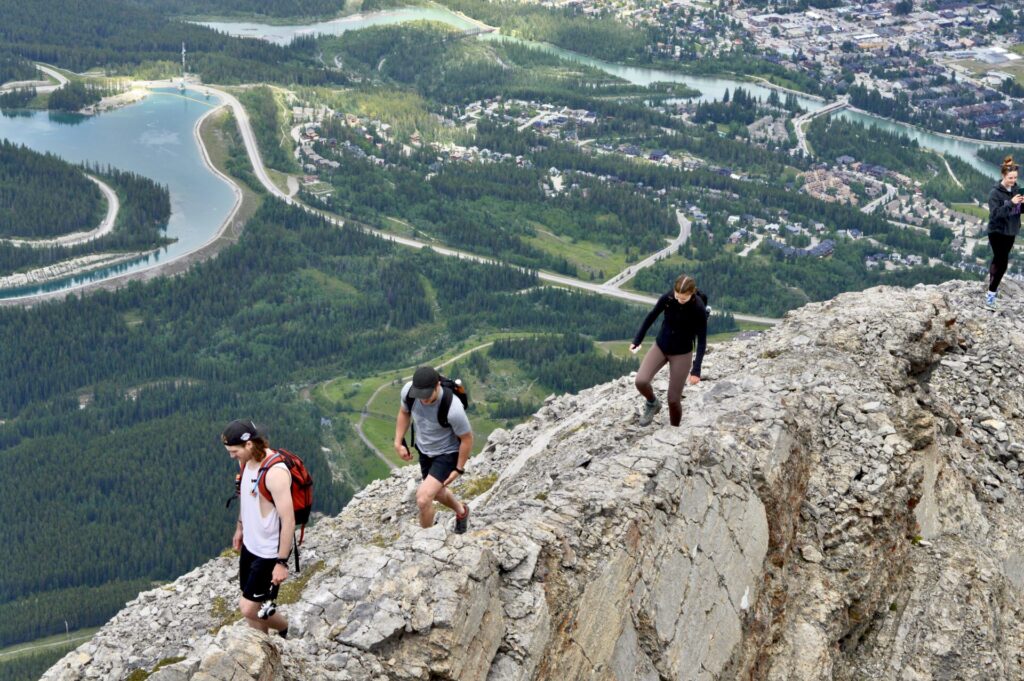
Go left for Ha Ling Peak and right for Miner’s Peak.
For reference scrambling is needing to use your hands to navigate steep terrain, usually on a scree field (loose rock). Some of the scrambles I’ve done in the Canadian Rockies are quite intense, however this one is totally doable and not spooky at all which is why Ha Ling is a great hike for those new to the mountains.
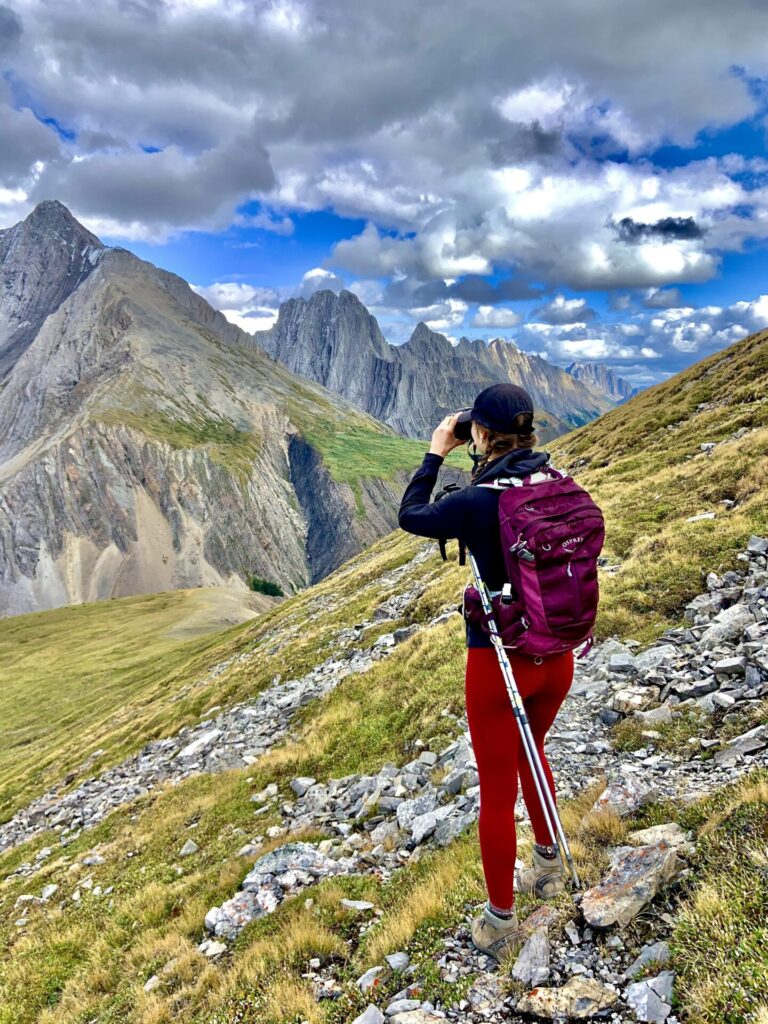
To Miner’s Peak
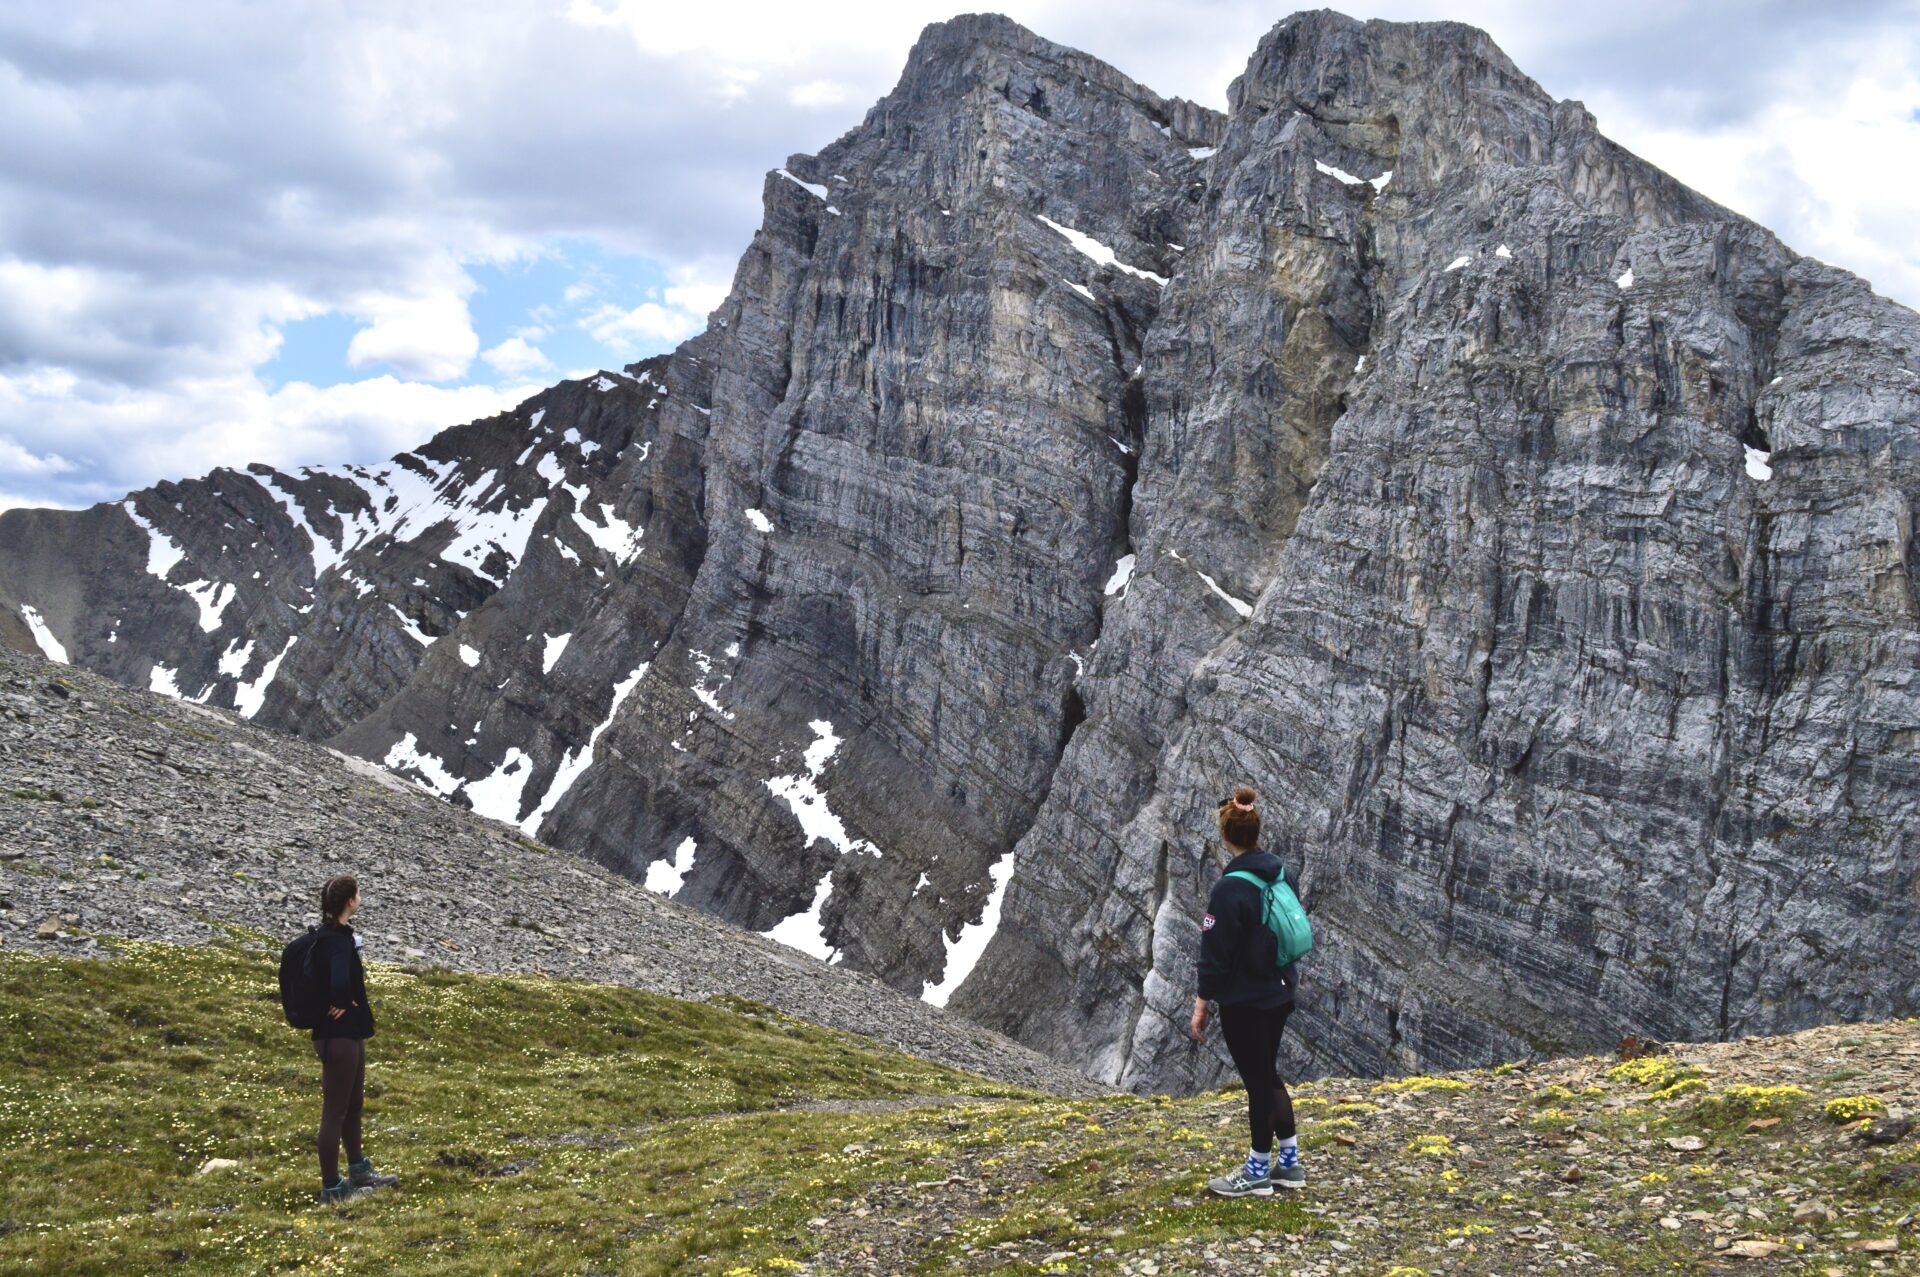
After you’re done admiring the views from Ha Ling Peak, it’ll be time to make your way over to Miner’s Peak.
You’ll clearly see a trail to the right of Ha Ling Peak – I swear it’s much easier and faster to complete than it looks!
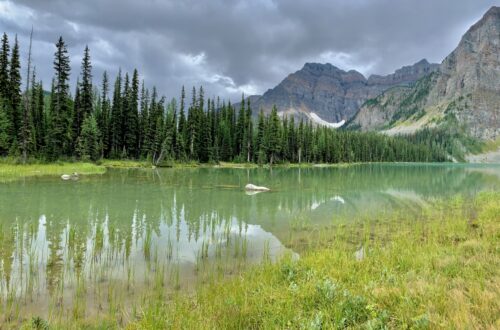
I highly recommend making the trek over to Miner’s Peak. This area is very scenic and less travelled. So, if you’re after some solo time at the summit you may be able to find it here.
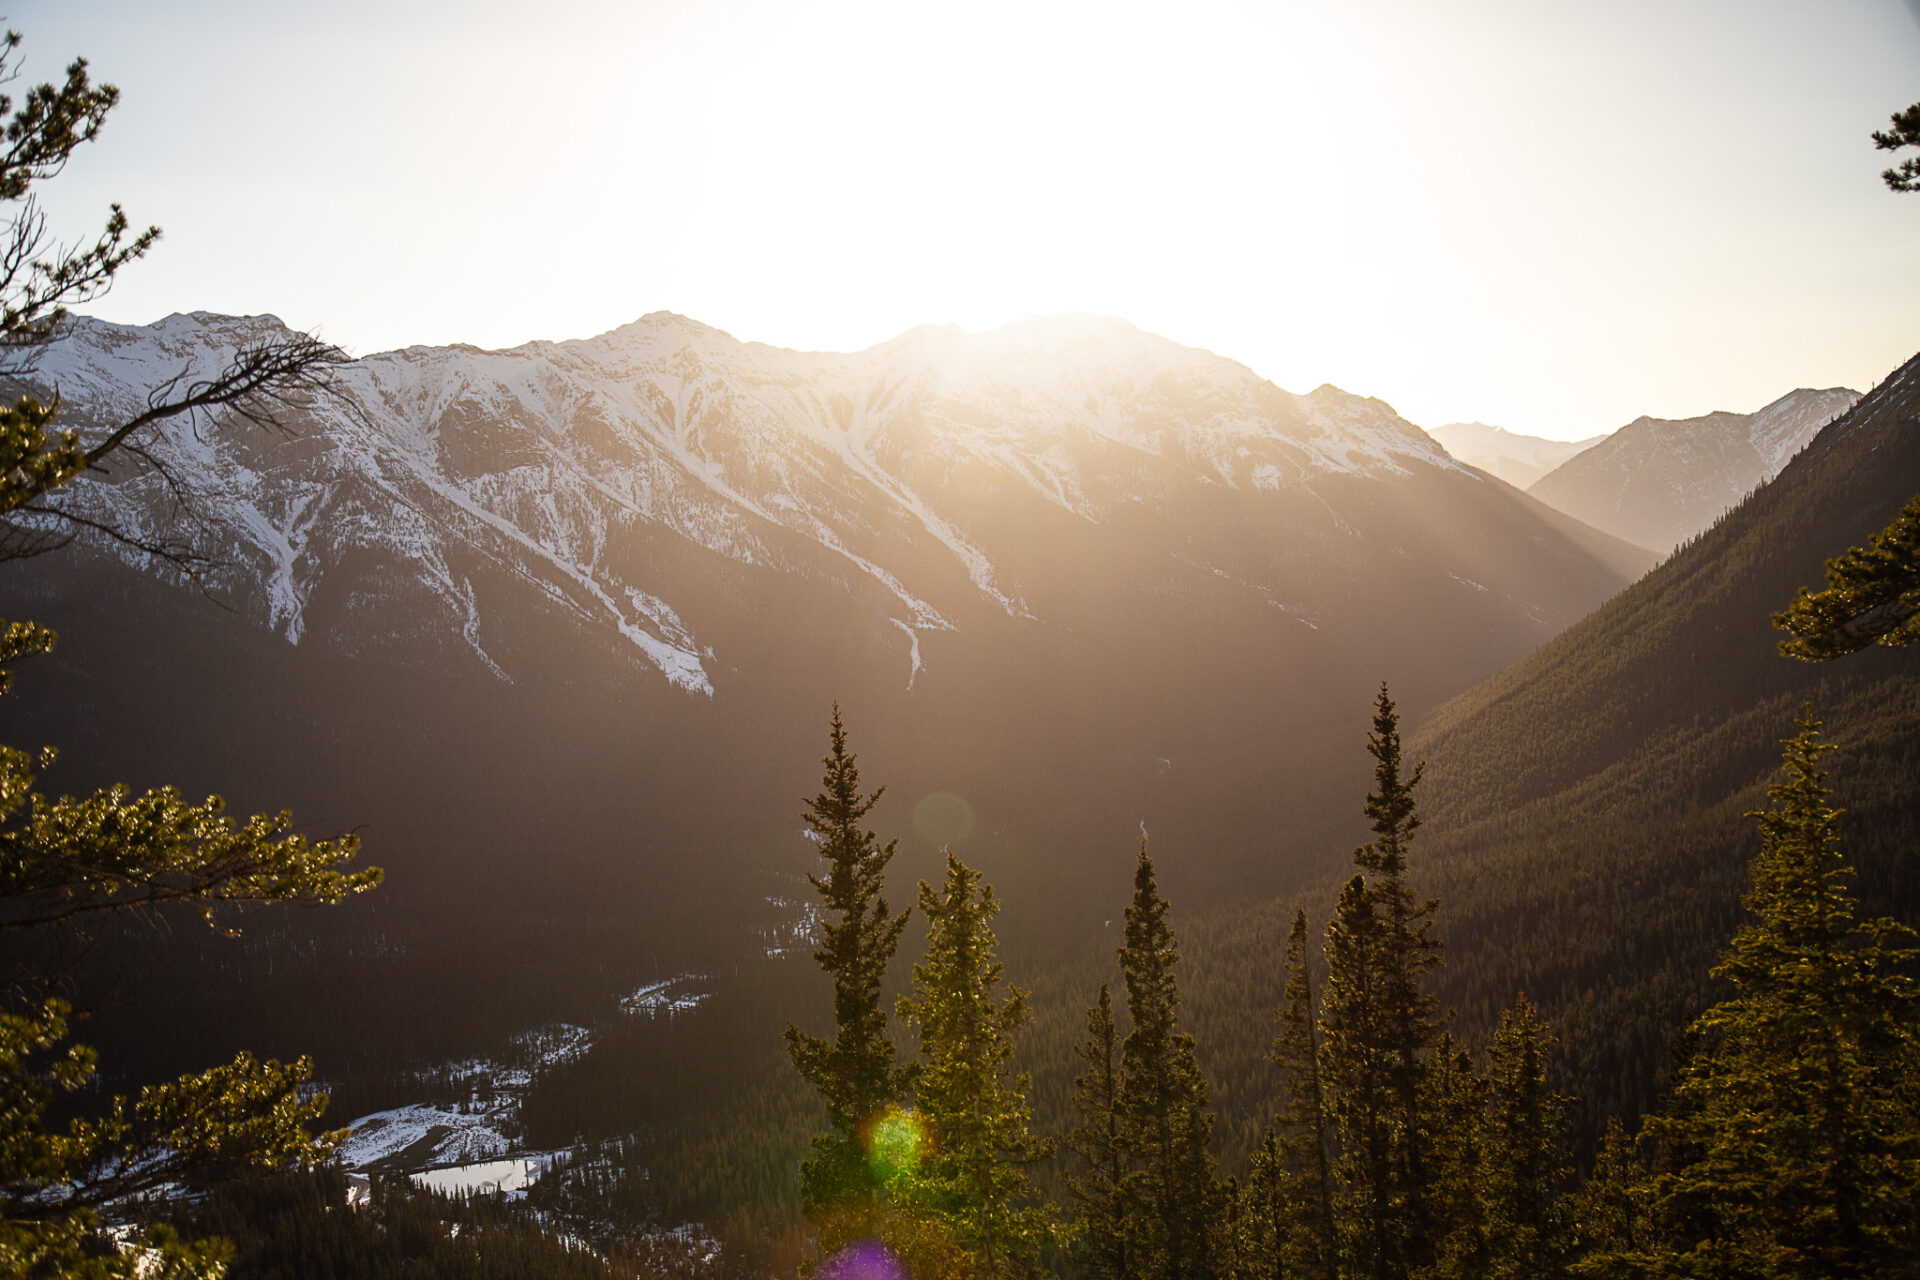
Hiking Ha Ling in Winter
The Ha Ling trail is one of the best winter hikes in the Banff region. It’s accessible year round, well-trafficked, and not overly exposed (minus the final stretch to the peak).
I actually recommend hiking the following three trails in winter: Tunnel Mountain (for a quick, easy hike), Sulphur Mountain (for a bit of a challenge), and Ha Ling (for a true winter summit hike).
The trail does cross avalanche paths, so it’s important to keep an eye of the avalanche bulletin and practice avalanche safety. If crossing avalanche zones seems scary and out of reach, it may be a safer bet to stick to Tunnel Mountain or Sulphur Mountain.
Remember to dress in layers, bring crampons (I use this pair for winter hikes)/snowshoes if required, use poles, and be *over* prepared. Always carry extra water, food, and warm layers in the winter!
Bonus tip: slap on some sunscreen and wear a buff. The winter wind and sun can be brutal on your skin.
Bonus-bonus tip: Unless you’ve got mountaineering experience, it may be best to leave the Ha Ling hike to spring. You’ll still find super snowy conditions at the peak, even in April/May!
Explore More Hikes In Kananaskis
Kananaskis is an area just outside of Banff that’s made up of multiple Wildland Areas and Provincial Parks. Kananaskis is my favourite hiking destination in the Canadian Rockies, so I urge you to explore more hikes in the area!
Click here to explore more of Kananaskis.
Featured Kananaskis Hikes:
- Cool Experiences: Yamnuska scramble, Mist Mountain hot springs, Grotto winter canyon walk.
- Ridge Walks: Pocaterra Ridge, Sarrail Ridge & Rawson Lake, Opal Ridge, Tent Ridge, and Wasootch Ridge.
- Summits: EEOR and Ha Ling.
- Incredible Scenery/Lakes: West Wind Pass, Picklejar Lakes, and Grassi Lakes.
Explore Kananaskis Country by Area:
Visit National Parks Nearby:
Looking for more hikes? Click here to explore all of my trail guides.
Tips For A Successful Hike
- Bring the layers I previously mentioned – this summit is a chilly one!
- Avoid this hike on the weekends and start early unless you want to hike amongst the crowds
- Make sure you hike the extra bit to visit Miner’s Peak
- This hike is a great introduction to hiking in the Canadian Rockies
- Explore more of my trail guides for Kananaskis Country – my favourite hiking destination in the Canadian Rockies!
Best Place to Stay in Canmore
The “best” place to stay in Canmore depends on your price range. So, here are some suggestions for every budget:
Booking.com- Cheap accommodations – if you’re visiting the Rockies, you can bet the cheapest option for accommodations in alwayssss camping. Here are a few popular camping spots in Canmore.
- Mid-range accommodations – Canmore offers a slew of hotels, each coming in at a different price and each offering something a little different. I’d recommend utilizing Booking.com to compare said prices and amenities to determine which hotel best suits your needs. Some of the benefits of using Booking.com are their price match guarantee, free cancelation on almost all bookings, and clear pricing with no hidden fees.
- Luxury accommodations – for the bougie traveller (can’t relate), a couple “quote on quote” fancy hotels in Canmore are the Peak by Samsara Resort and the Stoneridge Mountain Resort.
- Accommodations nearby – another location offering accommodations close to Canmore is the famous Banff National Park. There are tons of hotels in Banff, the most notable being the castle in the sky (AKA the Fairmont Banff Springs).
Happy adventuring!
Taylor ♡
Like This Post?
Share with friends or save it for later!

About the Author
HI, I’m Taylor – the voice behind The Holistic Backpacker.
After moving to Banff National Park in 2020 I became an outdoor adventure enthusiast and vowed to never stop exploring.
I now spend my days travelling the world, climbing mountains, and spending nights under the stars in the Canadian Rockies backcountry.
I created The Holistic Backpacker so I could share my adventures and help connect people like you with the same amazing experiences.