Arnica Lake & Twin Lakes Hike – Banff National Park
It was an August Saturday morning in Banff National Park. Living in the park, unemployed, meant a new adventure every day. I packed up my lunch, started the car, scrolled through my saved hikes on Alltrails and chose a trail at random. The hike to Arnica Lake & Twin Lakes was the winner!
Initially I was looking at the wrong map and thought this was going to be a quick and easy hike… Little did I know the hike to Arnica Lake and Twin lakes is almost 17kms long… To this day I’m thankful I went in unprepared and didn’t know how long the trail was or else I might not have done it – and this is not a trail you want to miss.
Now, let’s go hiking!
Skip ahead:
- Getting to the Arnica Lake and Twin Lakes trailhead
- About Arnica Lake and Twin Lakes trail
- Hiking to Arnica Lake and Twin Lakes
- Essential day-hiking gear
- What to wear hiking
- Arnica Lake and Twin Lakes trail extensions
- Best places to stay in Banff
This post may contain affiliate links (full disclosure). If you make a purchase through one of these links I may receive a small commission at no additional cost to you. Thanks for your support & happy adventuring! – Taylor ♡
Getting To The Arnica Lake And Twin Lakes Trailhead
The trailhead for Arnica Lake and Twin Lakes is located along highway 93, connecting Banff and Radium Hot Springs. You’ll want to park at the parking lot for Vista Lake.
The drive takes about 30 minutes from Banff, just under 2 hours from Calgary, and just over an hour from Radium.

Best Banff Car Rentals
Most of Banff’s remote trailheads and attractions are inaccessible via public transportation. I 100% recommend renting a car to make the most of your time in the Rockies.
My favourite rental tool is this site as it compares all the local car rental shops to find you the best rate.
About The Arnica Lake And Twin Lakes Trail
- Distance: 16.6km
- Elevation Gain: 1171m
- Trail Type: out & back
- Trail Rating: moderate
- Estimated Time: 5-6 hours
The Arnica Lake and Twin Lakes trail is up and down, mainly forested, well defined, and has lots of exposed root and rocks; by a lot I mean a LOT. I would recommend wearing quality hiking boots with ankle support as well as using trekking poles (especially if you’re clumsy like me).
The trail past Arnica Lake becomes very wet and muddy which makes it slightly more treacherous. You can hike this trail in any weather, however due to all the exposed roots and rocks on the trail I would recommend hiking to the lakes on a sunny day, or at least when you know the ground will be dry.
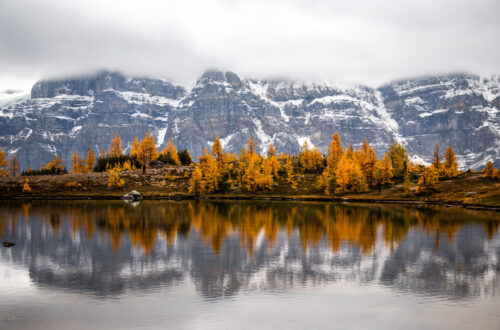
The trail is best used from July to September and features golden Larch trees in the fall. The trail is moderately trafficked – I hiked to the lakes solo and passed people throughout the entirety of the trail. Most people only go to Arnica Lake, so on the way to the Twin Lakes you will cross paths with less people. As always be careful and be bear aware – bring your bear spray!
Roundtrip, including a lunch break, this trail took me about 5 hours. However I was hiking at a decently fast pace. I’d plan to be on-trail for about 6 hours.
Fun Fact: This trail is right next to the Continental Divide and the BC/Alberta border.
Hiking To Arnica Lake And Twin Lakes
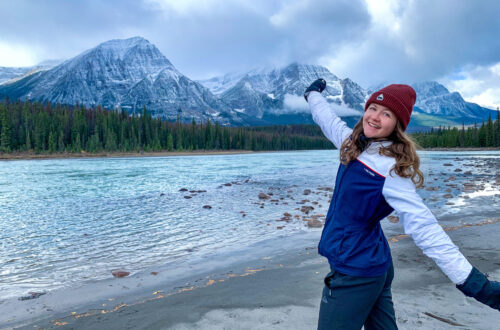
The trail starts out downhill heading toward Vista Lake, which has the most beautiful green water. Very unique as most of the lakes in the Rocky Mountains are turquoise or blue. At about the 1km mark you’ll have a great view of Vista lake.

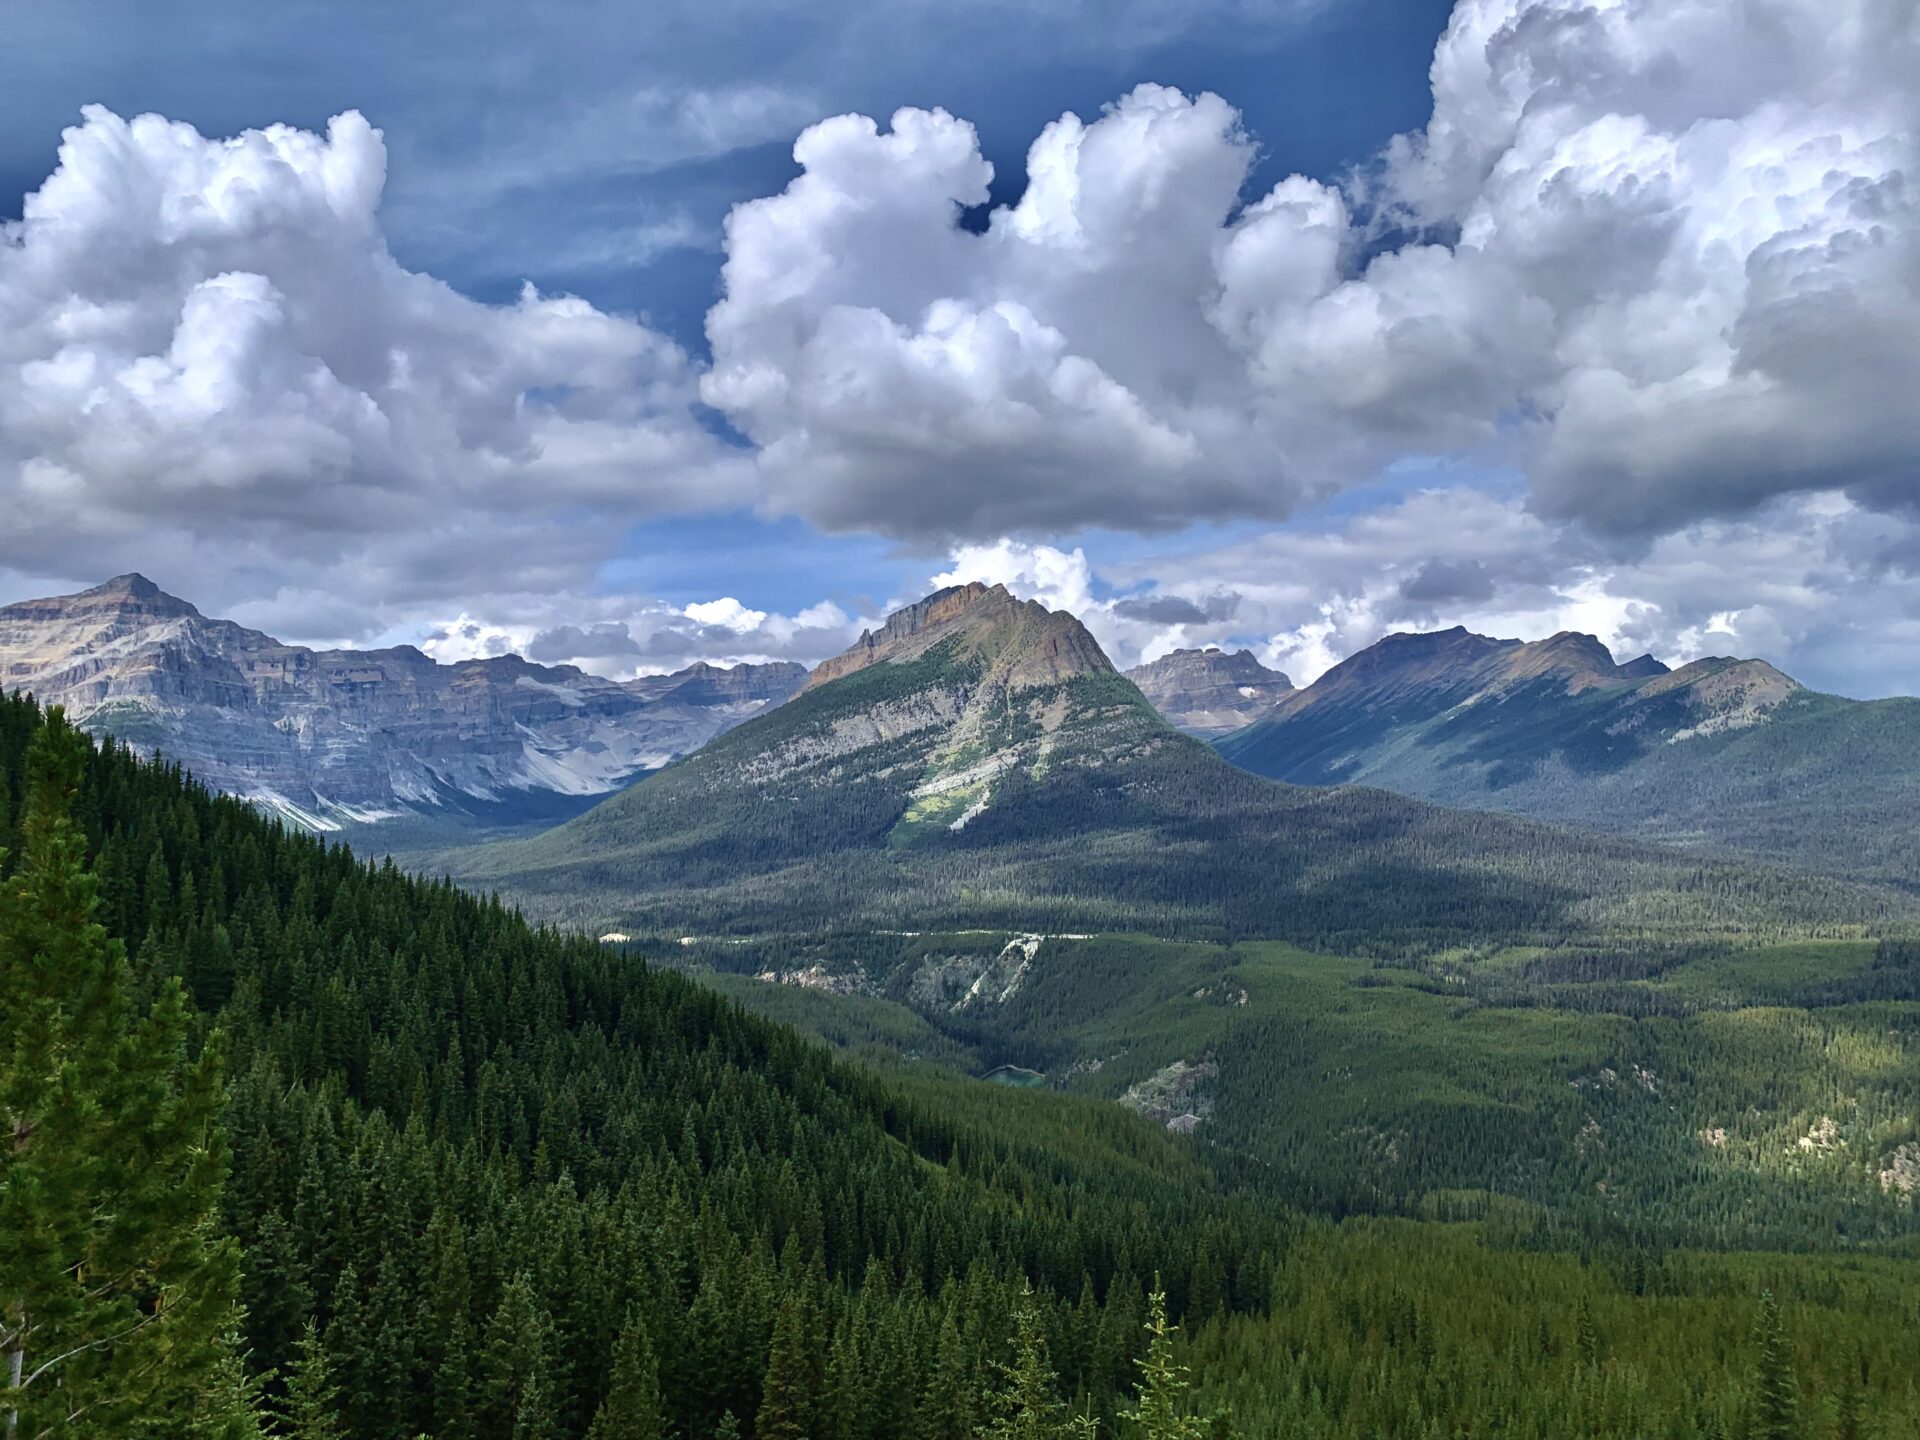
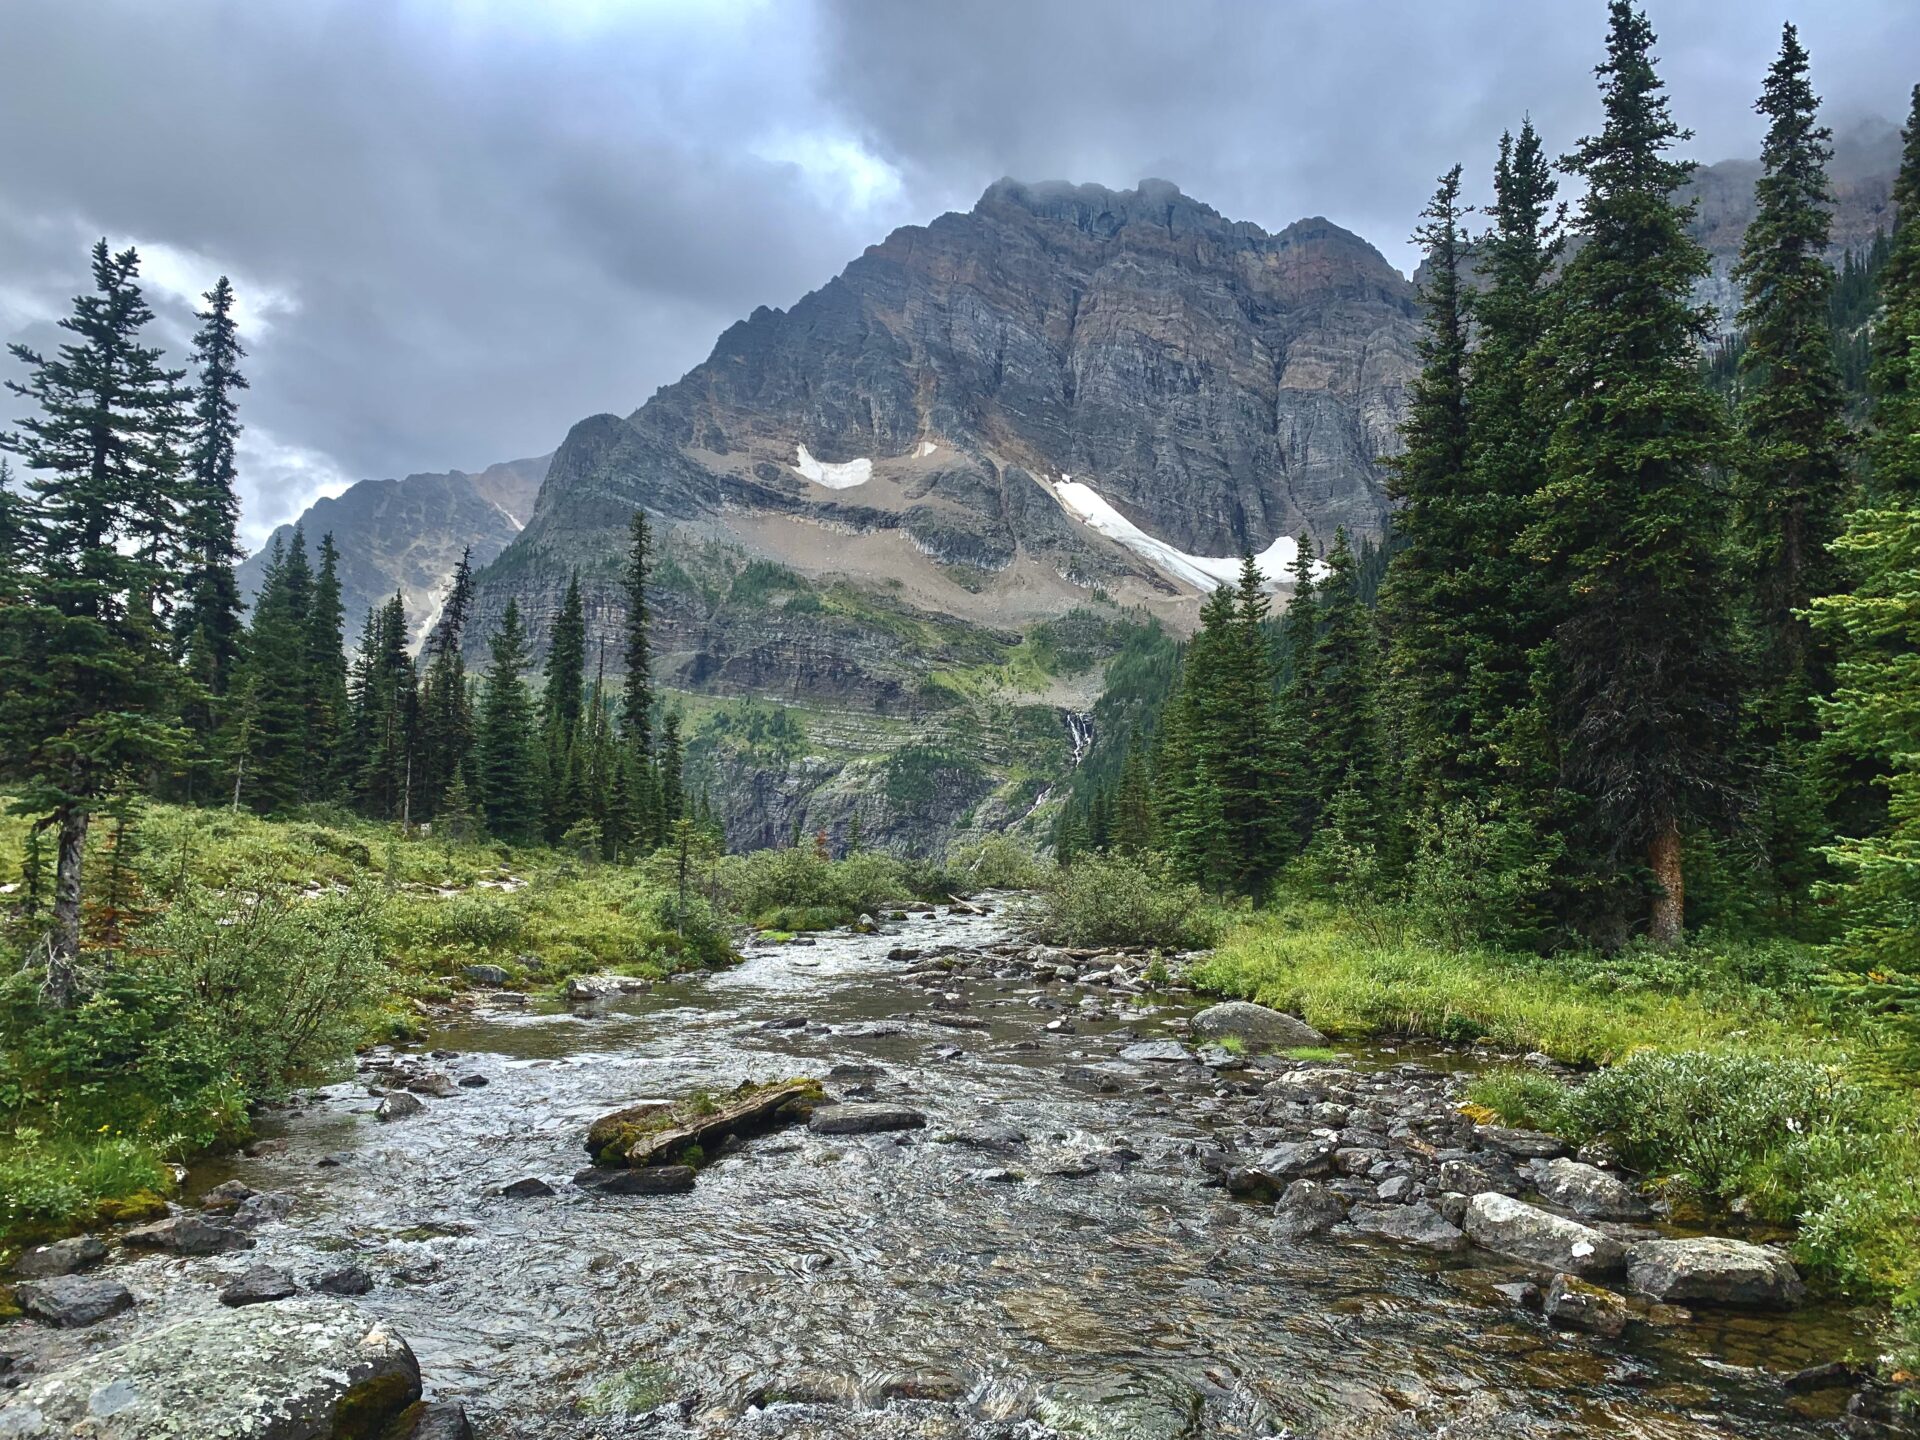
After Vista lake it’s a bit of an uphill grind – you’ve got about 3km and 550m of gain until reaching Arnica Lake. Along the way you’ll cross over a few boardwalks & bridges. The trail throughout this section is forested, however closer to Arnica Lake you’ll come to a break in the trees and have an amazing view of the mountains behind you. Not pictured is the famous Castle Mountain (can be seen to the right) for all you mountain enthusiasts out there.
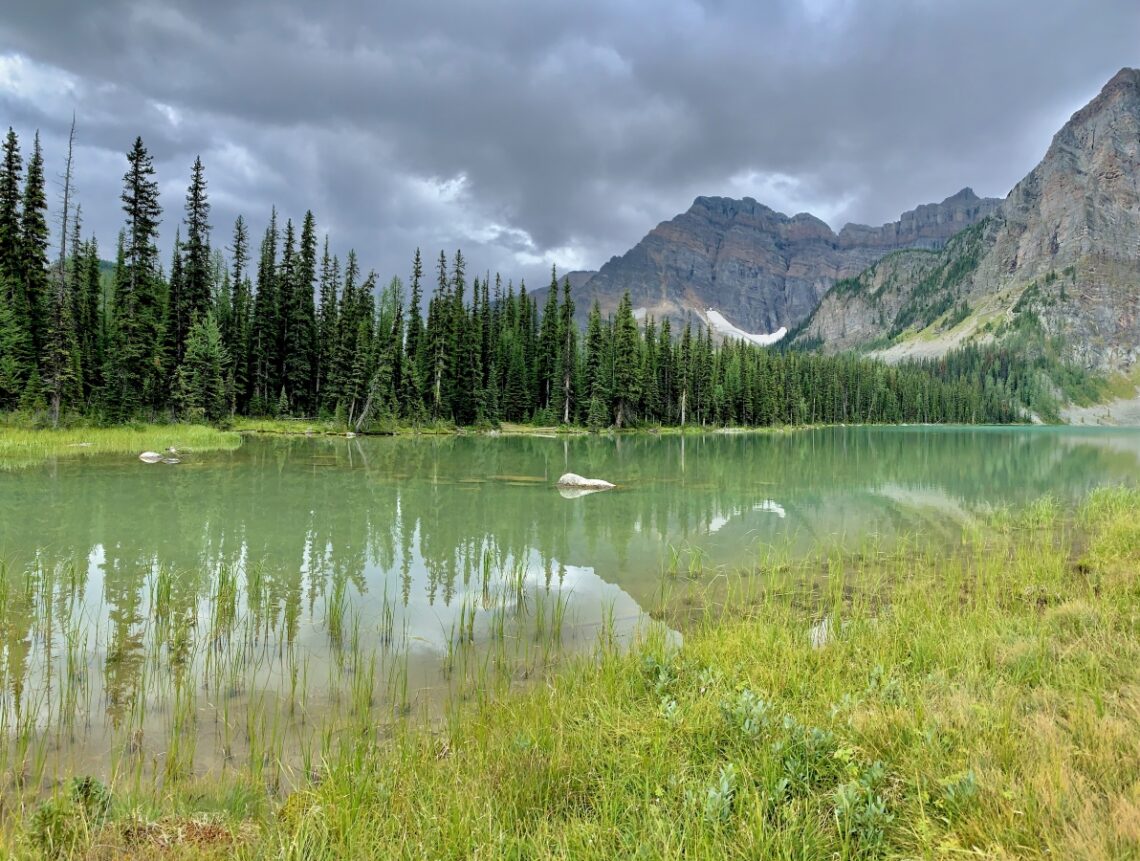
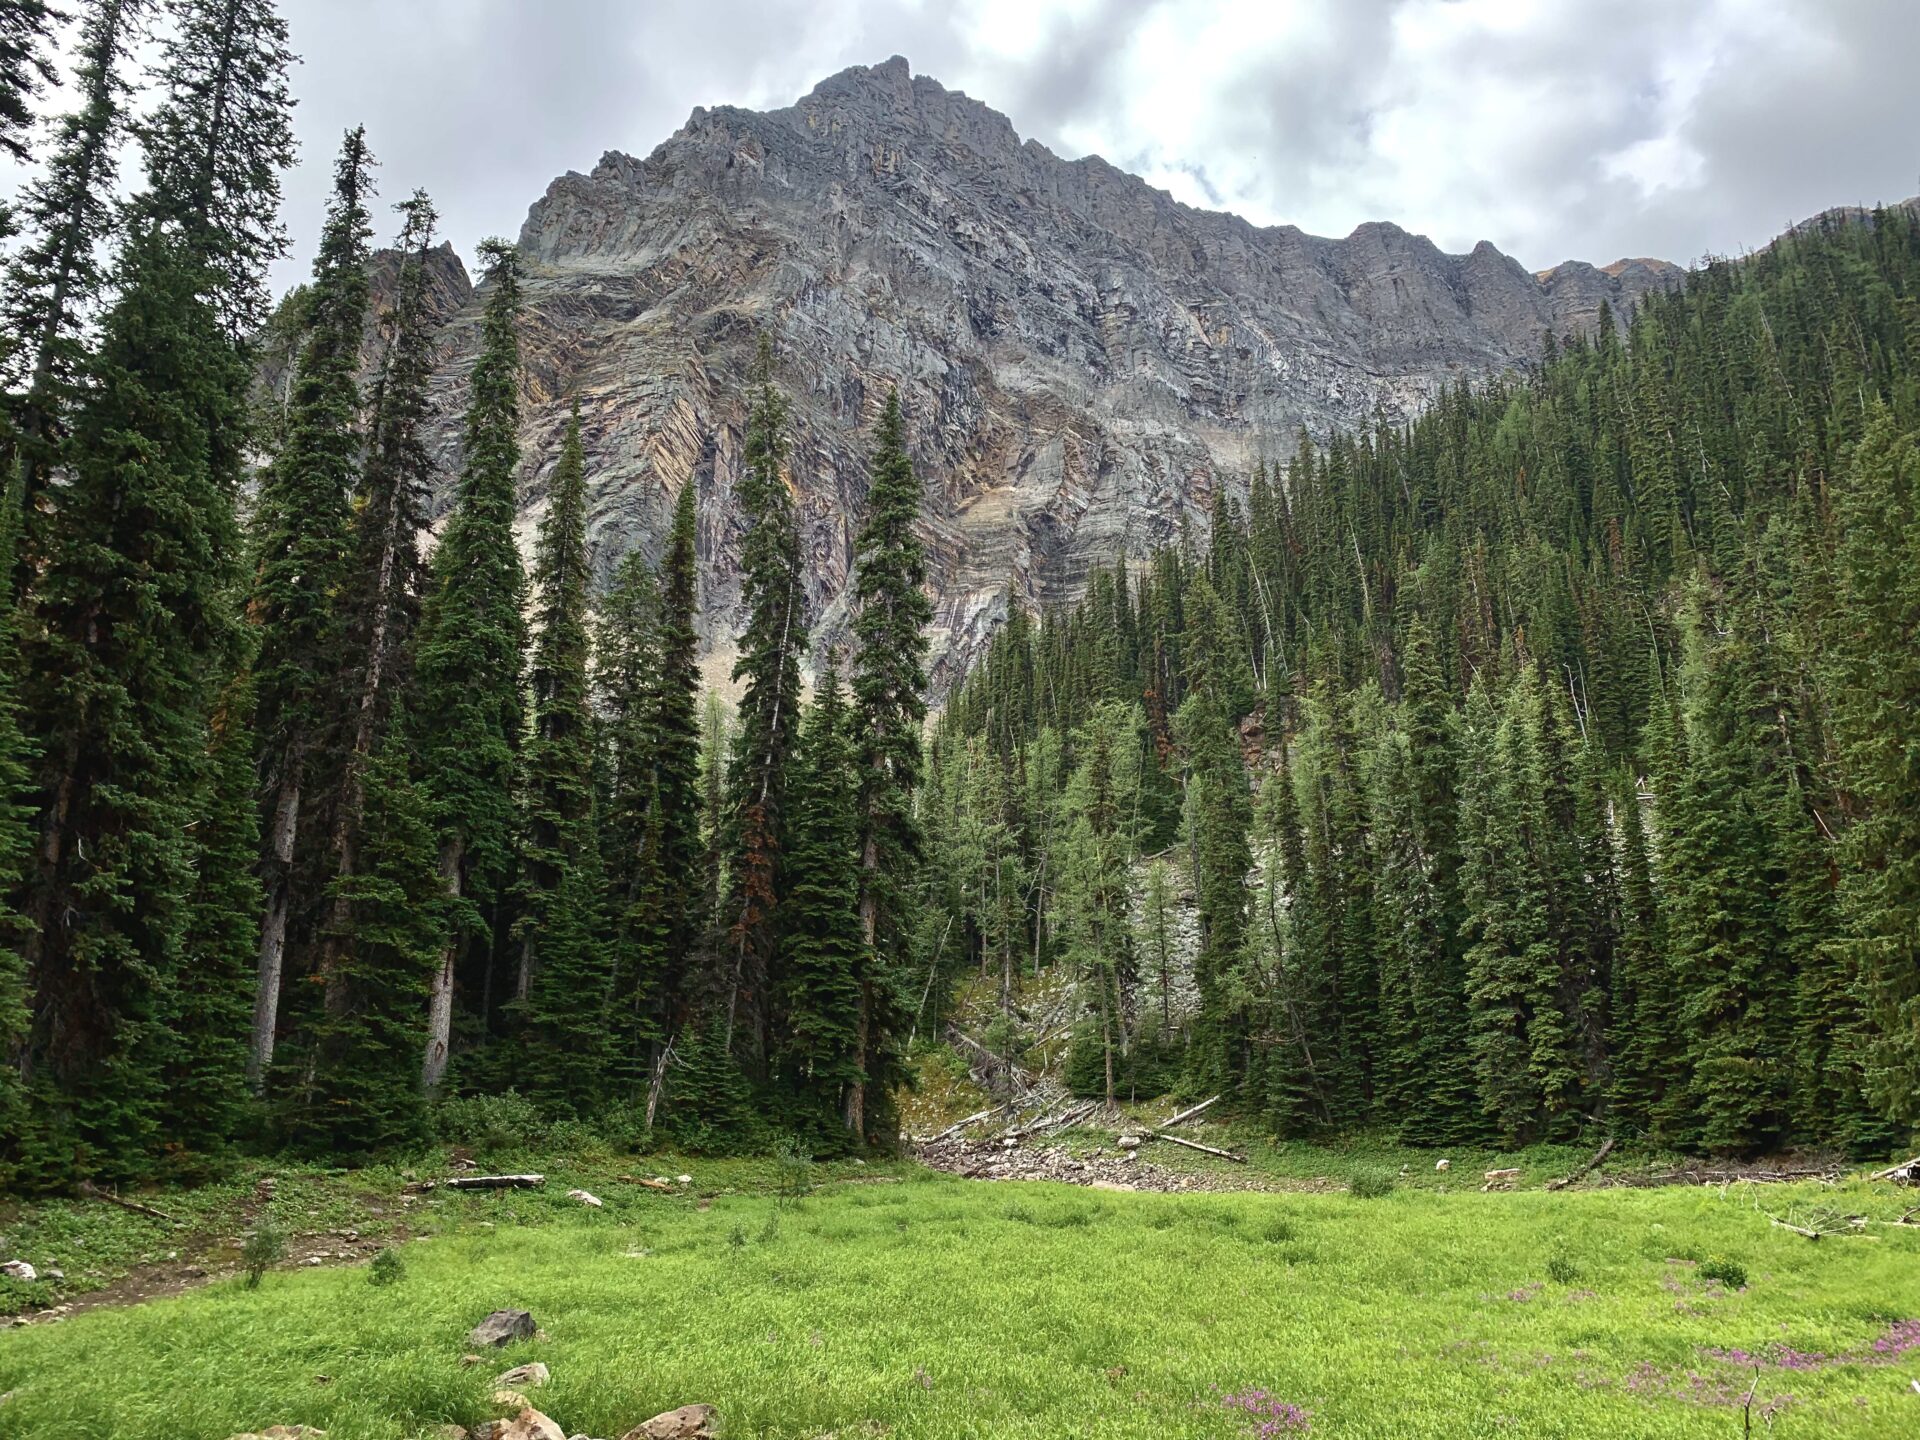
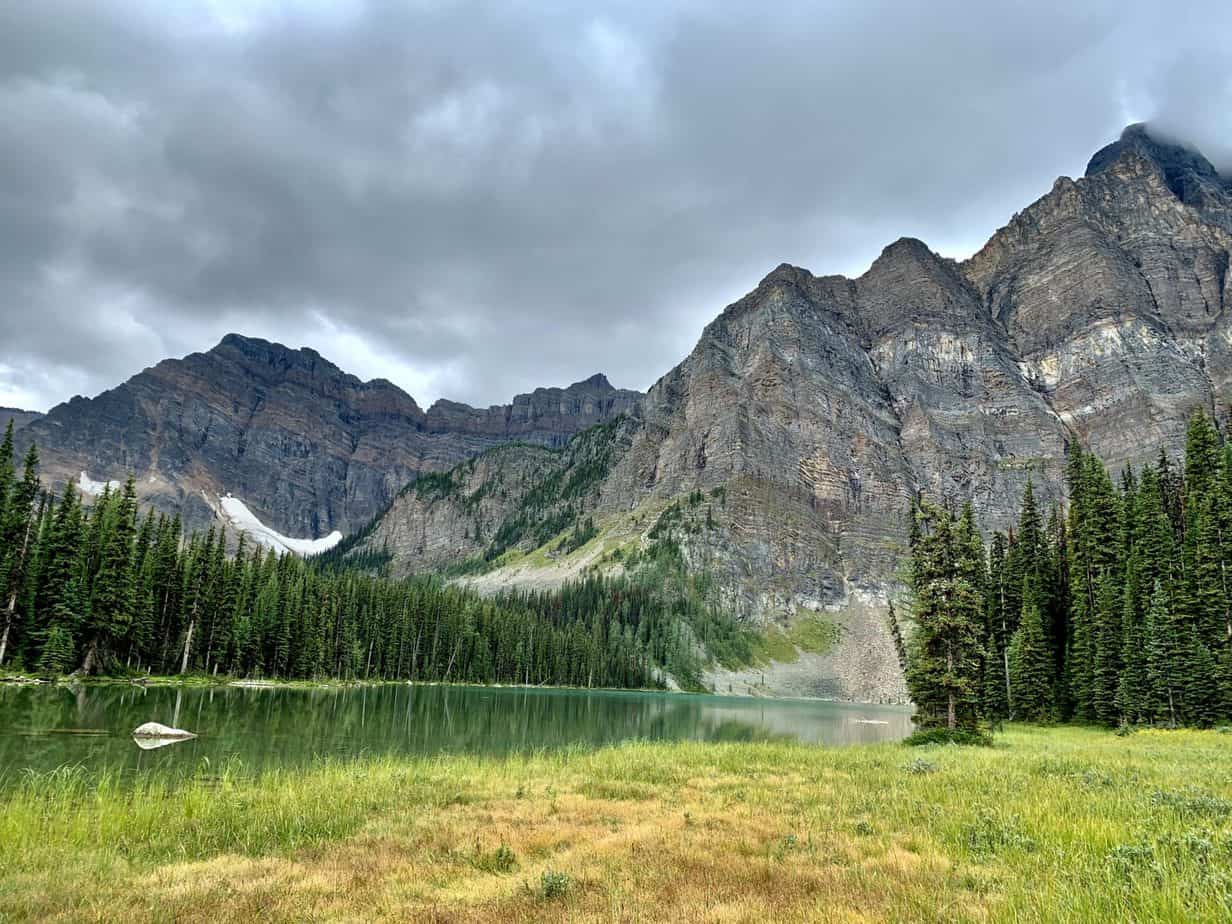
Shortly before Arnica Lake you’ll come the tiniest meadow, which is actually a gorgeous blue pond earlier in the season. Here will be your first up-close view of Storm Mountain, the star mountain of this hike. To get to Lower Twin Lake (the furthest lake) you will actually be hiking around Storm Mountain which means you will get to see it from all angles.
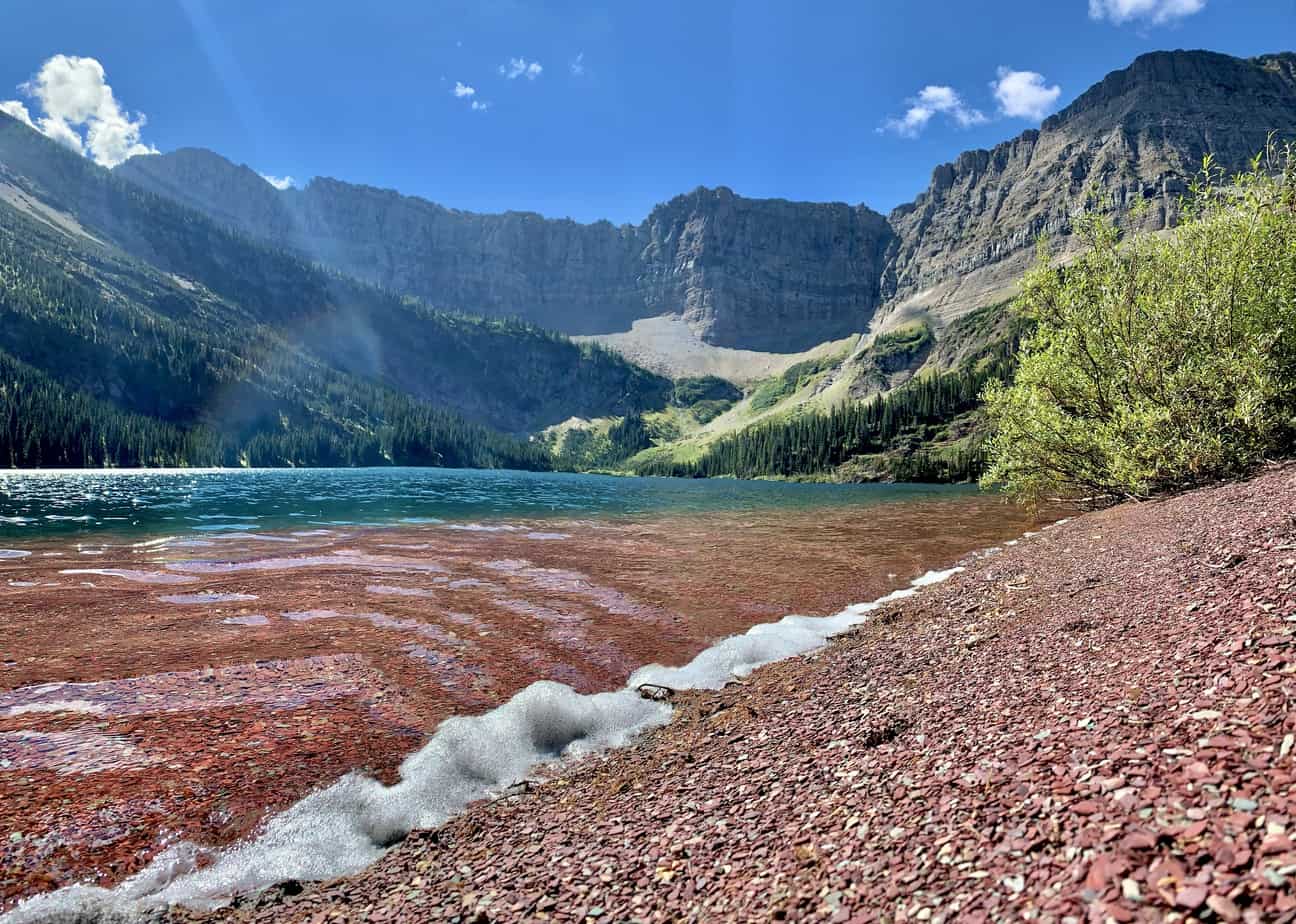
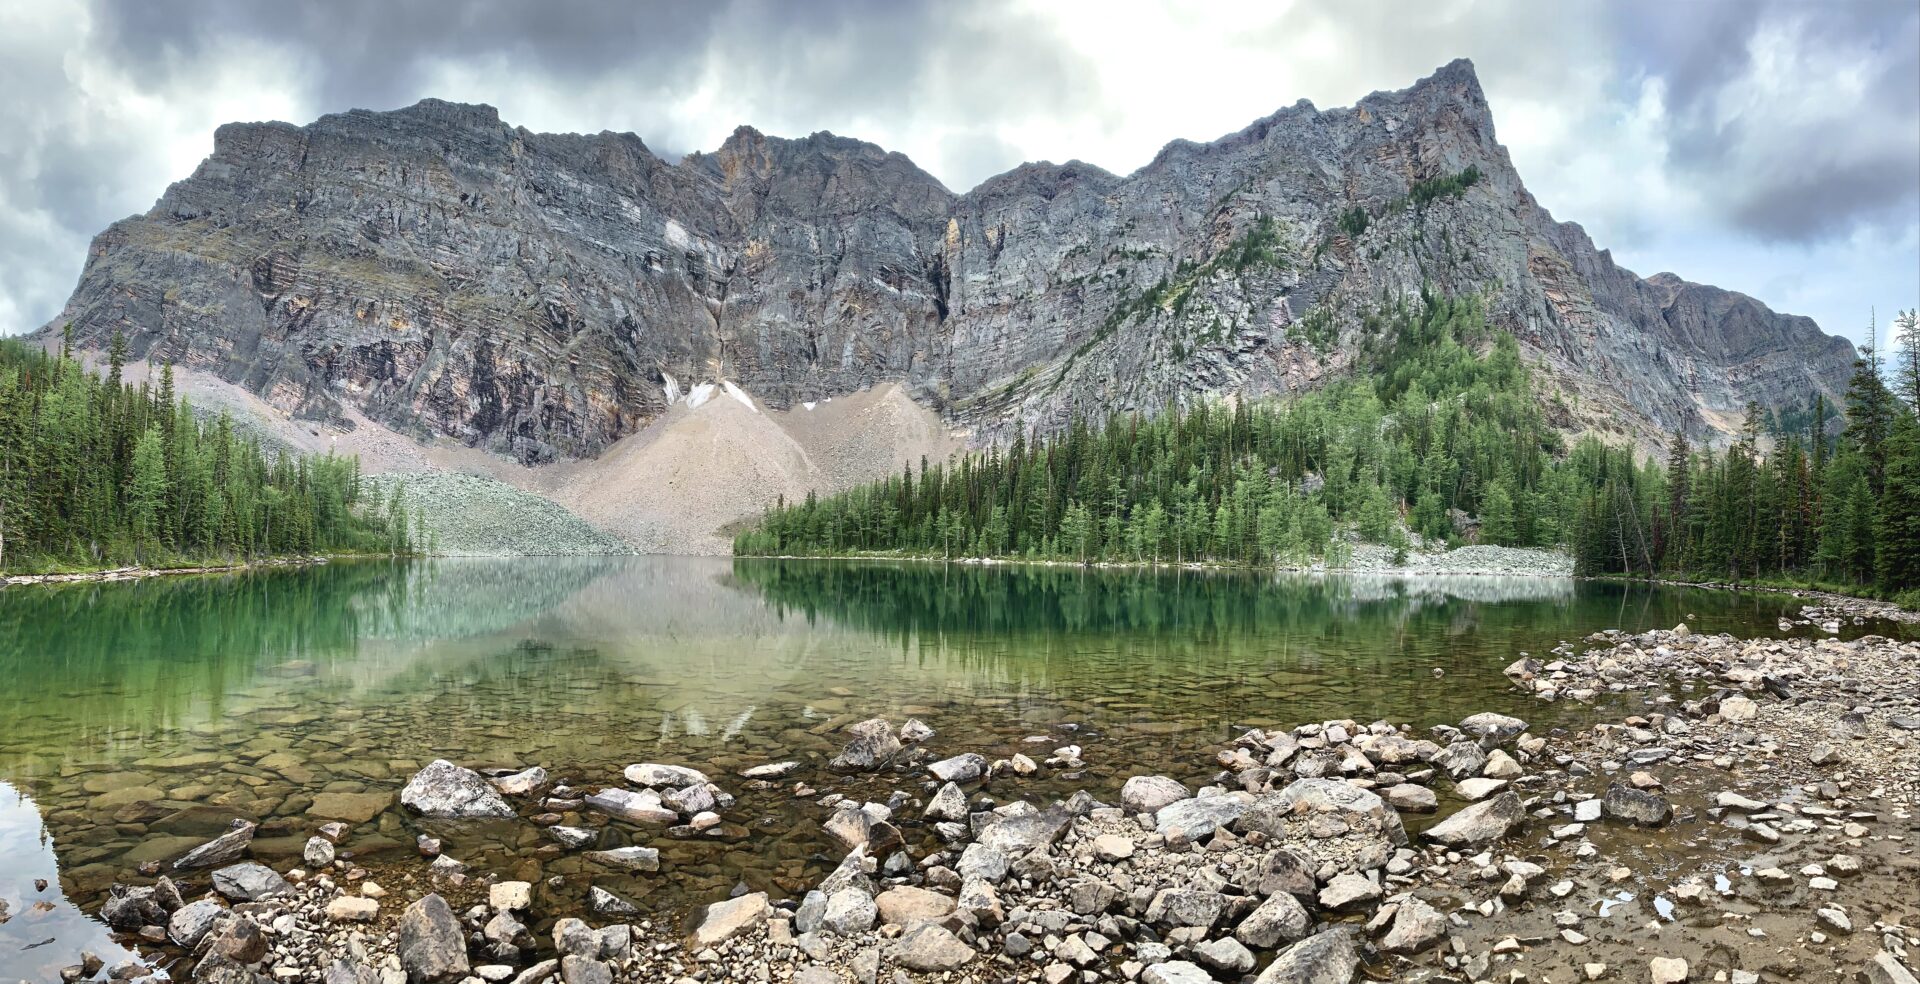
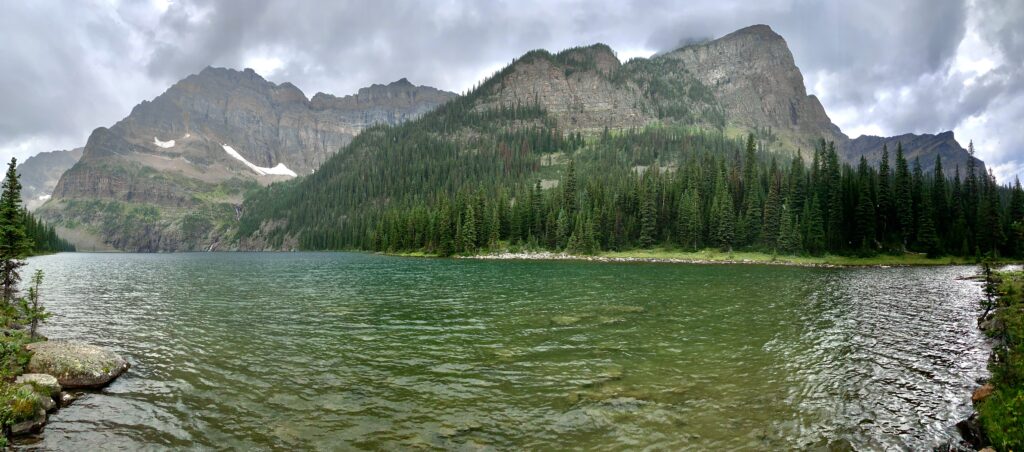
After a bit more uphill trekking, you’ll reach Arnica Lake with its mysterious green scree rock (seriously if anyone knows why these rocks are green please comment below). This was arguably my favourite lake of the 4. There was no wind which made for a perfect reflection. I had the lake to myself (minus the little chipmunk who was fascinated by my trekking poles) and was able to sit on the shore, eat some oatmeal out of my favourite Stasher Bag & watch the fish come to the surface of the water. Such a peaceful moment.
From Arnica Lake to the Lower Twin Lake it’s about 3km. There’s a little surprise at the end, so make sure you complete the entire hike!
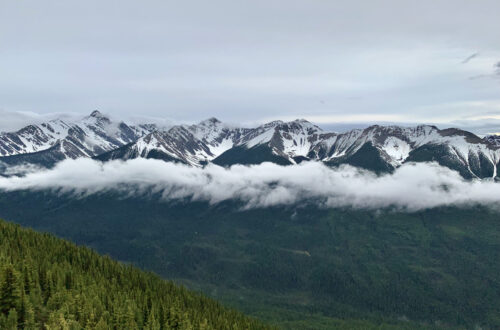
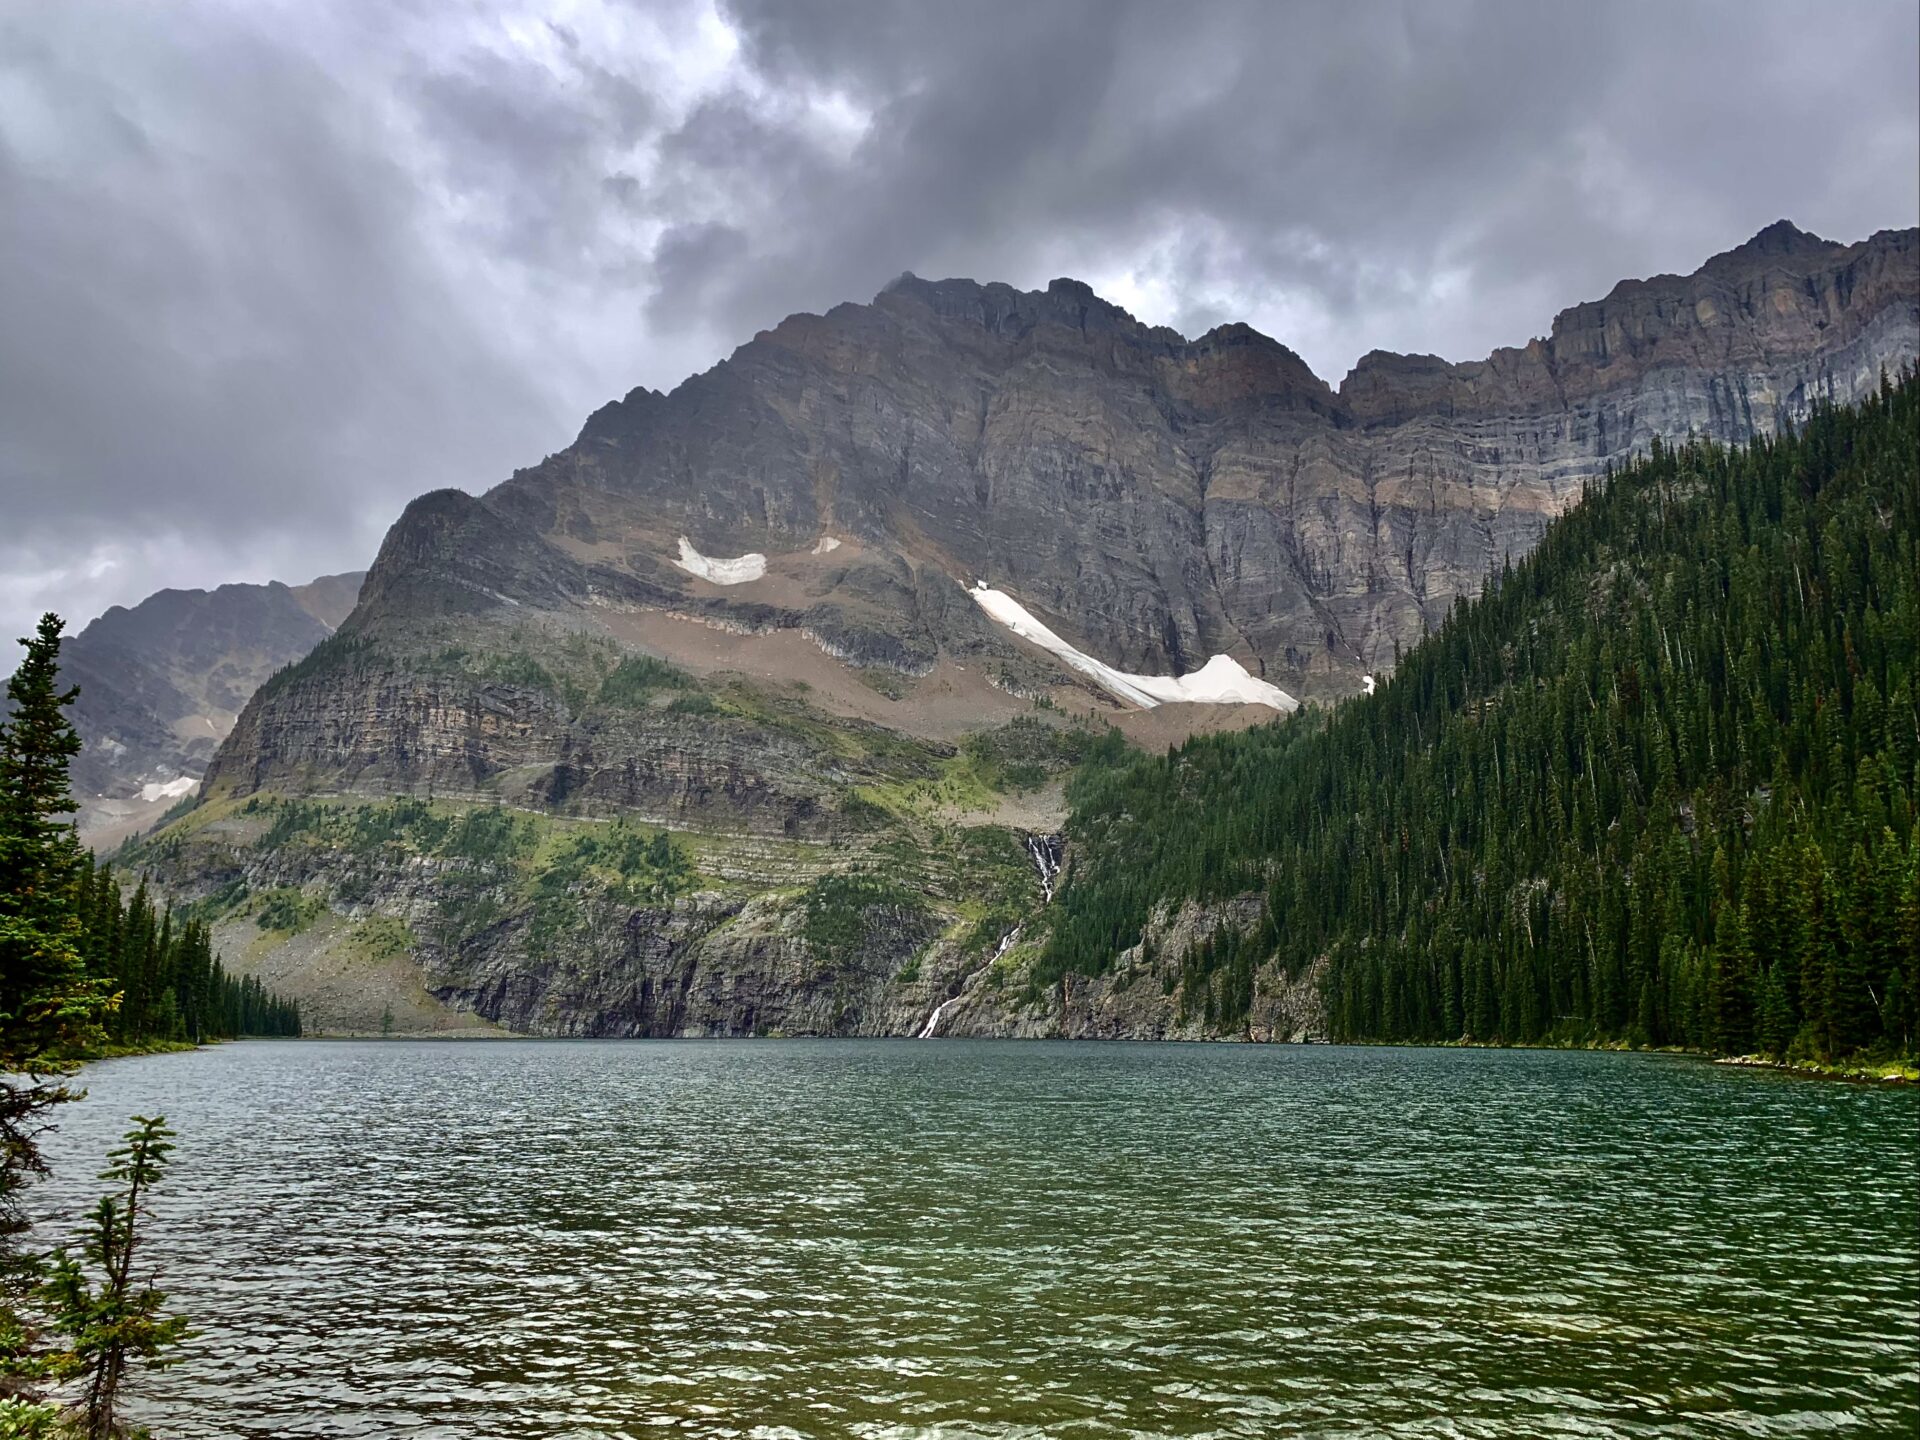
After a little more uphill trekking its all downhill until you reach The Twin Lakes. First is Upper Twin Lake with its beautiful blue water. I was lucky that the wind held off here – another perfect reflection. At this point in the hike, even in late summer, it’s not uncommon to see patches of snow up on the mountain.
Twin Lakes Campground (Tw7) is located just after the Upper Twin Lake if you want to make this hike into a backpacking trip.
More downhill trekking brings you to the last lake of the hike, Lower Twin Lake. The wind picked up and it started raining as soon as I got here which meant no reflection. But, to my surprise, there was a waterfall streaming down from the snow patch!
Beware – the path along the edge of the lake is super muddy.
Just before Lower Twin Lake there are Parks Canada signs, one indicating a route for a viewpoint. Apparently if you take this path you will come to a place where you can see all 3 lakes.
Looking for More Banff Adventures?
Banff is an adventurer’s & view seeker’s paradise. If you’re planning a trip to this gorgeous Canadian Park, you can start with this step-by-step guide designed to help you plan the perfect Banff itinerary.
Alternatively, check out this page with all my Banff resources.
Banff Hiking Resources
On this page you can find all my Banff trail guides. A few signature hikes in Banff are these easy trails, Tunnel Mountain, Sulphur Mountain, Lake Louise, and Johnston Canyon. If you’re only in Banff for a few days, start with those!
A few of my personal favourite hikes in Banff are Mount Bourgeau, Sentinel Pass, Tower of Babel, the Banff Skoki Loop, and the Sulphur Mountain Traverse Route.
More Banff Resources you Might Find Interesting:
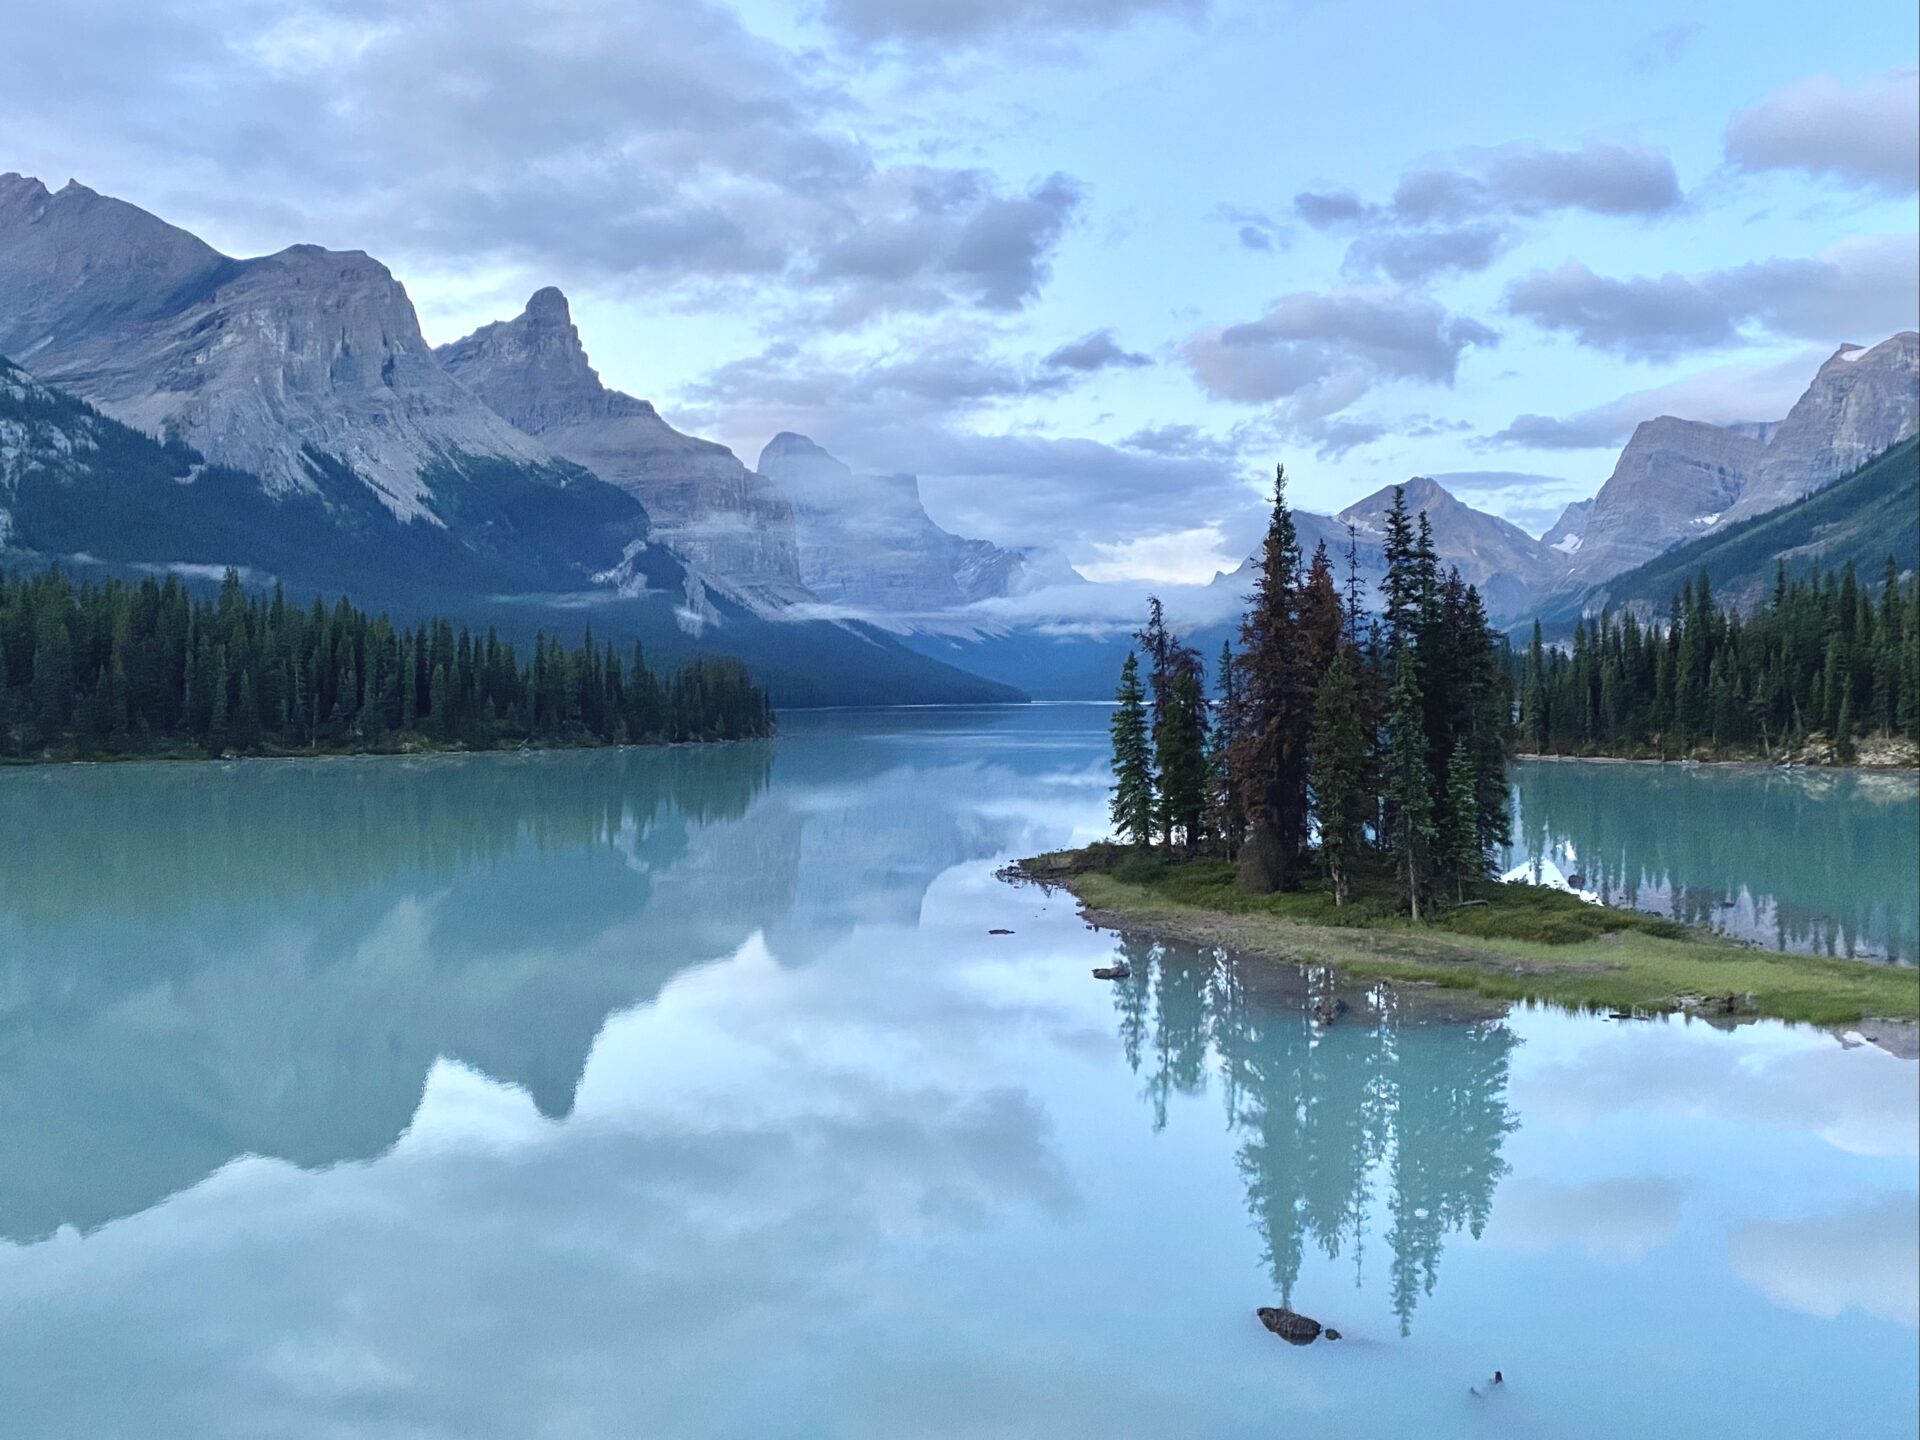
Want to continue your Canadian Rockies expedition outside of Banff? Check out my trail guides & travel resources for British Columbia and Kananaskis Country as well as Jasper, Waterton, Yoho, and Kootenay National Parks 🙂
Arnica And Twin Lakes Trail Extensions
This hike connects to plenty of other backpacking trails and campsites in the area. If you want to make it a multi-night trip you can camp at Twin Lakes Campground (Tw7) and then continue on to Shadow Lake Campground (Re14). Alternatively, if you want to treat yourself, you can stay at Shadow Lake Lodge accessed only via hiking.
From Shadow Lake you can also continue on to Ball Pass Junction (Re21) and if you’re really eager you can head to Egypt Lake Campground (E13) which also happens to have a backcountry shelter. Although if you’re going to do this I’d recommend hiking it in reverse, start with Egypt Lake and end with Twin Lakes.
Carrying all your backpacking gear on this trail would make it a tough multi-night hike, but it would definitely be worth while as it is such a beautiful area
Connect via socials:
STAY CONNECTED
Sign up for emails to receive a 25% discount on my travel maps.
Taylor ♡
Where to Stay in Banff
From hostels to camping to luxury hotels – Banff has accommodations for everyone. Here are my top recommendations for where to lodge in Banff based on every budget.
I recommend giving this post a read as I’ve listed every Banff hotel worth staying at and organized them by category.
- Hostels – Samesun Banff (best location + bar/restaurant on-site), Banff International Hostel (second best), and HI Banff.
- Budget hotels – Bow View Lodge and High Country Inn.
- Mid-range stays – Banff Park Lodge, Mount Royal, Elk & Avenue, and the Banff Caribou & spa.
- Luxury stays – Fairmont Banff Springs and the Rimrock Resort.
- Cabin retreats: Johnston Canyon Bungalows, Baker Creek, and Castle Mountain Chalets.
- Camping – reservation information can be found here. Ensure you book campsites far in advance as they’re full during summer.
- For those on ski trips: lodge on-mountain at Sunshine Village, stay near Norquay, and see my Lake Louise suggestions below.
Lodging Options Near Banff
Enjoy the nature and activities of Banff National Park, but lodge away from the busy tourist town centre at any of the following:
- Lake Louise – Fairmont Chateau Lake Louise (luxury), Paradise Lodge & Bungalows (500m from the lake), Lake Louise Inn (value stay), HI Lake Louise (hostel).
- Canmore – Malcolm Hotel (luxury), Stoneridge Mountain Resort (condo suites with fully equipped kitchens), Mountain View Inn (budget), Canmore Downtown Hostel & the Canmore Hostel (party hostel).
- Johnston Canyon – Johnston Canyon Lodge & Bungalows, Castle Mountain Chalets, and HI Castle Mountain Hostel.
- Yoho National Park – Emerald Lake Lodge and Cathedral Mountain Lodge.
- Kootenay National Park – Storm Mountain Lodge & Cabins.
- Kananaskis Country – Mount Engadine Lodge and Kananaskis Mountain Lodge (luxury), Crosswaters Resort (mid-range), and HI Kananaskis Wilderness Hostel (budget).
Happy adventuring!
Taylor ♡
Like This Post?
Share with friends or save it for later!

About the Author
HI, I’m Taylor – the voice behind The Holistic Backpacker.
After moving to Banff National Park in 2020 I became an outdoor adventure enthusiast and vowed to never stop exploring.
I now spend my days travelling the world, climbing mountains, and spending nights under the stars in the Canadian Rockies backcountry.
I created The Holistic Backpacker so I could share my adventures and help connect people like you with the same amazing experiences.