Part 2: Sarrail Ridge via Rawson Lake in Kananaskis
This is part 2 of my Sarrail Ridge via Rawson Lake hike guide. Part 1 features a detailed guide for the trek up to Rawson Lake whereas part 2 features a detailed guide for the extended route up to Sarrail Ridge.
Sarrail Ridge is brutally steep, but it’s short and seriously features the most incredible Rocky Mountain views. At the top you’ll be rewarded with overhead views of Rawson Lake, Upper Kananaskis Lake, and Mount Sarrail all in the midst of walking through an alpine meadow.
Need info for the Rawson Lake hike? Click here. Want to find more hikes in Kananaskis? Click here.
Now, let’s go hiking!
Skip Ahead:
- How to get to the Sarrail Ridge trailhead
- About the Sarrail Ridge trail
- Summiting Sarrail Ridge
- Recommended hiking gear
- What to wear hiking
- Where to stay in Kananaskis
I have affiliate links in this post which means when you book a hotel or purchase a product, I may make a small commission ~ at no additional cost to you (full disclosure). These funds go back into The Holistic Backpacker and help me create more free content like this!
Thank you for supporting my work!
How to get to the Sarrail Ridge Trailhead
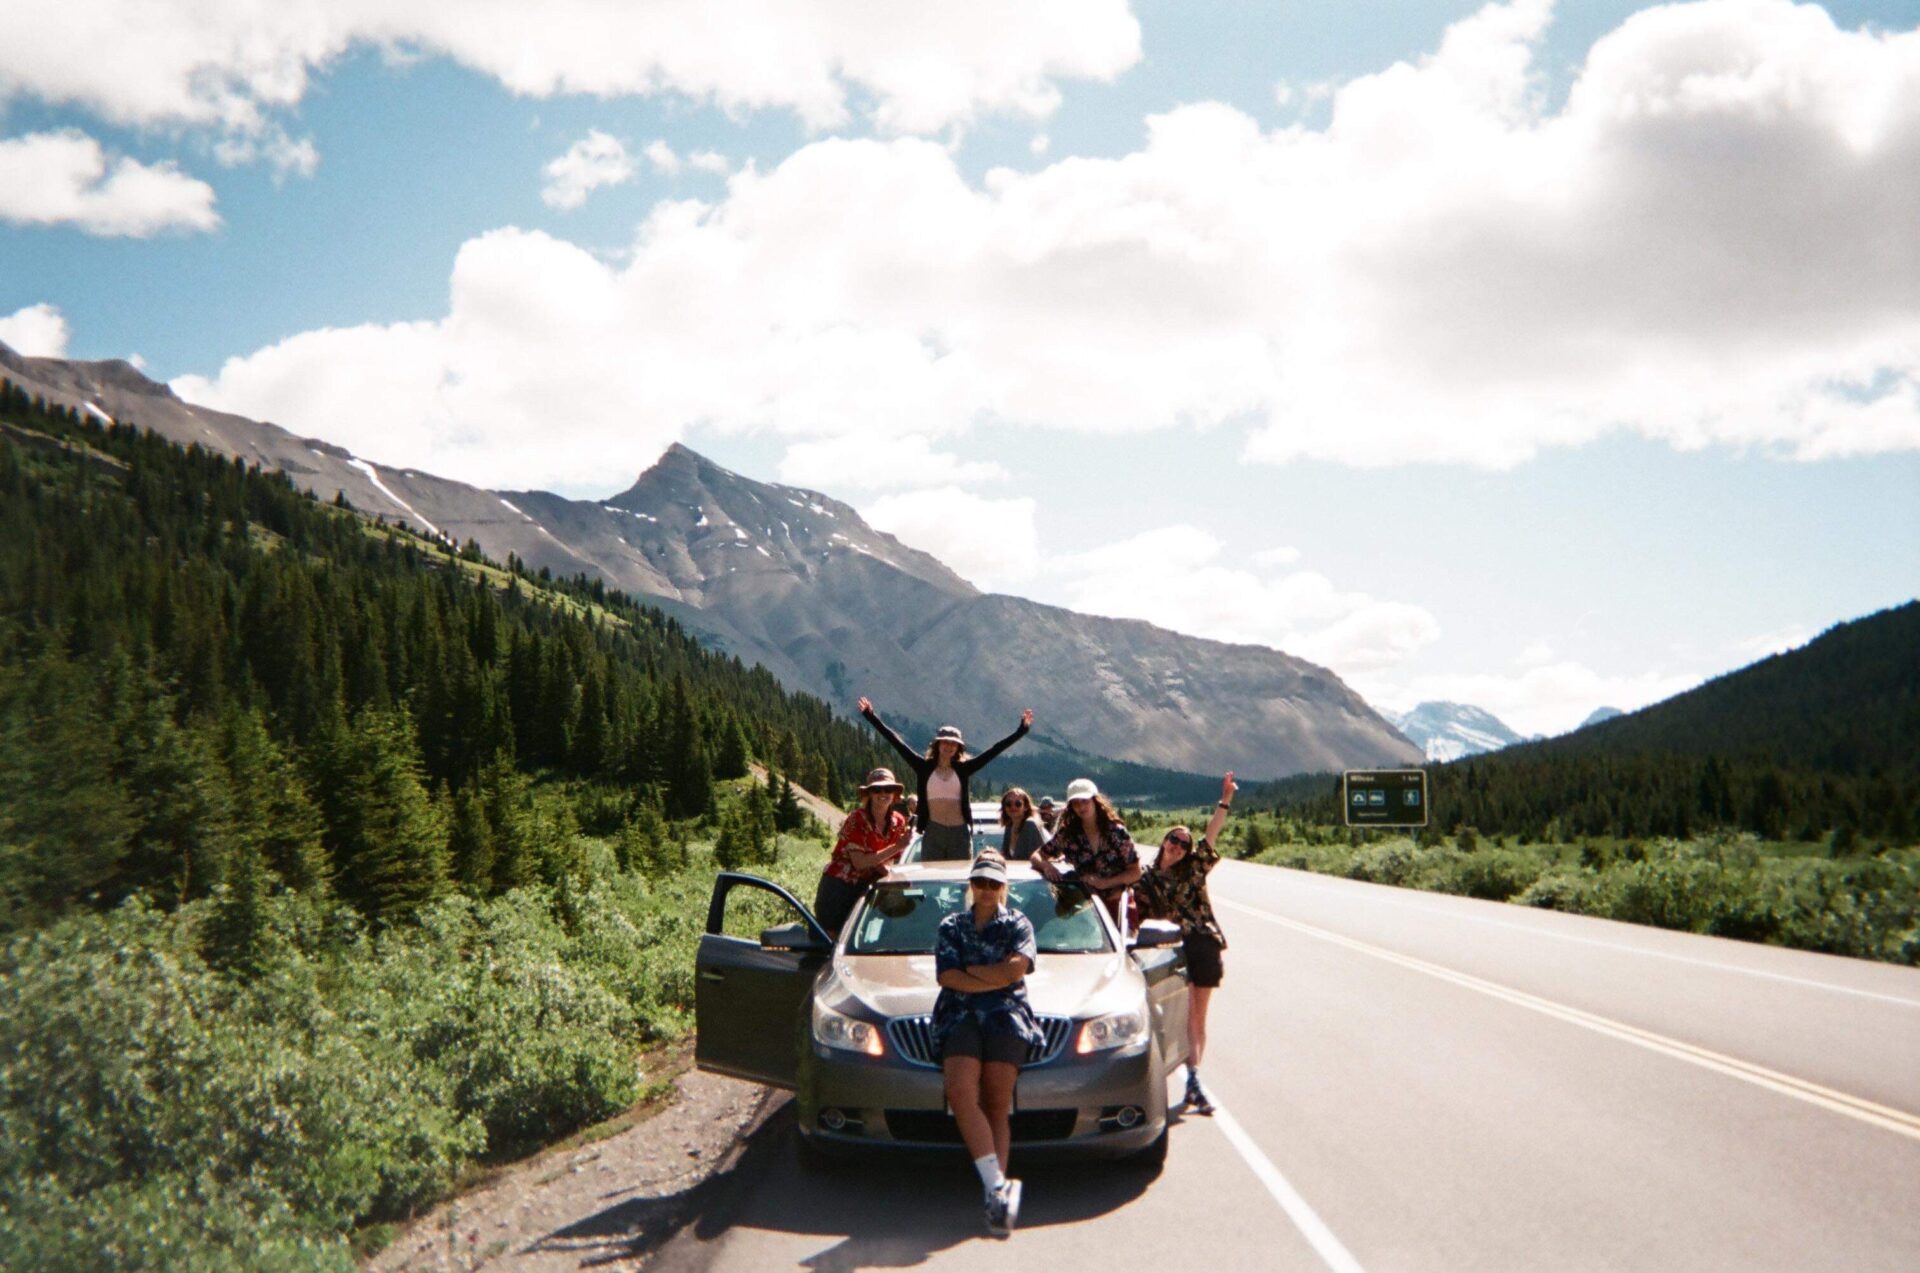
The Sarrail Ridge trailhead is located in Peter Lougheed Provincial Park which is in Kananaskis Country. There are no buses or shuttles that run through Kananaskis, so if you don’t have a car already you’ll need to rent one to access the trailhead.
The Sarrail Ridge trailhead has a considerably large parking lot, so you shouldn’t have to worry about arriving early to get a spot. A the parking lot you’ll find washrooms, picnic tables, and a nice (rocky) beach along the shore of Upper Kananaskis Lake.
Note that as of summer 2021, you’ll need a Kananaskis Conservation Pass while visiting Kananaskis Country.
Best Alberta Car Rental
Most of Alberta is inaccessible via public transportation. I 100% recommend renting a car here so you can fully enjoy all the mountains, lakes, and badlands.
My favourite Alberta car rental tool is this site. It compares all the local car rental companies to ensure you’re getting the best rate.
About the Sarrail Ridge Trail
- Distance: 11.3km
- Elevation gain: 1,066m
- Rated: hard
- Type of trail: out & back
- Estimated time: 5 hours
The Sarrail Ridge trail is super (and I mean super) steep. After the moderate hike to Rawson Lake (read my guide for Rawson Lake here), hikers will trek around the backside of the lake, then head straight up an alpine meadow to the Sarrail Ridge summit.
*The hike is a tough, uphill battle. However its not quite considered a scramble.
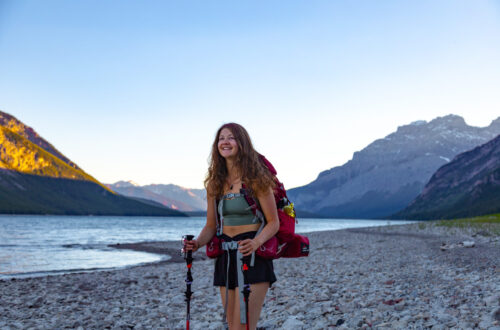
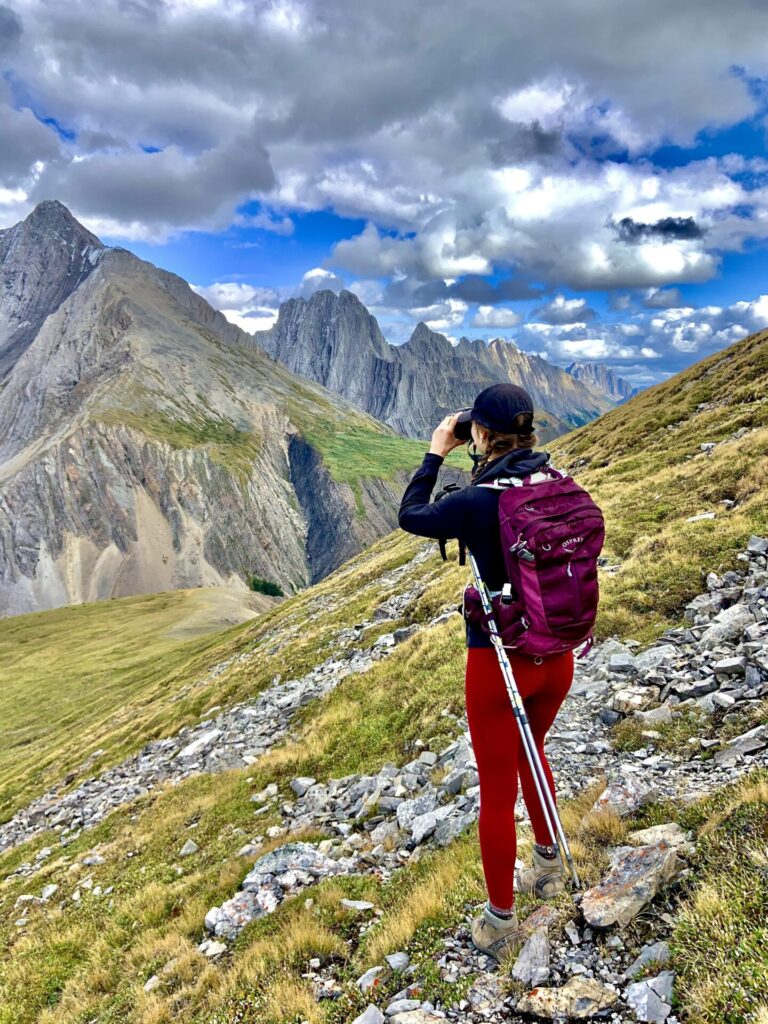
I’ll go into more detail about what to expect during the ascent next, but I’d 100% recommend bringing trekking poles on this hike. Since the ascent is so steep, you’ll want poles to A) support your bodyweight, B) take some of the pressure off your knees.
A lot of people complain about the slippery terrain on the Sarrail Ridge trail. Some people say to hike when the ground is dry, others say to hike when the ground is wet – both for traction purposes. I think hiking during either conditions will pose their own individual challenges. So, my advice is to not wait for the “perfect day.” Just get out there and freakin’ do it!
Helpful Tips for the Sarrail Ridge Hike
- Bring hiking poles.
- Pack bear spray; this is prime grizzly territory.
- If possible, hike on a warm/sunny day to fully take advantage of the ridge.
- Bring warm layers, it can get very cold and windy on the summit! I always bring a waterproof jacket and a puffer jacket with me on Rocky Mountain hikes. I link the coats I use here.
- This is a popular hike – start early to avoid crowds.
- Bring some good snacks. You’ll want tasty food to go along with the tasty views!
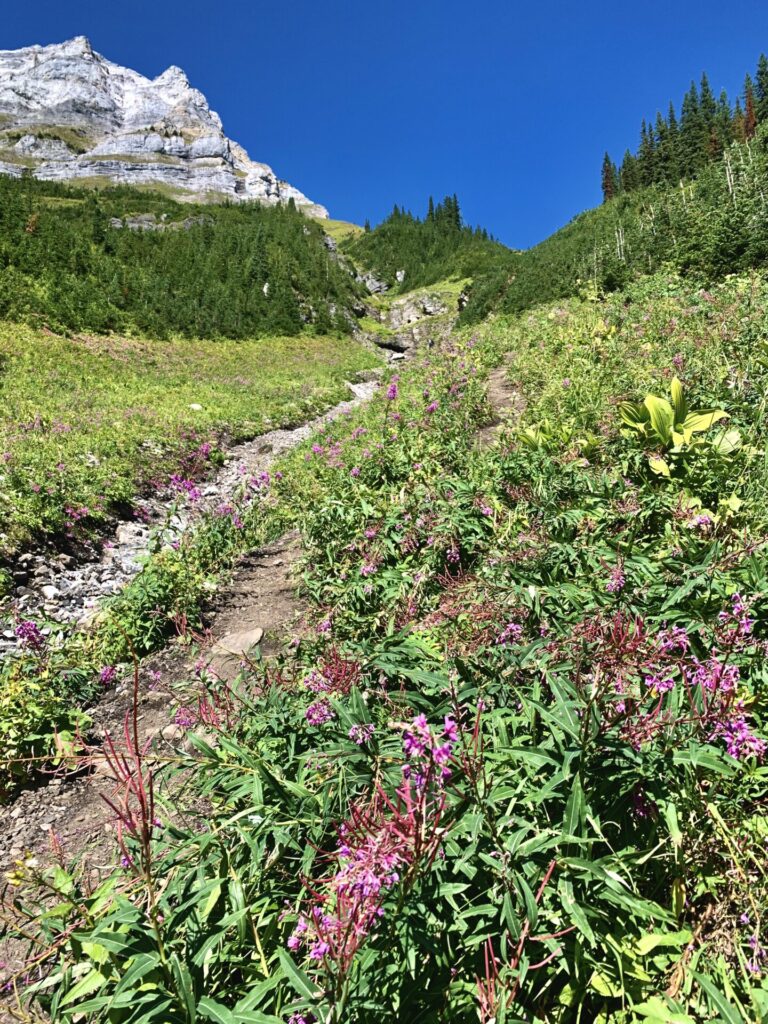
- Hike mid to late July to find abundant wildflowers.
- Utilize good hiking boots. I recommend a boot with lots of grip and ankle support. I use these (men’s version) and I absolutely love them for any type of hiking in the Rockies!
- The trail can be quite buggy. I always bring a bug suit rather than use bug spray – I hate that stuff!
Planning to Summit Sarrail Ridge in winter?
Don’t. Unless you’re a very experienced adventurer and have proper avalanche training/gear, do not attempt Sarrail Ridge in winter. Feel free to hike to Rawson Lake, but don’t continue any further.
The Sarrail Ridge trail crosses dangerous avalanche terrain and is so steep. I can’t even imagine trying to hike this trail in ice and snow.
If you do plan on hiking in the Rockies in winter, consider taking avalanche training courses. 10 Adventures offers level 1 and level 2 courses aimed to teach hikers how to safely climb mountains in snowy/icy conditions, identify and avoid avalanche risks, properly use avalanche gear, and how to help yourself or another individual caught in an avalanche.
If you plan to hike in winter (especially in avalanche terrain), you’ll need gear. Always have micro-spikes or snowshoes, and if necessary bring crampons. Carry an avalanche safety kit and bring a satellite device – not necessary, but extremely important for safety.
Summiting Sarrail Ridge
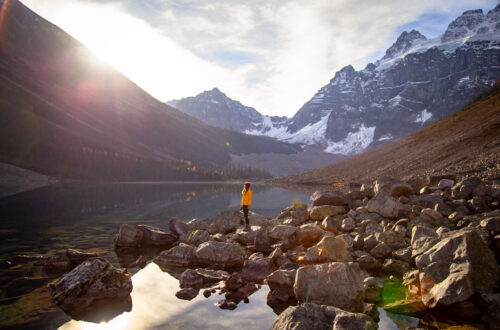
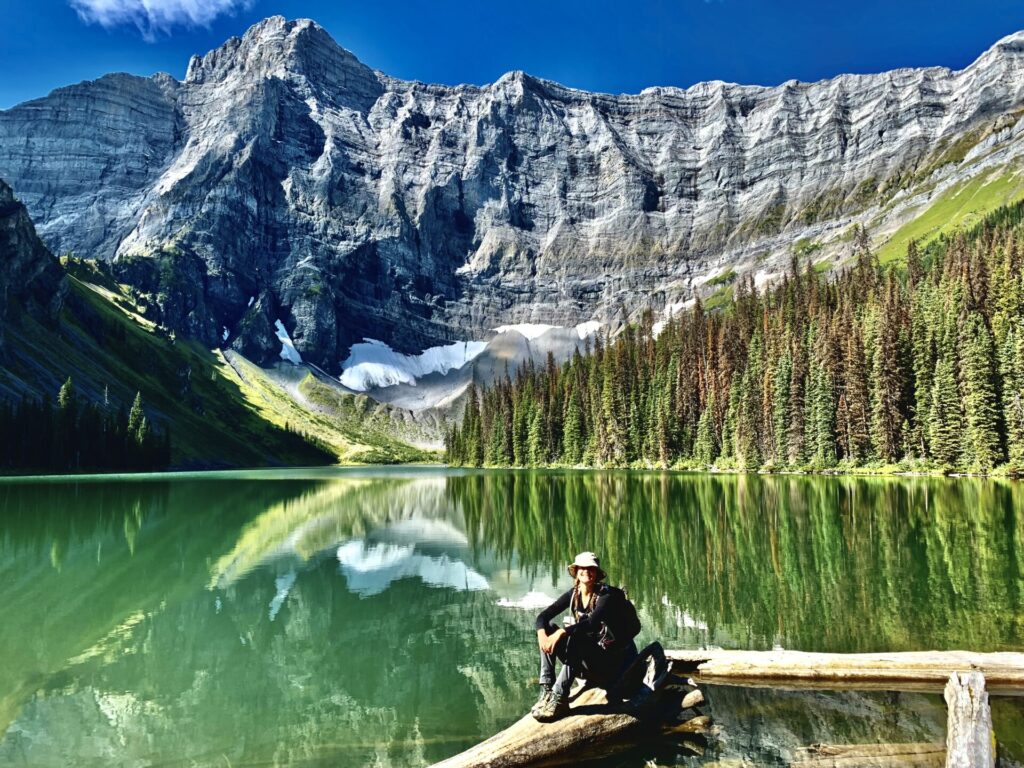
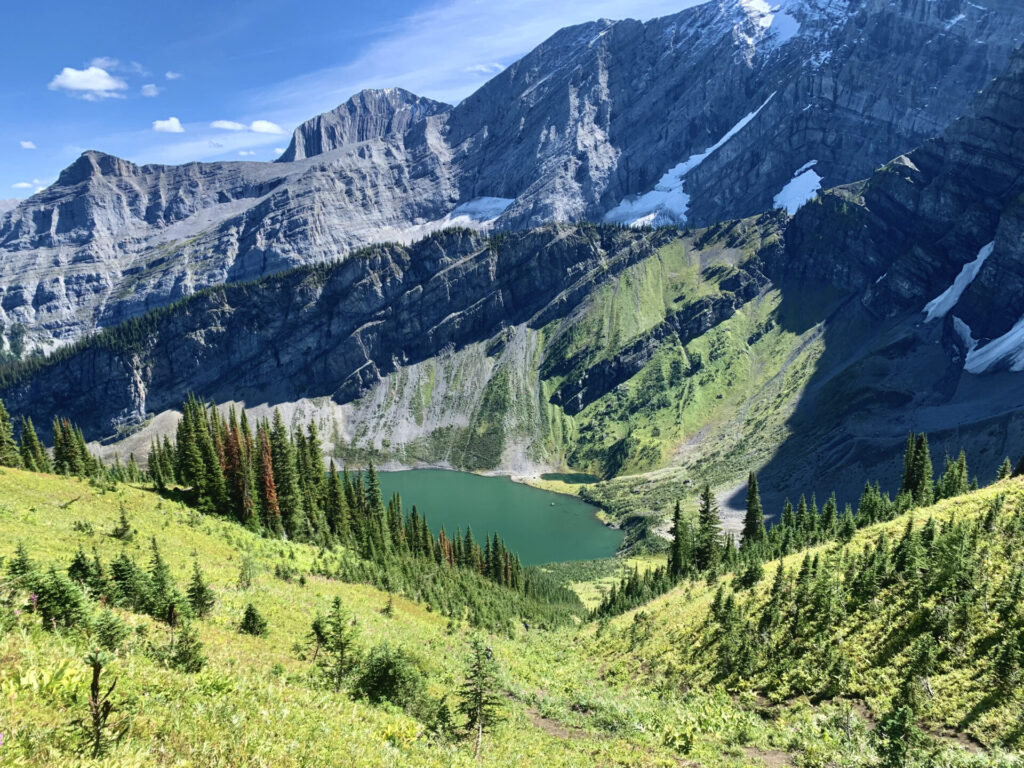
The Sarrail Ridge trail starts at Upper Kananaskis Lake and follows a path leading to the incredible Rawson Lake. Since part 2 is all about Sarrail Ridge, I’m gonna skip past the details for the hike to Rawson Lake and instead focus on what to expect during the steep ascent to Sarrail Ridge. But first, LOOK AT THIS LAKE OH MY GOD.
Need info for the Rawson Lake hike? Click here.
Rawson Lake to Sarrail Ridge
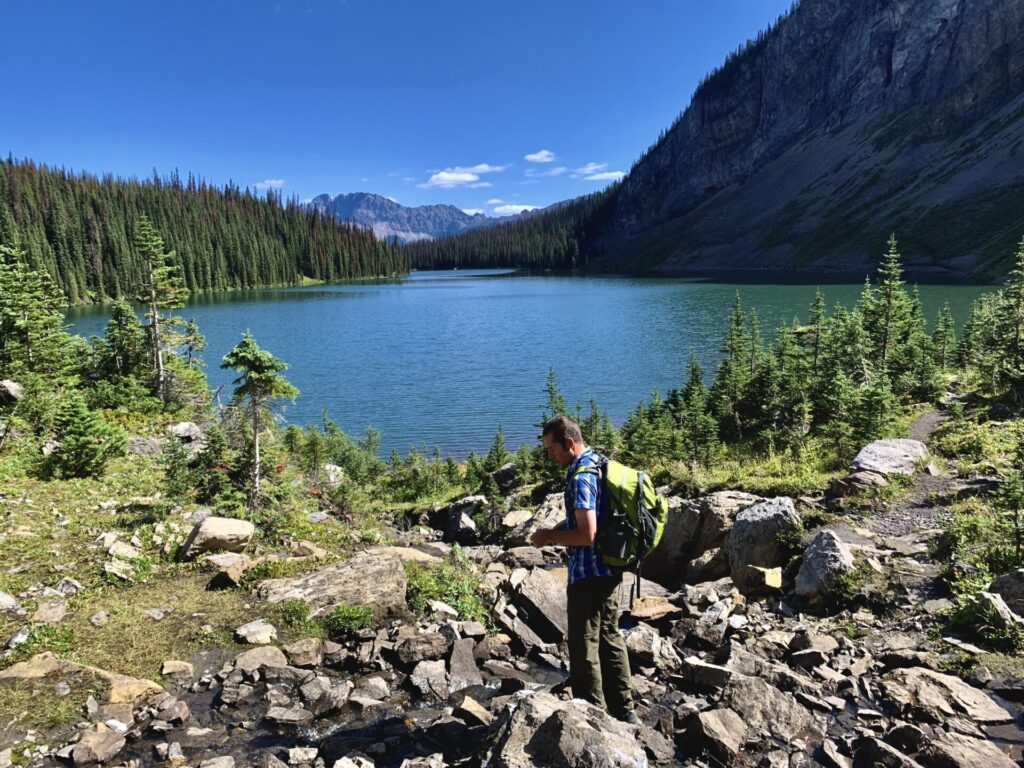
After arriving at Rawson Lake you’ll want to continue walking around the lake all the way to the backside. If you look to your right, you’ll see the alpine meadow running along Sarrail Ridge. Yup, you’re climbing up that!
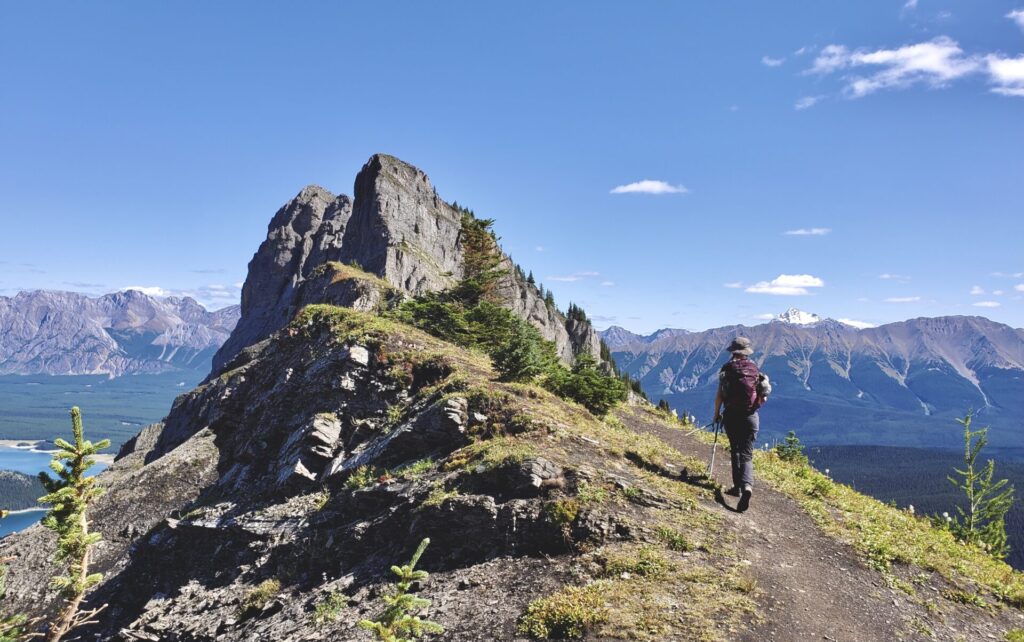
Sarrail Ridge Ascent
Time for some stats. The point of where the ascent for Sarrail Ridge starts (the really steep part) to the actual summit is under 1km. In less than 1km, expect to gain around 400m. Yes, you read that right.
Like I said, this hike is STEEP. The only hike I can think of with a comparably steep grade is Opal Ridge; another great Kananaskis hike, by the way.
Since the hike is so steep, you’d expect some switchbacks or something along the way, buuuut nope. The ascent to Sarrail Ridge is literally just a straight-line to the top. At one point there’s a rope to help you over a rocky section, but other than that it’s just climb climb climb.
My hiking partner (Greg from Banff Buzz) and I managed to smash out the ascent in under an hour. The elevation gain is daunting and your calves will scream at you like they’ve never screamed before, however if you go into this hike with an “I can do it” mindset, it won’t take you long at all.
Sarrail Ridge Summit
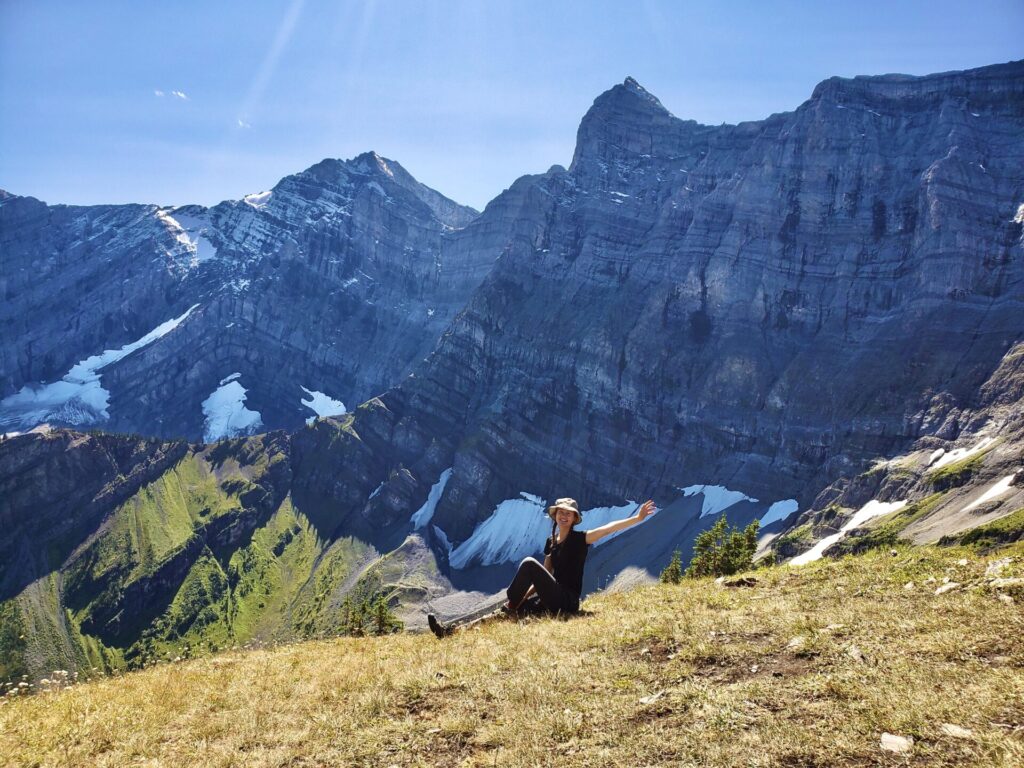
Once you reach the summit, you’ll discover some of the most impressive, jaw-dropping views in the Rocky Mountains. I’m not even being dramatic when I say this is one of the most incredible hikes I’ve ever done.
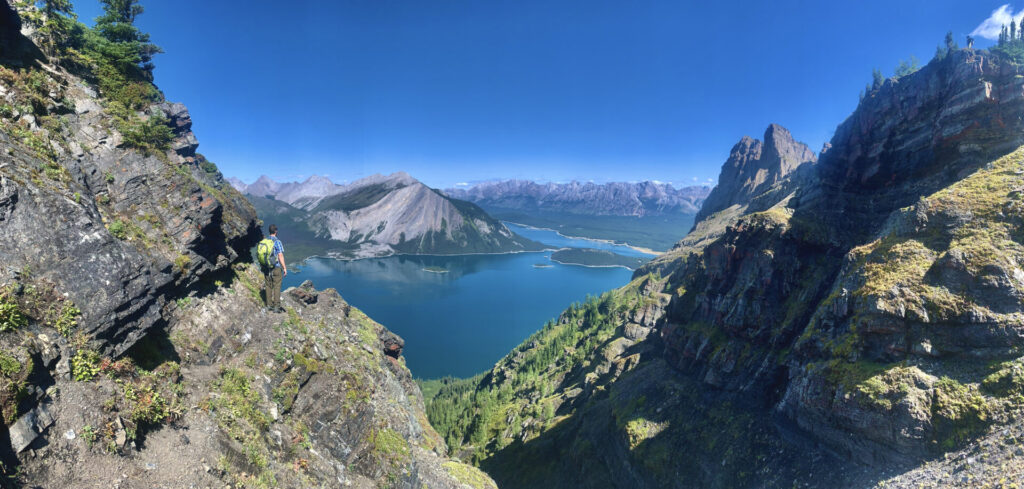
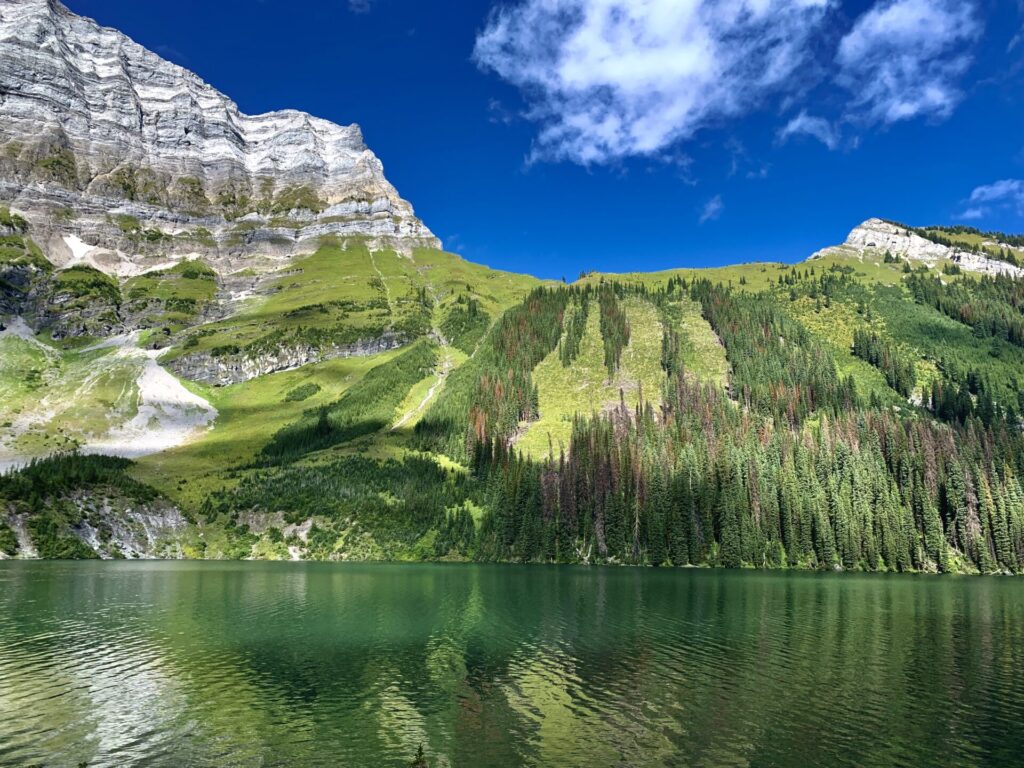
On the summit you’ll trek across a lush alpine meadow. On one side of the ridge you’ll find an overhead view of Upper Kananaskis Lake (that lake from the trailhead) and on the other side you’ll find an overhead view of the emerald Rawson Lake.
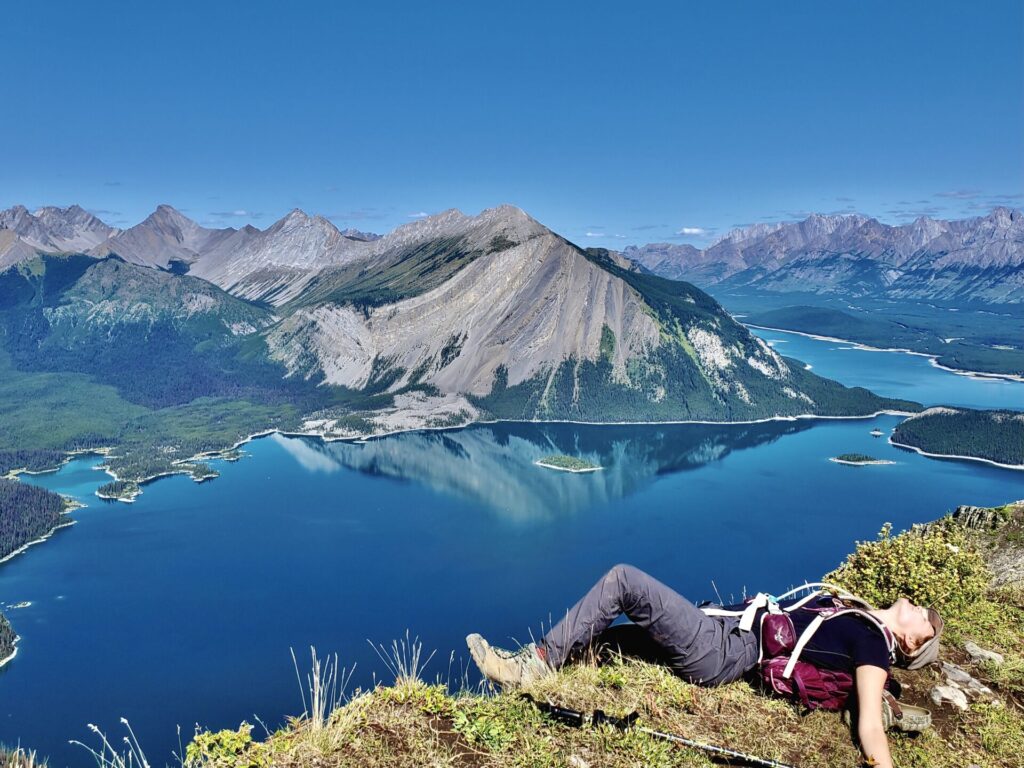
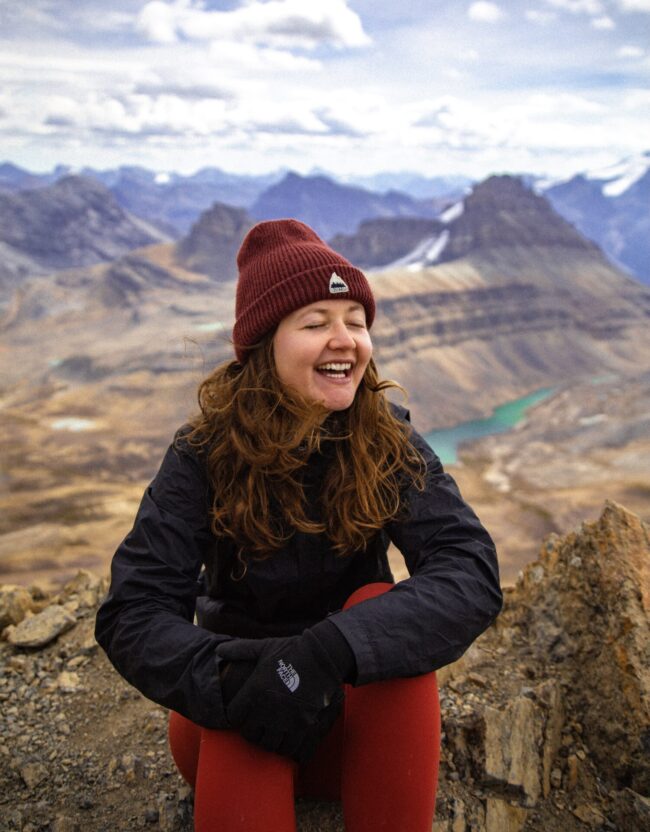
^ This is me, literally dying on the summit, after smashing it up Sarrail Ridge hehe.
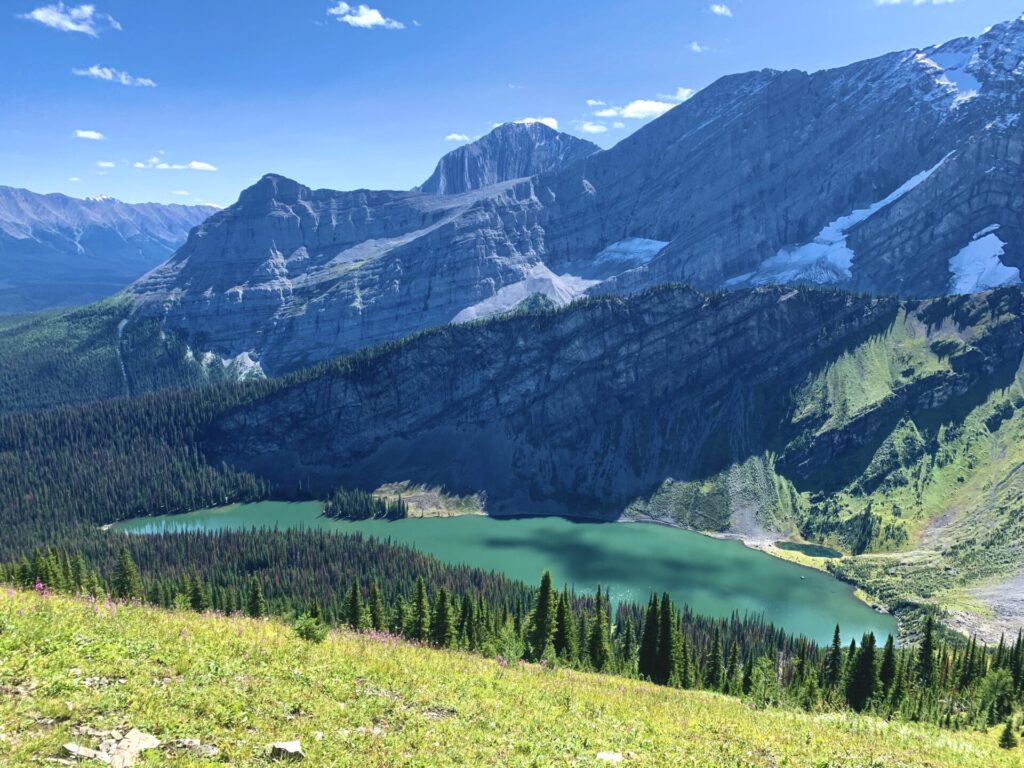
Below is Rawson Lake and the incredible Mount Sarrail. Luckily, the day I summited Sarrail Ridge the weather was absolutely gorgeous. The sun was shining, the weather was warm, and there was no wind at all.
This made spending my day amongst the mountains too easy. I spent well over 2 hours at the ridge eating good snacks, taking a gazillion photos, and just enjoying these wicked views.
On Alltrails you’ll notice a black, dotted line leading past the end of Sarrail Ridge. Apparently there’s a route leading down there, however I wouldn’t recommend following that. I couldn’t find any reviews on whether or not the trail was suitable for hiking, so instead return the way you ascended.
More: Part 1 – Rawson Lake Trail Guide
Explore More Hikes In Kananaskis
Kananaskis is an area just outside of Banff that’s made up of multiple Wildland Areas and Provincial Parks. Kananaskis is my favourite hiking destination in the Canadian Rockies, so I urge you to explore more hikes in the area!
Click here to explore more of Kananaskis.
Featured Kananaskis Hikes:
- Cool Experiences: Yamnuska scramble, Mist Mountain hot springs, Grotto winter canyon walk.
- Ridge Walks: Pocaterra Ridge, Sarrail Ridge & Rawson Lake, Opal Ridge, Tent Ridge, and Wasootch Ridge.
- Summits: EEOR and Ha Ling.
- Incredible Scenery/Lakes: West Wind Pass, Picklejar Lakes, and Grassi Lakes.
Explore Kananaskis Country by Area:
Visit National Parks Nearby:
Looking for more hikes? Click here to explore all of my trail guides.
Sarrail Ridge in Kananaskis
Sarrail Ridge in Kananaskis
Where to Stay in Kananaskis Country
Unless you plan on camping, lodging options are a bit limited in Kananaskis. Here are a few options for every budget:
Booking.com- Hostel – HI-Kananaskis Wilderness Hostel.
- Glamping – Sundance by Basecamp. Sundance gives you the opportunity to camp in a regular tent, glamping tent, or tipi.
- Mid-range hotel – Crosswaters Resort in Kananaskis Village.
- Luxury Stay – the Kananaskis Mountain Lodge is one of the most luxurious getaways in the Banff-region. At the lodge you’ll find the Kananaskis Nordic Spa which is the most sought after spa in the region. Mount Engadine Lodge is another unique option which gives you the opportunity to lodge in yurts, glamping tents, and cabins. Gourmet food and great views included.
- Stay nearby – If these Kananaskis stays aren’t what you’re looking for, check out lodging options in nearby Canmore or Banff.
- Camping – Kananaskis offers tons of camping facilities scattered throughout the area and they almost always have availability. If you’re one to free-camp, Kananaskis has PLUZ (Public Land Use Zones) and Wildland areas, both of which you can random camp in for free. This is something I have yet to figure out in the Kananaskis region, but if you’re interested you can find more information about it here
Happy adventuring!
Taylor ♡
Like This Post?
Share with friends or save it for later!

About the Author
HI, I’m Taylor – the voice behind The Holistic Backpacker.
After moving to Banff National Park in 2020 I became an outdoor adventure enthusiast and vowed to never stop exploring.
I now spend my days travelling the world, climbing mountains, and spending nights under the stars in the Canadian Rockies backcountry.
I created The Holistic Backpacker so I could share my adventures and help connect people like you with the same amazing experiences.