Sulphur Skyline Trail – Jasper National Park
If you’re looking for a postcard worthy hike, look no further than the Sulphur Skyline Trail. This is one of the most popular hikes in Jasper National Park, and in my opinion, definitely the most beautiful hike too.
The hike itself is considered hard, but compared to a lot of the summits in the Banff-area, this hike is much easier. The small amount of effort to reach the summit is well worth the reward!
More: Hiking In Banff National Park
If you’re visiting Jasper, 1) make sure to add the bucket list Sulphur Skyline trail to your itinerary. 2) Don’t forget to check out my trip planner! I’ll help you plan the perfect Jasper itinerary.
Now, let’s go hiking!
Skip Ahead:
- How to get to the Sulphur Skyline trailhead
- About the Sulphur Skyline Trail
- Hiking the Sulphur Skyline Trail
- Essential day-hiking gear
- Where to stay in Jasper
- Tips for a Successful Trip
I have affiliate links in this post which means when you book a hotel or purchase a product, I may make a small commission ~ at no additional cost to you (full disclosure). These funds go back into The Holistic Backpacker and help me create more free content like this!
Thank you for supporting my work!
Related Posts:
- Everything you need to know about planning a trip to Jasper
- Best things to do in Jasper
- Complete guide to the Icefields Parkway (Banff to Jasper)
- Jasper’s off-the-beaten path adventures
- More hiking trails in Jasper
- Explore Jasper’s southern neighbour: Banff National Park
How To Get To The Sulphur Skyline Trailhead
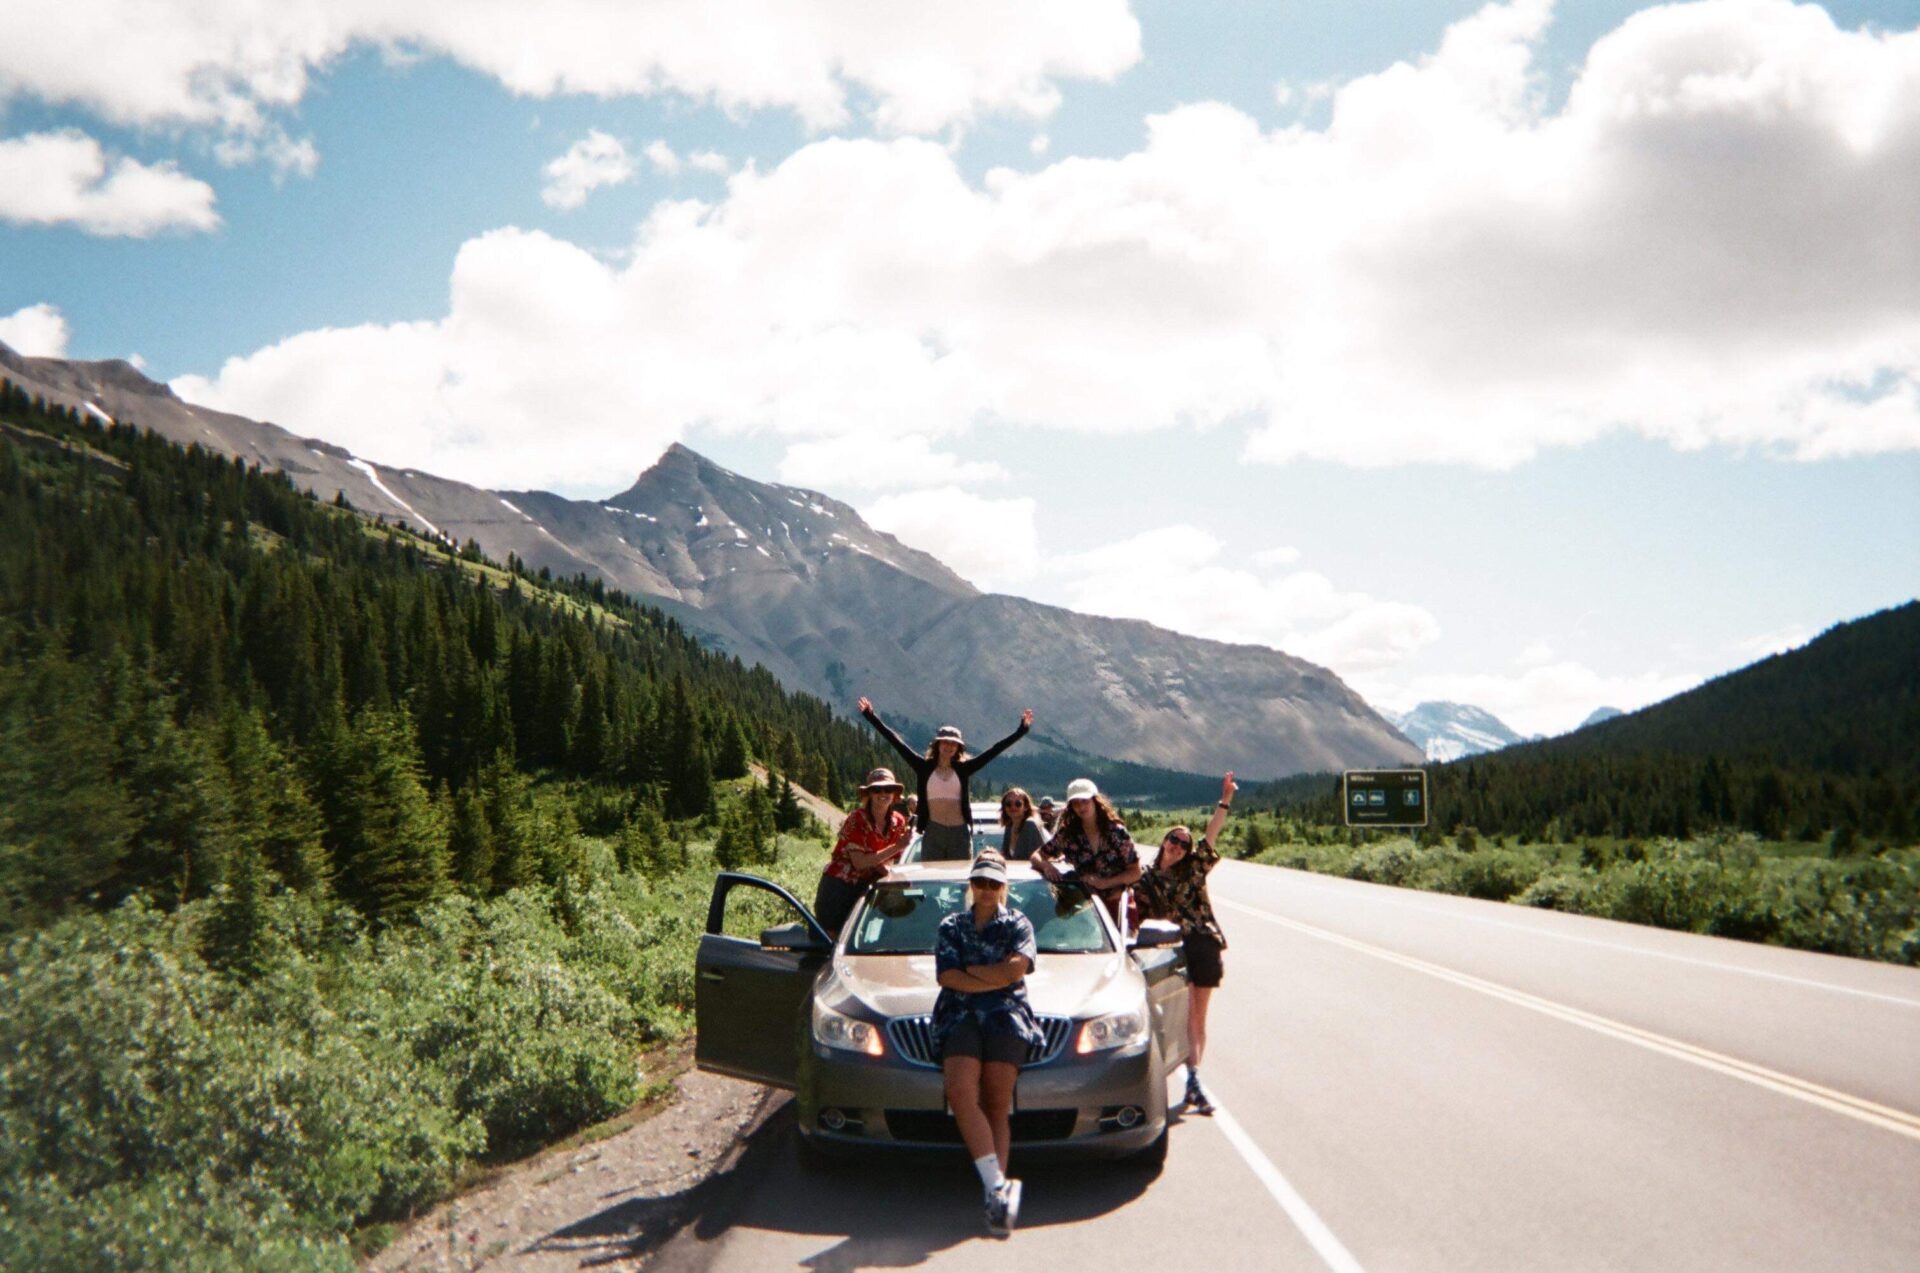
The Sulphur Skyline trailhead is located about an hour drive NE from the town of Jasper, 4 hours West of Edmonton, and 4.5 hours north of Banff. The best way to get to the trailhead is to rent a car and drive – there aren’t any shuttles or buses.

The drive itself is an adventure. You’ll be passing by multiple lakes, driving up a windy mountain road, and passing by countless beautiful Rocky Mountains.
The trailhead for Sulphur Skyline hike starts at the Miette Hot Springs parking lot. By the way, you can actually stay at the Miette cabins; this is perfect if you want to complete the Sulphur Skyline trail for sunrise!
From the parking lot, walk toward the building leading up the mountain, the trailhead starts right behind there. You’ll see a sign for the trailhead – this is how you’ll know you’re in the right spot.
There is a bathroom in the parking lot and a picnic area.
Remember to pack out your garbage at the picnic area and while on the trail – you won’t find any garbage cans here.
Funny story – while driving down the windy mountain road from the trailhead, we took a turn way too fast. My phone, which had been resting on the dash, flew directly out the window! At the same time our bottles fell out of the cup holders and water spilled everywhere. It was a moment of absolute chaos followed by us running back up the road to find my phone, which had been ejected into the bushes.
Moral of the story – use your brakes.
Best Jasper Car Rental
Jasper is difficult and expensive to access via public transportation. Once you arrive the vast majority of lakes, hikes, and trails are inaccessible via public transportation.
My favourite Jasper car rental tool is this site. It compares all the local car rental companies to guarantee you the best rate.
About The Sulphur Skyline Trail
- Distance: 7.9km
- Elevation Gain: 653m
- Route Type: out & back
- Rated: hard (more like moderate)
- Estimated Time: 3.5hrs
Alternative routes you can take while hiking the Sulphur Skyline trail are:
- Miette Hot Springs Sulphur Skyline Loop – this route takes you in a loop rather than out & back and is also slightly shorter
- Mystery Lake via Sulphur Skyline Trail – this is a biggie and I would not recommend unless you are an experienced hiker
- Utopia Mountain Route – a scramble, only recommended for experienced adventurers
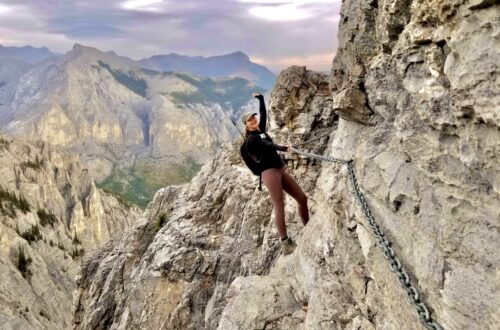
The Sulphur Skyline Trail is well trafficked and easy to follow. The terrain isn’t too crazy, but there are quite a lot of rocks – I had a few near-miss ankle roll incidents but my trusty hiking boots saved me from injury. Compared to other summits in the area Sulphur Skyline is much easier, but I was tired when I did it – hence the ankle rolling.
I had just come off my most all-time favourite adventure in the Rockies; a 3 day backcountry canoe trip on Maligne Lake. Since I was only in Jasper for a few days though I had hike the Sulphur Skyline trail, even though I was exhausted.
More: Backcountry Canoe Trip On Maligne Lake – Jasper National Park
Connect via socials:
STAY CONNECTED
Sign up for emails to receive a 25% discount on my travel maps.
Taylor ♡
Hiking The Sulphur Skyline Trail
If you’re new to hiking or are a bit nervous, don’t be. The Sulphur Skyline trail is a great introductory hike for those new to the mountains or for those interested in solo-hiking.
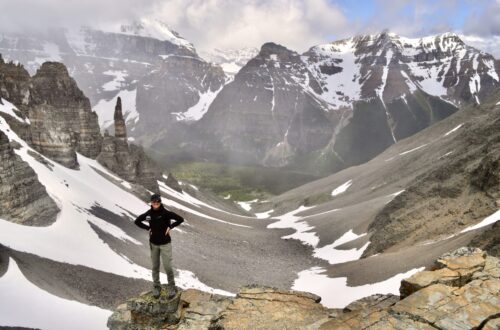
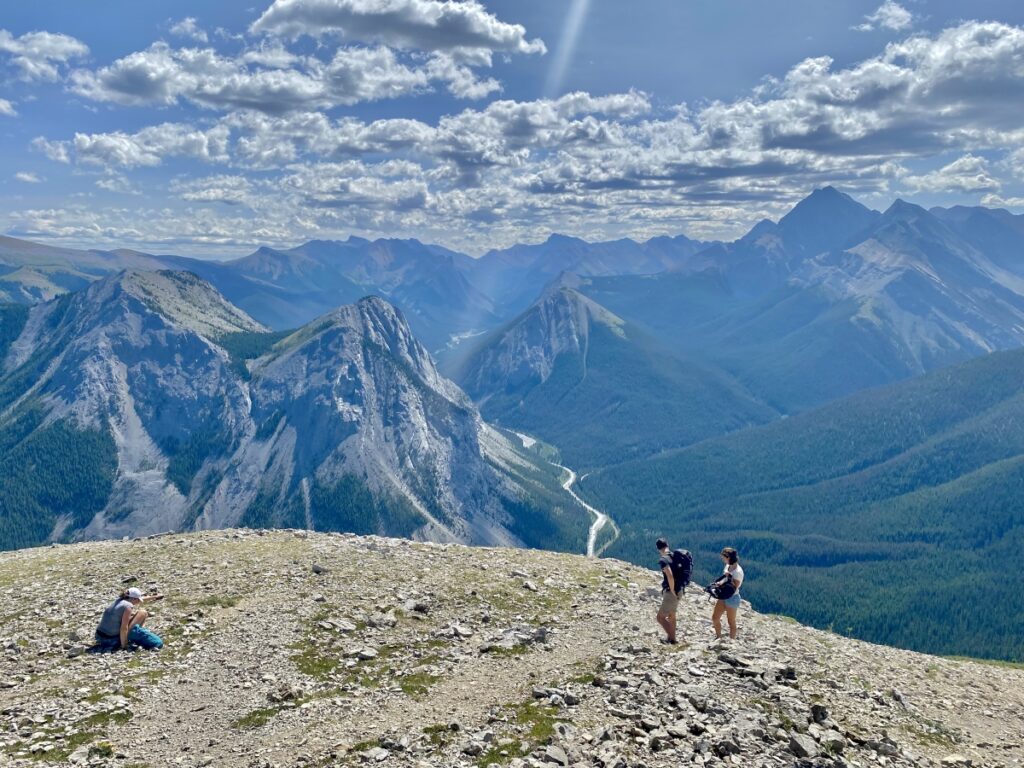
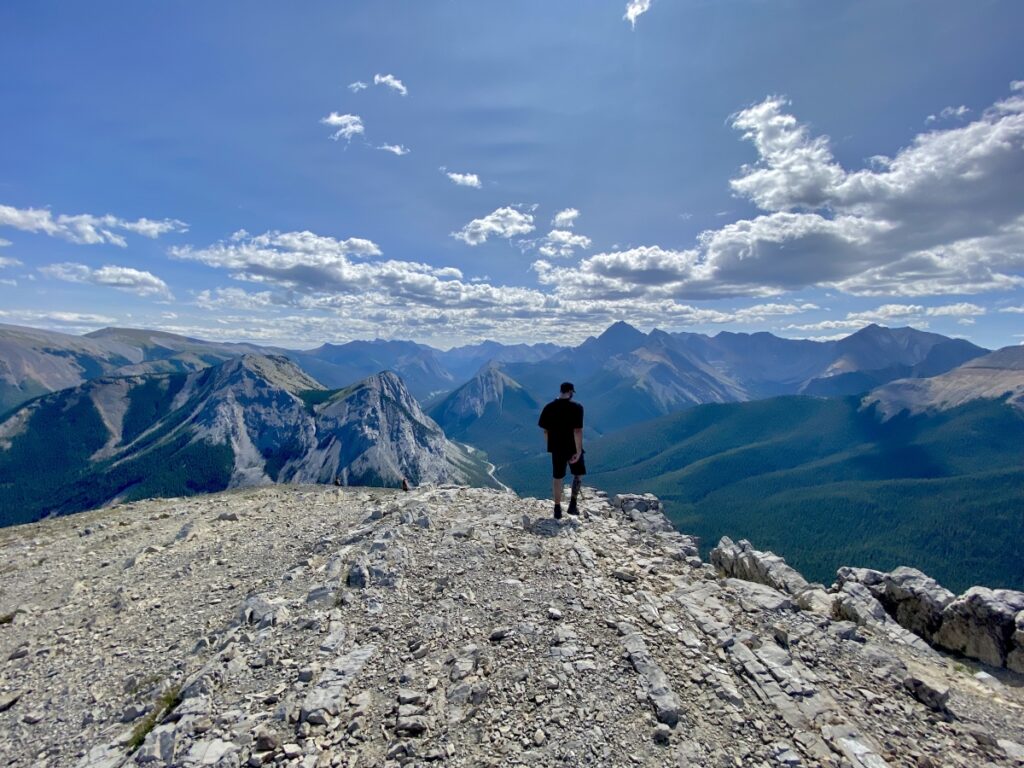
The Sulphur Skyline trail is in the trees the majority of the way up, so you really don’t have any view until you exit the tree line. After this point, however, you are blessed with 360 degree mountain views. You will also need to complete the hardest section of the hike here. Take a quick break before continuing on – you’ll need it!
The Final Ascent
The final portion of the Sulphur Skyline trail is steep. It’s short-lived though (about 400m) so just tough it out and know it’s sooo worth it in the end! Trekking poles really helped me gain traction and keep my balance in this section.
Since the Sulphur Skyline Trail is one of the most popular trails in Jasper, it’ll definitely be busy. I hiked Sulphur Skyline on a gorgeous, sunny, wind-less day and I was surrounded by people. The summit is large and there’s lots of space to move around, but if you’re looking for some solo time on the summit – leave early. Better yet, go for sunrise.
Tips for Hiking Sulphur Skyline
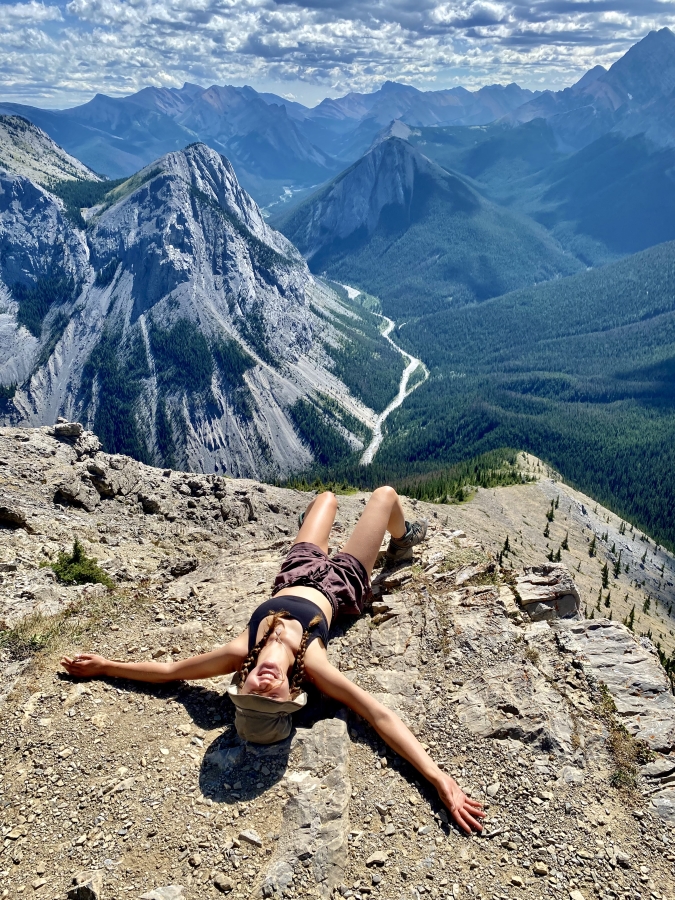
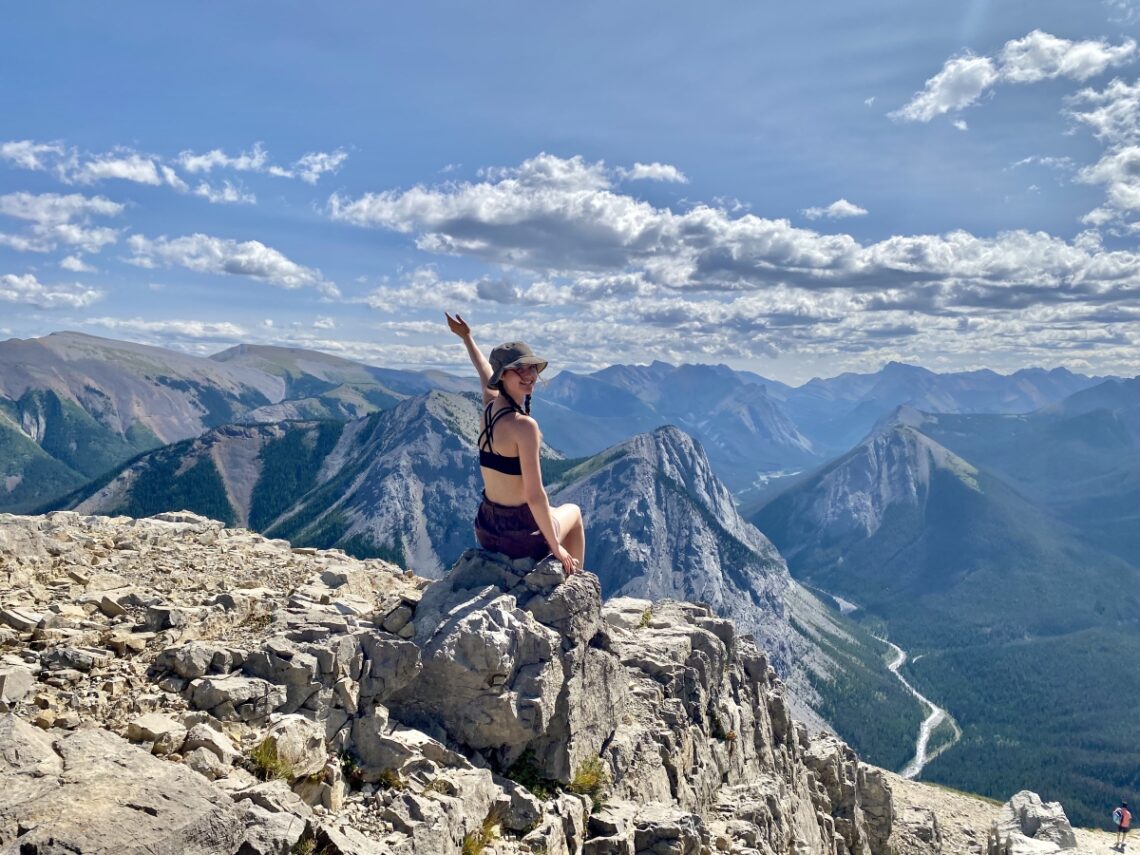
The views from the Sulphur Skyline summit were something right out of a postcard. I literally could not leave. I spent 2 hours having lunch, taking photos, and staring out at the distant mountains.
When you hike the Sulphur Skyline trail, budget at least 1 hour at the summit in addition to your estimated hiking time.
Pack a lunch, bring your camera, and prepare to relax in front of the most incredible view.
You will be looking directly some of Jasper’s most beautiful mountains as well as lush, green valleys.
If you’re looking for the best photo-op, hike down slightly from the summit and keep right. There’s a little ledge here with a semi-large rock you can sit on for the ultimate photo on the Sulphur Skyline summit.
We hiked the trail in about 1 hour 45 minutes, but made it our mission to set a good pace. I would reccomend setting aside half a day+ for this adventure.
Discover More Adventures in Jasper
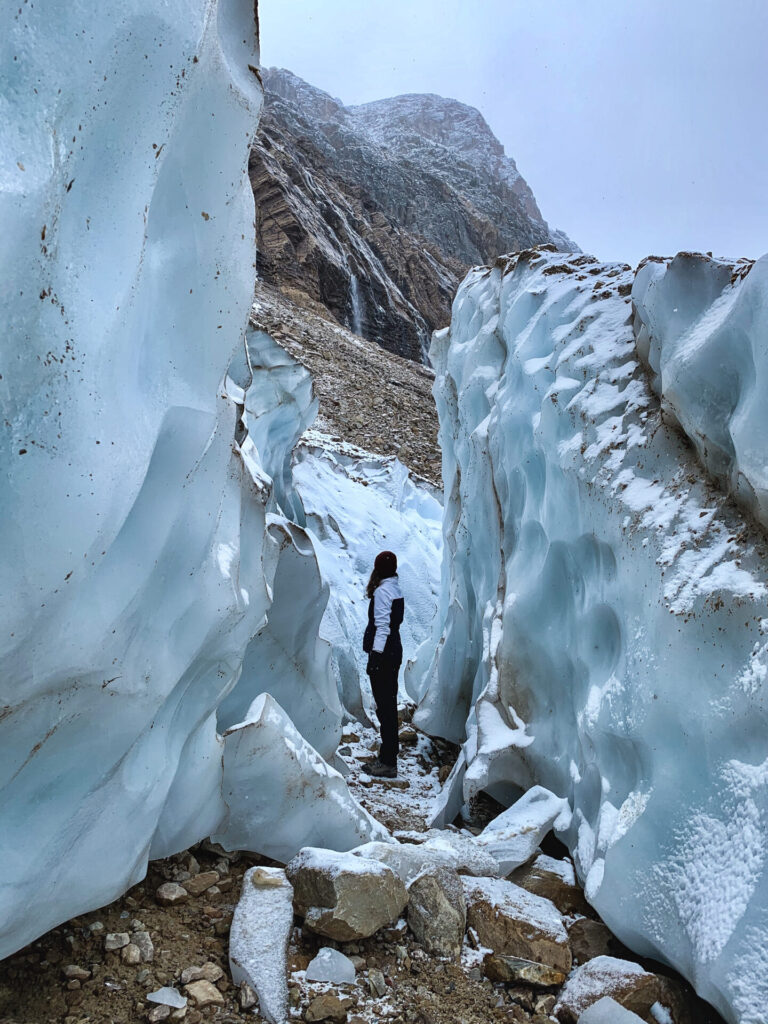
Jasper is one of the famed Canadian National Parks and for good reason. Jasper is home to striking mountains, vibrant alpine lakes, glaciers, and abundant wildlife.
You can find all my Jasper hiking and travel resources here, but the following are some highlight content you don’t want to miss:
- How to plan the perfect trip to Jasper
- Multi-day canoe trip on Maligne Lake
- Maligne canyon: Summer & winter ice walk
- Complete guide to the Icefields Parkway
- Beautiful alpine lakes in Jasper
- Best things to do in jasper
- Hiking trails in Jasper
Explore More Rocky Mountain Destinations
Jasper is just one of the 4 Rocky Mountain National Parks in Canada. If you’re visiting the Canadian Rockies you’ll want to also check out Banff National Park, Yoho National Park, Kananaskis Country, and Kootenay National Park.
And don’t forget the Rockies Southern neighbours: Waterton Lakes National Park and Writing on Stone Provincial Park.
Where To Stay In Jasper
The “best” place to stay in Jasper depends on your price range and the type of experience you’re after. Here are tips for finding accommodations for every budget:
Booking.com- Cheapest places to stay in Jasper – camp at Wapiti or Whistler’s campground. Alternatively stay at one of Jasper’s hostels; HI Hostel or the downtown hostel which you can book via Hostelworld. I’ve stayed at the downtown Jasper hostel and I can confirm – it’s quite nice for a hostel.
- Mid-range accommodations in Jasper – a great option for finding hotel accommodations is Booking.com. Booking.com is a third party booking website which displays all the best deals on lodging in a specific area. Booking.com has a price match guarantee, a free cancelation on almost all bookings, and clear pricing with no hidden fees.
- Luxury accommodations in Jasper – For those wanting an up-scale travel experience, look no further than the Fairmont Jasper Park Lodge. The Fairmont In Jasper is made up of cabins scattered around Beauvert Lake. They are absolutely adorable! Use this link and filter the “Participating Fairmont Hotels” to “Canada.” Sometimes you can find discounts here.
Tips For A Successful Trip
- Hike Sulphur Skyline for sunrise (or sunset)
- Leave early to avoid the crowds
- Plan to hike on a sunny, warm day to enjoy time at the summit
- Plan to pack out your garbage – there’s no garbage pails at the parking lot (I always pack my food in Stasher bags and then use them to transport garbage out as well)
- There’s a bathroom and picnic area next to the parking lot
Happy adventuring!
Taylor ♡
Like This Post?
Share with friends or save it for later!

About the Author
HI, I’m Taylor – the voice behind The Holistic Backpacker.
After moving to Banff National Park in 2020 I became an outdoor adventure enthusiast and vowed to never stop exploring.
I now spend my days travelling the world, climbing mountains, and spending nights under the stars in the Canadian Rockies backcountry.
I created The Holistic Backpacker so I could share my adventures and help connect people like you with the same amazing experiences.