A Guide for Hiking the Highland Backpacking Trail in Algonquin
The Highland backpacking trail in Algonquin was my first backpacking trip in Ontario and my first solo backpacking trip ever. I must say, it did not disappoint!
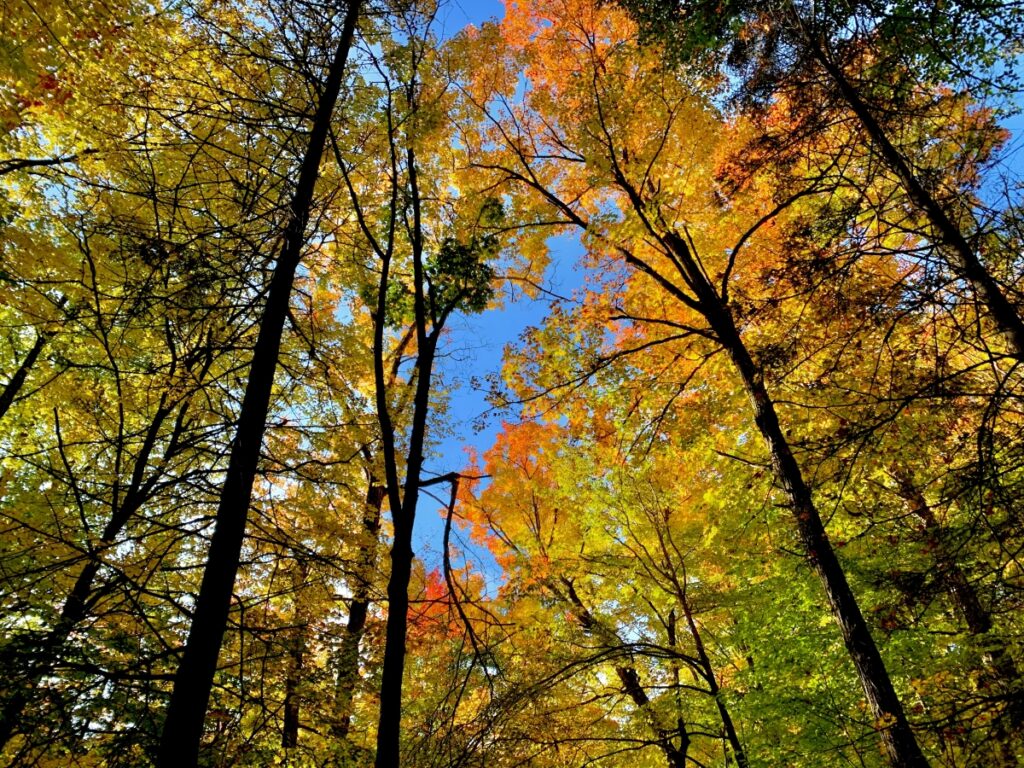
The hike features gorgeous lake-side campsites, waterfalls, and colourful foliage if you go in the fall – which I highly recommend. The trail is challenging, but the reward is well worth it.
Here I’ll be writing about my experience on the trail, gear I recommend specifically for this trip, and lots of useful information about the trail itself. Refer back to this guide next time you’re planning an Algonquin adventure.
Now, let’s get hiking!
Skip Ahead:
- How to get to The Highland backpacking trail
- About The Highland backpacking trail
- Hiking The Highland Trail
- How to book campsites for The Highland backpacking trail
- Recommended itinerary for The Highland backpacking trail
- What to pack for the Highland backpacking trail
- Where to stay in Algonquin
- Best time of year to hike The Highland backpacking trail
- Tips for a success trip
Getting To The Highland Backpacking Trail
Algonquin has one main highway (highway 60) which will take you through the most developed area of the park.
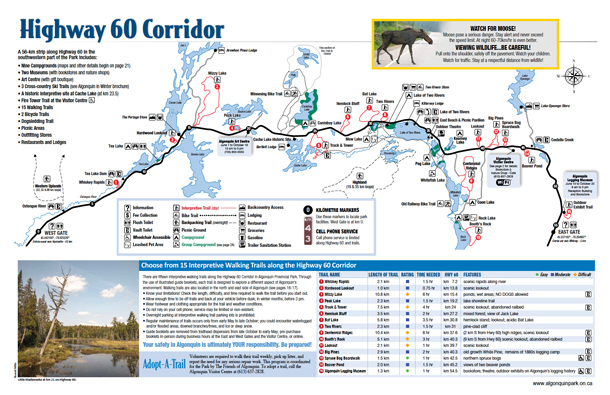
I drove this highway early October. The colours were poppin’ and the fog slowly rolled in making this the most picture perfect, moody fall day.
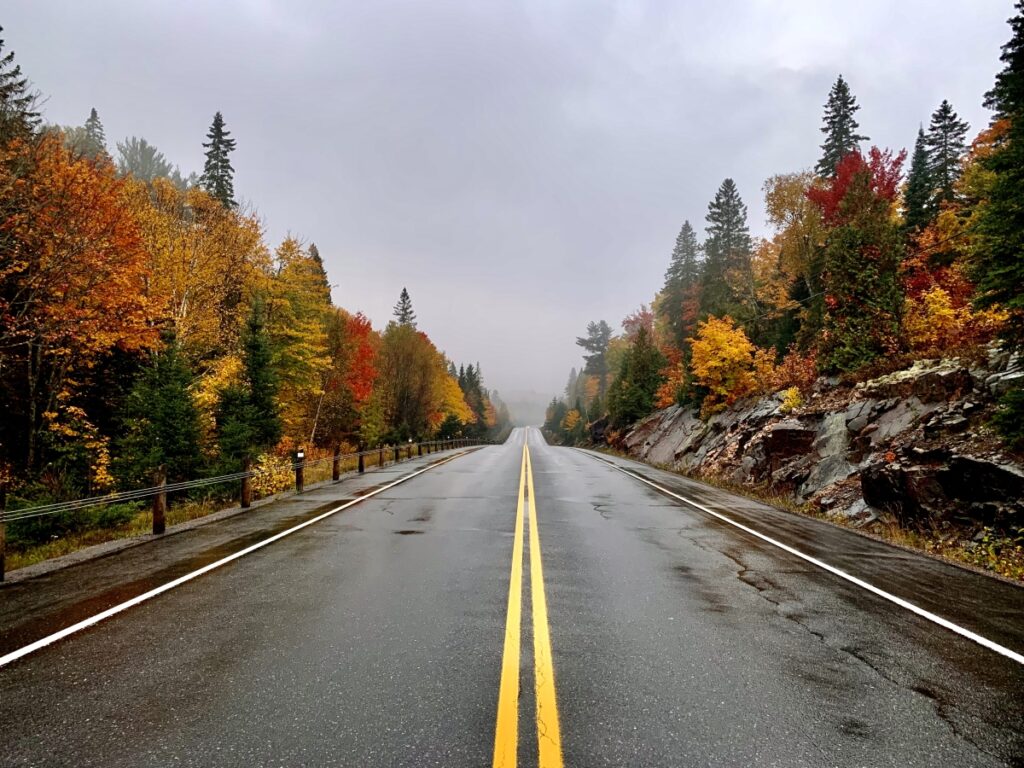
The Highland backpacking trailhead is located 1km West of Mew Lake Campground on Highway 60. If you’re looking for places to stay in Algonquin before or after your hike, Mew Lake Campground might be a good option. There is an alternative trailhead that actually starts from the campground itself.
If you’re not staying at the campground, there is a parking lot off the main highway for the Highland trail. There is a sign for where to turn off, so it’s hard to miss.
About The Highland Backpacking Trail
- Distance: 35.9km (loop 2), 18.5km (loop 1)
- Elevation gain: 1523m (loop 2), 806m (loop 1)
- Estimated time: 2-3 days (loop 2), 1-2 days (loop 1)
- Trail type: loop
- Rated: moderate
Like any Park in Canada, you must have a valid park permit for each day you’re visiting the park. You can purchase these at the Algonquin Visitor Centre upon arriving to the park. You must also book your campsites online before taking off for your backcountry adventure.
The Algonquin Highland backpacking trail challenging. You’ll continually lose and gain elevation – ups and downs throughout the entirety of the trail. There is a fair amount of exposed roots and rocks, you will cross streams and rocky creeks, and you will balance along fallen trees and thin boardwalks. There are also a few steep sections, but don’t worry! They’re short-lived and totally manageable.
If anything seems intimidating my advice would be to stop, take a breather, survey the surrounding terrain, and determine the best route of action. Remember that it’s not necessarily your body struggling, it’s your mind.
Connect via socials:
Sign up for emails to receive a 25% discount on my travel maps.
Taylor ♡
“It is not an easy trail and should be attempted only if you are in good physical condition” – an excerpt from Ontario Parks at the trailhead. This trail is totally doable, however I only recommend attempting either of the loops if you have previous backcountry experience and are in good physical condition.
I just completed two full seasons of hiking and backcountry camping in Banff and even I found this trail to be moderately challenging.
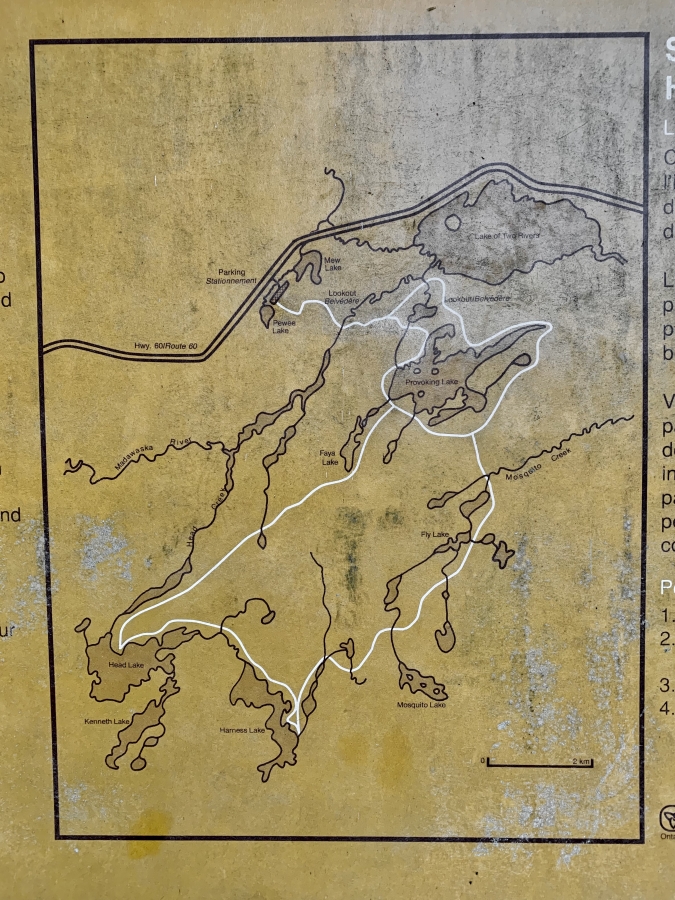
The Highland backpacking trail is comprised of two loops:
- Loop 1 – strictly a loop that takes you around Provoking Lake. This can be done as a (very) long day-hike, or you can take advantage of the campsites along the way for a shorter backpacking trip. Campsites 9-11 were so beautiful! You can find them by heading west at the fork and taking the first side trail (marked with a sign). I would definitely recommend taking advantage of these before going to or after coming back from Head & Harness lake.
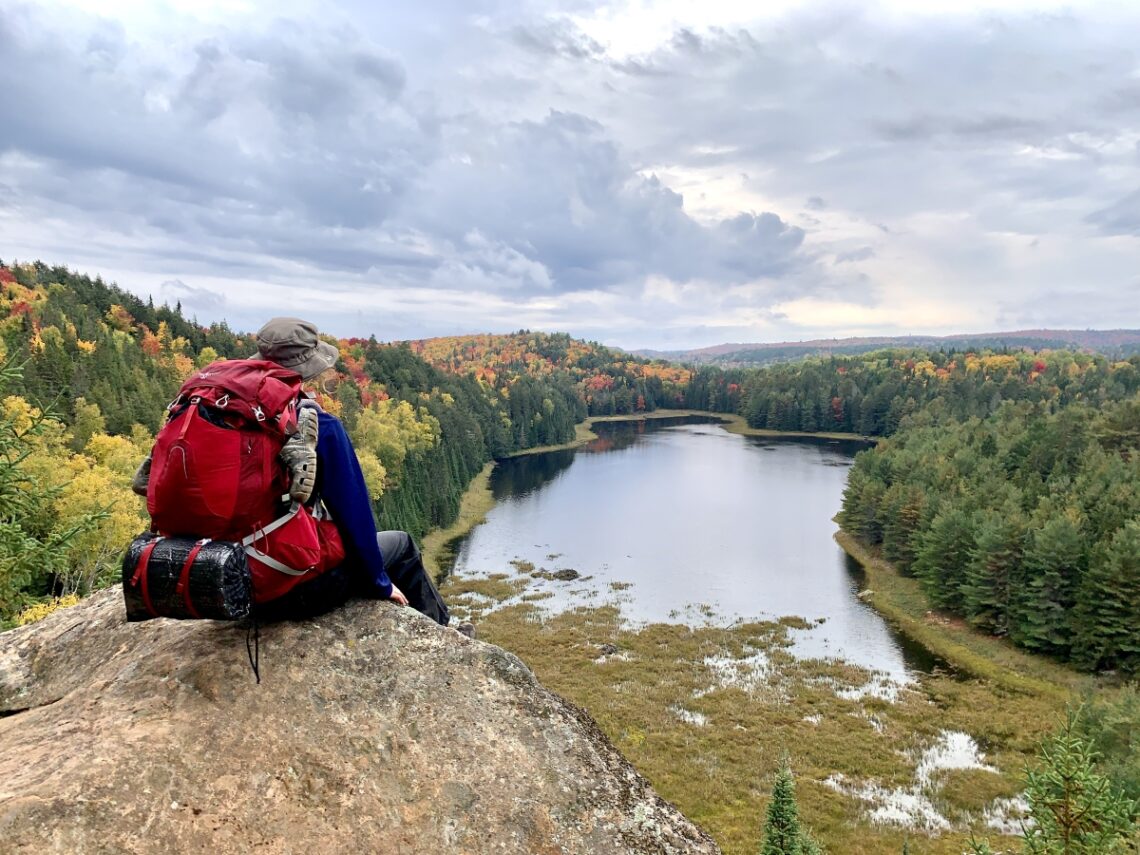
- Loop 2 (pictured above) – is the long loop that takes you the full 35km and passes by both Harness and Head lake. This can be completed in 2 days, however I found the 2 days to be a bit challenging, so I would recommend taking 3 days to enjoy the campsites and scenery a bit more.
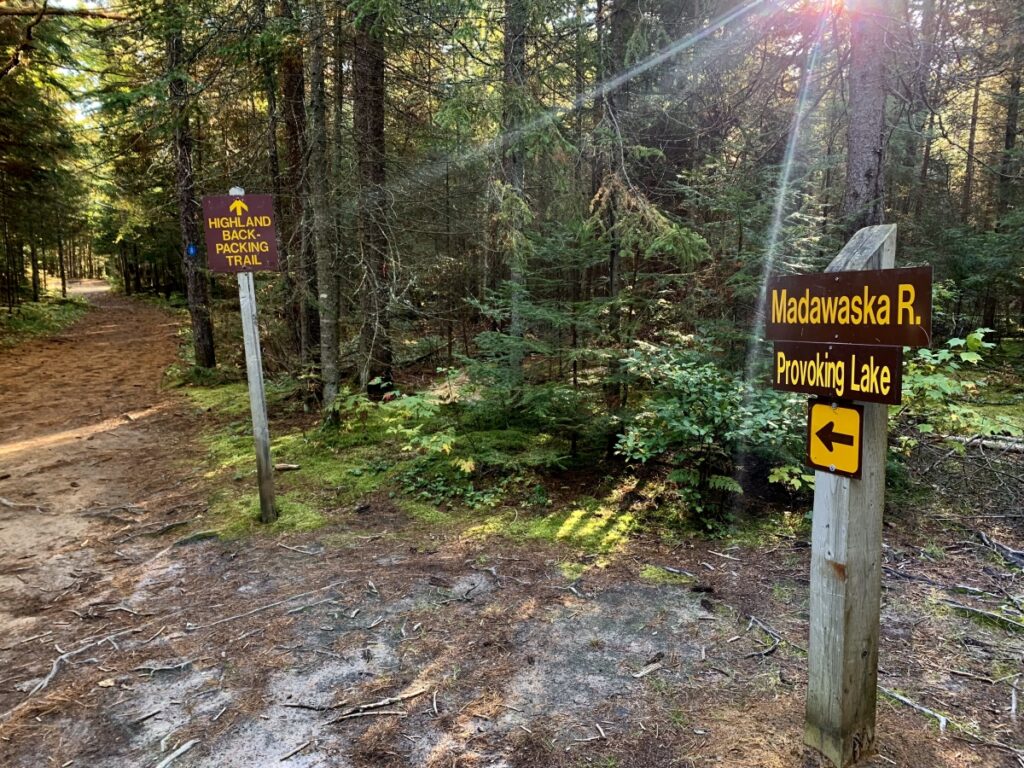
The Highland backpacking trail is very well marked and moderately trafficked. You’ll find signs and information boards (metal boxes with a map inside) at all the forks in the trail, blue markers around loop 1, and yellow markers around loop 2. Even though it’s well marked, it’s always a good idea to bring a map. I always download my map on Alltrails before hitting the trail. To download the trail, save the hike to a list and click “navigate using this route” to see your location without cell service.
If you’re hiking in the fall it’s important to note that even though the trail is well marked and well defined, if the leaves have fallen it becomes much more difficult to follow the path.
You will see signs marked “side trail” along the. These lead to other campsites on various lakes in the area (Provoking and Faya Lake, for example). If you want to check out the other lakes, feel free to take the side trails.
I solo-hiked this trail and surprisingly saw more solo hikers than I did groups of hikers (and a few other solo female backpackers too)! This would be a great trail to try out solo backpacking (especially loop 1) if that’s something you’re interested in.
The trail is VERY muddy and buggy (read more about what time of year to hike this trail). I hiked it in October so I was able to avoid the bugs, however I was not so lucky in the mud department. Prepare to have the muddiest of muddy boots and pants.
Hiking The Highland Backpacking Trail
I completed the Highland trail in 2 days, 1 night. This was challenging and I would have preferred to take 3 days, however I only had the time for 2. See the itinerary I recommend.
Day 1: Trailhead to Harness Lake
On day 1 I hit the trail at 8:40am and made it to my campsite on Harness lake at 3:15pm (17km). It definitely would have been possible to make it to the campsite sooner, however I wanted to take my time on the trail and enjoy the scenery.
As soon as you hit the trail you’ll start gaining elevation and in just over 2km you’ll come across the Track & Tower Trail intersection. You’ll follow the signs for the “Highland Backpacking Trail” and continue to walk straight.
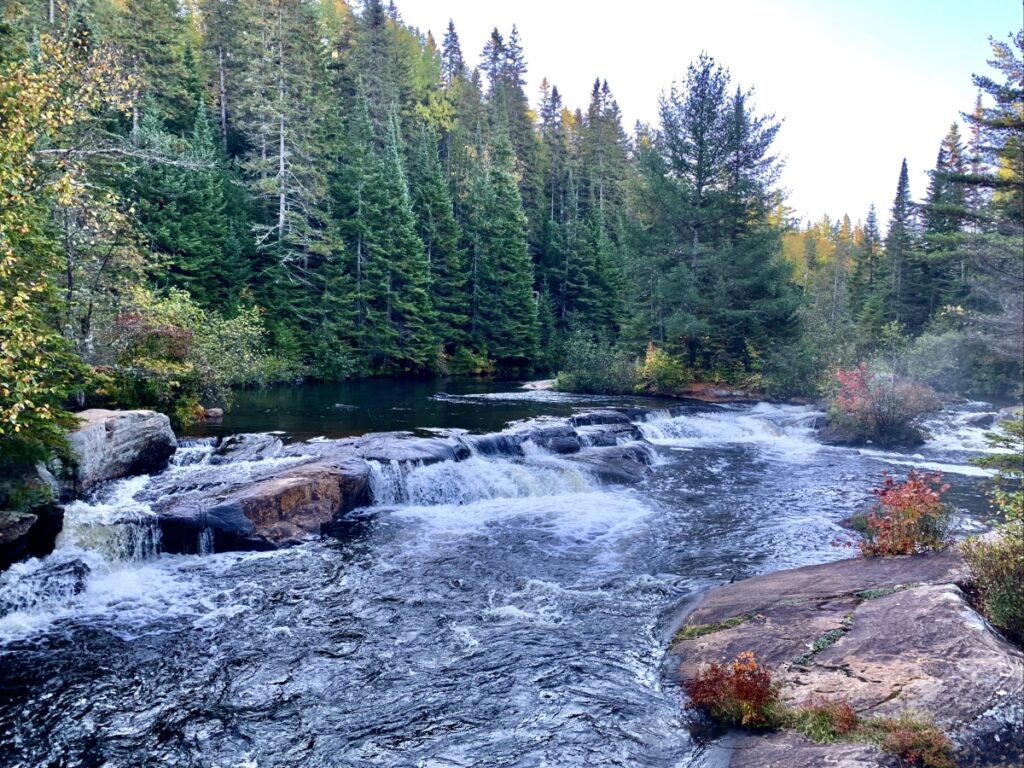
Shortly after you’ll come to the cutest little waterfall on the Madawaska River. You’ll cross a bridge and find a bench where you can sit and enjoy.
This is a great place to take a quick break if you need one because shortly after you’ll come to the Old Railway Bike Trail Intersection that will bring you up a quick, but steep incline.
When you get here, continue walking straight toward the sign for the Highland Trail (up the rock). Do not follow the wide, flat trail. This is a bike path.
There is another small waterfall after this which is situated right next to Sterling Lake.
At the next fork, you’ll have to decide if you want to hike in the direction of west or east. I went counter-clockwise (west) as I heard that was the most popular way, but it doesn’t matter which way you go. You are losing and gaining elevation throughout your hike, so you will not benefit from hiking one way more than the other.
If you’re headed to Harness or Head Lake for camping, taking the east route will knock off the most distance; 18.5km to Harness Lake compared to 17km from the west route. However there is also more to see and explore taking the west route, which will tack on extra time to your hike.
Whichever way you decide to hike will be totally fine, but for the purpose of this trail guide I will be explaining things from the perspective of the west route.
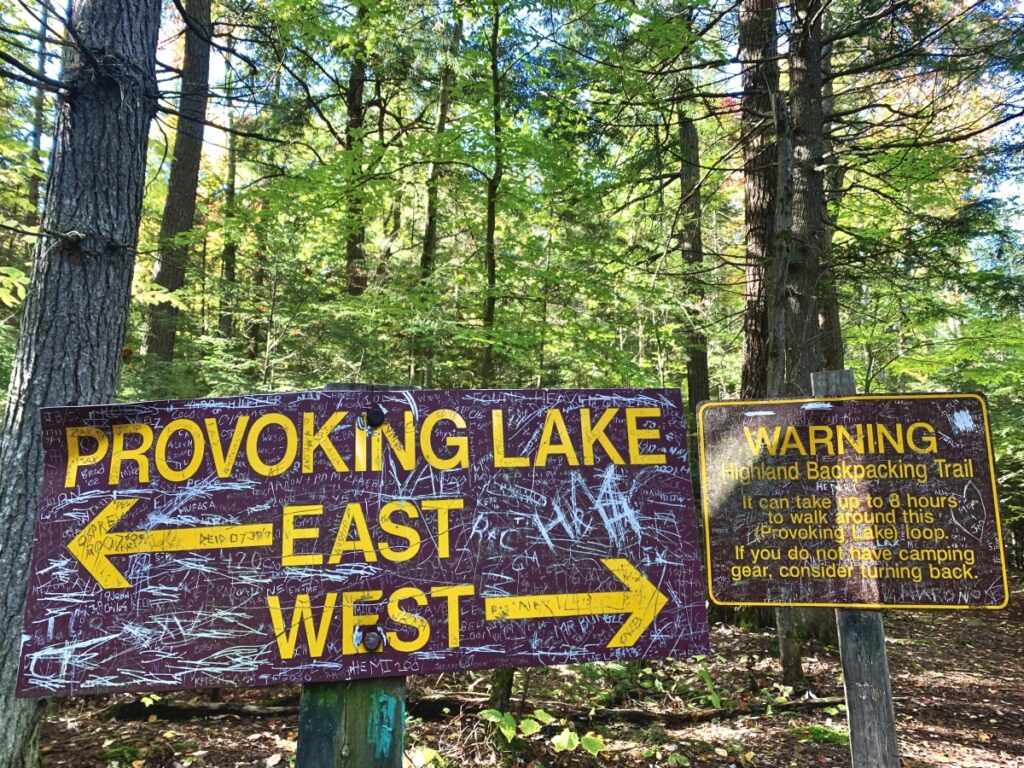
The final fork you’ll come to on day one is where the Loop 1 and Loop 2 trails split. Follow the signs for Loop 2, these will take you to Head and Harness Lake.
Along the way you’ll see a side trail for Faya Lake. The trail is steep, so if you want to check out this lake you’ll have to put in some work.
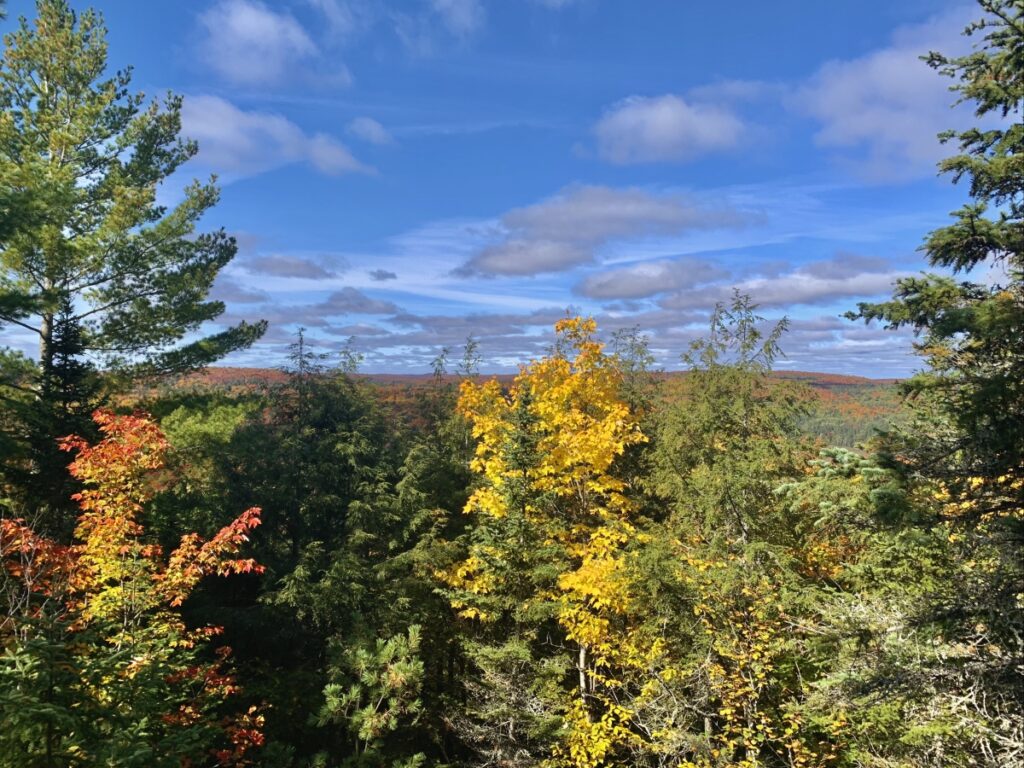
One of the first points of interest is the lookout point, I stopped here and had some lunch. Leading up to this the trail becomes much more narrow and slightly difficult to follow. At the top of the steep section you’ll find a fork in the trail, go right for the lookout, then left for Head Lake. You’ll also be climbing the biggest section of elevation here. The lookout point is cool, but unless you’re tall you won’t be able to see much over the trees!
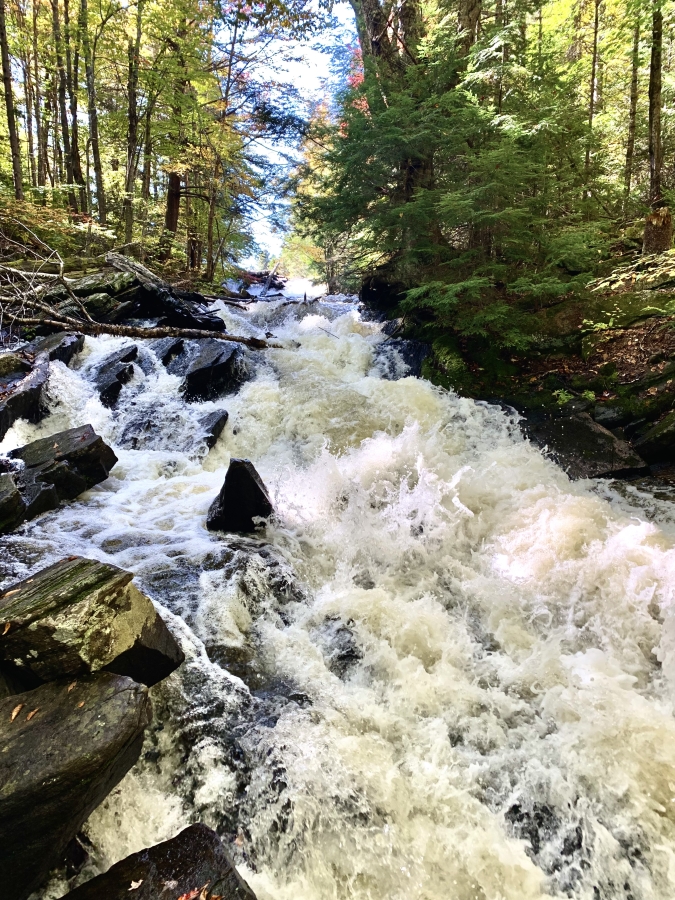
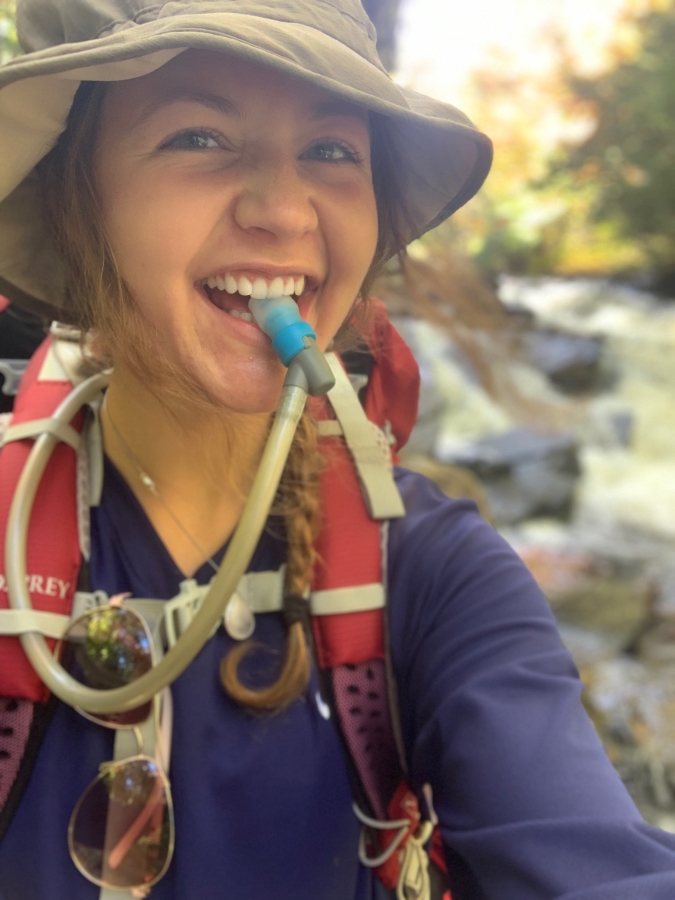
On the way to Head Lake you’ll pass Head Creek which has a rippin’ waterfall. This was one of my favourite spots along the trail. I took my pack off, filled up my 2L Hydrapak with Algonquin’s freshest water, and enjoyed the sounds of the rushing creek before moving on.
**Make sure you are filtering your water! I use cheese cloth and aqua tabs
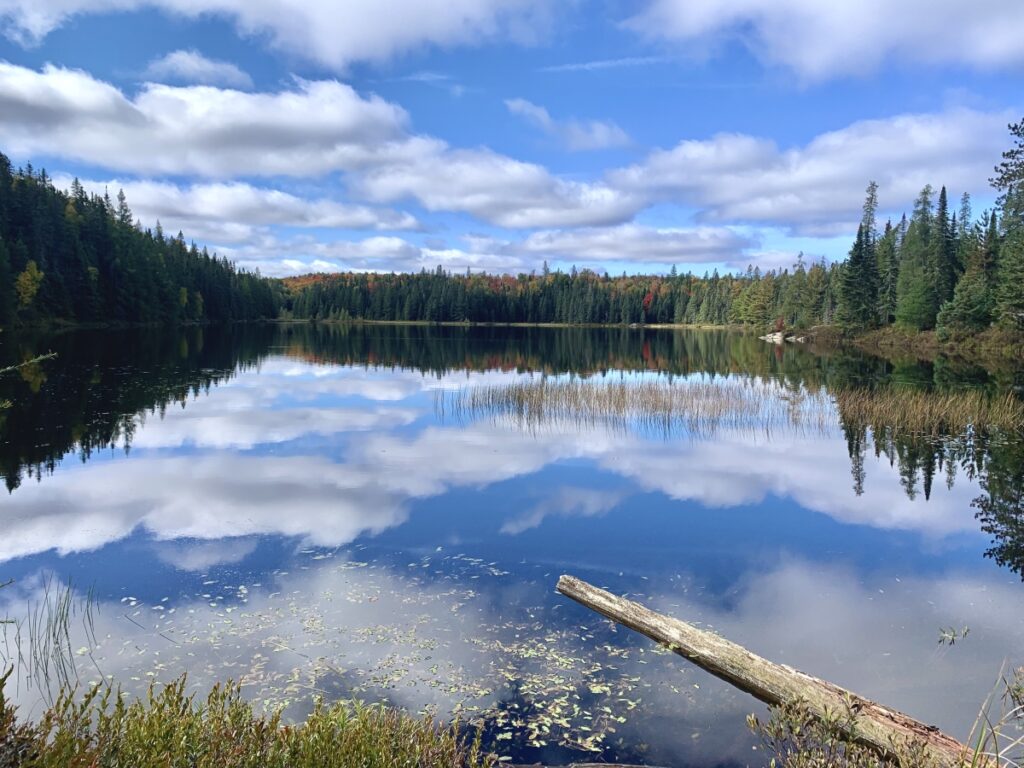
Shortly after this you’ll come to Head Lake. Regardless of what lake you’re camping on it is up to you to find an available campsite.
Many people portage-ing take breaks at these sites. So, if you see a site you like it doesn’t hurt to ask wether they’re staying or leaving.
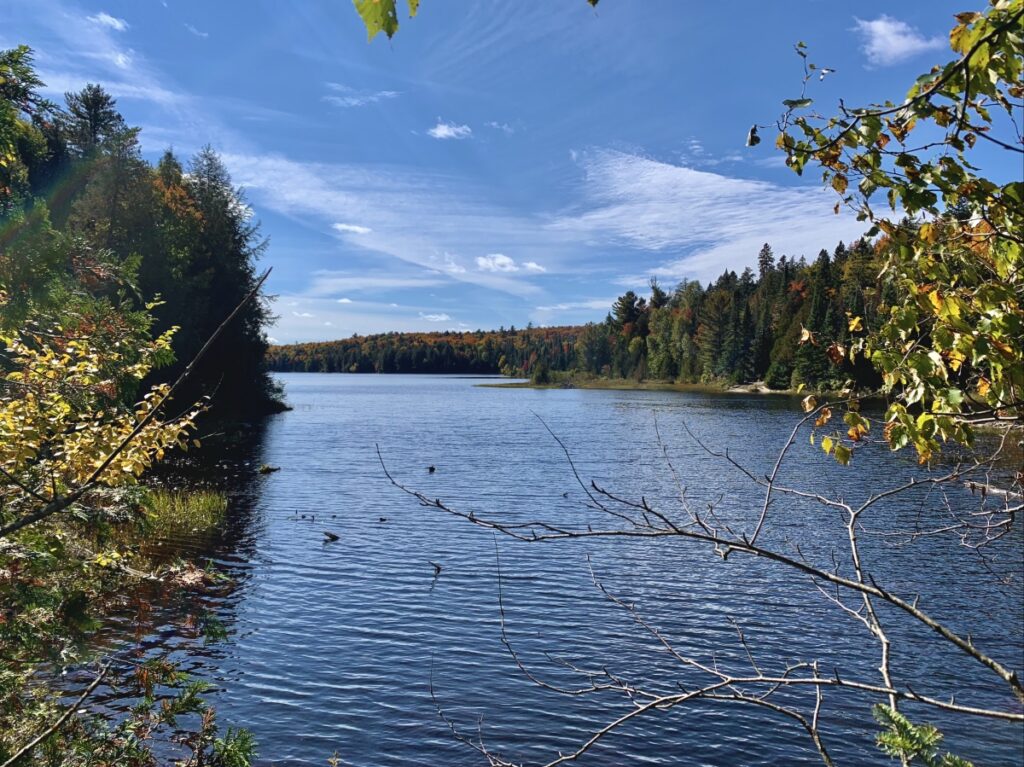
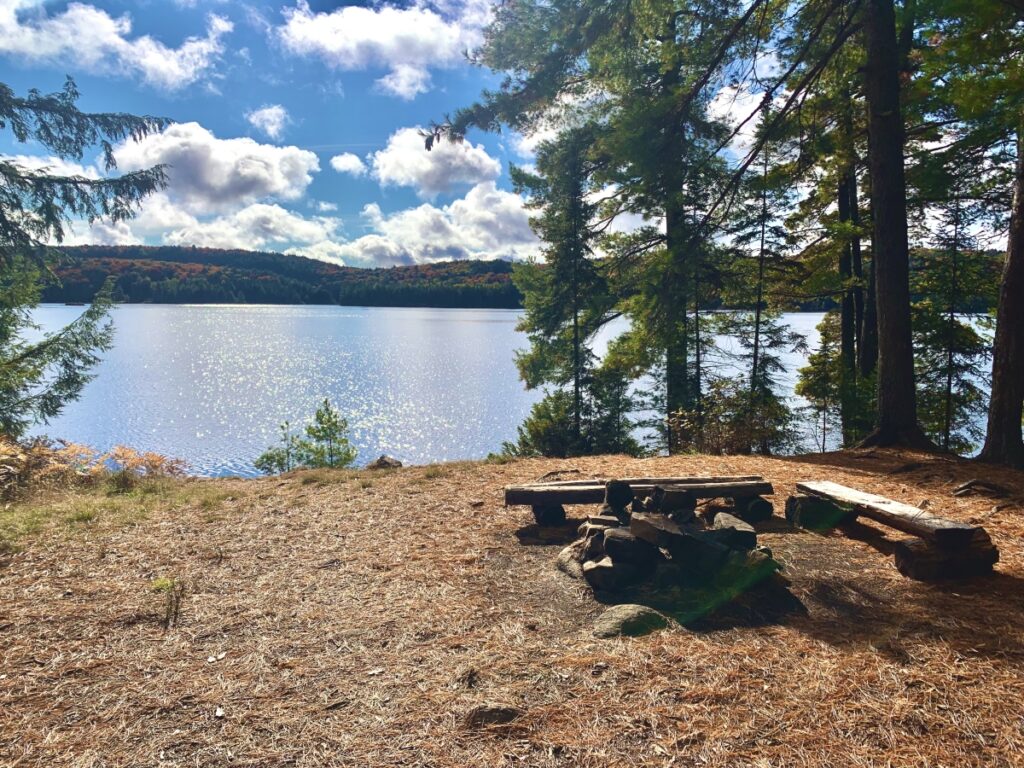
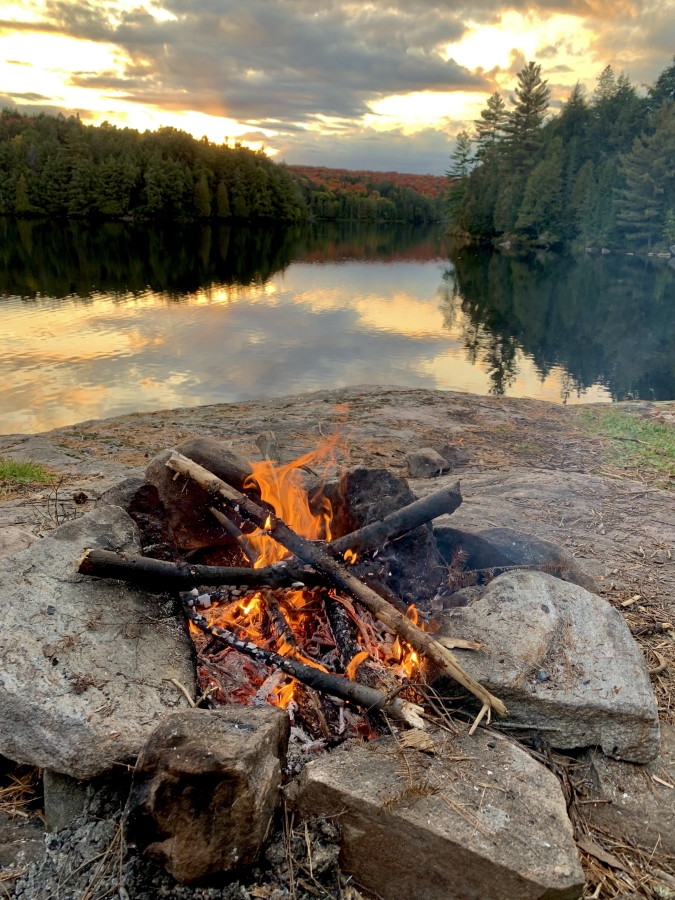
I set up shop on site 2 at Harness Lake. This site had a great rocky shore complete with a bench, fire pit, and clothes line someone had left behind.
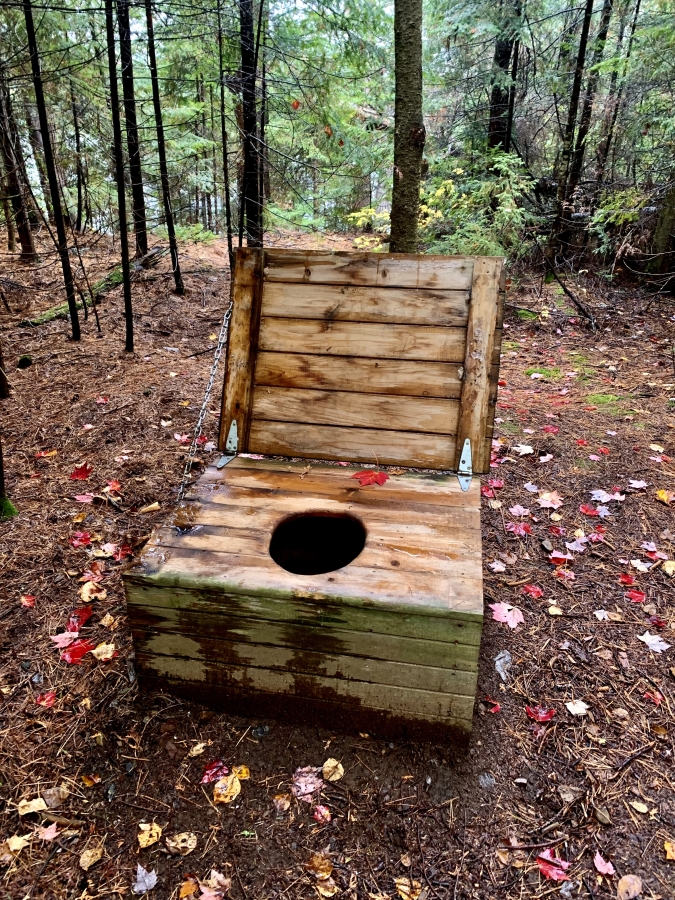
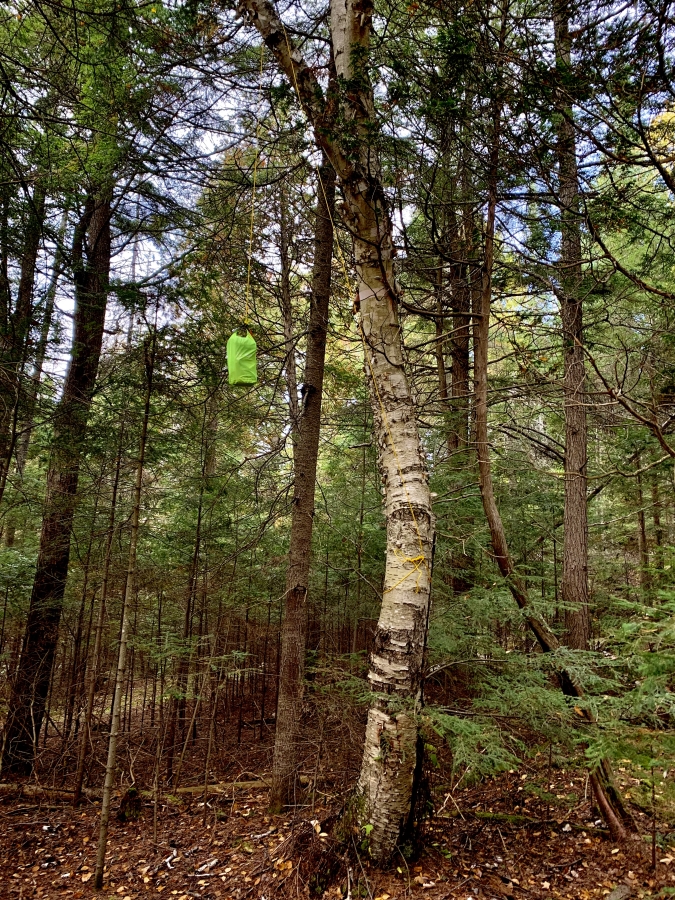
There was an open tent pad sheltered from the wind with another fire pit further back in the trees, the classic wood box backcountry throne (BYOTP – bring your own toilet paper), and a tree right next to the toilet that was great for hanging my bear bag.
You’ll want to put all food-related items, as well as anything scented inside your bear bag. A bear bag is essentially a dry-bag hoisted up in a tree with a rope. I use a 25ft clothes line – it’s super lightweight and durable. To learn more about hanging bear bags, check out this article by Mom Goes Camping.
Algonquin and the surrounding area is known for bears so make sure you’re being bear aware. Bear spray doesn’t seem to be a popular thing in Ontario, however when I was in Banff everyone hiked with bear spray. If you’re solo-hiking, carrying a canister wouldn’t be a bad idea.
Day 2: Harness Lake Back To The Trailhead
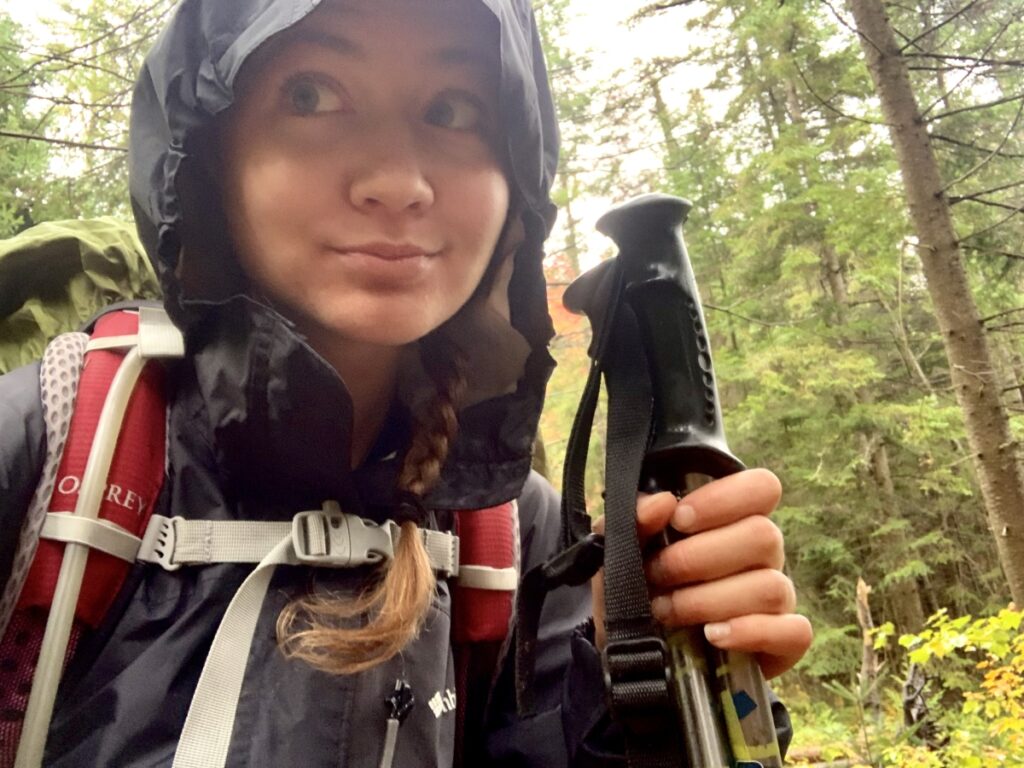
Day two was nice and rainy. I packed up my gear, put on my waterproof pants and jacket, and hit the trail.
This was my long day – 18.5km back to the trailhead. I hit the trail just before 10:30am after a nice sleep-in and made it back to the parking lot around 4:40pm.
The trail was extra wet and muddy after having rained which meant it was extra slippery.
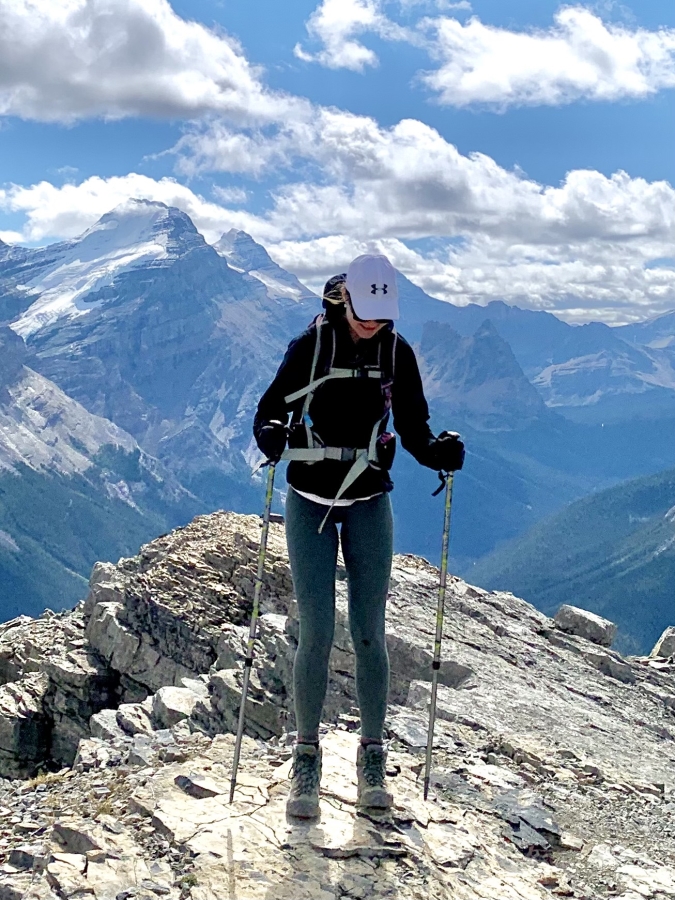
If you’re clumsy like me, I would 100% recommend using trekking poles on this trail. They really help with balance, which is essential for wet, slippery hiking terrain.
One really great thing about the rain is that it knocked a bunch of leaves off the trees and made the fall colours even more vibrant. This made for a very beautiful trek back to the car.
Not two hours after setting off for the day I came to Fly Lake and Mosquito Creek. You’ll be crossing the creek here, so prepare for your shoes to get wet if you misstep.
About 2.5-3hrs into your hike you’ll come to another fork which takes you back to Loop 1 around Provoking Lake. Take a right here and within an hour you should be at the campsites around Provoking Lake’s East side.
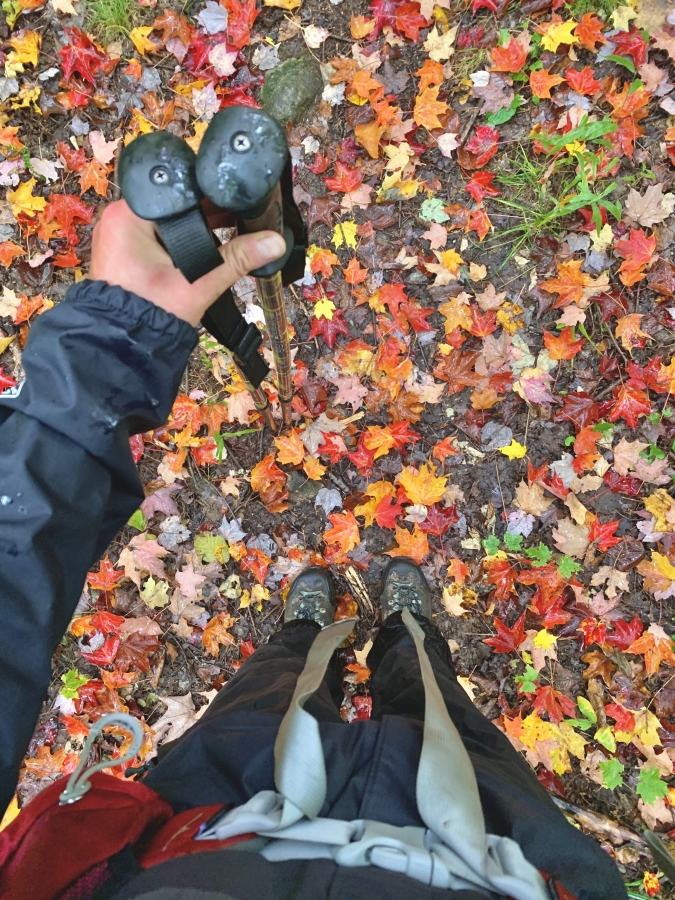
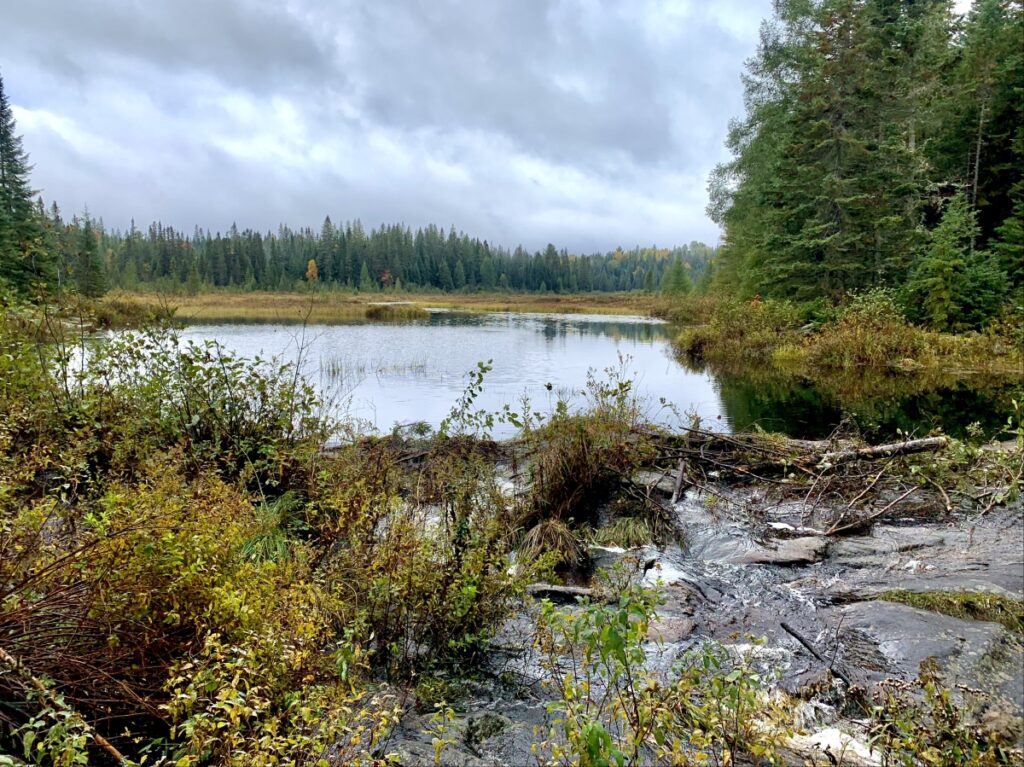
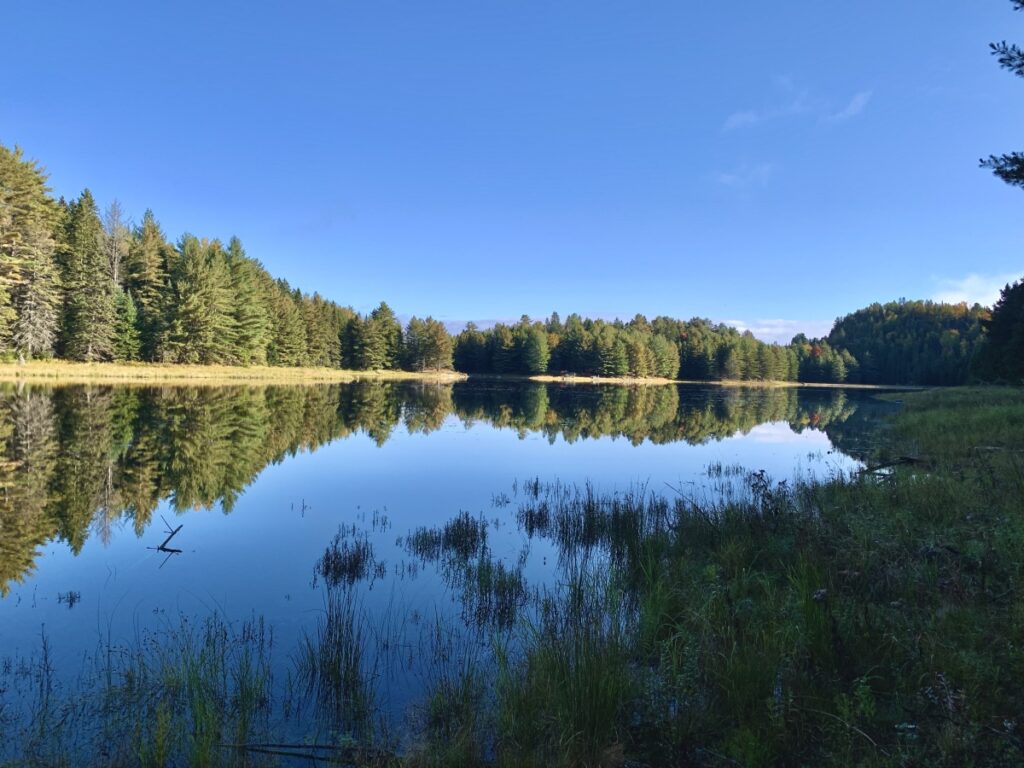
I took a break at Provoking Lake to eat some oatmeal I made at breakfast before leaving the site.
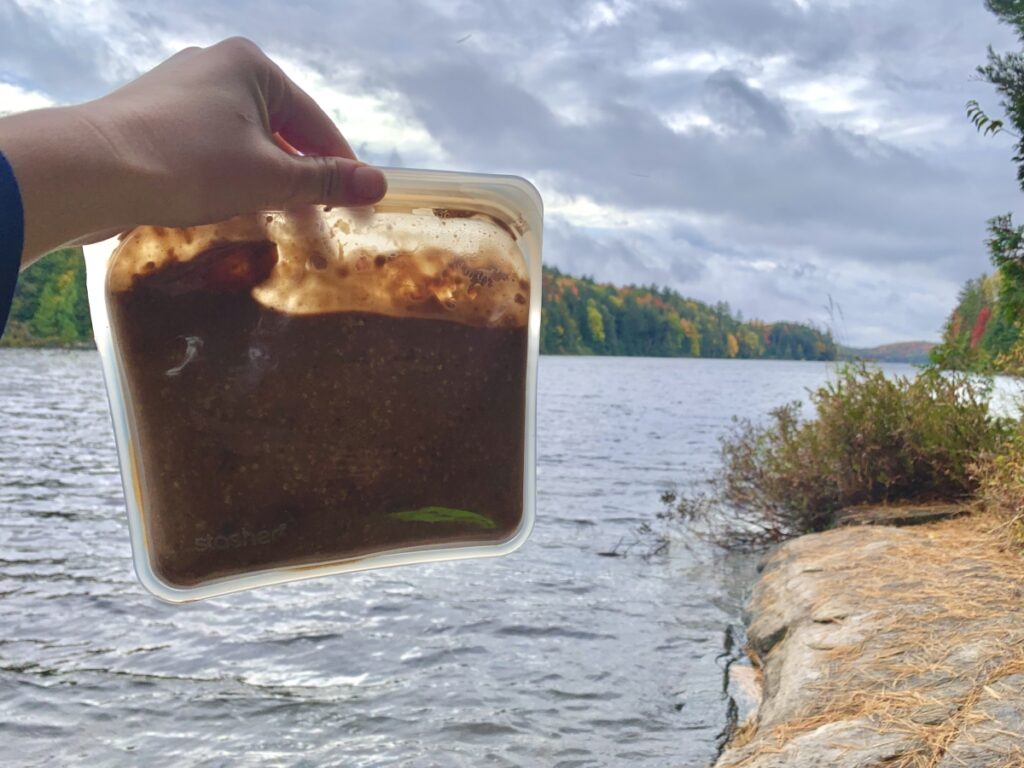
For anyone that knows me, they know how much I love oatmeal in a bag. If you haven’t heard of Stasher Bags, you’re about to learn backcountry cooking’s best kept secret.
These bad boys are re-usable silicone bags. Add boiling water to dry foods you pre-package in here and it cooks just by sealing the bag. Not only are Stasher Bags totally eco-friendly and sustainable, but they also make backcountry cooking effortless and clean-up free.
After Provoking Lake you will come to the most scenic section of the hike – Sterling Lake lookout. You’ll see a fork in the path, going right will take you to the lookout. The climb is steep, but short. At the top you’ll be overlooking Sterling Lake as well as the West end of the Lake of Two Rivers.
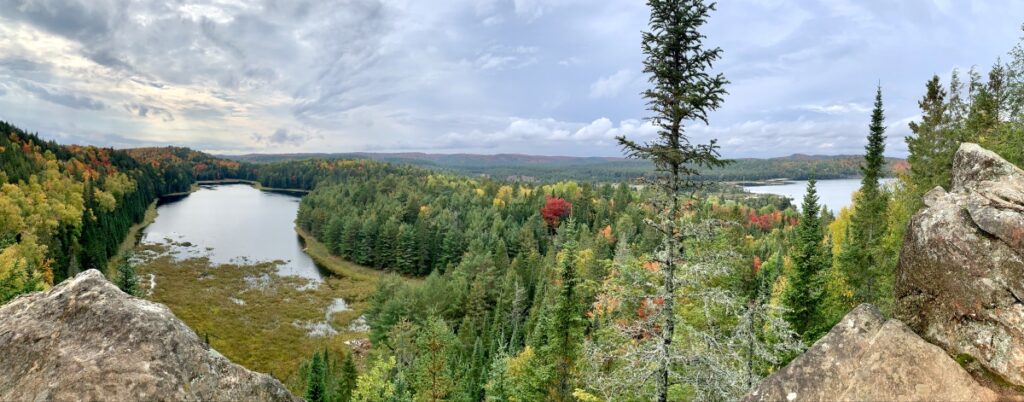
Head back to the main trail, continue walking what would have been straight before the Sterling detour and you’ll be back in the parking lot within 1.5hrs.
Happy hiking!
How To Book Campsites For The Highland Backpacking Trail
All visitors of Algonquin Park must have a vehicle permit for each day they’ll be in the park. This is different from a camping or backcountry permit and can be purchased at the Algonquin Visitor Centre.
To book your campsites, you must reserve ahead of time online. Switch to the “backcountry” tab, select hiking, then select Algonquin as your park and Mew Lake as your access point. You can then enter your dates and party size. Pro-tip – switch to “calendar view” for an easier time finding available sites.
Rather than booking an actual site, you’ll be booking a lake. It is then up to you to find available sites when you arrive at the lake.
I you’re completing Loop 1, book a site at Provoking Lake (West or East), and if you’re completing Loop 2 you can book sites at either or both Harness and Head Lake as well as Provoking Lake.
UPDATE: as of 2022 Ontario Parks will require you to book specific campsites
Recommended Itinerary For The Highland Backpacking Trail
I would recommend taking 3 days and 2 nights to complete this trail. As you’ve previously read, there are 3 lakes you can camp at along the way.
- Provoking Lake – takes about 1.5hrs to get to the campsites on the west side and a similar amount of time for the east side (4.6km from the trailhead)
- Head Lake – takes about 5hrs to get to the campsites (13km from the trailhead, hiking west)
- Harness Lake – takes about 6.5hrs to get to the campsites (17km from the trailhead, hiking west)
If you decide to hike the trail heading east first your distance and hiking times will change slightly. I think a great approach to this hike would be to choose one of the following itineraries:
- Itinerary 1 – Provoking Lake (east), Harness or Head Lake, Provoking Lake (west)
- Itinerary 2 – Head Lake, Harness Lake, Provoking Lake (east)
What To Pack
I’ve created a detailed backcountry gear guide, refer to this for the basics; hiking clothes, camping equipment, backcountry cooking tools, and more.

Specific to this trail I recommend taking the following items with you:
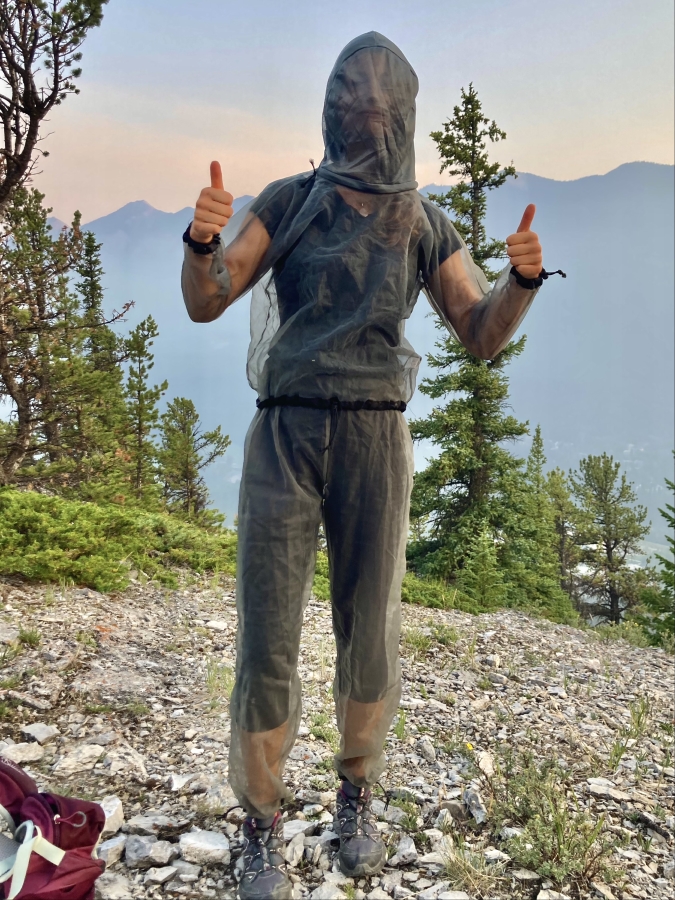
- Bug Suit – if you’re hiking during bug season, don’t even bother with bug spray. You’re going to need a bug suit to completely block out the bugs.
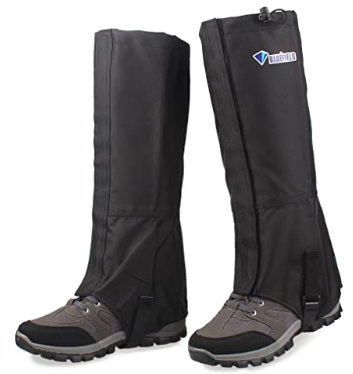
- Gaiters – in addition to Gore-tex hikers, if you know it’s going to be really wet/muddy on the trail gaiters might be a good move. I didn’t have these when I hiked the trail, but in hindsight I think they’d be useful. Good quality gaiters can get pretty pricey, but if you’re just using them occasionally, a low end pair should work fine.
- Trekking Poles – Trekking poles are a life-saver on this trail. I am pro-trekking poles and I always recommend them, but for the Highland trail they’re a must. They’ll help you navigate the steep sections and they’ll also help you maintain your balance as you’re stepping on rocks and fallen logs in the muddy sections
Where To Stay In Algonquin
If you don’t live near Algonquin, you’ll need to find a place to stay the night before and the night after your hike. You can search for accommodations in places nearby like Dwight and Huntsville or you can book a night at one of the few lodges that exist in the park.
Recommended stays in Algonquin: Algonquin Island Luxe Cottage, Bartlett Lodge, and Killarney Lodge.
Recommended stays in Huntsville: Comfort Inn Huntsville (budget), Econolodge Huntsville (mid-range), Best Western Plus Muskoka Inn (high-end), and Hidden Valley Resort (luxury).
Recommended stays in Dwight: Algonquin Lakeside Inn and Muskoka Waterfront Retreat.
The cheapest option would be to camp at one of the twelve developed campgrounds in Algonquin. If you camp at Mew Lake, you can actually access the Highland trail from the campsite.
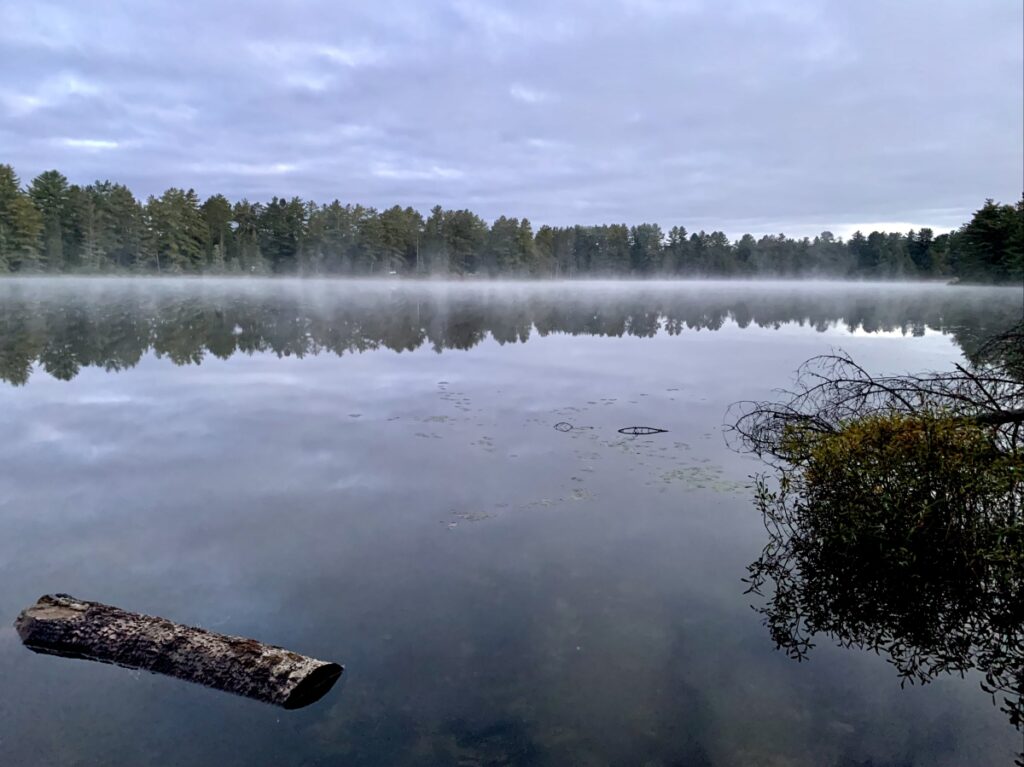
I’m a big time budget camper, so I always look for free camping spots when I travel.
There’s no wild camping in the park, however there’s a “camping” spot on Troutspawn Lake road which is just outside of the park. I showed up here around 9:30pm fully prepared to pitch my tent for the night. My plans changed completely when I walked out of my car though because there was SO much wildlife in the area. I heard way too many weird noises from the woods and ended up staying at Mew lake Campground instead. If you’re camping in your vehicle though, I think this would be a great place for the night.
Best Time Of Year
Choosing the best month for hiking and camping in Ontario can be quite difficult. You must factor in bugs, temperature, rain and mud, among other things.
The following really depends on weather and a few other factors, but they generally will follow a similar timeline. Here is a breakdown of what to expect in the summer months:
- Flies – black flies, deer flies, and horse flies are at large from May to July. These mother f***ers are nasty and will take a chunk right out of you.
- Mosquitos – they start in May and won’t die off until September. The Highland trail is densely forested and you won’t have wind to help detour the mosquitos away. The saying “eat you alive,” is no longer a saying. It’s an actual threat. Make sure you have your bug suit for the Highland Trail.
- Mud – when I hiked the trail in October it was VERY wet and muddy, so in the early season (May-June) expect to be absolutely drenched and full of mud.
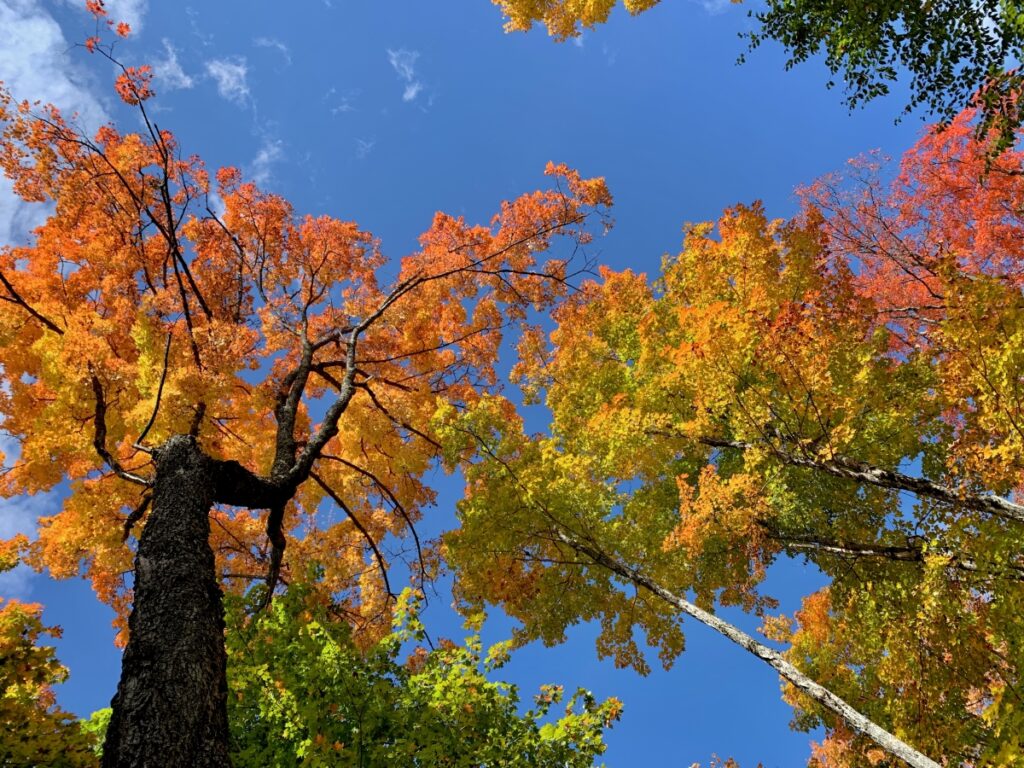
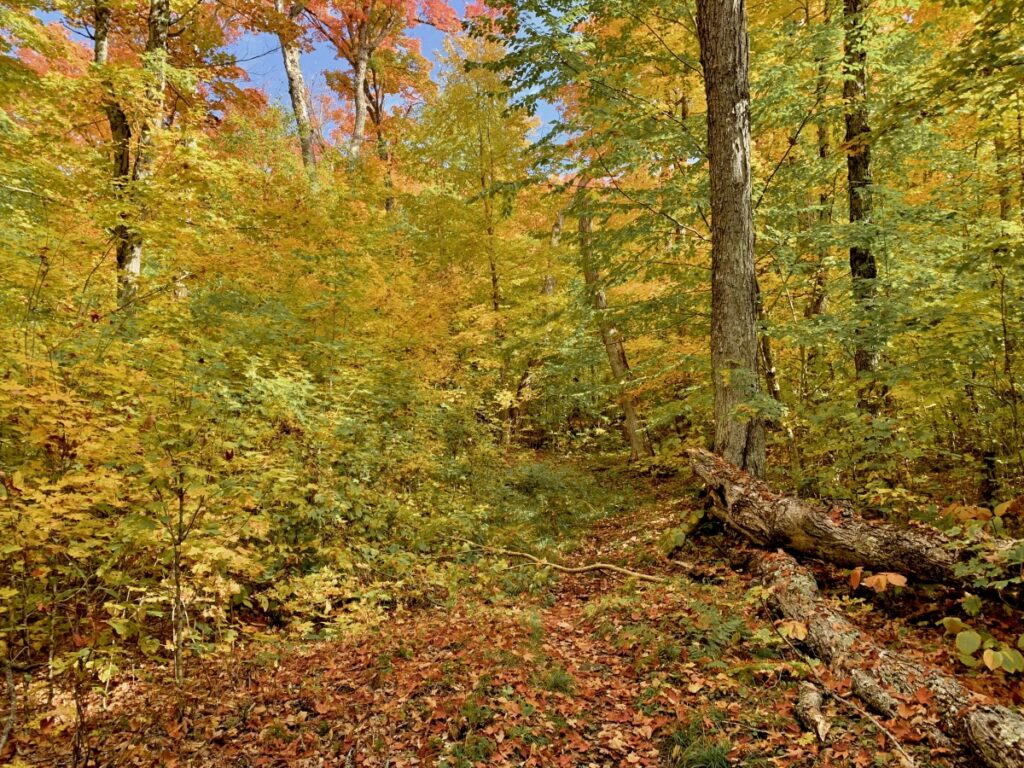
- Colours – If you’re after a lush, green hike wait until at least end of June. If you’re after the vibrant reds and oranges of fall, hold off until early October. I hiked this trail October 1-2, 2021. The surrounding area was full fall-mode, however the trees on the trail were still green with a few yellow patches. Early October is normally the best time to see the fall colours, but keep an eye out on fall colour reports for the Algonquin Highland area to time it properly.
- Keep in mind that if the leaves have fallen the trail becomes much more difficult to follow!
- Temperature – temperature varies greatly in this part of Ontario. Depending on the year May can still be quite cold. July is always a hot month, August has warm days and cool nights (ideal for camping), September can be quite warm or cold, and normally by the time October rolls around it is consistency chilly if not cold.
- Rain – Some years May is quite rainy, but by the time June rolls around that normally ends. By the time October starts, the rain could very potentially start back up.
Based on my experience I confidently recommend hiking the Highland trail (and hiking anywhere in Ontario) during the fall. You will avoid the bugs, the temperatures will be nice and cool for hiking, and you will get to see the fall colours.
On the other hand, if you don’t mind bugs and prefer a hot camping trip where you can swim, July-August is your go-to.
Tips For A Successful Trip
- Know what to pack for a backcountry trip as well as gear specific to this trail
- Pick up a Park permit from the Algonquin Visitor Centre
- Pre-book your backcountry campsites online
- If you plan to fish at any of the lakes in Algonquin, read more about the rules and regulations
- Download the Highland map on Alltrails
- About 75% of the trail will have cell service, when you lose service put your phone on airplane mode to preserve battery or bring a compact portable charger
- Fill up your water at the rushing creeks and bigger lakes along the way and make sure to filter your water properly (I use cheese cloth and aqua tabs to fill my Hydrapak). I did this at Head Creek waterfall, Harness Lake, and Provoking Lake
Happy adventuring!
Taylor ♡
Like This Post?
Share with friends or save it for later!
About the Author
HI, I’m Taylor – the voice behind The Holistic Backpacker.
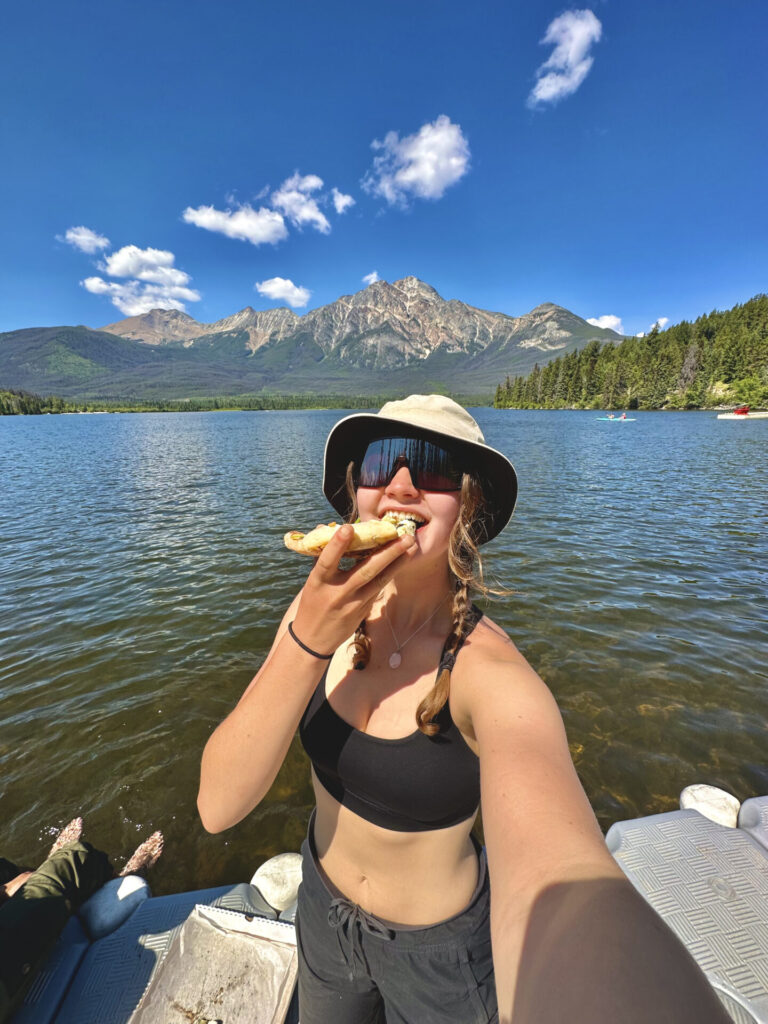
After moving to Banff National Park in 2020 I became an outdoor adventure enthusiast and vowed to never stop exploring.
I now spend my days travelling the world, climbing mountains, and spending nights under the stars in the Canadian Rockies backcountry.
I created The Holistic Backpacker so I could share my adventures and help connect people like you with the same amazing experiences.


